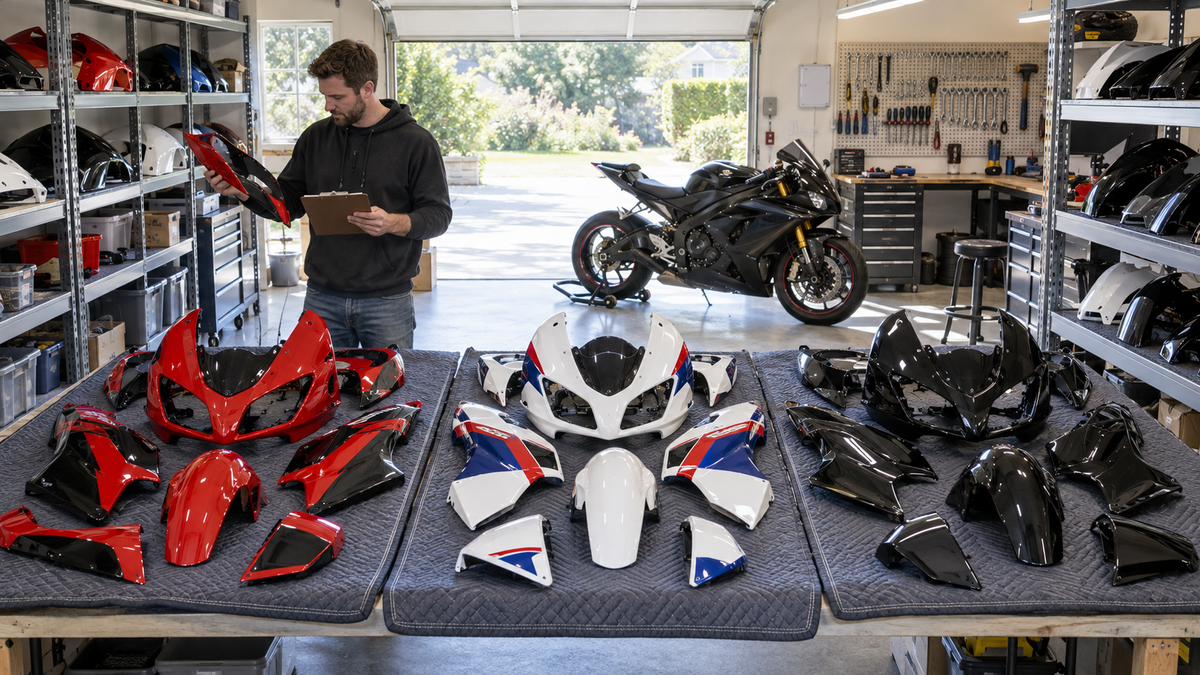
Open a project-bike garage and you may find three nose cowls, four unmatched side panels, two windscreens, a box of black inner trim and enough mixed fasteners to assemble nothing correctly. Some pieces came with the motorcycle. Others came from a previous owner, a track-day swap, an online bundle or a second bike that is no longer there.
The wrong first move is to start bolting together everything with the same color. Paint is weak identification evidence. A reliable garage audit begins with the motorcycle’s identity, then separates panels by function, mounting geometry, markings and condition. Only after that should you decide what belongs to the bike, what can be sold, what needs repair and what is still missing.
This guide is for physical parts already in your garage. It complements our online used OEM fairing listing checklist, but the workflow is different: you can inspect inner surfaces, compare mating edges and build complete assemblies before spending money.
Freeze the Project Before You Lose More Evidence
Do not begin by removing more bodywork from the motorcycle or mixing another hardware bag into the pile. Pause and preserve the current state.
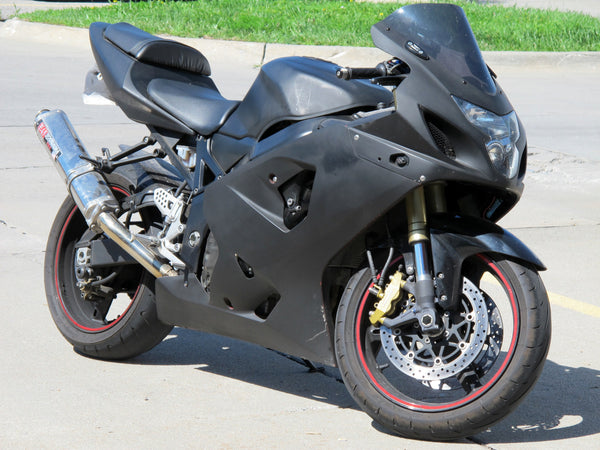
Photograph the complete motorcycle from the left, right, front and rear. Add three-quarter views and close images of every bodywork seam. Record the exact make, model, model year, market and version from reliable documents. Note modifications that touch the fairings, including mirrors, indicators, windscreen, frame sliders, exhaust, lights, seat cowl and track hardware.
Then photograph the mixed parts exactly as found. The original box, wrapping and handwritten notes may provide useful context even when they are not proof. Keep each existing bag or bundle intact until it has its own record number.
Define stop conditions. Stop if a panel remains attached after known fasteners are removed, if wiring must be pulled, if a bracket appears bent or if the next step requires drilling, cutting or force. Use model-specific service information and qualified help where the work exceeds your experience.
Build Five Physical Zones in the Garage
Clear a dry, well-lit area and protect painted surfaces with clean moving blankets or foam. Create five zones before examining individual pieces.
- Known motorcycle: Parts currently fitted to the identified bike or documented as removed from it.
- Likely related: Pieces with several matching features but incomplete evidence.
- Unknown application: Panels that cannot yet be connected to a model or assembly.
- Damaged or repaired: Any piece with cracks, broken tabs, filler, adhesive, heat distortion or uncertain structural condition.
- Hardware and transfers: Fasteners, grommets, collars, brackets, mesh, ducts, lights and trim, kept separate from painted panels.
Do not create a “trash” zone yet. A broken fragment can reveal the shape of a missing tab; a damaged panel can preserve a molded marking or hardware position. Disposal comes after documentation.

Editorial illustration: sort by assembly evidence and keep hardware with its documented group. The pictured parts are generic and do not establish model compatibility.
Assign Every Piece a Neutral Inventory ID
Use an ID that says nothing about your guess. “Blue Yamaha left panel” locks an unverified conclusion into the record. “P014, blue painted outer panel” remains useful even when the identification changes.
For each piece, record:
- inventory ID;
- outer and inner color;
- approximate length, width and depth;
- material only when documented, not guessed from appearance;
- visible molded codes, labels or stickers;
- number and type of mounting points;
- openings for lights, mirrors, indicators, vents or fasteners;
- neighboring edges and overlap features;
- damage, repairs and missing areas;
- source, if known;
- current identification confidence.
Photograph a removable ID card beside the panel rather than sticking aggressive tape to the finish. Capture the full outer face, full inner face, both ends, every tab and every marking. The supplier identification photo guide explains why wide, medium and close views work better than a folder of disconnected close-ups.
Sort by Function Before Model
Begin with broad panel families. This reduces a chaotic floor into workable groups without pretending you already know the application.
| Panel family | Useful visible clues | What it does not prove |
|---|---|---|
| Upper or nose cowl | Windscreen edge, headlight openings, mirror mounts, central intake | Exact model year or light compatibility |
| Side fairing | Vent pattern, long mating edges, engine openings, frame-slider hole | Left/right side from the outer color alone |
| Lower cowl or belly pan | Exhaust clearance, underside abrasion, drain or joining points | Required heat shield or road/track legality |
| Tail section | Seat opening, lamp area, latch access, subframe mounts | Compatibility with a particular seat or fender eliminator |
| Front fender | Fork-leg mounting pattern, tire arc, brake-line guides | Fork compatibility from color and width alone |
| Inner duct or trim | Air path, clips, foam, light or radiator relationship | That it is supplied with an outer fairing kit |
| Windscreen | Hole pattern, curvature, edge shape | Compatibility based only on overall width |
A nose with two headlight openings may resemble several sportbikes at a distance. The mounting points, windscreen pattern, inner duct relationship and surrounding panel seams carry more identification value than the general silhouette.
Read the Inner Face Before the Paint
The outer face tells you how a panel looks. The inner face tells you how it was intended to join an assembly.
Use neutral light and inspect molded numbers, date wheels, manufacturing marks, handwritten paint notes and old inventory labels. Photograph them clearly, but do not assume every number is an OEM part number. It may be a mold reference, casting identifier, supplier code, color note or internal stock number. Our guide to part numbers versus seller SKUs shows why those identifiers should remain separate.
Map the mounting geometry. Note whether a point is a molded tab, slotted hole, rubber-mounted opening, metal insert or separate bracket. Compare the angle and spacing between points instead of measuring only one hole. A single matching dimension is coincidence; a repeating pattern across several mating features is stronger evidence.

User-provided production photo: a visible example of a threaded insert in a plastic mounting post. The image does not establish the plastic grade, insert material, model application or universal construction method.
Match Assemblies, Not Isolated Shapes
The strongest identification comes from relationships. Lay likely neighboring pieces near one another without forcing engagement. Compare:
- whether seam curves continue naturally;
- whether overlapping lips face the correct direction;
- whether adjacent tabs meet without stored tension;
- whether vent and duct openings create a plausible path;
- whether windscreen and mirror patterns align with the upper cowl;
- whether the left and right parts are true counterparts rather than similar panels from different generations;
- whether graphics cross seams consistently.
Keep a small gap between painted edges during this stage. Do not snap unknown tabs together. A clip designed for one panel can crack another when the angle or depth differs.
Use the motorcycle as a reference only after the exact bike has been identified and the parts have earned a reasonable confidence level. Color, brand decals and a seller’s verbal statement are supporting clues; they are not substitutes for mounting evidence or a reliable parts diagram.
Treat Unknown Hardware as Its Own Investigation
Mixed bolts create more risk than inconvenience. Two fasteners can share thread diameter while differing in length, shoulder, washer, collar or intended clamping behavior. A screw that enters a thread can still be wrong.
Keep unknown hardware out of the motorcycle. Photograph and measure it, then group it by observable construction. Separate rubber well-nuts, push rivets, shouldered bolts, collars, speed nuts and ordinary screws. Record which bag or panel each item came with, but mark that relationship as unverified if the history is uncertain.
Never use a power tool to “test” unknown hardware. A bolt that bottoms out can damage a bracket or insert; a missing collar can crush a panel as the fastener tightens. The fairing hardware photo-and-label workflow is useful once you begin a controlled teardown of the known motorcycle.
Grade Condition Separately From Identity
A panel can be correctly identified and still be unsuitable for installation. Use two fields: identity confidence and condition status.
Condition A: Ready for detailed pre-fit review
No obvious crack, heat distortion or missing mounting area is visible. Paint condition may still require work, and hidden damage remains possible.
Condition B: Repair assessment required
The panel has a crack, elongated hole, stress whitening, surface repair, filler, adhesive or a recovered broken fragment. Record the defect and seek appropriate repair advice before installation.
Condition C: Reference only
Major areas or mounting structures are missing, the panel is severely distorted, or prior work obscures its original geometry. It may still help identify a neighboring piece or paint layout, but it should not be treated as installation-ready.
Do not use a glossy finish as evidence of good structure. Turn every panel over and inspect the tab bases, inner seams and repaired areas under raking light.
Use a Confidence Matrix Instead of a Guess
Give each proposed identification an evidence grade.
| Confidence | Minimum evidence | Allowed next step |
|---|---|---|
| Confirmed | Reliable model/year reference plus matching marks and assembly geometry | Add to the known set and plan a controlled pre-fit |
| Probable | Several matching geometry features and credible source history, but one key reference missing | Keep separate and request supplier or specialist review |
| Possible | General shape or color resembles a model, with limited mounting evidence | Continue research; do not list or install as confirmed |
| Unknown | No dependable application evidence | Store by inventory ID and avoid compatibility claims |
| Contradicted | One or more decisive features conflict with the proposed application | Remove from that model group and record why |
Write the evidence beside the grade. “Probable because upper-cowl, windscreen and three mounting relationships match the reference; inner code still unverified” is auditable. “Looks like an R6” is not.
Decide What to Keep, Sell, Repair or Order
Once the inventory is stable, create a second table organized around decisions.
| Item or assembly | Identity confidence | Condition | Missing neighbors or transfers | Decision |
|---|---|---|---|---|
| Known complete assembly | Confirmed | A/B/C | List exact missing items | Keep, pre-fit or repair |
| Duplicate panel | Confirmed | A/B/C | None or documented | Store as spare or sell accurately |
| Partial set | Confirmed/Probable | A/B/C | Name each gap | Compare completion cost with coordinated replacement |
| Wrong-model part | Confirmed/Contradicted | A/B/C | Not applicable | Sell with evidence or store separately |
| Unknown piece | Possible/Unknown | A/B/C | Unknown | Research; do not advertise a guessed fitment |
When selling, photograph the same evidence a careful buyer would need: outer and inner faces, every tab, markings, damage and dimensions. State what is verified and what remains unknown. Do not hide cracks under mounting hardware or claim “fits many models” because two holes appear close.
When ordering, compare the known inventory with the supplier’s written parts list. “Complete kit” is not a universal bill of materials. Ask which outer panels, inner ducts, trim, windscreen, heat protection and hardware are included, and what must transfer from the original motorcycle.
Prepare a Supplier Identification Packet
If you need help, send a concise packet rather than forty unlabeled images:
- exact motorcycle identity and market;
- full-bike photographs;
- one inventory table;
- one folder per unknown panel;
- outer face, inner face, markings, tabs and measurements for each panel;
- photographs showing possible neighboring parts without forced assembly;
- list of modifications on the motorcycle;
- one direct question for each uncertain item.
For example: “Does P014 belong to the left mid-fairing assembly for this exact model and year? The attached images show the inner markings, three mounting points and its possible relationship to P009.” That is easier to answer than “What bike are these from?”
Use NiceFairings custom fairing support only after you can state the motorcycle’s exact model and year. Availability and kit contents must be confirmed; a photo does not obligate a supplier to identify every unknown component.
Controlled Pre-Fit Comes Last
Only confirmed, condition-reviewed parts should reach the motorcycle. Protect the finish, install the correct grommets and collars, and assemble neighboring panels loosely before staged tightening. A fastener should enter straight by hand. Do not use a screw to pull a panel toward a bracket.
Check steering movement, tire and fork clearance, brake-line routing, radiator fan space, exhaust clearance, lighting and seat/latch operation before riding. If the structure is bent or the panel needs sustained force to sit in place, stop and diagnose the mounting system.
After the audit, store each group with its inventory record. Support large panels so their weight does not rest on one tab, keep painted faces separated with clean soft material and avoid heat or direct sunlight. The value of the process is not a neat shelf; it is that every later decision can be traced to evidence.
FAQ
Can color identify which motorcycle a fairing came from?
Color can support an identification, but it cannot confirm model or year. Panels may have been repainted, combined from different sets or produced in similar colors for unrelated motorcycles.
Is every molded number an OEM part number?
No. Mold references, supplier codes, date marks and internal identifiers may also appear on the inner surface. Compare the marking with a reliable parts reference before calling it an OEM part number.
Can I test-fit an unknown panel to see whether it works?
Only after the application and condition have reasonable support. Do not force tabs, drill holes or use fasteners to pull an unknown panel into place. Compare geometry off the motorcycle first.
What should I do with a box of mixed fairing bolts?
Quarantine it. Sort and measure the hardware, but do not install a bolt because its thread starts. Correct length, shoulder, collar, washer and mounting role all matter.
How should I list an unidentified panel for sale?
Provide complete photographs, measurements, markings and damage disclosure, and state that the application is unknown. A transparent unknown listing is safer than a confident but unsupported fitment claim.
When is a full replacement set more practical than completing a partial set?
Compare the confirmed missing parts, repair work, paint consistency, required transfers and total installed cost. A partial set is valuable only when you can identify what it contains and source the remaining pieces accurately.