
The service invoice says the oil and filter were changed. The mechanic is ready to refit the lower bodywork. Is the job finished? Not quite. A fully faired motorcycle can look complete while a hose, shield, fastener or fresh fluid trace is hidden behind its lower cowl. Conversely, an oily mark on the inside of a panel might be old residue, not proof of an active leak. The useful moment is before the panel closes: record what was serviced, what was actually checked, and what remains uncertain.
This is an owner-to-technician handoff and bodywork-inspection guide, not an oil-change or fairing-removal procedure. Some models require different access, parts and tools; some services may not require the lower fairing to be removed at all. Consult the exact year and market's owner and service information, and let a qualified technician handle work beyond your training. For example, the 2019 Honda CBR650R owner's manual recommends dealer service for the oil and filter change and explicitly calls for checking for oil leaks at the end. That is a model-specific example of the principle, not a universal instruction or torque specification.
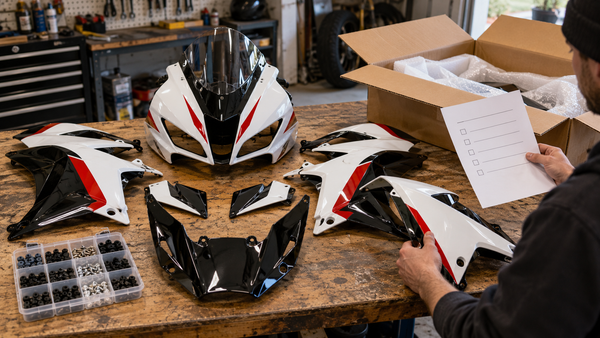
The cover and in-article image are AI-generated editorial illustrations. They are not a NiceFairings workshop, a customer motorcycle, a documented repair or proof of fitment.
The decision in one minute
Before refitting the lower cowl, ask for five distinct answers: What operation was done? What is dry now? What was disturbed? What must be retained? What still needs checking after the bike is run? An honest “not inspected” is useful. It is not a failure to disclose; it is a reason to plan the next check rather than assume that an attractive panel proves a sound machine.
If there is active dripping, a low fluid level, a loose line, a panel touching a hot or moving part, or an uncertain brake or control condition, stop the cosmetic work and have the motorcycle assessed. Do not ride to “see if it clears up.” A replacement fairing does not repair a fluid system or verify roadworthiness. The owner and mechanic should agree on the follow-up before the bike leaves.
Identify the motorcycle and the actual job
Record the VIN, model year, market, mileage and any prior bodywork, exhaust or protection modifications. The same family name may cover revisions of cowl shape, shields, brackets and access routes. A service invoice should identify the work performed, not merely say “maintenance.” Note whether the lower panel was removed, loosened, or untouched; whether oil, filter, coolant or another fluid system was involved; and which components had to be moved for access.
This matters because the handoff is narrower than a general inspection. A fresh oil service calls for a check of the oil service points and level as specified by that bike's manual. It does not establish that every concealed coolant line, electrical connector and fairing bracket was inspected. Keep those claims separate. If the service shop is unable to confirm a point, record it as unresolved instead of converting silence into approval.
Photograph the open state before cleaning away the evidence
Take one wide view from each side with the lower bodywork off, plus a few oriented close-ups of the serviced area and the inside of the removed panel. Include a frame reference so a later viewer can tell front from rear. A clean, dry surface is easier to monitor, but photograph suspicious residue before wiping it; otherwise the location and direction of a trace may be lost. Avoid touching hot exhaust or moving components. Ask the technician to identify whether a mark is fresh, old, likely service spill or still unclassified.
The photo sequence need not look like advertising. A scuffed belly pan, dust on a shield and an ordinary workbench can be more useful than a spotless staged shot. Our fairing photo-and-label workflow explains how to keep overview and detail images connected. Do not caption an image “no leaks” merely because the area appears dry at one instant.

Separate an old stain, a service spill and an active leak
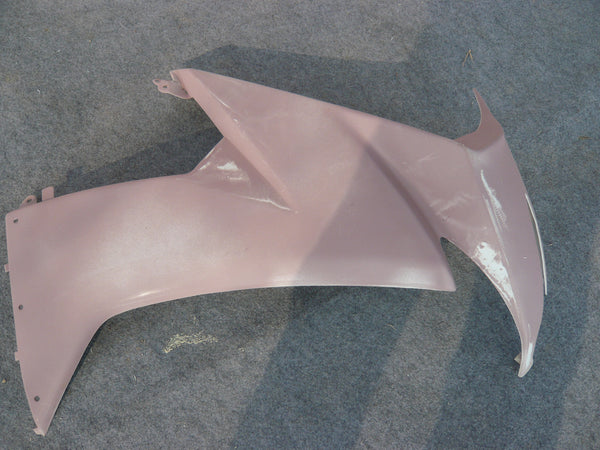
Dark residue on an inner cowl has several plausible histories: road grime, chain fling, old oil from a previous repair, a spill while removing a filter, or new seepage. Color alone is not a diagnosis. Preserve the starting condition, clean using the method approved for the material, then ask the technician to inspect the applicable service points and recheck after the engine has been operated according to the manual. Record where a fresh mark reappears, if it does. Never use the lower panel as a catch tray for unresolved dripping.
Honda's CBR650R manual says to check for oil leaks after its listed oil-and-filter procedure; it also warns that overfilling or running with insufficient oil can damage the engine. We are not transferring its capacities, tightening values or warm-up timing to another motorcycle. For your machine, use its own documentation and the shop's qualified judgment. If fluid is found near a tire, brake, exhaust or road surface, the safety question comes before cosmetic cleanup.
Check the parts that were moved, not just the parts that look new
Ask the technician to compare the motorcycle with the relevant exploded parts view or service information: lower cowl halves, inner pieces, mounting brackets, collars, rubber grommets, heat shields, edge seals and specified fasteners. Some may stay on the bike; some may be transferred to the removed panel. A missing rubber support can make a panel sit poorly even when all visible screws are present. Conversely, an extra screw in a tray does not prove where it belongs.
The Kawasaki Ninja 650 lower-cowling parts diagram is a good illustration of why “the lower fairing” is not necessarily one piece. It is not a parts list for your motorcycle or a promise about a NiceFairings kit. Use the diagram for the exact VIN/application when doing the real inventory. Our reuse-or-replace fairing fastener guide gives the purchasing distinction: a new painted shell and a hardware kit are separate questions.
Inspect the inner face and the neighboring hardware
With the panel safely supported, photograph its inner face, tabs and mounting holes. Look for fresh witness marks: a polished rub line, melted edge, trapped cable impression, disturbed foam, or a crack radiating from a stressed hole. Then identify the matching neighboring part on the motorcycle. A rubbed spot cannot be solved responsibly by guessing at a longer bolt or forcing the panel outward. The source could be altered exhaust geometry, a missing spacer, a displaced shield, a wrongly routed hose or damage from a previous fall.
Our belly-pan heat audit deals with temperature-related marks, while the fairing-hole alignment guide explains why forcing a painted panel into position is not a fitment test. This article's additional point is timing: inspect those interfaces while service has made them visible, before the cowl hides them again.
Keep hoses, wires and service access visible until checked
The lower bodywork should not pinch a hose, rub a harness, obscure an unsecured connector or press against an exhaust component. The exact routing and clearance requirements are model-specific. Ask the technician to confirm any item that was disconnected, unclipped or moved; do not invent a universal millimeter gap or tie-wrap position. A useful photo shows the route before the panel is offered up and another shows the final interface where it remains visible.
Do not tuck a suspicious hose behind the fairing simply to make the exterior line look clean. If the bike has aftermarket accessories, record their leads and brackets separately from factory items. The battery-lead routing guide covers one common example, but the same documentation habit applies here: “it was there before” is not proof of a safe route after the panel has been moved.
Refit is a sequence, not a single tightening moment
The authorized service procedure controls the order, fasteners and tightening. As an owner, you can still ask the shop to confirm that the panel is supported at each intended point, the overlaps sit naturally, the hardware has not been mixed between locations, and no edge is under unexplained preload. A technician should resolve a binding panel rather than pull it home with screw pressure. Preserve any removed hardware for identification until the job is signed off.
An apparent panel gap can result from the bodywork, the bracket beneath it, a missing collar or a neighboring panel's position. It is not automatically a defective replacement part. If a painted kit is being installed at the same time as service, separate those work orders: first confirm the mechanical repair and retention pieces, then assess panel fit. The post-install steering-clearance guide describes a distinct final check at the front of the motorcycle; the lower cowl needs its own heat, ground and moving-part review.
Do the final check in two states
The first state is engine off, cool, stationary: panels secure, no tools or loose hardware left behind, fluid levels checked by the applicable procedure, no obvious interference with wheel, steering, brakes, controls or exhaust. The second is after the service provider has completed the prescribed run and post-service inspection: recheck the serviced area for fresh fluid and confirm the panel still sits correctly. Neither state can be replaced with “the bike looks good in a photo.”
If the manual or shop procedure requires a later level check or follow-up after a short ride, record when, where and who will do it. Do not invent an interval here. If a new vibration, burning smell, oil trace or panel movement appears after pickup, stop safely and contact the repairer. Our missing-fairing-fastener roadside guide explains why continued riding with an unsecured panel is a separate safety decision.
A useful handoff note fits on one page
Write down the motorcycle identity, work order number, fluids serviced, parts removed, parts reused, unresolved items and a date. Attach a small set of labeled photos: wide open-state, each serviced point, the panel's inside surface, the retention hardware and the finished lower-cowl view. Have the technician mark each relevant point as checked, not applicable or not checked. That is more honest than a sweeping “all good,” and it gives the next technician a reproducible starting point.
When you later discuss replacement bodywork with NiceFairings, send the same evidence only where relevant: exact model/year, existing cowl configuration, modified exhaust or brackets, damaged panel, mounting points and the specific replacement scope. The NiceFairings model selector helps locate a candidate listing, but the listing and order confirmation determine actual contents. Do not infer that an oil-access opening, shield or fastener is supplied from a lifestyle image. If you want a coordinated new color, the custom-fairings page is a design starting point, not a mechanical clearance approval.
Three honest outcomes from the inspection
The first outcome is ready to refit: the service points were checked by the qualified repairer, the relevant area is clean and dry at the prescribed stage, all required retention parts are accounted for, and the panel seats without force. The handoff can name the remaining follow-up check without pretending it has already happened.
The second is mechanically ready, bodywork unresolved: the service itself may be complete, but a broken tab, wrong spacer, unexplained gap or missing heat piece prevents safe panel closure. Keep the mechanical sign-off separate from the fairing order. Photograph the original component and its mounting interface; compare the exact listing rather than assuming that a replacement kit contains every supporting part.
The third is service unresolved: a fresh fluid trace, uncertain level, disturbed hose or other safety concern still needs diagnosis. Stop the exterior work until the responsible technician can identify and rectify the cause. This is not a statement that the shop made an error—only that the available evidence does not yet support a clean handoff. These three categories make it easier to explain a delay to an owner without disguising uncertainty as either a defect or a completed repair.
When the correct answer is “not ready to close”
Leave the panel off or have the workshop pause if fluid is actively escaping, a required shield or support cannot be identified, the panel must be forced to seat, a hose or wire is trapped, or a mark suggests contact with hot or moving hardware. Have the qualified repairer resolve the cause and document the result before finishing the exterior. A clean final photograph should be the last piece of evidence, not the first.
The goal is modest but important: the motorcycle's service state and the fairing's appearance should tell the same story. A lower cowl can protect and complete the bike's visual design; it should never be used to make an unresolved mechanical question disappear.
Sources and scope
- 2019 Honda CBR650R/RA owner's manual, maintenance and engine-oil sections. Used only for the specific example of dealer recommendation, checking oil leaks, and model-dependent instructions.
- Kawasaki 2023 Ninja 650 lower-cowling parts diagram. Used to illustrate that lower bodywork comprises multiple parts, not as a cross-model parts list.