
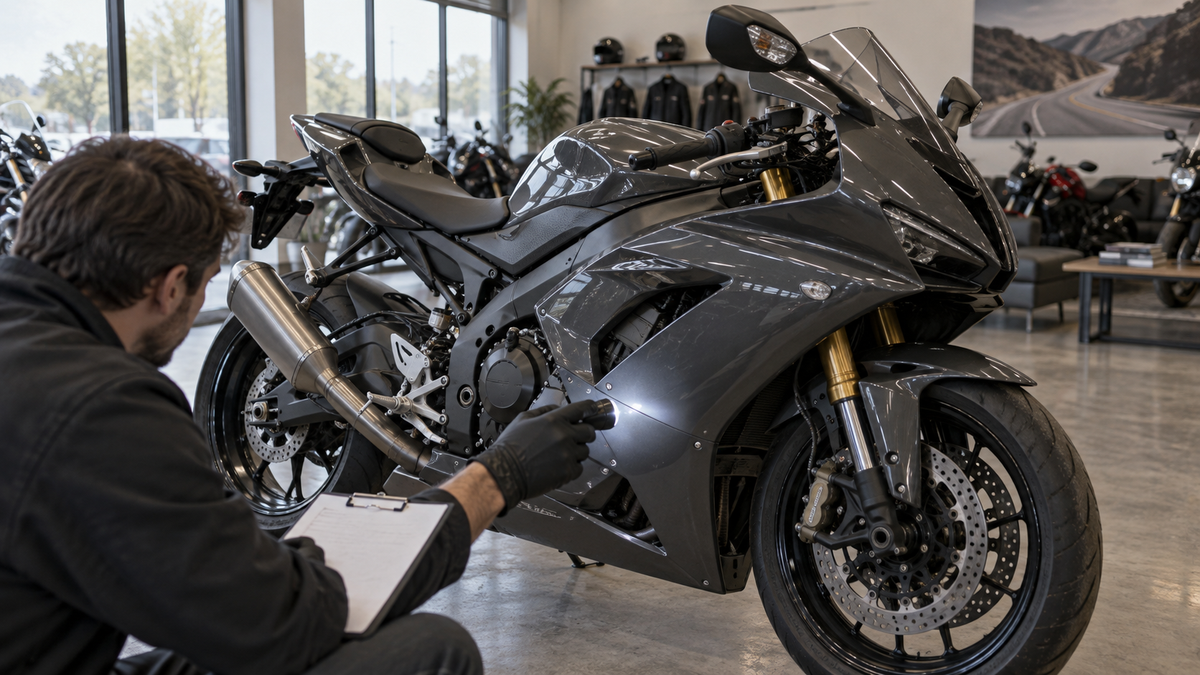
Replacement bodywork on a used sportbike is a reason to look more closely, not a verdict. A fresh side panel may follow a parking-lot scratch, a color change, a track-day bodywork swap, theft damage, or a larger repair. Original-looking paint can also hide careful touch-up work. The fairings give you useful observations, but they cannot prove that the chassis, engine or title history is clean.
The practical goal is to separate three things: what you can see, what that observation might mean, and what still needs independent verification. That approach keeps a cosmetic inspection useful without turning one mismatched fastener into a dramatic story.
Start With the Bike in Neutral Light
Strong showroom spotlights make glossy paint look impressive while hiding texture changes in shadow. If the seller agrees, view the motorcycle in even daylight or under broad, neutral shop lighting. Stand several steps back before inspecting details. You are looking for whether the motorcycle reads as one coherent object: consistent color, balanced panel gaps, an even centerline, and no panel that sits visibly proud of its neighbor.
Walk around the bike twice. On the first pass, do not touch anything. Look at the silhouette from the front, rear and both sides. On the second pass, move closer and use a small flashlight across the paint at a shallow angle. Raking light can reveal sanding marks, clear-coat edges, overspray and differences in orange-peel texture that direct light misses.
Ask permission before removing a seat, opening a service panel or moving any trim. A pre-purchase inspection does not give a buyer permission to dismantle another person’s motorcycle.

Editorial illustration: inspect paint, seams and fasteners as separate clues; no single cosmetic detail establishes accident history.
Treat Every Finding as a Clue, Not a Conclusion
Use a simple three-column method in your notes.
| What you observe | Plausible explanations | What to verify next |
|---|---|---|
| One panel has a slightly different color or texture | Replacement panel, repaint, sun exposure, different substrate or normal batch variation | Ask when and why it was changed; compare invoices and older photos |
| Fastener heads show tool marks | Routine service, accessory installation, bodywork replacement or repeated removal | Check whether the correct hardware, collars and rubber mounts are present |
| A seam is wider on one side | Panel position, missing grommet, bracket movement, repaired tab or manufacturing tolerance | Compare mounting points and obtain a professional alignment check if needed |
| Graphics do not continue cleanly across a seam | Replacement decal, repaint, panel from another set or installation position | Compare both sides and ask for the paint or bodywork record |
| Lower fairing has abrasion underneath | Ramp contact, road debris, curb contact or a slide | Inspect adjacent controls, cases and chassis areas independently |
| Inner edge has overspray or masking line | Refinish work or localized repair | Ask who performed the work and whether photos exist |
The discipline matters. “The right mid-panel has different clear-coat texture” is an observation. “The bike had a major crash” is an inference that the panel alone cannot support.
Read the Paint Without Expecting a Perfect Match
Compare color on surfaces facing the same direction. A top surface and a vertical side panel reflect different surroundings, so they may look different even when painted together. Move your head and the light before calling a mismatch.
Look for differences in metallic-flake orientation, gloss, texture and edge finish. Factory and refinished panels can each be excellent; the point is to understand what you are buying. Check recessed areas around bolt holes, vent openings and graphics. A sharp tape line, paint on a rubber grommet or color on a fastener may indicate that parts were painted in place. That says something about the refinishing process, but it still does not establish the cause of the work.
Decals deserve the same restraint. A graphic under clear coat may belong to an aftermarket painted kit. A surface-applied decal may be original on one model and replacement on another. Compare the actual motorcycle with reliable model-year references rather than assuming one construction method applies to every sportbike.
If you are evaluating loose panels online instead of an assembled bike, use our guide to buying used OEM fairings online. The required photographs are different because you need inner surfaces, molded markings and every mounting tab.
Inspect Seams as a System
A panel gap only makes sense in context. Follow the seam from end to end and compare it with the opposite side when the design is symmetrical. Note whether the gap changes gradually or jumps near one mounting point.
At the nose, check the relationship among the upper cowl, headlight, windscreen and mirror bases. A cowl that is being pulled into position can show stress around a fastener while the headlight remains off-center. Mirror bases should sit cleanly without being used as clamps to drag the upper cowl toward a bracket. If that area is visibly twisted, the more focused mirror and upper-cowl alignment guide explains why the support structure deserves attention before anyone blames the painted panel.
Along the sides, inspect how the mid-panel meets the tank cover, inner trim and lower cowl. At the rear, look at the seat-to-tail relationship, tail-light opening and left-to-right height. Do not demand a universal gap measurement: designs, rubber mounts and assembly sequences differ. You are checking for consistency, free fit and signs that a fastener is carrying unusual load.
Hardware Often Tells You How the Bodywork Was Handled
Fasteners are service items, so changed hardware is not automatically suspicious. It can, however, reveal installation quality.
Look for mixed head styles, missing washers, crushed rubber well-nuts, collars installed on one side only, and screws that bottom out before clamping the panel. A bolt should not visibly distort the fairing around its hole. Spider cracks, elongated holes and whitening around an ABS tab suggest stress, but the cause may be over-tightening, missing hardware, poor alignment or impact.
Check whether metal brackets have been bent merely to meet a panel. Fresh tool marks or chipped coating on a bracket justify a closer look. The next step is not to force it straight in the seller’s driveway; it is to ask for documentation or arrange a professional inspection.
Our fairing fastener reuse-or-replace guide explains why correct collars, grommets and shoulder dimensions matter more than a bag of bolts that simply looks new.
Look Beneath the Visual Center of Attention
Bright paint naturally pulls your eye toward the tank and upper fairing. Deliberately inspect the less glamorous areas.
- Check the underside of the lower cowl for abrasion, heat discoloration and missing shielding.
- Look through vents for loose inner panels or wiring that has been trapped against an edge.
- Inspect the back of accessible tabs for repair material, cracks or stress whitening.
- Compare left and right frame-slider openings if sliders are fitted.
- Look at bar ends, levers, foot controls, engine cases and exhaust separately from the plastics.
These surrounding components help you decide where to investigate, but they still require mechanical judgment. A scraped bar end can come from a stationary tip-over. An unmarked bar end does not prove the bike never touched the ground because parts can be replaced.
Ask for a Timeline, Not a Sales Pitch
Useful questions are specific and easy to document:
- Which painted panels have been replaced or refinished?
- Why was the work done, and when?
- Who supplied and installed the bodywork?
- Are invoices, installation photographs or the removed parts available?
- Were brackets, lights, mirrors or inner panels replaced at the same time?
- Has the motorcycle been used on track, transported in a van or fitted with track bodywork?
- Can an independent shop inspect the motorcycle before purchase?
A seller may not know every detail, especially if they are not the first owner. An honest “I don’t know” is more useful than a confident story with no record. Write down the answer and compare it with the documents rather than trying to win an argument beside the bike.
If the seller sends photos before an in-person visit, ask for level images of both sides, a centered front and rear view, every mounting area, and close-ups under neutral light. Our guide to photos that identify a replacement fairing helps structure that request.
Keep Cosmetic, Mechanical and Administrative Checks Separate
A fairing inspection is only one part of a used-motorcycle decision. It does not replace a VIN and title check, service-history review, cold start, fluid inspection, tire-date check, steering and suspension assessment, or a qualified pre-purchase inspection.
That separation protects both buyer and seller. A beautifully aligned aftermarket kit may sit on a mechanically sound motorcycle. It may also sit on a motorcycle that needs work unrelated to the bodywork. Likewise, scuffed original plastics can surround a well-maintained machine. Price the cosmetic condition as cosmetic condition, then evaluate mechanical and legal condition through the appropriate evidence.
If a drop is disclosed, define the replacement scope rather than assuming every panel must change. The article on OEM or aftermarket fairings after a drop provides a practical way to separate retained pieces, damaged panels and related hardware.
Know When to Pause the Purchase
Pause and seek an expert opinion when bodywork prevents a normal safety check, steering does not move freely, wiring is pinched, a fluid leak is present, structural parts show unexplained damage, or the seller refuses reasonable independent inspection. Also pause when the title, VIN or ownership story does not reconcile. Those are not fairing-fit questions to solve with a discount.
Cosmetic uncertainty alone may be manageable. You can price replacement panels, request better photographs or budget for refinishing. Safety and ownership uncertainty require firmer evidence.
A Compact Buyer Photo Checklist
Before leaving, capture these images with permission:
- Full left and right profiles with the entire motorcycle visible.
- Centered front and rear views at axle height.
- Upper-cowl, headlight, windscreen and mirror interfaces.
- Tank-to-side-panel and seat-to-tail seams on both sides.
- Lower-cowl underside and exhaust-clearance area.
- Close-ups of unusual paint texture, repairs and fasteners.
- VIN label and odometer only with the seller’s consent and appropriate privacy care.
- Service invoices or bodywork receipts the seller agrees to share.
Photograph the overall view before every close-up so you can locate the detail later. Avoid filters and portrait blur. Accurate color and context are more valuable than dramatic images.
What the Fairings Can Honestly Tell You
A careful used sportbike fairing inspection can tell you whether the visible bodywork appears complete, consistently finished, sensibly installed and free from obvious stress. It can show where to ask better questions and where another specialist should look.
It cannot certify crash history, frame alignment, mechanical health, mileage or ownership. Replacement panels are part of the evidence, never the entire story. Buy with the strongest combination of clear observations, supporting records and an independent mechanical inspection—and let the fairings inform the decision without allowing them to make it for you.



