You have a first track day booked and a street-legal sportbike in the garage. Do you need to strip off its painted fairings and buy race bodywork? Not necessarily. A well-maintained street motorcycle may be welcome in an introductory track group, but only the event organizer can tell you what its current technical rules require. The important question is not which material is “best” in a crash. It is whether your bike can pass inspection, whether its lights and mirrors will be restored for public roads, and what you will do if the bike cannot be ridden home.
This article is for a U.S. rider going to a non-race track day. It is deliberately narrower than our existing two-set bodywork plan and light-tape and mirror guide. Here the decision begins with the specific event's rulebook and transport plan. Neither a race-livery paint scheme nor a fiberglass label is a tech-inspection pass.
Start with the organizer and group, not a forum's universal answer
Find the current rider packet for your event, venue and skill group. Rules can differ even when two events use the same circuit. Ask how the organizer treats lights, mirrors, side stands, number plates, belly pans, coolant, wire or sealing requirements, cameras and bodywork security. Record the answer with the event date. Do not copy a racing series' fluid-containment rule into a novice track day, or assume a novice exception continues at intermediate or advanced level.
For example, N2 Track Days' FAQ says belly pans are recommended but not required, and that Intro, Novice and Intermediate riders are not required to safety-wire items under its stated program. Motovid's tech page requires all motorcycles to pass inspection, calls for lights and mirrors to be taped or removed, and rejects leaks. These are examples of two organizers' rules, not instructions that supersede your event's current packet. The same event can update its requirements, so check again close to the date.
Technical inspection is a condition check, not a paint contest. A tight, securely mounted original cowl can be more appropriate than a newly fitted “race” shell whose mounting and clearance have not been checked. Conversely, a cracked road fairing with a loose edge or missing fastener can fail even though it still has its original lamps. Inspectors decide whether the actual machine is acceptable; a product description cannot certify it in advance.
If the packet is vague, write to the organizer rather than relying on a stranger's checklist. Give them your motorcycle's exact model and year, your registered group, whether it will be ridden or trailered, and whether the stock lights, mirrors, side stand and fairings are still installed. Ask which items must be taped, removed or secured, whether any lower-cowl or fluid-containment requirement applies, and whether the answer changes if you move groups. Attach clear photos if a previous owner fitted nonstandard bodywork. Keep the reply with your event confirmation; it is a useful preparation record, although the on-site inspector still has the final say.
Do this before buying panels. If the organizer's answer means you need a different lower, a secure number mount or a way to remove lamps, you can price that entire job. If the stock bike meets the applicable preparation requirements, a cosmetic swap can wait until after you have ridden the event. That is not a recommendation to ignore inspection: it separates a mandatory technical change from a personal preference.
Compare three setups by the work they create
Keep the original street plastics. This is often the least complex first-event route when the organizer permits it and the bike is sound. You still need to prepare lights and mirrors as required, check the panel mounting points and restore everything needed for legal road use afterward. The risk to cherished OEM paint is real. Nothing in a first-time rider's pace guarantees that a fall cannot happen; it simply means you can avoid a rushed pre-event bodywork project.
Install a second street-style ABS set. This can preserve the original painted panels while retaining openings for lamps and other road equipment, depending on the exact design. It is not automatically a race fairing. Confirm what the kit includes, which original trim and supports are reused, and how it interfaces with your actual model year. Put installation and a dry fit on the calendar well before the event. A kit mounted the night before leaves no room to resolve a stressed tab, misrouted wire or missing fastener.
Fit track-oriented fiberglass bodywork. Dedicated race sets may use different pieces, light deletion and fastener systems. Some designs have a containment-style lower; some do not. Fiberglass can be repaired in ways that differ from thermoplastic street panels, but crash outcome depends on impact, construction, attachment and the rest of the motorcycle. Do not promise that glass “survives” while ABS “explodes.” A race shell may create additional work if you ride to the circuit because your road lighting and equipment obligations do not disappear when the track session ends.
| Decision point | Original street panels | Spare street-style kit | Dedicated race set |
|---|---|---|---|
| Least change before the first event | Usually, if tech permits | Requires full fitting | Requires configuration work |
| Original paint exposure | Remains on the bike | Can be stored | Can be stored |
| Street equipment | Already present; restore after track prep | Verify openings and components | Often needs a separate road setup |
| Organizer acceptance | Check current event rules | Check current event rules | Check current event rules |
| Crash cost or behavior | Unknown until an incident | Unknown until an incident | Unknown until an incident |
The table is a planning comparison, not a safety ranking. No setup makes a crashed motorcycle safe to continue. Motovid explicitly requires reinspection after an on-track incident under its posted rules; other organizers have their own procedures.
The decision should also reflect the time left before the event. More than a month out, you can verify kit contents, dry-fit every mounting point and take a short road test after reassembly. A week out, an untested full-bodywork conversion is a poor way to protect the schedule: a missing grommet or stressed bracket may take longer to solve than expected. On the eve of the event, prioritize the safe, inspectable configuration you already know over a new paint scheme. If a required change cannot be completed and checked, ask the organizer about deferring or changing the booking; do not arrive hoping a loose panel will be overlooked.

A real rider-course scene, not a NiceFairings product or the organizer cited here. U.S. Marine Corps photograph; source and public-domain status.
If you ride to the circuit, plan the road conversion twice
Write two checklists, one for arrival and one for departure. The first covers event-specific taping, mirror treatment, numbers and inspection. The second covers restoring the public-road equipment and verifying it actually works. Put clean tape, a small labeled fastener bag, the correct tools and the owner's manual where they can be found at the end of a tiring day. Take a photograph of the road configuration before changing anything.
Do not treat a track pass as a roadworthiness or street-legality certificate. Track staff may approve taped lamps that cannot be left that way on public roads. If a mirror mount, lamp, signal or plate was removed, restoration must be secure and lawful for your jurisdiction. Check brake lights, turn signals, headlight operation and aim, mirror stability, steering sweep and any wiring disturbed by the change. Our road-restoration guide addresses those bodywork details; the actual legal requirements depend on where the bike is registered and ridden.
The harder question is how you get home if the motorcycle or rider is not fit to travel. Motovid's event overview says riders can use street-legal motorcycles for its events, but it does not recommend riding directly to and from the track when transport is available. That is one organizer's practical view, not a universal prohibition. A trailer, van or coordinated friend gives you a way to bring spares and avoid a pressured ride home after a mechanical problem, fatigue or a fall. If you do ride, know the local recovery option and have a contingency for the bike.
Make the contingency specific: save the number for a local motorcycle-capable recovery service, check whether your roadside plan covers a circuit address, and decide who can collect you if you cannot ride. Confirm a trailer's tie-down points and loading help in advance if that is your plan. Budget for one unexpected night rather than assuming a tired rider can fix broken lighting in the paddock at sunset. None of this predicts a crash; it removes pressure to make a bad transport decision if something ordinary goes wrong.
Use a simple three-stage bodywork check
Before leaving home: Walk around the bike with the organizer's packet beside you. Look for cracked mounting ears, missing screws, rubbing at the tire or exhaust, loose inner trim and leaks. Turn the bars fully both ways and make sure no panel or wire catches. Photograph the bike after you prepare it; that gives you a reference when you reverse the work. Do not let a cosmetic scratch distract you from a loose attachment or mechanical fault.
At the circuit: Present the bike in the state the organizer requests, with tools accessible if an inspector asks you to change something. If a panel fails inspection, find out exactly which attachment or clearance is at issue. Tighten or repair it properly, then ask for reinspection. A temporary strip of tape is not a substitute for a sound mounting point. Do not assume another rider's approval applies to your bike; even two examples of the same model can differ after years of modifications.
Before the return trip: Repeat the walk-around after the final session, not merely when the bike is packed. Inspect seams, fasteners, lower edges and anything that might have contacted a hot component. Restore road equipment and test it while there is daylight and help nearby. If anything has shifted, leaked or broken, use the recovery plan. Getting home safely is part of the event, not an afterthought.
Preserve OEM bodywork without damaging it in storage
Removing an original set is not automatically preservation. Label each panel and its hardware before separation. Photograph the assembled bike and key overlaps, retain grommets and brackets with a clear map, and protect painted faces from metal fasteners. Keep panels dry, supported and away from a place where they can be stepped on or stacked under heavy items. A good set stored carelessly can be more damaged than one left securely fitted for a cautious track day.
Avoid treating “quick-release” as a universal upgrade. The fastener arrangement must suit the specific bodywork, motorcycle-side mounts and inspection rules. A conversion that makes panels faster to remove can also introduce a loose or stressed interface if rushed. If the purpose is to protect a rare original design, compare the full cost of a spare set, fitting, storage and transport—not just the replacement shell's sticker price.
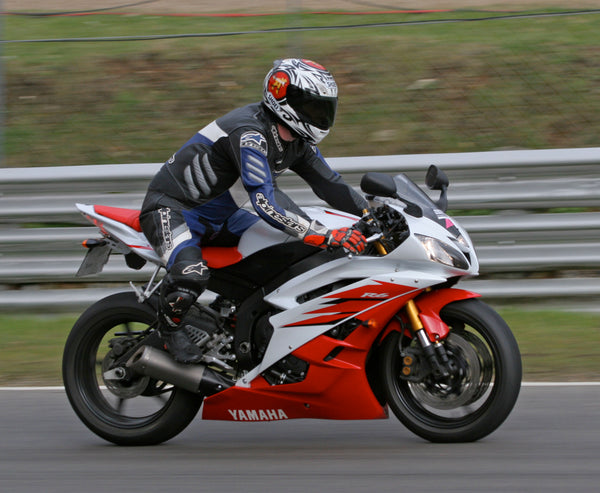
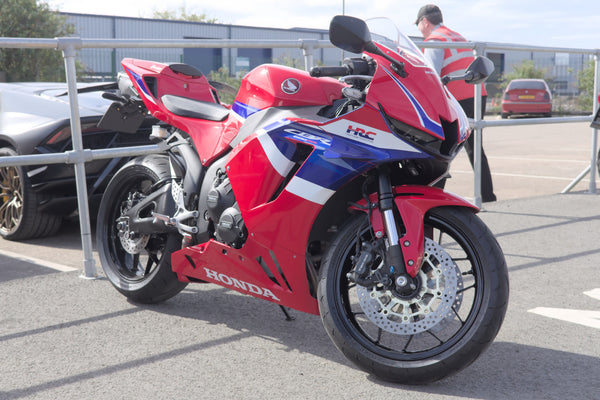
NiceFairings offers model-specific painted street-style bodywork through Yamaha R6, Honda CBR600RR and Suzuki GSX-R collection routes. These are shopping starting points, not declarations that every year or chosen kit meets an event's rules. Before ordering, send the verified model and year, photographs of any previous repairs or accessories, the exact product link and a written question about included parts. If you need a fluid-containment lower or track-only light deletion, ask explicitly; do not infer it from a race-inspired paint scheme.
In particular, confirm the panel openings and supplied hardware against the listing photographs before treating a street-style kit as a spare. Check whether the windscreen, inner trim, tank cover, seat cowl and small black infills are included or reused from your motorcycle. If the bike has an aftermarket exhaust, frame sliders or a replacement headlight, send photos of those parts too; the fit question is about the actual machine, not only the model name on the registration. For a broader budget decision, our two-set bodywork guide covers fitting and storage costs in more detail.
Make the first event an evidence-gathering day
The most valuable result of a first track day may be a clearer sense of what you actually need. Keep a note of which fairings you had to move for tech, how long road restoration took, whether any panel loosened, and what the organizers required. Ask instructors about line choice and riding, not just hardware. After the event, inspect fasteners, seams, heat-contact areas and lights before the next public-road trip. The bodywork-only return check is a useful complement to a full motorcycle inspection.
If you plan more events, revisit the bodywork decision with the actual rule packet and your own experience. A second set may now be worth the effort; it may not. If you move into a group with different tech requirements, update the plan rather than assuming the original one still applies. No one needs race glass to prove they belong on their first track day. They need a sound motorcycle, compliant equipment, an honest route home and attention available for learning.
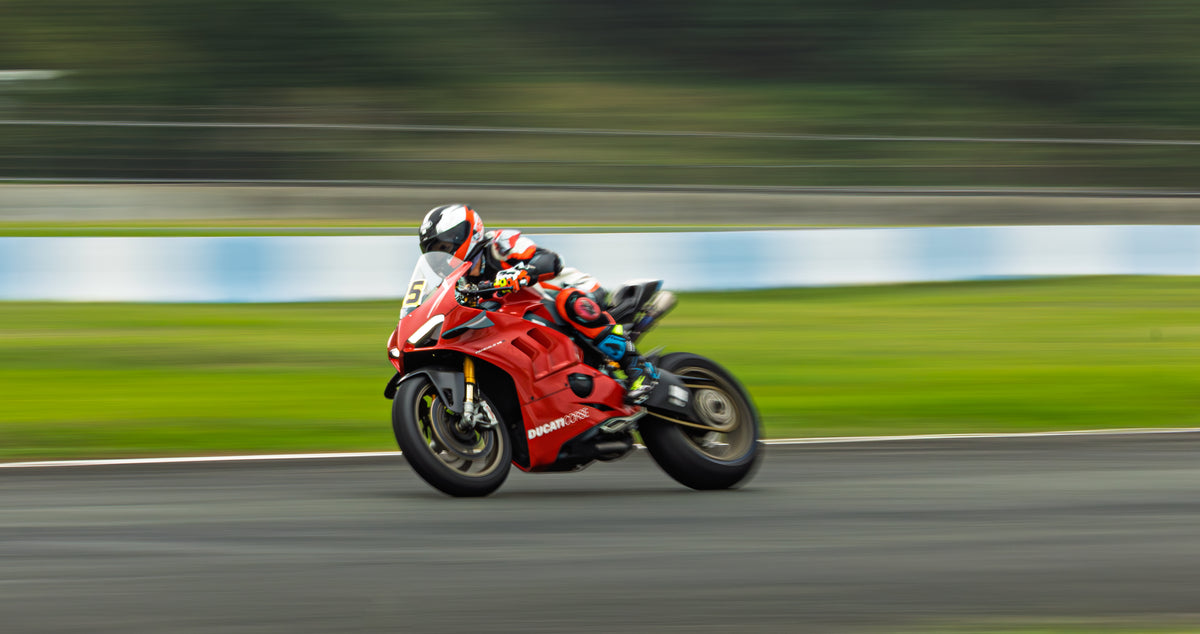
Cover photograph: Monkinvideos, Ducati Panigale V4 at a 2025 track day, licensed CC BY-SA 4.0. Displayed as an editorial track-day photograph, not as a NiceFairings product or the U.S. organizer cited above; the source photograph was not altered for this article.
Editorial note: organizer requirements cited here were checked on October 22, 2026, but event rules can change. Check the packet for your actual event. NiceFairings street-style bodywork is not represented as certified race bodywork or as a guarantee of crash protection.