
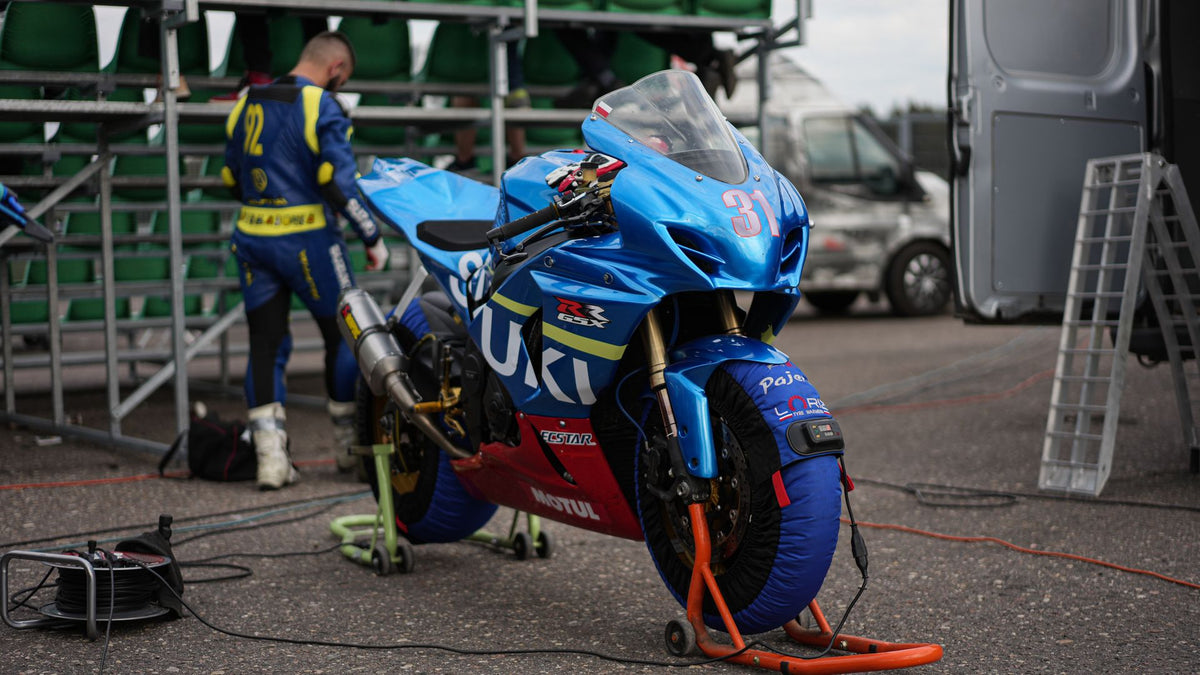
A careful pre-fit check helps protect painted motorcycle fairings and makes final installation easier. Before tightening any fastener, confirm that the kit matches the exact motorcycle generation, compare the panels with the original bodywork, and test the mounting sequence without forcing tabs or holes.
This guide provides a practical checklist for replacement and custom-painted ABS fairing kits. Motorcycle construction varies by model, so use the factory service information for your bike and work with a qualified motorcycle technician if you are not experienced with bodywork installation.
Cover image source: Pexels / Shootbyziggy
Before You Begin: Confirm the Exact Fitment
Check the manufacturer, model, model year, and edition before removing the original bodywork. Similar motorcycle names can cover different generations with different headlights, air ducts, mounting brackets, tail sections, or side-panel shapes.
Compare your order with the product listing and the design confirmation. If the motorcycle has aftermarket headlights, exhaust parts, crash protection, intake parts, or other modifications, identify possible clearance issues before installation. Our fairing kit selection guide explains the fitment details to verify before ordering.
Prepare a Clean, Protected Work Area
Use a stable, well-lit workspace with enough room to organize panels and hardware. Place painted parts on clean, soft material so the finish does not contact concrete, metal tools, or dirty packaging. Keep small fasteners, rubber grommets, clips, and brackets grouped by their original location.
Photograph the original panel layout before disassembly. Additional photos during removal can help you remember cable routing, overlapping panel edges, bracket positions, and fastener lengths.
Inspect the Kit Before Installation
Unpack each panel carefully and compare the received pieces with the product description. Check the visible finish, mounting tabs, holes, edges, and included accessories before fitting the kit to the motorcycle.
- Confirm that the major panels match the motorcycle generation.
- Identify left, right, upper, lower, front, and tail pieces.
- Check whether original rubber well nuts, clips, brackets, and heat shielding need to be transferred.
- Keep protective material under every painted panel while working.
- Contact us before installation if a panel appears incorrect or arrives with shipping damage.
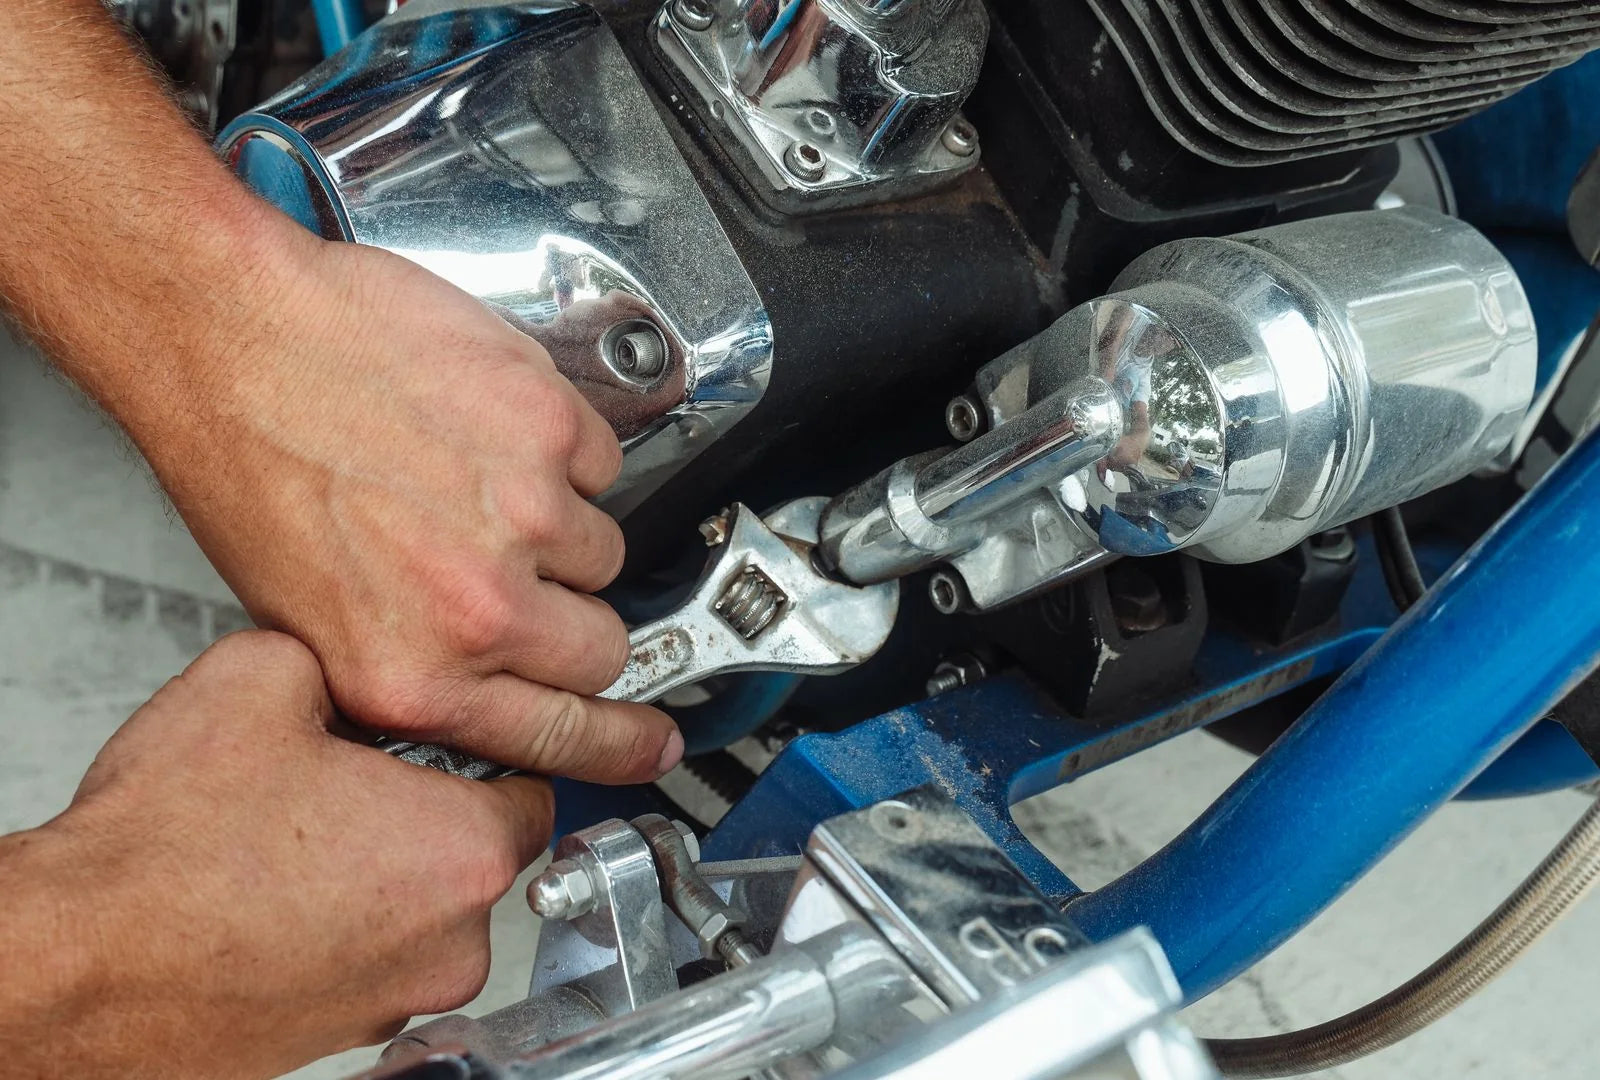
Image source: Pexels / Kindel Media
Test-Fit the Panels Before Final Tightening
Install panels loosely first. Begin with the main reference points for the motorcycle and leave the fasteners slightly loose while neighboring pieces are aligned. This allows the panels to settle into position without placing unnecessary stress on tabs or painted edges.
Do not force a screw into a hole or use a fastener to pull a panel into position. If holes do not align, stop and check the panel order, underlying brackets, transferred hardware, and cable routing. Tightening one area too early can move another mounting point out of alignment.
Reuse the Correct Hardware and Protection
Many fairing kits rely on original motorcycle hardware or suitable replacement fasteners. Confirm that screws have the correct diameter and length. A fastener that is too long can contact components behind the panel, while an incorrect thread can damage a mounting point.
Transfer suitable rubber grommets, vibration isolators, clips, heat shields, and foam pads from the original bodywork when the motorcycle design requires them. Heat protection is especially important around the engine and exhaust area. Follow the motorcycle manufacturer's service guidance for hardware placement and tightening specifications.
Protect the Painted Finish
Remove rings, watches, belt buckles, or other items that could touch the panels. Avoid sliding painted edges across one another. When two panels overlap, protect the contact area while positioning them and confirm that no trapped fastener or bracket is pressing against the finished surface.
Clean the installed bodywork with products suitable for painted motorcycle surfaces. Avoid aggressive solvents and test unfamiliar cleaners in an inconspicuous area first.
Complete a Final Safety Check
After installation, confirm that every panel is secure and that nothing interferes with steering, suspension movement, wheels, controls, lights, cooling airflow, or hot components. Turn the handlebars fully in both directions and inspect cable and hose clearance. Verify that lights, indicators, mirrors, seats, and access panels operate normally.
Recheck the installation after the first short ride. If a panel moves, vibrates, contacts another component, or produces an unusual sound, stop riding and inspect the fitment.
Installation Checklist
- Verify motorcycle model, year, generation, and edition.
- Photograph original panel and hardware positions.
- Inspect every received panel before installation.
- Transfer required grommets, brackets, clips, and heat protection.
- Test-fit all connected panels before final tightening.
- Never force tabs, holes, or fasteners into alignment.
- Confirm clearance around steering, wheels, lights, cooling, and hot parts.
- Use professional installation when you are unsure.
Need Fitment or Installation Support?
Before production, NiceFairings can help confirm the motorcycle model and design details. If you need a personalized color scheme, visit our Custom Fairings page. For common order, fitment, customs, and installation questions, review the Motorcycle Fairing FAQ.
Made-to-order production normally takes 7-12 business days, followed by 10-20 business days for shipping. See Production & Shipping for more information, or contact NiceFairings with your motorcycle year, model, and photos.



