The deal is done: a used sportbike with scraped plastics is now in your garage. The exciting move is to order a dramatic new colorway and spend Saturday fitting it. The responsible move is to pause, document the motorcycle as received, resolve any mechanical or legal issues, and then make the bodywork plan. Fresh fairings can make the bike look coherent again; they cannot certify its frame, controls, engine, title or prior repair. This is a staged ownership plan for a U.S. buyer, not a promise that a full swap takes four hours or that the finished bike becomes “showroom new.”
Gate 1: keep the as-bought evidence before anything comes off
Photograph all four sides, both front and rear three-quarter views, and the detail of each scrape. Include panel seams, fasteners, tank, lower cowl, bar ends, mirrors, levers, engine cases, foot controls, wheels and tail. Save the seller's description, bill of sale, title-related documents, inspection report, service records, repair estimates and any written explanation of the fall. Keep personal identifiers out of photographs you later publish. These records are for understanding and honest disclosure, not for constructing a dramatic marketing “before” image.
Make one map with three labels: observed damage, verified sound/retained components, and not yet assessed. “Left side fairing abraded” is an observation. “Frame straight” is a professional conclusion that should not appear on the map unless it is actually supported. “No oil leak seen at today's inspection” is narrower than “engine pristine.” This discipline matters if you ask a mechanic, insurer, buyer or fairing supplier for help later. Our used-sportbike bodywork-inspection article explains why plastic condition alone cannot establish accident severity.
Preserve the original photo files with their dates instead of editing the damage out of a later comparison. Write down what was already modified when you bought the bike, even if it had nothing to do with the scrape. A non-original lever, mirror, exhaust or tail tidy could have been installed before the event, afterward, or for style alone; without records, do not assign a cause. This note protects the rebuild from false assumptions and makes it easier to explain the finished motorcycle honestly. It also helps the fairing supplier distinguish your bike from an unmodified catalog example.
Resolve any title and transfer questions before investing in appearance. In the United States, NMVTIS can show certain title-brand and salvage records, but it does not document every repair. State DMV processes differ. A replacement shell does not change the underlying title. Check open safety recalls using the NHTSA recall lookup where applicable, and keep any resulting dealer paperwork. A recall lookup, just like a history report, does not replace a physical condition inspection.
Gate 2: have the underlying motorcycle assessed
If you have not yet had an independent, competent inspection, arrange one before treating the bike as road-ready. Tell the shop the seller's account, the side that contacted the ground, any parts that look recently replaced, and the symptoms you have noticed. Ask it to inspect the relevant wheels, steering, forks, brakes, controls, engine cases, fluid systems, frame/subframe and electrical items as warranted by the event and model. The MSF T-CLOCS checklist is useful for ongoing pre-ride checks, but a rider's short checklist cannot exclude hidden crash damage or replace a qualified technician's assessment.
Do not use a “test ride” to discover whether a loose fairing, misrouted cable or damaged control is safe. If a shop identifies a stop-use issue, address it first. If the assessment is incomplete, document what remains unknown. Cosmetic work should not hide an unresolved leak, fork concern or damaged mounting point. Do not copy a generic online torque value or heat-clearance number into this project; use the specific model/year service information or a technician. The key decision is whether the motorcycle is fit to be repaired and used, not whether the new paint will photograph well.
Separate this work into its own budget and timeline. A low purchase price plus new plastic may still be more expensive than a clean used bike after tires, brakes, service, parts and labor. Our whole-project budgeting worksheet is about fairing quote components; for the motorcycle purchase, keep a separate line for safety-related repairs and unknowns. Never defer a known safety repair just to keep the makeover inside a target weekend.
Gate 3: decide what the painted kit actually needs to replace
Once the motorcycle-side condition is understood, list each damaged exterior panel, its mounting tabs, adjacent inner trim, brackets, grommets, bolts and any retained original pieces. Decide whether one panel can be repaired, whether a factory part is appropriate, or whether a coordinated replacement kit makes sense for your goals. The panel-by-panel after-drop guide helps scope the job; the kit-contents checklist helps distinguish the photographed panels from separate hardware and accessories.

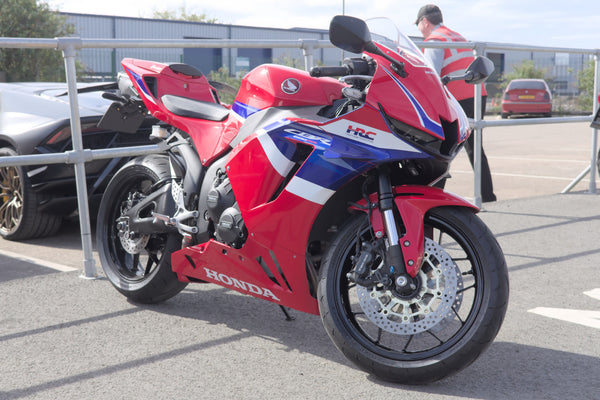
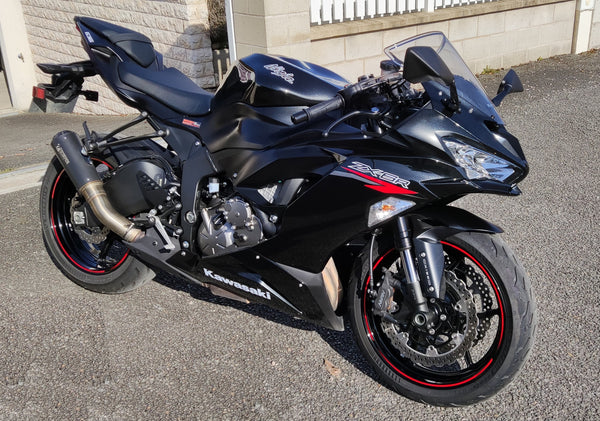
Choose the product by verified motorcycle model, year and configuration, not by broad “sportbike” labels. The NiceFairings catalog has actual listings such as a Ninja 400 EX400R 2018–2024 kit, a YZF-R7 2021–2025 kit, and CBR650R 2021–2023 bodywork. They are examples of distinct model-year offers, not a blanket claim that every damaged part on these bikes comes in the box. Confirm the chosen option and included-parts list in writing. A pictured cosmetic tank cover is not an actual fuel tank; likewise, a photographed side cowl is not proof that all original inner pieces, seals and hardware are supplied.
If the bike has frame sliders, custom indicators, an aftermarket exhaust, a tail tidy or luggage hardware, document those modifications in the enquiry. They can affect openings and surrounding parts. Ask for a reverse-side view of a panel if a mounting tab is your concern. For a color change, photograph the retained fuel tank, wheels and seat in daylight so the design decision reflects the whole bike. A color that looks striking in a flatlay may clash with parts you are not replacing.
Make the order request answerable: “This is my verified model/year, these are the panels damaged, these are the modifications, and these original components are missing or uncertain. For this exact listing, please identify what ships, what must be reused, and whether any pictured accessory is only illustrative.” Attach photographs that show both the front and back of an already-removed damaged panel when safely available. Save the answer. If the scope is ambiguous, do not approve paint on the assumption that a later installation will sort it out. A gorgeous panel that lacks a necessary retained mount does not solve the original problem.
Gate 4: approve the design without confusing photos and fitment
The design brief should state the model/year, the exact product or design number, primary and accent colors, gloss or matte intent, logos or graphics requested, and which original surfaces will stay on the motorcycle. Ask what parts can be customized and what finish is available on the actual listing. Do not assume an HRC, KRT or Yamaha Racing-inspired scheme is an official factory edition or licensed endorsement. If brand marks matter, discuss exact placement and legality rather than letting an AI mockup invent a factory graphic.
NiceFairings describes photo confirmation on some made-to-order listings. Use the finished-product photographs to review visible paint, layout, panel count and damage before dispatch. They cannot prove physical fit on your motorcycle, just as a clean marketplace photograph could not prove the bike was sound. Keep the scope confirmation and finished-image approval as separate records. Our fairing paint color comparison guide explains how lighting and screens can change appearance; discuss a critical match before production rather than promising that every batch will exactly duplicate an existing tank.
Do not hurry past this stage to preserve a “four-hour weekend build” story. The actual time depends on model, condition, how many original fasteners survive, whether the bike has modifications, and the installer. If a missing bracket or incompatible accessory is discovered, it is a scope problem to resolve, not a reason to force new ABS into place. Schedule enough time for a dry fit, a correction, and checks after the panels are mounted. A motorcycle is not safer because the exterior assembly was finished in one afternoon.
Gate 5: preserve parts and fit without force
Before removing the original panels, photograph the location of each fastener and spacer. Label containers by area; keep left and right separate. Protect the painted surfaces and retain unbroken original pieces until the replacement has been checked. If the existing fairing is in an accident-related state, have a qualified technician decide whether its removal or any test fitting is appropriate. Follow the exact model's service procedure rather than a universal removal order from a blog.
Compare the new physical contents with the agreed list on arrival. Record shipping damage or missing pieces before installation. Loosely position the complete set and check the mating interfaces; do not fully tighten one side while the nose and lower cowl are still untested. The full-swap planning guide and hole-alignment guide provide a reasoned order for identifying problems. Neither authorizes drilling, filing or pulling a stressed panel into alignment. If a part needs substantial alteration, stop, photograph the interface and contact the seller or installer.

After assembly, check that controls move freely, lights and signals operate, fasteners are secure, nothing contacts the tire or suspension, and panels do not touch hot or moving components. Have the motorcycle checked by a professional if you are unsure. Document the result rather than claiming a tested heat clearance or aerodynamic improvement from appearance alone. A replacement fairing kit can restore a coordinated exterior; it is not a factory certification of crashworthiness or performance.
If you have received a shop inspection or repair sign-off, keep the dated document with the rebuild record. If a concern remains unresolved, do not convert “assembled” into “ready to ride.” A short stationary check and a professional roadworthiness assessment answer different questions. The person qualified to release a repaired motorcycle for use must have examined the actual bike, not just the finished fairing photographs. This distinction is easy to lose when the visual transformation is dramatic, so make it an explicit final gate rather than an afterthought.
Gate 6: record the result honestly, whether you keep or sell
Take final photographs from the same main angles as the as-bought set, plus detail images of seams and the repaired area. Put invoices, inspection results, parts list and finished-product approval in one folder. Record what happened in ordinary language: which panels were replaced, what mechanical work was done by whom, and which questions remain unanswered. Do not call the motorcycle “never dropped” or “showroom original” because its new shell shines. A buyer in the future should be able to understand its history rather than reverse-engineer it from mismatched fasteners.
Our selling-with-replacement-fairings guide is for that eventual disclosure stage. If you plan to keep the motorcycle, the same folder helps when a panel needs attention or a mechanic asks what was changed. If you later sell, do not imply that a cosmetic improvement is a mechanical overhaul. A repaired and documented bike may be attractive, but no article can promise a resale premium or immediate equity gain.
The good ending to a scuffed-bike project is not a cinematic reveal alone. It is a bike whose condition was assessed, whose costs were understood, whose parts were selected by its real identity, and whose new exterior does not hide the story of its repair. That is a result worth photographing—and one you can explain without relying on invented savings or a timed-teardown claim.
Editorial note: This is a planning guide, not a repair manual, safety certification, legal opinion or verified customer case. Obtain qualified mechanical advice and consult the correct model-year service information and local title rules.
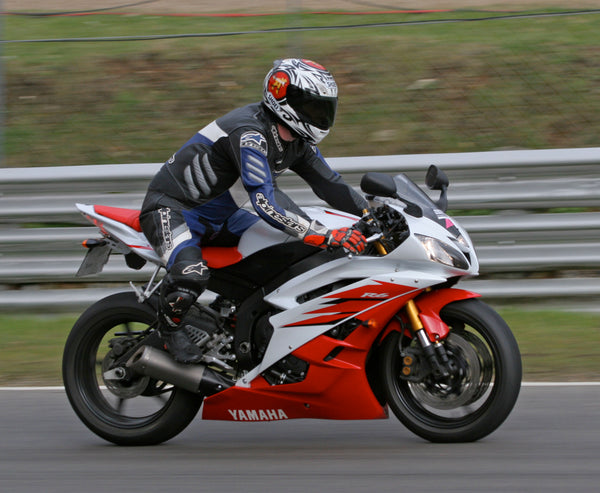
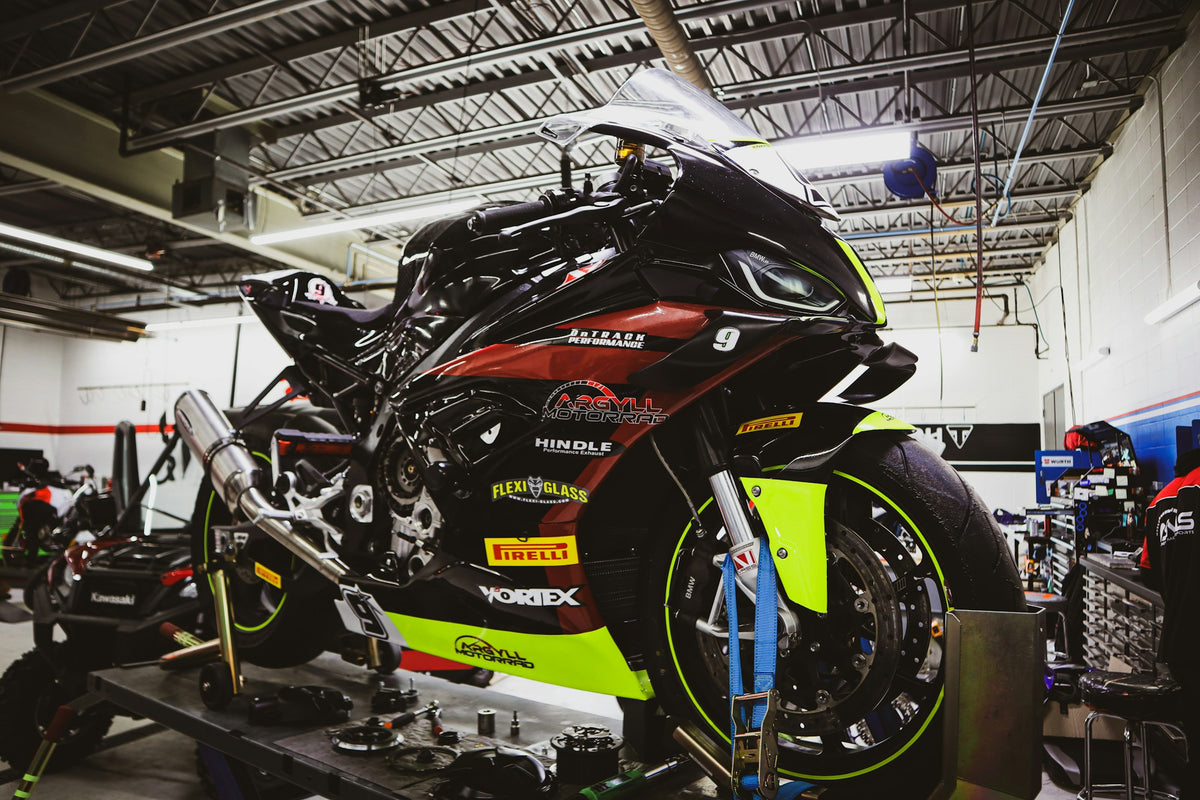
Cover: real workshop photograph by Ronnzy Moto on Unsplash, used as editorial context. The pictured race bike is not the used motorcycle described here or a NiceFairings customer project.