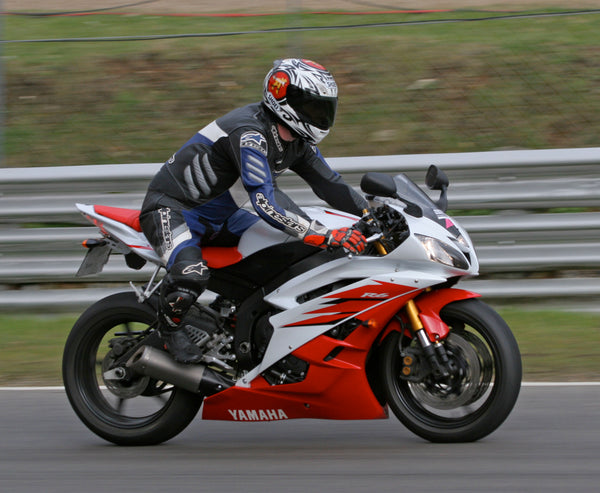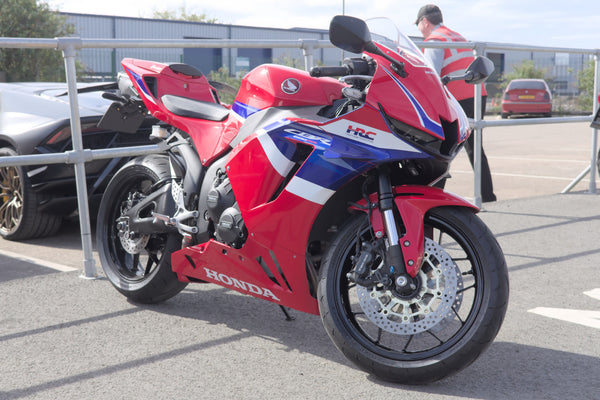
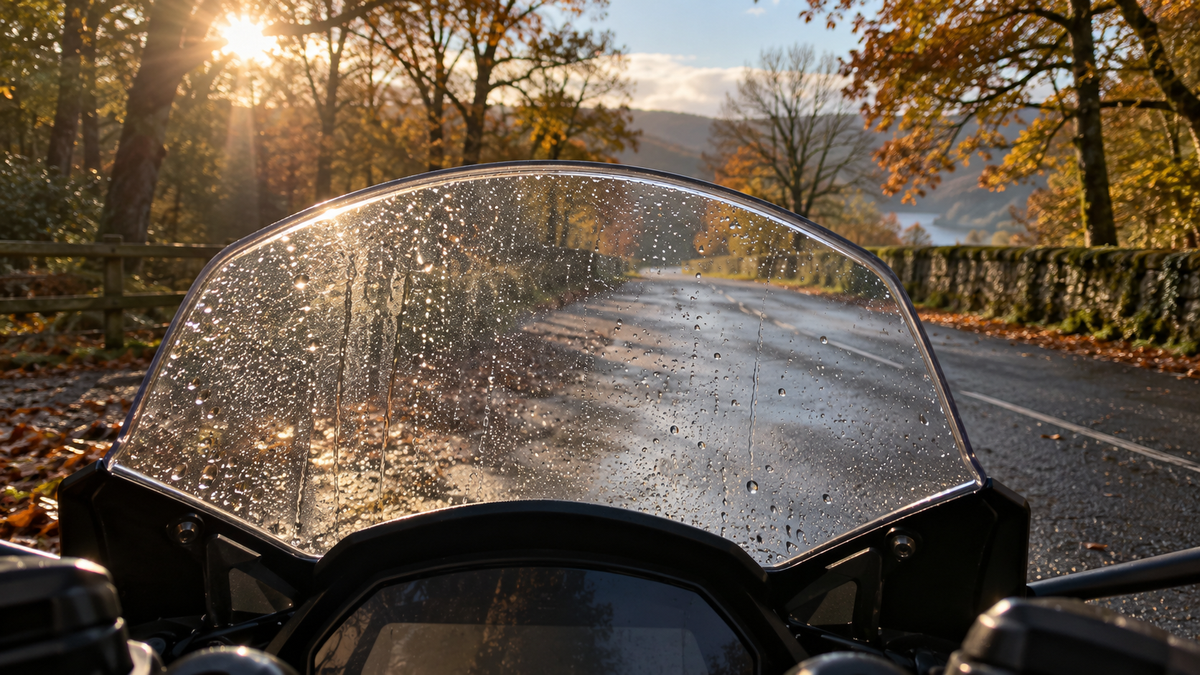
The low sun after an autumn shower can turn a sportbike windscreen into a sheet of bright streaks. Before buying a new fairing kit—or polishing plastic by guesswork—park safely and identify what is actually in the way. A wet film may rinse away; scratches or crazing may remain after cleaning; a screen that moves may have a mounting problem. The painted front cowl is a separate part. Buy bodywork only if its own condition or the verified screen-and-cowl combination calls for it.
This is a parked-bike decision guide, not a universal cleaning or repair instruction. Use the owner's manual for your exact motorcycle and the screen maker's instructions for an aftermarket screen. A 2016 Honda CBR600RR manual, for example, calls for water and a soft cloth or sponge on its windscreen and says to replace it if scratches obstruct clear vision. A Yamaha owner manual likewise warns against strong chemicals, but its cleaning directions are not automatically the Honda procedure. The motorcycle and the actual installed screen decide the method.
The seasonal setting matters because low-angle light and lingering water can make a defect obvious, not because every autumn ride requires a replacement. The test below deliberately separates what you see, what you can safely clean, and which part you might need to order.
Key takeaways
- Do the inspection while parked. Do not lean down behind the screen to test glare in moving traffic.
- Photograph the screen dry and wet, in even light and at a low-sun angle, without staring into the sun.
- Identify the layer: removable water or film, damage in the screen, loose mounting, or a separate cowl defect.
- Clean only as the exact manual and screen manufacturer permit. Never dry-rub grit into transparent plastic.
- If the defect interferes with the view you actually use, do not call a cosmetic treatment a safety repair.
- Confirm screen, upper-cowl and hardware compatibility independently before ordering any combination.
First make the observation safe
Pull into a legal, stable place away from moving vehicles. Switch the engine off and let hot components become safe before reaching around the front end. Put the bike on secure ground; a wet leaf-covered verge is not a reliable inspection stand. If the screen appears to block your view, or a component is loose enough to shift, resolve the issue before continuing the ride. Do not use a quick wipe at a fuel stop as proof that visibility will remain acceptable when the light changes.
Look through the screen from your normal seated position while the motorcycle is stationary. On many sportbikes, a rider normally looks over a short screen; behind it, the view changes with posture and speed. Do not claim that every mark on the lower edge is in everyone's sightline. Equally, do not dismiss a mark simply because a product photograph makes it look small. Consider the real posture and the visibility you need for this motorcycle, route and conditions.
Keep the helmet visor separate in this assessment. A dirty visor or low sun in your eyes can be mistaken for a windscreen problem. Inspect the visor using its own care instructions, but do not transfer a visor cleaner to a motorcycle screen without approval for that screen's material and coatings.
Take photographs that answer a question
Make four useful images before touching the surface: the whole front of the bike, the full windscreen straight on, a raking-light view of the suspected patch, and the screen base where it meets the upper cowl. Record which side, when the bike was last washed, and whether you see rainwater, insect residue or a dry-looking haze. If possible, repeat the full-screen image after the surface has dried and after any manual-approved cleaning.
Do not photograph directly into the sun. Move the camera or bike only when safe, and use the sun off-axis to reveal surface texture. A bright reflection can travel across an otherwise sound screen as the camera moves. A scratch will tend to remain at the same place on the screen even though its brightness changes with angle. A photograph is a comparison record, not a material test.
If the bike is also being assessed for painted-panel damage, keep a separate set of photos for the nose and side panels. Our fairing photo-and-label workflow explains how to keep front, left, right and close-up views tied to the same motorcycle instead of sending a single ambiguous glare shot to a seller.
Is the problem water, residue or the plastic itself?
Start with the least invasive distinction. Water droplets or a surface film may move or disappear after the cleaning and drying method specified for your screen. Embedded-looking lines, pitting, a cloudy patch beneath an intact surface, or a crack do not simply become water because they appeared on a rainy morning. Do not scrape a suspicious mark with a fingernail or test a solvent on a visible area.
Here is a practical observation table. It is a triage aid, not a diagnosis of your particular screen:
| What you observe while parked | What to check next | Avoid assuming |
|---|---|---|
| Droplets and streaks change after approved rinse and drying | Recheck in different light and from the seated position | The whole screen is scratch-free |
| Fine lines stay fixed after the surface is clean | Compare their location with your actual view; consult screen guidance | Any generic polish is compatible with the coating |
| Milky or cracked-looking area remains, or the screen is visibly fractured | Ask the screen or motorcycle maker about inspection/replacement | A new painted cowl will restore transparency |
| Screen shifts at the base or a screw turns without seating | Stop forcing it; inspect the specified joint and hardware | More torque or a longer bolt is the answer |
| A nearby painted cowl panel has a separate crack or distorted mounting edge | Document the cowl and support structure independently | One replacement screen fixes the bodywork |
Our recent rain-ride drying guide deals with moisture around the whole motorcycle. This article narrows the decision to the transparent screen and its interface with the front bodywork.
Clean by the manual, not by an online shortcut
The 2016 Honda CBR600RR owner's manual recommends plenty of water with a soft cloth or sponge for its windscreen, then a soft clean cloth to dry it. It warns that detergent residue may contribute to cracking and that brake fluid or other solvents damage the plastic. Its direction to replace a windscreen when scratches obstruct clear vision is especially relevant to this decision. This is a model-specific example, not a universal permission to polish or chemically treat every aftermarket screen.
The Yamaha manual cited below describes water and a pH-neutral detergent for windscreen-equipped vehicles, followed by a thorough rinse, and warns that strong chemicals and some plastic cleaners may scratch. The two manuals are not identical. If you are unsure which screen is installed, identify it before choosing a product. A tinted, coated or aftermarket screen may have separate restrictions that override a general cleaning habit.
Let water lift loose road grit before a cloth touches it. Use a clean soft material, light pressure and the sequence your documentation specifies. Do not use household glass cleaner, fuel, brake cleaner, abrasive pad, heat gun or dry paper towel as an improvised test. If cleaning does not remove the defect, stop repeating the same action more aggressively.

Decide whether a scratch is merely visible or matters to your view
A clean screen can reveal fine marks that were hidden by water. Some are cosmetic; some scatter light where the rider looks through the screen. Make that judgment while parked and in more than one lighting condition. Observe from the normal seated position and, if you use a tucked position on a closed course, evaluate that separately in a safe stationary setting. There is no universal scratch length that makes every screen unsafe.
If the surface defect obstructs clear vision, follow the applicable replacement guidance rather than promising that a polishing compound will restore the material. Polishing may change a coating or optical surface; whether it is permitted depends on the actual screen. Honda's manual allows no inference that every scratch on every brand can be polished away. If the screen is cracked, distorted or insecure, treat those as different problems from an ordinary dirty surface and seek qualified help where needed.
The point is to keep the outcome honest: a beautiful painted nose with a damaged transparent screen is still a damaged transparent screen. NiceFairings' painted bodywork should not be presented as a substitute for checking or sourcing the correct windscreen.
Check the mounting joint without forcing it
Look along the screen edge and its attachment points. Are fastener heads seated consistently? Is the screen bowed around one hole? Does the screen lift, rattle or contact the upper cowl where it should not? Do not tighten a suspicious fastener simply to make the gap look even. The actual screen, rubber inserts, washers, spacers, upper cowl and support behind it may all matter.
Our windscreen well-nut diagnostic guide explains why a spinning or sunken insert is not automatically a bad fairing hole. Read that guide as a fault-finding aid; the bike's service information and the specific hardware instructions still control the repair. If a part is missing, cracked or cannot be positively identified, do not improvise a longer screw or add threadlocker to disguise the uncertainty.
This distinction also matters when a screen was recently changed. A new accessory screen that stresses the cowl at one point may be a combination problem rather than a reason to order another entire painted kit. Note the brand and part reference of the installed screen, not merely its tint or shape.
Separate screen, cowl and support before shopping
Three purchase paths can look similar in a thumbnail but solve different problems. A transparent windscreen replacement addresses a screen whose condition or specification requires replacement. A painted upper cowl addresses a damaged painted shell, assuming the underlying support and interfaces are sound. A fairing kit addresses a broader set of body panels or a planned visual change. None automatically includes the others.
Check the exact listing or written seller confirmation for contents. Our screen-and-fairing ordering checklist covers the combination question in depth: exact motorcycle, current bodywork, proposed screen, attachment arrangement, hardware and return terms. An OEM-style screen is not automatically verified with every aftermarket cowl, and matching hole count alone is not enough.
If the front end has suffered a fall, inspect the structure behind the shell. Our mirror and upper-cowl alignment guide addresses a different but relevant failure mode: replacing painted plastic does not straighten a bent support. Keep any crash assessment separate from this autumn glare check.
Make a useful NiceFairings enquiry
If painted bodywork is genuinely part of the job, start with the exact make, model, model year and market, plus photographs of both sides, the nose, the current screen base and any modification. Use the NiceFairings shop-by-bike entry to find the relevant model family, then check the particular product page. Do not select a kit only because its color matches the bike in an autumn photograph.
Tell the team whether you need a painted upper-cowl piece, a full matching kit or a custom finish. The custom-fairings process describes how a rider can submit a model/year, reference images and a design brief. Ask for the exact included pieces and screen compatibility in writing. The process page does not turn a generic screen into a confirmed included part; inclusion depends on the specific offer.
If you plan to change color as part of the repair, photograph the bike in neutral daylight as well as golden-hour light. Warm autumn sun is excellent for an editorial image but a poor sole reference for specifying paint color. The fairing design-brief guide helps convert inspiration into panel-by-panel instructions. Confirm what remains original, especially the tank and screen, so a new painted kit is not judged against a lighting effect that will vanish at noon.
A short pre-ride decision card
Keep the decision small enough to use at the roadside. First, is the motorcycle safely parked and is the concern actually on the screen rather than the helmet visor or headlight lens? Second, have you identified the material and the permitted cleaning method? Third, once the screen is clean and dry, does a mark remain where it interferes with your real view? Fourth, is the screen secure at its intended mountings? Finally, is there a separate painted-panel or support problem that justifies a bodywork enquiry?
If a light, rain streak or unstable part still interferes with visibility, do not continue merely to finish a ride or a photo session. Follow the exact bike's instructions or obtain qualified inspection. A photo record helps you explain the problem, but it is not a substitute for confirming the motorcycle is safe to use.
Sources and scope
- 2016 Honda CBR600RR/RA owner's manual, windscreen and panel care section. The manual is model- and year-specific.
- Yamaha motorcycle owner manual, care and storage, windscreen cleaning section. This is an example of a different manufacturer's guidance, not a procedure for every Yamaha or every aftermarket screen.
The two images in this article are AI editorial concepts. They are not photographs of a NiceFairings kit, a customer motorcycle, a verified part combination or a cleaning test. For an order, use the actual motorcycle identity, product listing, manuals and written fitment confirmation.