
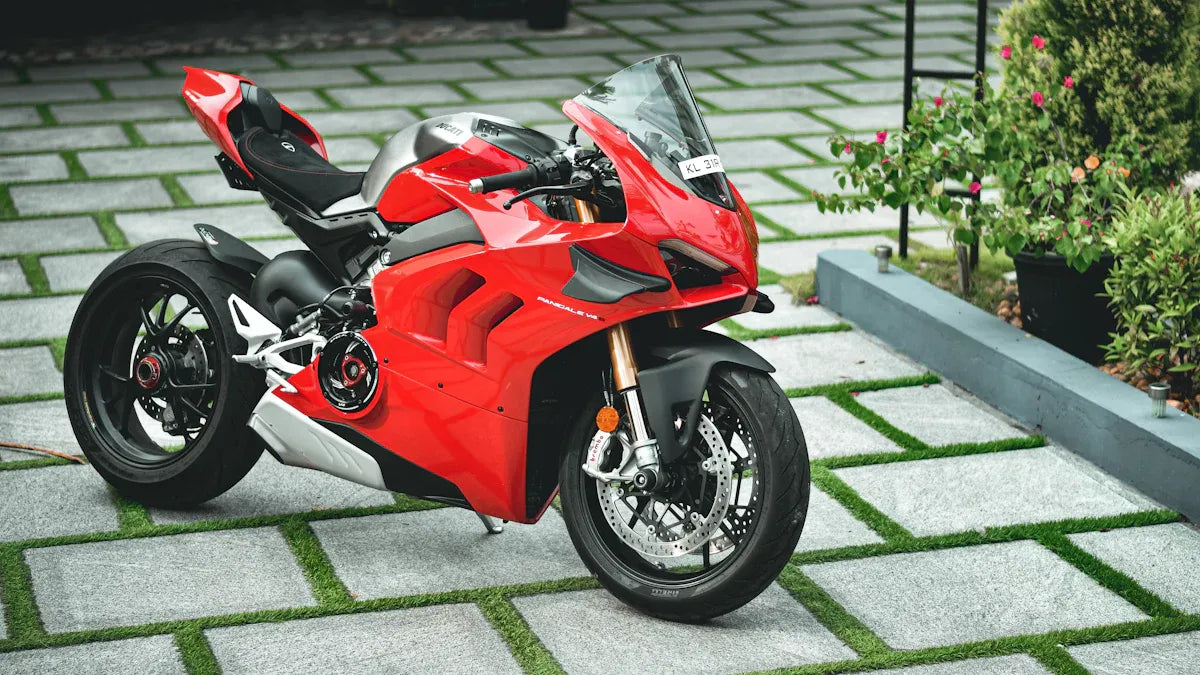
A fairing hole that appears to be a few millimetres out of position does not automatically prove that the panel was molded incorrectly. The cause may be a bent stay, a missing collar, a bracket tightened in the wrong position, a mismatched model-year application, or tension introduced by tightening neighboring panels too early. The useful question is not “does this kit fit?” in the abstract. It is “which part of this specific assembly is controlling the position?”
This guide focuses on diagnosis before alteration. It does not provide universal clearance or torque values, and it does not treat one Panigale generation as interchangeable with another. Use the Ducati workshop information for the exact motorcycle, the instructions supplied with the parts, and qualified help when structural mounts, lighting, cooling ducts or controls are involved.
Key Takeaways
- Confirm the exact motorcycle, market, model year and panel application before judging alignment.
- Record the original bracket, collar, grommet and fastener locations during disassembly.
- Dry-fit the complete related panel group with fasteners only lightly engaged.
- Do not enlarge a hole or force a tab until motorcycle-side and hardware causes have been excluded.
- Use the applicable Ducati or component instructions for torque and final safety checks.
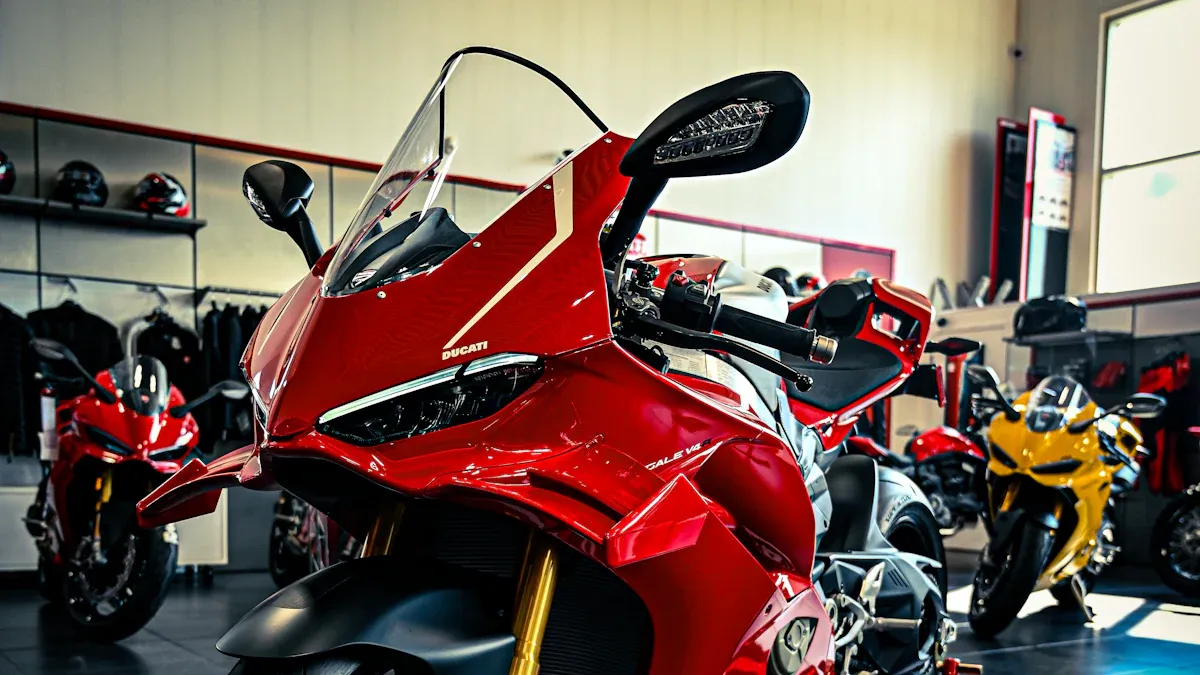
Ducati fairing alignment The Bolt Alignment Reality
Why Riders Expect OEM-Level Fitment
The Truth About Aftermarket Manufacturing Variance
The table below compares three categories of bodywork available for your Panigale.
| Feature | Dealership OEM Ducati Fairings | Outdated Compression Mold Fairings | Modern Precision ABS Injection Kits |
|---|---|---|---|
| Tooling Process | Factory injection molds, proprietary to Ducati | Low-pressure, hand-laid molds with fiberglass or resin | High-tonnage steel injection molds, CAD-matched to OEM geometry |
| Winglet/Duct Integration | Factory-engineered ducts and wing mounts | Rarely includes functional channels; wings may not align | Pre-routed air intakes and winglet points; bolt-on compatible |
| Track Suitability | Overpriced for crash risk; not ideal for track use | Acceptable for track days but fragile and ill-fitting | Excellent durability and fit; designed for repeated swaps |
You should also know that mixing models causes issues. V4 fairings won't fit a V2. Differences in tank shape, side panel curve, and front stay width stop them from swapping directly. Even on the same model, year-to-year changes like the 2020 V4R upper cowl can need extra fasteners on a 2019 V4. Some brands fit almost perfectly, but others make you file every hole. The difference comes down to mold quality and QC standards. Pick a kit from a brand that tells you its tooling process. High-gloss UV clear coats on Ducati red or matte black complete the visual match. The answer to whether aftermarket fairings actually fit a Ducati depends on choosing modern injection-molded ABS panels, not cheap ones.
Why Bolt Alignment Fails on Panigales
Mold Shrinkage and Tooling Differences
Compression molding and injection molding give very different results for where bolt holes end up. Compression molding puts ABS plastic in a heated mold and melts it under vertical pressure. After it cools, workers must remove extra plastic by hand. They add threaded holes and cut designs by hand too. This two-step process makes wall thickness uneven and hole positions inconsistent. Injection molding pushes melted ABS into a machined mold under high horizontal pressure. The mold shapes mounting holes and cuts during the molding cycle itself. This one-step process gives OEM-precision fitment with smooth, even walls.
| Attribute | Compression Molding | Injection Molding |
|---|---|---|
| Hole Placement | Manual, inconsistent | Molded-in, precise |
| Wall Thickness | Irregular, thicker | Smooth, thinner |
| Durability | Less durable | Better durability |
| Aerodynamic Design | Less streamlined | More streamlined |
Bolt holes near the tank often need work on compression-molded kits. You may need to file the hole opening or slot it a bit to reach the subframe nut. Injection-molded kits from trusted brands rarely need this step. Even OEM cross-year swaps run into problems. A 2020 V4R upper cowl on a 2019 V4 can be missing the right fastener points. Ducati changes mounting hardware between model years, so you cannot assume direct compatibility.
Fiberglass vs. ABS Mounting Points
Fiberglass fairings use a one-piece bracket that sets panel position with only slight up/down adjustment. This rigid design causes tank gaps and poor bolt alignment. You cannot get a custom fitted look with fiberglass because the bracket locks everything in place. ABS fairings use a modular X-bracket system. This design lets you pick the final position of each panel. Anti-vibration mounts and wellnuts allow secure, adjustable bolt alignment. The wellnuts also make lower fairing removal and installation easier.
Installation Fixes That Actually Work
The Dry-Fit Sequence
You can't skip the dry-fit. This step shows every alignment problem before you tighten one bolt. Follow this order for your Panigale V4, V2, 899, 1199, or 959.
-
Dry-fit all panels with bolts hand-tightened first. This lets you adjust positions. Tabs line up with factory specs. Panels sit flush without forcing.
-
Check bracket alignment by loosely attaching brackets to frame locations. Adjust them to match the groove and slot patterns on the new fairing shells.
-
Do a final check after tightening. Make sure mounting brackets stay firmly attached to the frame. Check that no hoses or cables are pinched.
Leave every fairing screw loose until all tabs lock cleanly into the chassis. This one habit stops tab stress and cracking. A good shop dry-fits every piece first, routes wiring harnesses neatly behind inner panels, and tightens everything to the right tightness. Skipping the dry-fit means you might find your headlight bucket is crooked after you already wasted 45 minutes.
Filing, Grommets, and Heat Shielding
Move every rubber grommet from your old panels to the new kit. Check each grommet for cracks or hardening. Replace any that show wear. Nylon washers are easy to lose, so keep spares on hand. These small parts stop vibration from ovaling your bolt holes.
Some bolt holes near the tank may need light filing. Work slowly and test-fit often. Add thermal heat shielding along the lower exhaust runs. This barrier protects the ABS from radiant heat. Check all panels for cracks, missing clips, or warped tabs before installation. A warped tab will never seat right, no matter how much you tighten it.
Finish and Visual Impact
UV Clear Coats and Color Matching
The finish is just as important as the fit. You want your Panigale to look fierce, not like a patch job. Good ABS injection kits put a deep multi-layer UV clear coat over Ducati Rosso Red, Winter Test Matte Black, and Superleggera tributes. This clear coat does more than make it shine. It keeps the color safe underneath.
High-quality 2K clear coats give your fairings specific benefits:
-
UV stability that stops color fading and yellowing over long periods
-
Resistance to yellowing, cracking, and hazing even after years of sun and rain
You get the same color on every panel you install.
Complete Kits vs. Single Panels
You have a choice to make when replacing damaged bodywork. A complete uniform kit gives you the same color and gloss on every panel. Every piece comes from the same mold batch. The clear coat thickness matches from the upper cowl to the tail section. The result looks factory-fresh.
A single replacement panel causes a different problem. Ducati's red finishes fade over time. A freshly painted panel may not match your bike's existing color perfectly. If your fairings show widespread damage or sun fading, repair costs add up fast.
A Six-Stage Alignment Diagnosis
Stage 1: Confirm the application
Start with the VIN, market, model year and exact trim. Record the supplier's application statement and the panel reference. Do not infer interchangeability from a similar headlight, paint scheme or model name. If original panels are available, photograph their mounting features beside the replacement parts without treating appearance alone as a dimensional inspection.
Stage 2: Establish the motorcycle-side baseline
Inspect the fairing stay, sub-brackets, locating pins, rubber mounts and threaded points for evidence of a previous drop or repair. A bracket can look acceptable from one angle while sitting out of plane. Note missing collars and compressed grommets. Compare left and right only where the design is actually symmetrical.
Stage 3: Check transferred parts
Lay out every item removed from the original bodywork. Confirm orientation and order for collars, washers, rubber well-nuts, heat protection and inner pieces. A collar installed on the wrong side of a panel can make an otherwise correct hole appear misaligned. Replace damaged consumables with the specified parts rather than compensating by pulling the panel into position.
Stage 4: Build the panel group loosely
Position the related upper, side and lower pieces with all applicable locating features engaged and fasteners started only as the instructions allow. One fully tightened point can rotate a neighboring panel and move several holes. Support the weight of the bodywork instead of letting a tab carry it during the test.
Stage 5: Isolate the first point of conflict
If alignment fails, return to the last position where the assembly sat naturally. Identify the first edge, tab, bracket or collar that changes the panel position. Photograph the conflict with a wider context view and a close view. Do not document only the final hole that will not line up; that hole may be the result rather than the cause.
Stage 6: Decide who owns the next answer
A panel-application question belongs with the fairing supplier. A motorcycle bracket or structural-mount question belongs with Ducati information or a qualified technician. A finish defect belongs with the paint or panel supplier. Keeping these questions separate usually produces a clearer answer than sending one photograph with the general statement that nothing fits.
Symptom-to-Cause Worksheet
| Observation | Possible causes to check | Do not conclude yet |
|---|---|---|
| One hole is offset after other screws are tight | Assembly order, wrong collar, bracket position, neighboring panel tension | That the hole must be enlarged |
| Gap changes when a fastener is loosened | Static stress, missing rubber part, incorrect spacer order | That added tightening will fix the gap |
| Both sides disagree with the headlight or stay | Central stay position, nose-cowl application, previous repair | That both side panels are identically defective |
| Original and replacement panels both sit poorly | Motorcycle-side alignment or retained hardware | That buying another painted set will solve it |
| Paint contacts at a seam during dry fit | Panel sequence, edge protection, bracket location | That force is acceptable because the holes can be started |
Final Inspection Record
- All panels correspond to the documented motorcycle application.
- Transferred hardware and rubber parts are identified and installed in the correct positions.
- No panel is held under visible twist or pulled into place by a fastener.
- Lighting, intake and cooling components are installed according to the applicable instructions.
- Steering and controls move through their required range without contact.
- Wiring and hoses are routed and retained correctly.
- Fasteners were completed to the applicable specifications, not a generic internet value.
- Photographs of the finished assembly and any approved deviation are stored with the order record.
FAQ
Will a cheap fairing kit fit my Panigale?
Can I swap V4 fairings onto a V2?
No. Tank shape, side panel curve, and front stay width differ between models. Even same-model year changes, like a 2020 V4R upper cowl on a 2019 V4, can leave you short on fastener points. Buy a kit built for your exact model.
What tolerance should I expect on a street bike?
Do aftermarket kits include working winglets and ducts?
Precision ABS injection kits mold the ram-air channels and winglet mounts right into the panels. You bolt them on without cutting. Old fiberglass kits rarely offer functional channels, which hurts cooling and high-speed stability.


