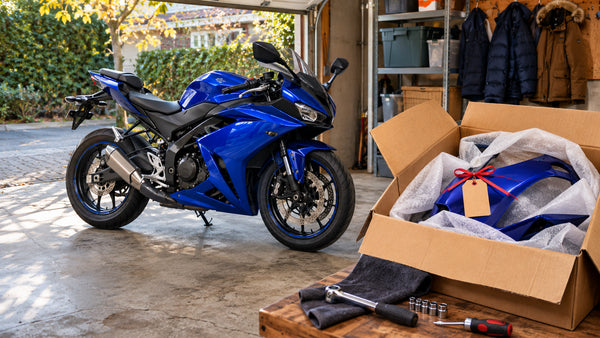
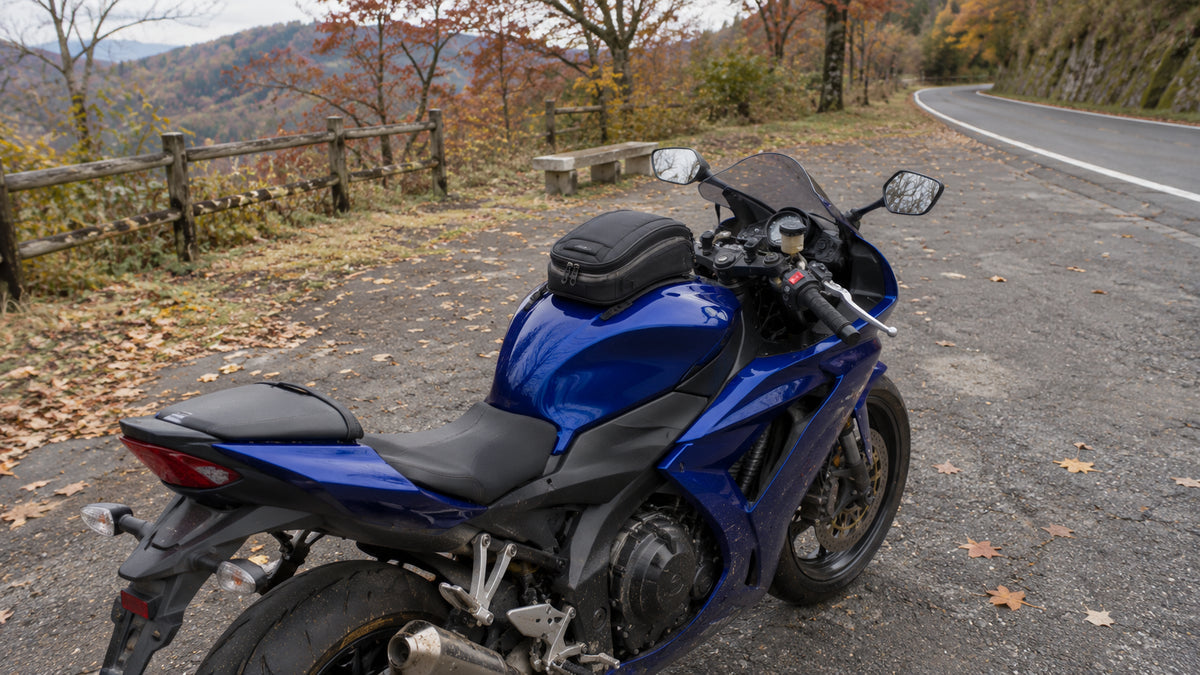
You want a small bag for your keys, wallet and a few essentials. The motorcycle already has a freshly painted fairing kit, perhaps a matching tank cover, and not much room between the fuel filler and the handlebars. A bag can solve the storage problem—but its shape and mounting system have to work with that particular motorcycle.
The important distinction is easy to miss: a painted tank-shaped cover may sit over the fuel tank. It is bodywork, not necessarily metal, and it is not automatically a suitable anchor. A magnetic bag, a filler-ring bag and a strap-mounted bag solve the attachment problem in different ways. None should be selected on appearance alone.
This guide helps you ask the right questions before buying or riding with a tank bag. It does not approve a particular bag, mounting method or modification for your motorcycle. The cover is an AI-generated editorial illustration, not an actual installation or evidence of fitment.
The three questions behind “Does it fit?”
First, the attachment must be supported and retained as the luggage manufacturer intends. Second, the loaded bag must leave the rider, steering and controls free to move. Third, the bag and its fastenings must not cause unwanted wear to painted surfaces. A positive answer to one question does not answer the other two.
For example, a bag may lock onto a ring yet touch a raised aftermarket tank cover. A magnetic flap may stick weakly to a surface but not have the full contact its maker requires. A bag can leave the paint untouched when empty and interfere with the horn or starter switch after it is filled. Work through all three checks together.
The same principle applies before you order a matching tank cover with a fairing kit. The cover changes the exterior shape around the filler and can affect the space available to an accessory. A color match is a visual decision; accessory clearance needs its own verification.
Is it the fuel tank, a cover, or both?
Look at the actual bike rather than guessing from a product photo. Some motorcycles have a painted metal tank surface; others have plastic outer panels or a separate cover over part of the tank area. A fairing kit's tank cover is not itself a fuel tank. For more on this distinction, see our tank cover versus fuel tank guide.
Note the year, model and market, the fuel-cap style, any replacement cap or aftermarket cover, and which parts remain original. Photograph the filler area from above and from the side. If the cover is already installed, include a photo showing its height near the filler and the seam with the adjacent panels.
Do not drill or cut an unknown cover to make a bag fit. Contact the bag maker and the cover supplier with the photos and exact part details. A fuel system component or filler neck deserves its own correct procedure; seek a qualified technician if the instructions require work you cannot confidently carry out.
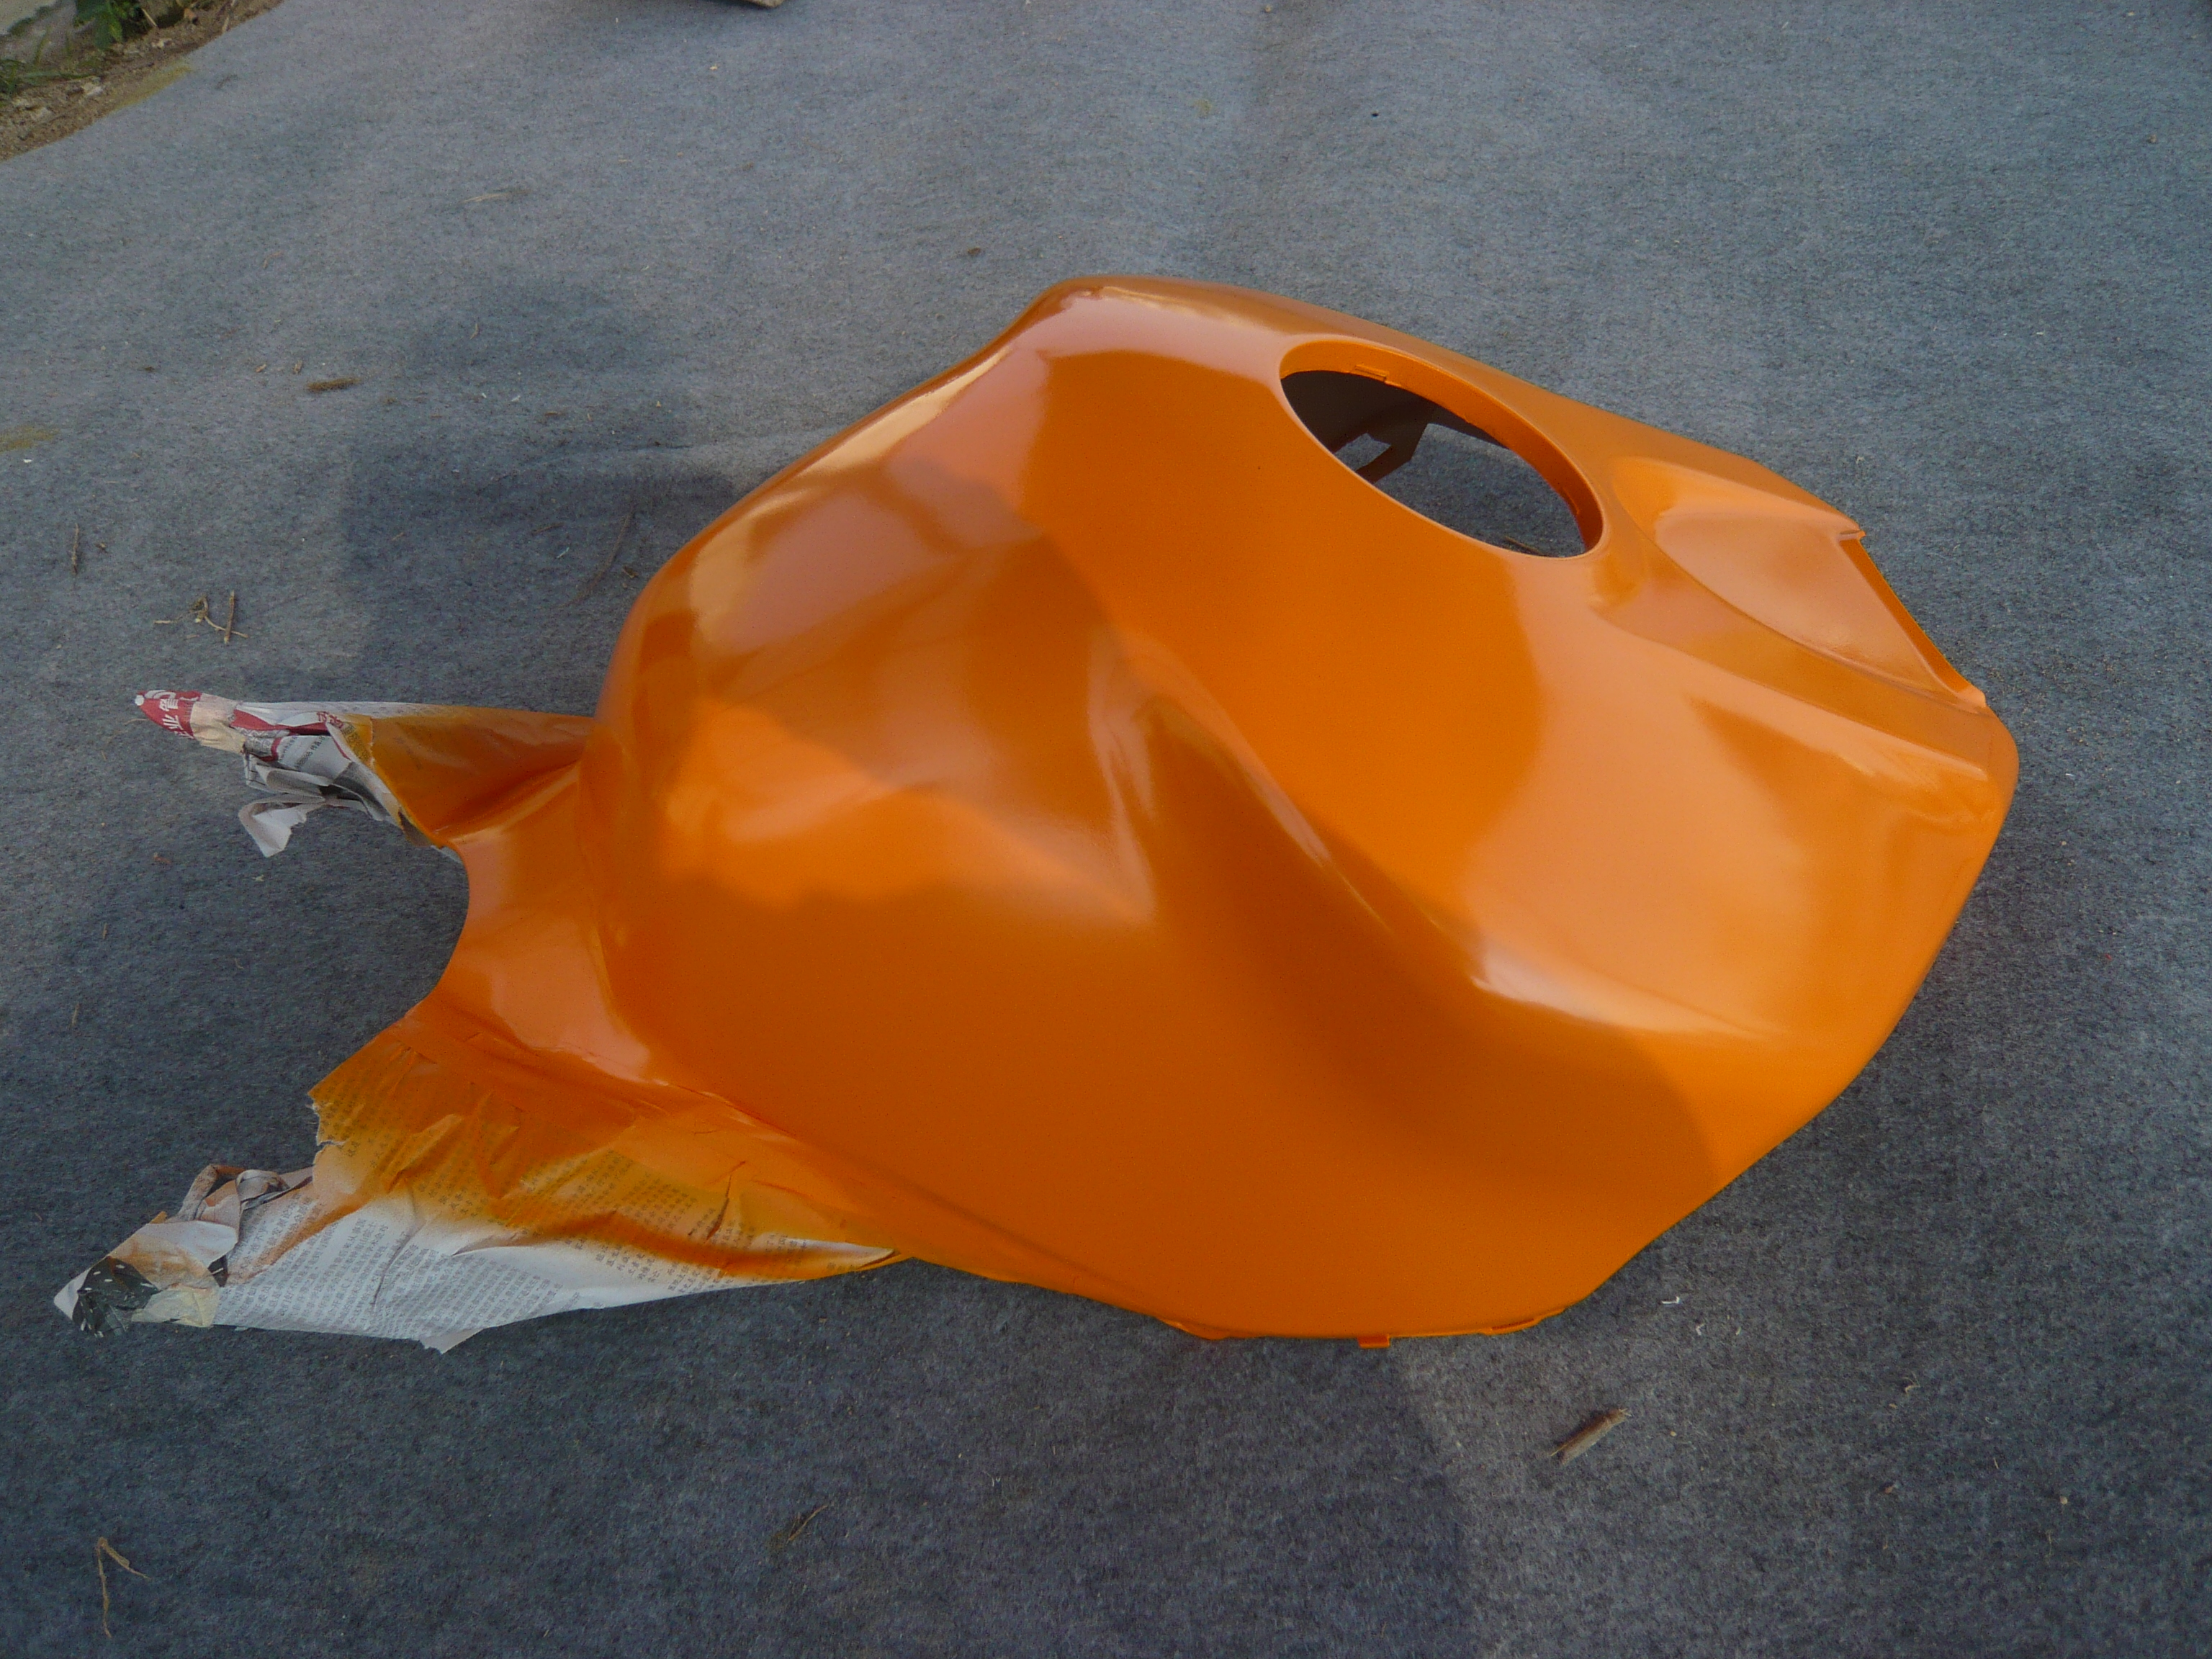
Magnetic bags: the surface underneath matters
A magnetic tank bag is intended for a compatible magnetic metal surface. The Nelson-Rigg magnetic tank bag instructions state that this type is intended for metal tanks and will not work on plastic, aluminum or fiberglass tanks. That is a product-specific instruction, but it illustrates the key point: metallic appearance alone does not establish the required attraction or contact.
A plastic cover between the bag and a tank can prevent the intended contact. A magnet that seems to grab through a cover does not establish that the bag meets its manufacturer's security requirements. Do not add loose magnets beneath a cover or improvise a mounting solution. Choose an arrangement approved for the bag and motorcycle.
The same instructions call for the tank and bag contact surfaces to be clean, free of grit and checked before use. The bag can still mark paint; cleaning and careful lifting reduce avoidable abrasion but do not guarantee a scratch-free finish. Follow the maker's directions for its tether, load limit and removal, and keep the tether clear of steering and moving parts.
Filler-ring systems: check both compatibility and clearance
Some tank bags attach to a motorcycle-specific ring at the filler area. Certain designs hold the bag above the tank surface, reducing direct bag-to-paint contact. That is a useful design feature, not a universal guarantee of clearance on every aftermarket cover.
SW-MOTECH's tank-ring information explains that the motorcycle-specific ring, top ring and bag must belong to a compatible system. As one example, the company's EVO ring page says EVO rings cannot be combined with PRO bags. Other brands and families have their own rules; do not assume that a ring and a bag fit each other because both claim a quick release.
Before buying, ask:
- Does the manufacturer list the ring for the exact motorcycle, year and market, including the fuel cap currently installed?
- Is the bag compatible with that ring family and the necessary upper fitting?
- Does the supplier address the installed aftermarket cover, its raised edge and the shape around the filler?
- Can the bag be removed and the cap opened as the product instructions intend?
- Who will install the ring, and are the correct hardware and manufacturer instructions supplied?
The fasteners near a fuel filler are not a place for generic torque figures or a guess about screw length. Use the instructions supplied for the exact motorcycle and accessory; if they conflict or the cover changes the geometry, stop and ask the manufacturer or a qualified technician.
Strap systems: trace the entire route
A strap-mounted tank bag may be an option where the maker supports that attachment method. Its success depends on the actual anchor points and routing, not just whether the straps reach. Identify what the bag maker permits for your motorcycle; a thin painted panel, fairing tab or tank cover should not be treated as a structural tie-down point merely because a strap can be passed around it.
Follow each strap from the bag to its approved attachment and back. Check whether it crosses a panel edge, presses a seam, interferes with the seat or sits near a hot or moving part. Secure or remove loose ends as the bag instructions specify. Never route a strap where it can enter steering, throttle, suspension, wheel or chain movement.
Some bags use a dedicated base or harness. Confirm its exact application and the manufacturer's procedure for refueling and removal. A protective pad can be helpful where the luggage maker allows one, but it cannot make an unsuitable anchor safe. It can also trap grit or moisture against the finish, so inspect it regularly.
Controls and riding position: check with the bag fully loaded
An empty display bag can be misleading. Pack it as you expect to ride, close and secure every compartment, and check any rain cover in the same way. With the motorcycle stationary and securely supported, sit in your normal riding position. The bag must not force you into an uncomfortable position or prevent you from seeing the instruments and warning lights.
Move the handlebars carefully from one steering stop to the other. Check levers, switchgear, mirrors and the bag on both sides. A control touching a bag at full lock is a reason to reposition or choose another bag—not a reason to ride while hoping you will never turn that far. Confirm the throttle moves and returns freely in accordance with the motorcycle maker's instructions. If a lever, cable or control behaves differently with the bag installed, remove it and resolve the cause before riding.
Do not operate a phone, open a compartment or search for items while riding. Put items you need during a stop where you can reach them after parking safely. Follow the bag maker's load and speed instructions and the motorcycle's loading guidance; use the more restrictive applicable limit. Added luggage can change handling, so start with a conservative load and become familiar with the motorcycle's response.
Protecting the finish without promising miracles
A painted surface can be marked by grit, repeated vibration, pressure, moisture or a strap edge. Even a bag held above the tank may have a tether, rain cover or loose buckle that contacts the tank or surrounding bodywork. Look for every possible contact point rather than focusing only on the bottom of the bag.
Clean and dry the surfaces according to the finish supplier's instructions. Lift the bag and individual magnetic flaps off instead of dragging them across paint. Inspect the underside of the bag and the cover for debris before reinstalling. After a short initial ride, stop somewhere safe and inspect attachment security and the surfaces again; check more often if conditions are wet or dusty.
If you are considering paint-protection film, first check compatibility with the paint, graphics and finish and whether the coating is ready for application. Our fresh paint and protection film guide covers the questions to ask. Film is not a substitute for proper mounting, and removing it can have risks for some finishes.
Refueling and wet-weather checks
Plan the refueling sequence before you leave. On a safely parked motorcycle, remove or release the bag as instructed so the filler is accessible. Keep the bag and straps away from the open filler and avoid placing luggage where it can fall onto the motorcycle. Close and secure the cap properly, then reinstall and check the bag before moving off. If fuel reaches painted bodywork, follow the finish supplier's instructions and our fuel and brake-fluid response guide.
Rain covers can alter bag shape and affect visibility or clearance. Check the cover's fastening while stationary and make sure it cannot interfere with controls. After a wet ride, remove the bag and dry the contact area as directed by the manufacturer; inspect straps and the underside before storing them. Waterproof claims vary, so use the bag maker's specific instructions rather than assuming every zipper or cover is watertight.
Ordering a tank cover when you already own a bag
If the motorcycle already carries a bag, include it in the fairing order conversation. Send the supplier the motorcycle year and market, the tank-cover listing, your current fuel cap, and photos of the mounted luggage and any ring or harness. Ask whether the cover is included, how it sits around the filler, and whether the supplier has verified clearance with that exact accessory. If they have not, treat compatibility as unconfirmed.
Ask for pictures or a drawing of the intended cover and confirm its color and finish separately. A photo can help identify potential interference, but it cannot prove safe mounting or clearance under load. Where necessary, involve the luggage manufacturer or a qualified local installer before ordering.
Explore the NiceFairings collection for your model and year, review custom design options, or contact our team with the photos and part details. A fairing listing does not by itself establish tank-bag compatibility or include luggage unless the product description says so.
Before each ride
Make a short check part of your routine: the attachment is properly secured according to its maker; the bag is within the specified load; zippers and loose ends are secured; steering, controls, instrument visibility and your riding position remain unobstructed; and any contact surfaces are clean. If the bag shifts, touches a control or produces a new mark, stop safely and reassess. A compact bag is convenient only when it stays out of the way of the motorcycle and the rider.