
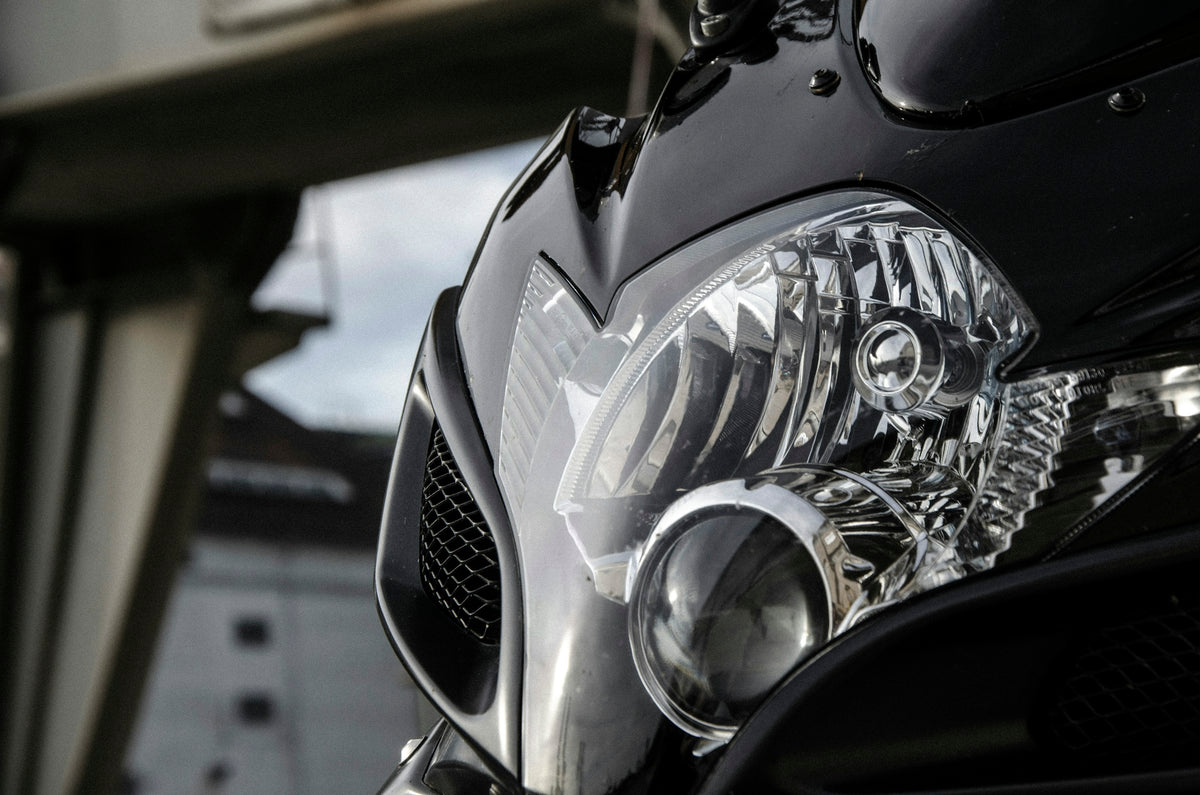
If a GSX-R nose fairing will not sit around the headlight, record where the first contact occurs before trying to close the gap. Check the motorcycle, lamp and supplied cowl references, then separate a local lamp-opening problem from a wider front-assembly alignment problem. Either can have several causes. An uneven gap does not, by itself, prove that your stay is bent or the new panel is wrong.
This guide helps you make a useful assessment request without damaging parts. It is not a removal sequence, a universal fitting procedure or a specification for every GSX-R600, GSX-R750 and GSX-R1000. Keep the exact Suzuki service information and the supplied kit instructions beside the job. The useful result is a smaller, better-defined question—not a diagnosis made from a photograph.
Cover: Suzuki GSX-R600 headlight and nose fairing detail, photographed by Justin B / Unsplash. Used under the Unsplash License. Reference motorcycle, not a NiceFairings kit installation or fitment test.
Two questions to separate before touching a fastener
Does the problem appear around the lamp opening?
Describe what you can actually see. Perhaps one corner of the opening touches the headlamp housing while another remains clear. Perhaps an accessible attachment does not meet its corresponding location. Those observations identify an area for investigation; they do not establish the required gap or explain the cause. A changed lamp, an incorrect application, a misplaced component or a problem with the supplied cowl can produce questions in this area.
Do not assume the opening should follow the lens at an identical distance everywhere. Styling, intended clearance and attachment arrangements depend on the particular assembly. Compare with the applicable documentation and ask the supplier to address the marked location. A photograph of a different GSX-R is useful for recognizing the topic, not for setting a tolerance.
Or does the whole front assembly appear displaced?
If several attachment points fail to meet, or the front assembly appears shifted relative to adjacent parts, document the wider arrangement too. That may lead to questions about supports, retained equipment or the installation stage. It does not eliminate the possibility of an incorrect or defective new panel. Local contact and wider displacement can also occur together, so these are observation categories rather than mutually exclusive diagnoses.
“The old panel fitted” is relevant history, but not a final answer. Record whether it was damaged, repaired or installed with different hardware. Do not assume an old panel had deformed to hide a sagging stay, and do not assume its previous fit proves every underlying component is sound. Give the installer both the previous condition and the current observation.
Identify the motorcycle, lamp and cowl separately
Start a short record with the verified model, model year and market, the selected kit listing and the specific piece received. Add known changes: a replacement headlight, previous front-end repairs or an uncertain bodywork conversion. Distinguish what you know from what a previous owner suggested. A registration date or a familiar paint scheme may not settle the model record.
If you can read a lamp label or a marking on an already accessible reverse surface, photograph it in context. A molded number is not automatically an orderable Suzuki service number. An aftermarket seller may use its own SKU without an OEM cross-reference. Unknown numbers should remain unknown; useful photographs and an accurate description are still enough to start an enquiry.
Suzuki USA's manuals information directs owners to genuine owner and service manuals. Use the correct regional documentation and ask an authorized dealer to resolve an uncertain factory application. The seller must separately confirm which motorcycle configuration its aftermarket listing covers. These two records serve different purposes.
For a concrete example of document scope, Suzuki Malaysia's GSX-R1000AL9_E21 parts catalogue lists headlamp assemblies and associated items in model-specific drawings. That is a useful reminder to check accompanying pieces, not just the large lamp. It is not a fitting procedure for a K6 GSX-R600 or proof that any two generations interchange.
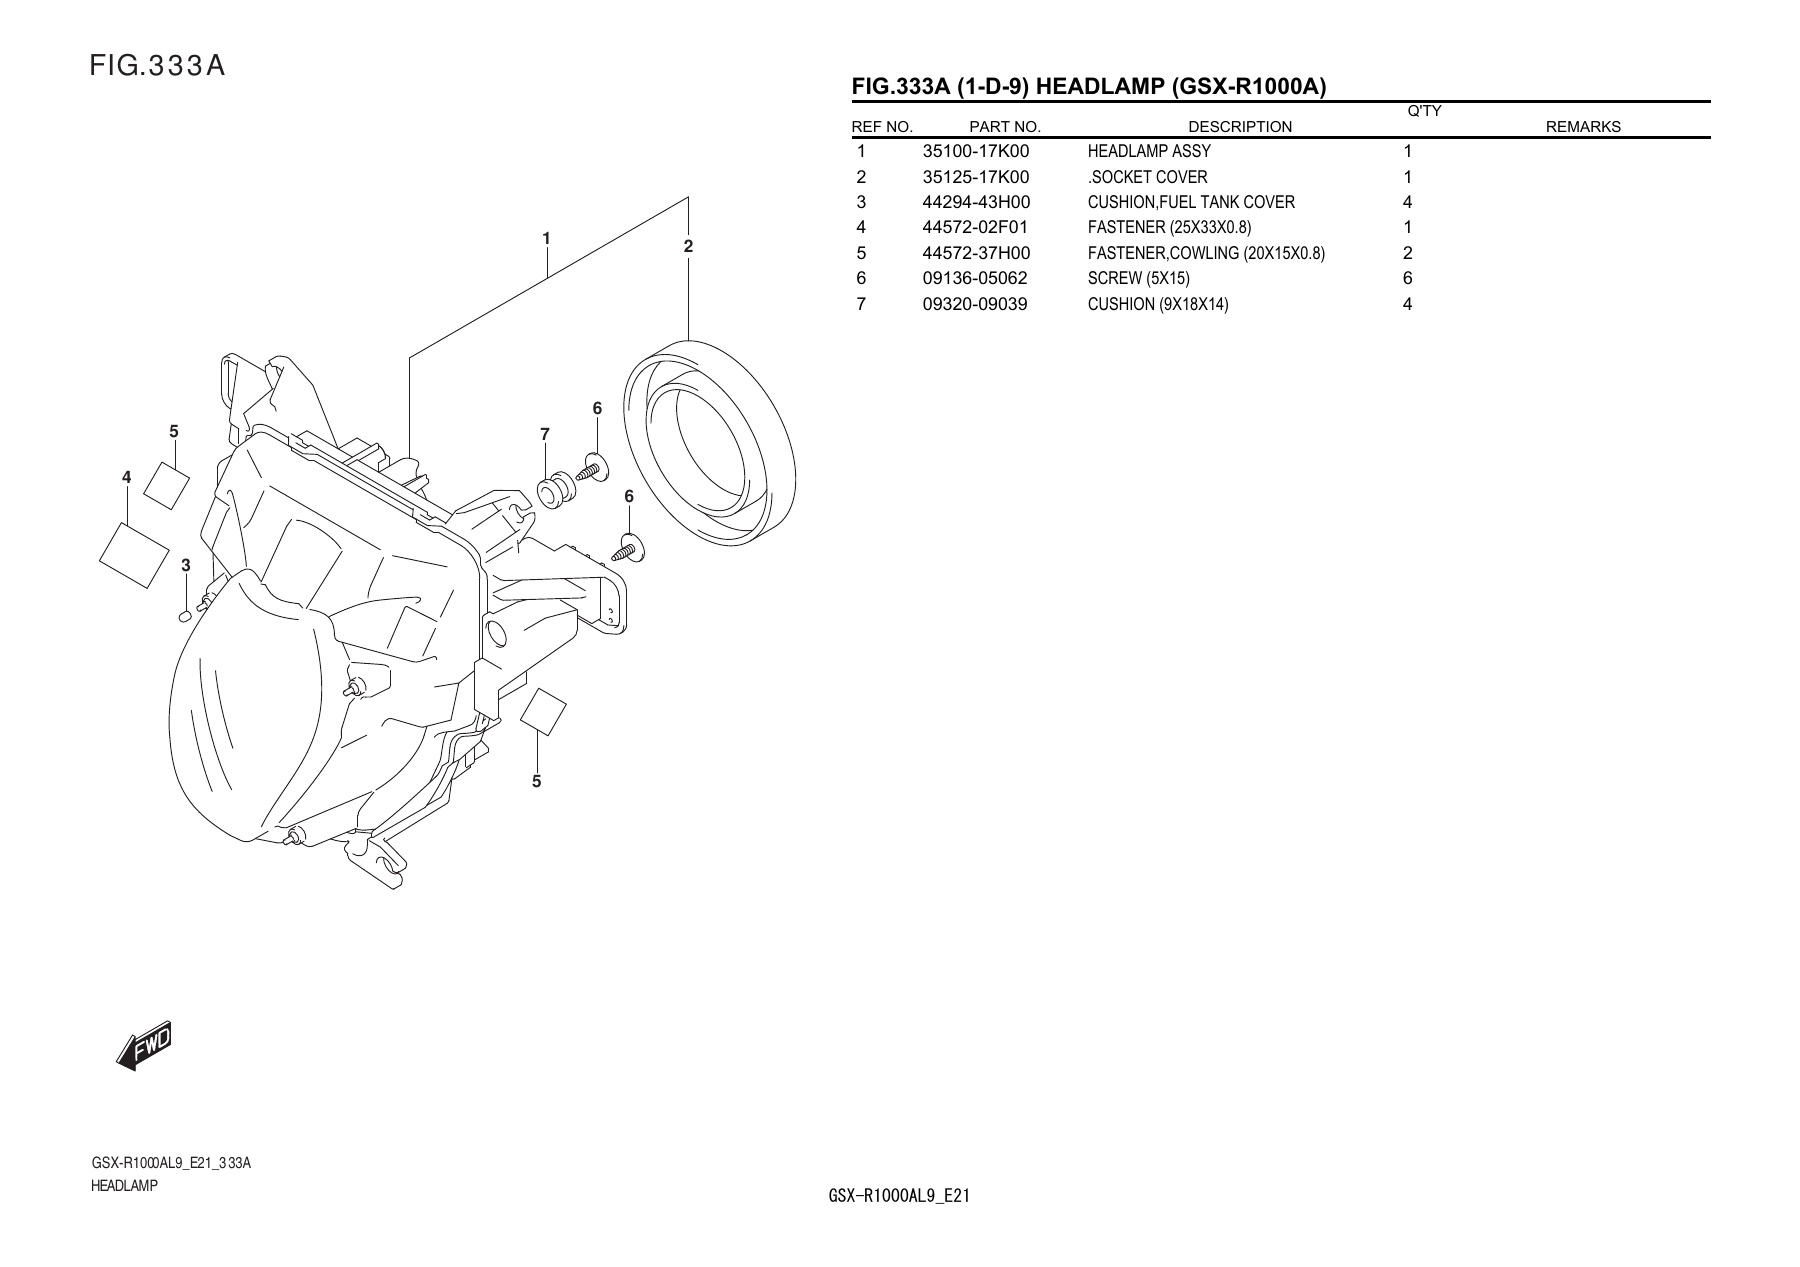
Read the illustration together with its heading. The numbered callouts identify listed components; their spacing on the page is not a measured assembly gap. The separate cover and small hardware are useful reminders to document more than the painted nose panel. Before using any listed part reference for an order, confirm that the catalogue application matches your motorcycle. A photograph of an older GSX-R and this L9 diagram must not be treated as interchangeable technical evidence.
Record the first resistance, not the gap after pulling
The most useful observation is the point at which the parts first stop following the documented assembly procedure. A photograph taken after pulling a panel sideways with a bolt records a stressed arrangement, which can obscure the original problem. Stop at unexpected resistance and note which connections have already been made. Follow the applicable instructions for safely supporting the assembly; do not leave its weight hanging from a tab or wiring.
Use the table to organize a request. Its possible causes are questions to investigate, not a ranking of likely faults. You do not need to test every possibility yourself.
| Observation | Questions to resolve | Useful record |
|---|---|---|
| One lamp-edge area contacts early | Correct lamp/cowl combination? Correct adjoining pieces and seating? Supplied-part issue? | Overall front view, marked contact and accessible labels |
| Several attachments do not meet | Correct application and assembly stage? Obstruction, support condition or panel issue? | Each affected connection plus a wider view showing their relationship |
| A tab meets an edge unexpectedly | Correct mating feature? Missing or misplaced specified piece? Damaged tab? | Unloaded contact view and reverse-side detail if already accessible |
| The complete nose appears low or tilted | Camera perspective, assembly stage, retained equipment or support alignment? | Comparable front and side views, repair history and installer assessment |
If a dimension would help, first ask which two points should be measured and in what assembly state. Include those reference points in the photograph. A ruler beside a gap can communicate scale, but camera angle affects interpretation. Do not convert that observation into a pass/fail limit borrowed from another motorcycle or an online comment.
For a broader panel-hole problem away from the lamp, use our pre-fit troubleshooting guide. Here, keep the request centered on the lamp opening and the parts supporting the nose so the evidence remains specific.
Small fittings deserve their own inspection record
A headlamp, painted cowl and supporting assembly may depend on smaller pieces identified in the relevant parts records. Record the cushions, clips, collars, grommets and fasteners actually specified for the connection in question. Do not assume every GSX-R uses all of them or that every left-side detail has a mirrored counterpart.
Look for an accessible missing piece, a visibly damaged attachment or hardware whose identity is uncertain. Compare what is present with the correct list and kit instructions. “One cushion not yet identified” is more useful than “the panel is too tight.” Conversely, a newly supplied tab with visible damage should be recorded as a possible supplied-part problem rather than explained away as normal adjustment.
Keep removed hardware organized by its original location. Old hardware is a reference, not proof of correctness: a previous repair may have substituted it. A bolt that binds has several possible explanations, so do not use trial tightening to establish its thread specification. Obtain the correct identification and procedure before continuing.
A visible mark can help locate a concern, but does not establish when or why it formed. Photograph it before altering anything. Filing tabs, enlarging holes, bending stays or adding improvised spacers can change the evidence and the component. Do not use those as guessed remedies. If access requires dismantling equipment beyond your competence, let a qualified technician make the assessment.
Two workshop enquiries that need different evidence
Example A: local contact beside the lamp
Imagine an owner with a replacement nose cowl and an existing headlight. One edge contacts before the documented assembly step can be completed. The listing appears to name the correct bike, but the headlight's history and the identity of one small fitting are uncertain. This is a hypothetical enquiry, not a reported customer case or a test of a specific kit.
The owner records the kit reference, the accessible lamp label and the contact location, then asks: “Does your cowl support this lamp application, and which specified fitting belongs at the marked connection?” They also provide a clear image of the new tab. The reply could reveal missing information, an application problem or an issue requiring inspection of the supplied part. The cause remains open until checked.
The useful improvement is the question's precision. The owner has not decided that new rubber merely needs compressing, or that tightening will let the parts settle. If the supplier requests another view, it should identify the missing evidence and explain its purpose. That is a more productive next step than repeatedly trying the same resisted fit.
Example B: the complete nose appears offset
Now imagine a second motorcycle with an uncertain repair history. Several front connections do not meet as expected, while the lamp opening alone does not explain the overall position. The owner records the wider front assembly and which surrounding pieces remain fitted. They include the history of a previously replaced support, if known, rather than assuming that support is correct.
The next question is: “Which retained components must be verified before assessing this kit on my current configuration?” A qualified installer may need to identify and inspect the support arrangement using the relevant documentation. The supplier still needs the new cowl reference and attachment photographs. Wider displacement does not automatically transfer responsibility to the motorcycle.
Both examples end with unresolved questions, deliberately. A support enquiry should reduce uncertainty before a repair or replacement decision. A photograph that looks persuasive cannot certify an assembly, and a familiar symptom does not justify prescribing the same remedy to two different bikes.
Send a compact photo set and a precise request
Start with an overall view that locates the problem, then add a closer view of the marked connection. Include comparable left and right views where useful, accessible part labels, and the relevant reverse surface only if the part is already safely removed. Preserve original photographs and annotate copies. Describe left and right from the rider's orientation so the front-facing camera view does not reverse the meaning.
Explain the assembly state beside the images: which documented step stopped, which pieces are fitted, and whether anything has already been altered. A concise, accurate record is more useful than many unlabelled photographs. If an image cannot show a hidden support, say that rather than claiming the support is straight.
My motorcycle is [verified model/year/market]. The kit is [listing and order reference]; the affected piece is [description]. The existing lamp is [reference or unknown]. At [documented assembly step], [specific contact or mismatch] occurs without force. Photos show [locations]. Known changes are [details/unknown]. Please confirm the intended lamp/cowl application, required retained fittings and the next inspection needed. The parts are [unmodified / alterations disclosed].
Ask the reply to address the marked area and distinguish confirmed information from what still needs inspection. Keep the listing, photographs and response together. Any exchange or repair proposal should be checked against the actual order terms before altering the part; do not assume a universal return outcome.
What counts as a resolved fitment question?
A useful resolution explains the application, identifies the required pieces and addresses the original concern. Installation then follows the applicable procedure, with damaged or incorrect components dealt with appropriately. Headlight operation and aim, secure attachment and relevant clearances need their own checks. An attractive seam is not evidence that those checks have been completed.
Is a small, even gap automatically acceptable?
No universal millimeter allowance is established here. Ask for the requirement applicable to the actual components and installation. Contact, stress, insecure attachment or unresolved function should not be accepted merely because a gap looks small.
Should the lamp always go into the cowl on the bench first?
There is no universal sequence in this guide. Follow the correct motorcycle and kit instructions. Bench photographs are useful when parts are already safely removed; they are not a reason to dismantle an assembly without the proper procedure.
Can I order before finding every part number?
You can begin an enquiry with unknown fields clearly marked. Before ordering, resolve the application and supplied scope with the seller. Browse Suzuki fairing options and send NiceFairings your lamp and cowl details. Keep unresolved assembly concerns with a qualified installer, and do not ride until the necessary installation and functional checks are complete.


