
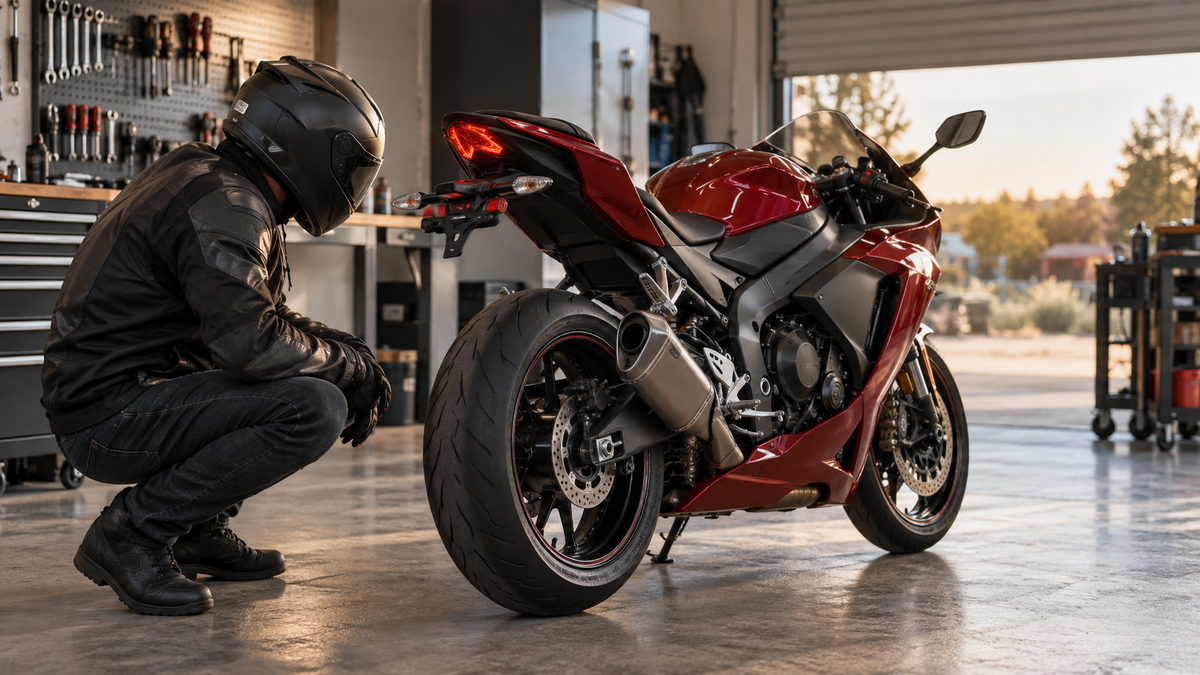
Replacing a sportbike tail fairing becomes complicated the moment the motorcycle no longer has its factory rear fender. A fender eliminator can change the plate bracket, turn-signal position, license-light wiring and the way the inner undertray is supported. The painted tail panels may still look standard, but the parts behind them may not be.
Before ordering, identify every interface around the rear of the motorcycle. Confirm which painted panels are damaged, which inner plastics remain, where the taillight and indicators mount, and whether the current bracket uses factory or modified attachment points. A complete photo record is more useful than a model name alone.
Quick answer
- A tail fairing is only one part of the rear bodywork system; the undertray, light housings, seat latch, wiring and plate bracket may be separate.
- A fender eliminator may reuse factory holes, replace the factory undertray, or depend on model-specific adapters. Verify the exact installed configuration.
- Never use a screw to pull a misaligned painted panel into position. Static stress can damage an ABS tab after repeated vibration.
- Complete a loose dry fit, electrical check and tire, exhaust and suspension-clearance check before the first ride.

Start by defining what “the tail fairing” includes
Riders often use “tail fairing” to describe the entire rear bodywork assembly. A product listing may use the same words for only the left and right painted shells. That difference can leave a project missing the black inner tray, center trim, seat cowl, light bracket or small infill pieces.
Use a simple scope table before shopping. Mark each item as supplied with the replacement panels, reused from the motorcycle, purchased separately or still unresolved.
| Rear-bodywork item | What to verify | Why it matters |
|---|---|---|
| Painted tail panels | Exact model, year range, panel seams and tab positions | Adjacent generations can look similar while mounting differently |
| Inner undertray | Factory, trimmed, replaced or integrated with the eliminator | It may support wiring, lights and the lower edge of the tail |
| Taillight and housing | Shape, connector, rubber mounts and retained brackets | The lamp opening alone does not confirm the mounting system |
| Turn signals | Factory stalks, compact aftermarket units or integrated lighting | Each option can use different holes, wiring and adapters |
| Plate bracket | Brand, mounting points, license light and reflector arrangement | “Fender eliminator” is not one universal design |
| Seat and cowl | Seat latch, bumpers, lock access and surrounding gaps | The bodywork must not interfere with secure seat engagement |
| Hardware | Grommets, clips, spacers, well nuts and model-specific brackets | Small retained parts often control alignment and vibration isolation |
Photograph the motorcycle before removing anything
Take wide photographs from the left, right and rear, then close views of every seam and mounting point. Photograph the plate bracket from below, the indicator wires, the taillight connector and the route by which the harness enters the tail. Capture the seat-latch area with the seat removed. If a previous owner modified the undertray, include the cut edge and every added bracket.
Add a removable label to each connector and hardware bag. A photo showing a loose plug without its location is much less useful three days later. Our fairing photo and label workflow explains how to build a usable record without relying on memory.
Do not treat an online photo of a clean factory motorcycle as proof that your modified tail uses factory interfaces. Compare your own hardware and hidden surfaces with the parts list and, when available, the official parts diagram for the exact model year.
Understand what the fender eliminator changed
Some eliminators bolt to original rear-fender mounting points and leave the factory undertray intact. Others replace part of the undertray, move the indicators inward or require a separate license-light adapter. A previous installation may also include drilled holes, shortened wiring or trimmed plastic. Those details determine whether the new painted tail can be installed without further correction.
Mounting points
Inspect every bracket contact point for cracking, elongation or distortion. If the motorcycle was dropped, a plate bracket can bend while the painted panel appears only scratched. A replacement cosmetic shell will not correct a bent bracket or damaged subframe attachment. Have structural or uncertain damage assessed by a qualified motorcycle technician.
Wiring and connectors
Identify factory connectors, adapter leads and splices separately. Do not assume wire colors are universal, and do not plan a cut-and-splice repair from an unrelated model video. Use the manufacturer’s service information for disconnection and testing. If the harness, fuse protection or connector assignment is uncertain, have the electrical work completed by a qualified person.
Indicator and plate-light placement
Check that the selected bracket supports the intended lights and that the wires can be secured away from the tire, chain, exhaust, suspension and sharp edges. Lighting, plate and reflector rules vary by jurisdiction, so verify current local requirements rather than copying another rider’s setup.
Inspect a new tail kit before installation
Unpack painted pieces on a clean, soft surface. Compare the shipment with the order record before removing protective materials. Look at the paint under diffuse light, then inspect the reverse side for tabs, threaded points and bonded or molded features. Small color variation between a replacement section and aged original paint can occur, especially with pearl, candy or metallic finishes; decide whether the project requires one panel or a coordinated group.
Confirm that every advertised piece is present. Do not infer that a photograph of a full motorcycle means the listing includes the undertray, lights, seat cowl or hardware. Save the listing, invoice and design confirmation with the installation photos.
Dry-fit the entire rear assembly loosely
Follow the motorcycle manufacturer’s removal and installation procedure. Place transferred grommets, cushions and brackets in their correct locations, then bring the neighboring panels together with fasteners only finger-started. The goal is to let the assembly find its natural position before anything is tightened.
- Confirm that retained brackets and the undertray are undamaged and correctly seated.
- Place the painted tail pieces without dragging finished edges across each other.
- Start accessible fasteners by hand; stop immediately if threads do not engage cleanly.
- Check the taillight opening, seat perimeter and left-to-right panel gaps.
- Install the plate bracket and lighting hardware only according to their instructions.
- Route and secure wiring with the suspension unloaded and through its expected movement range.
- Apply the model-specific tightening sequence and specifications only after alignment is satisfactory.
A bolt is a clamp, not an alignment tool. If a hole is offset, step back and look for a missing spacer, reversed bracket, trapped harness, bent support or incorrectly overlapped panel. Forcing the screw can place the ABS under continuous tension. Engine and road vibration can then turn a small stressed area into a cracked tab.
The broader motorcycle fairing pre-fit checklist covers delivery inspection, loose assembly and final checks for the rest of the bodywork.
Check the seat, lights and clearances as one system
Reinstall the rider and passenger seats or seat cowl and verify positive latch engagement. The latch should work without pushing a painted panel out of position. Test the taillight, brake light, indicators and license light as applicable. The test confirms operation, but it does not replace a wiring inspection: look for stretched leads, pinched insulation and connectors that can move against a sharp edge.
Clearance must be assessed dynamically. A gap visible on the stand may change when the suspension compresses or when a passenger or luggage is added. Follow the motorcycle and accessory manufacturers’ procedures for checking clearance around the rear tire, exhaust and suspension. Do not place hands near a moving wheel or hot exhaust.
Pre-ride inspection checklist
- All specified fasteners are installed and tightened to the correct model-specific values.
- The tail panels sit without forced seams, trapped wiring or visible tab stress.
- The rider seat, passenger seat or seat cowl is positively latched.
- The taillight, brake light, indicators and required plate lighting operate correctly.
- Wiring is supported and remains clear of the tire, chain, exhaust, suspension and sharp edges.
- The plate bracket and fender eliminator are stable, with no contact against painted panels.
- Required tire, exhaust and suspension clearances remain through the applicable movement range.
- No tools, loose clips or unused hardware remain inside the tail.
Begin with a short, low-speed check in a safe area. Stop if the rear bodywork moves, a new rattle appears, a light fails or any part approaches the tire or exhaust. Reinspect after the first ride because newly seated grommets and interfaces can reveal a loose fastener that was not obvious on the stand.
The practical ordering rule
Order from the motorcycle you actually own, including its current modifications. A year-and-model match is essential, but it is only the first filter when a fender eliminator, aftermarket lighting or trimmed undertray is already installed. Build the interface list, photograph the hidden work, confirm what the kit supplies, and resolve unknown brackets before committing to paint.
That preparation protects the finish and makes the final assembly predictable. It also gives a supplier or technician enough evidence to answer a specific question instead of guessing from a distant rear-view photo.
AI-generated editorial illustration of a modified sportbike tail inspection; not model-specific fitment evidence.


