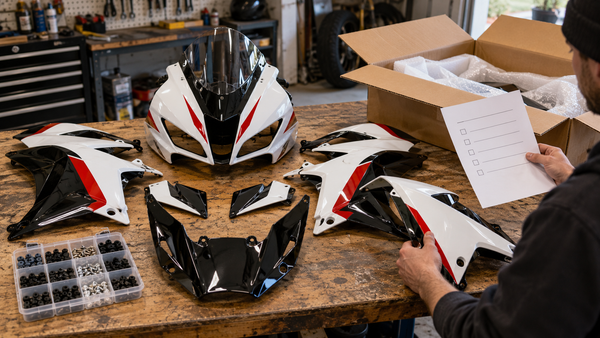

A painted fairing can look flawless in a compressed product thumbnail and still raise a real question when the parts arrive. Perhaps the left and right sides read as different shades in daylight. Perhaps a graphic stops short of the panel edge. Perhaps a small area is visibly thin, while an ordinary seam shadow looks like a defect in a photograph. These are different observations, and a useful review names the one you actually see.
This guide is about assessing the finish on a specific order, not claiming that every aftermarket kit uses the same paint chemistry or number of coats. NiceFairings' custom-fairings page is a design enquiry route; the selected listing, written color brief and finished photographs define what the buyer asked to receive. An image cannot independently prove a coating's resin, cure, adhesion or future weathering performance.
A paint system is more than “three layers”
Paint makers describe preparation, primer or sealer, color and clearcoat as separate functions, but the products and steps depend on substrate and finish. PPG's refinish procedures explain that a suitable primer/sealer helps adhesion and color uniformity, basecoat establishes color, and clearcoat protects and completes the appearance in applicable systems. That is an industry process description, not a verified NiceFairings batch record or a promise that a particular fairing has exactly three coats.
The plastic shape comes first. An unfilled mark, poorly prepared edge or stressed mounting boss cannot be made sound by a glossy clear surface. Paint can also look different when the undercoat shade changes or the color lacks adequate hiding. A visible patch of substrate or primer is a specific coverage concern; a bright reflection from the room is not. Ask for neutral-light photos before diagnosing from a saturated phone shot.
It also helps to keep appearance separate from adhesion. You can describe a visible edge, patch, ripple or mismatch from a clean image. You generally cannot certify long-term bonding, weather resistance or scratch performance from that image. Conversely, an imperfect phone photograph is not proof that a finish is defective. The next step is to collect a better view, identify the exact panel, and decide whether the concern is something the seller, painter or installer can assess from the available evidence.
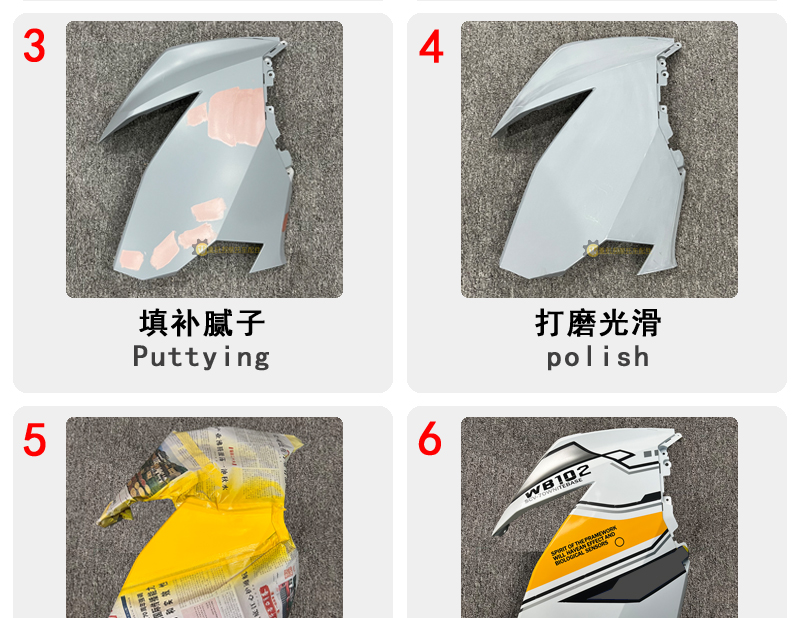
NiceFairings workshop archive. The collage shows visible surface preparation and graphic work on a panel; it does not identify a resin grade, full coating specification or a particular customer's order.
Review four questions, not one vague “quality” score
Color: Compare agreed color name, code or physical reference with both sides under similar light and camera settings. Metallic, pearl and matte effects can change with viewing angle. PPG recommends a physical sprayout card for evaluating a blendable color match; a screen render is not a physical master. If you need a close match to a retained fuel tank, say that before production and provide a usable reference. “Blue like the picture” is not a precise color instruction.
Coverage: Look at edges, recesses and places where the panel changes curvature. Coverage should be judged on the visible surfaces the seller agreed to paint. A dark recess may be shadow; an uncoated patch should be photographed from a second angle under diffuse light. Do not invent a universal film-thickness target from a photograph.
Graphics: Compare left and right placement, line thickness, orientation and where a graphic crosses a seam. If the design is asymmetrical by intent, annotate the approved reference. Check decal edges for obvious lift, but do not assume a photograph proves whether graphics sit beneath clearcoat. Ask that process question in writing if it affects your decision.
Finish: Gloss, satin and matte are not interchangeable words. A gloss panel can show ordinary reflections and minor dust; a matte panel should be judged for unintended shiny patches after careful cleaning according to the finish maker's instructions. A “matte” label alone does not specify a gloss measurement or the coating process. Ask for a sample or comparable finished photos if the exact appearance matters.
For all four questions, the most useful comparison is a paired observation: left and right panels under the same light, camera position and exposure, with an overview followed by one close-up. When a panel is curved, take one direct view and one oblique view. A line that seems to change thickness only at a sharp curve may be a perspective effect; a line that clearly ends early on one side should be documented. The point is not to create a professional paint inspection booth at home. It is to let someone else identify the same location and reproduce what you saw.
Four example notes a supplier can actually review
“The finish looks wrong” leaves too much room for interpretation. Compare these more useful descriptions:
| Observation | Evidence to attach | Next question |
|---|---|---|
| The right side looks warmer than the left in daylight. | Both panels together, then each panel in the same diffuse light; saved approved color reference. | Was a physical reference supplied, and do both panels still differ when viewed together? |
| A narrow pale patch appears at the lower edge of the nose. | Overall nose photo, close-up from two angles, and the corresponding opposite edge. | Is this reflected light, exposed underlayer, or an intentionally unpainted hidden return? |
| The left graphic stops earlier at the vent than the approved design. | Annotated approval image and paired left/right views with the vent visible. | Was asymmetry approved, or did the executed artwork depart from the sign-off? |
| One panel looks shinier after unpacking. | Both panels cleaned only as instructed, photographed together from two angles. | Are the panels intended to have the same sheen, and is there any protective film or residue present? |
This table is a way to communicate, not a defect-rate claim. A seller may need further views or the actual part before it can judge the cause. If a visible surface is damaged in transit, record the packaging too; otherwise a finish complaint and a shipping claim can become confused. Keep an untouched copy of each photo and note when it was taken.
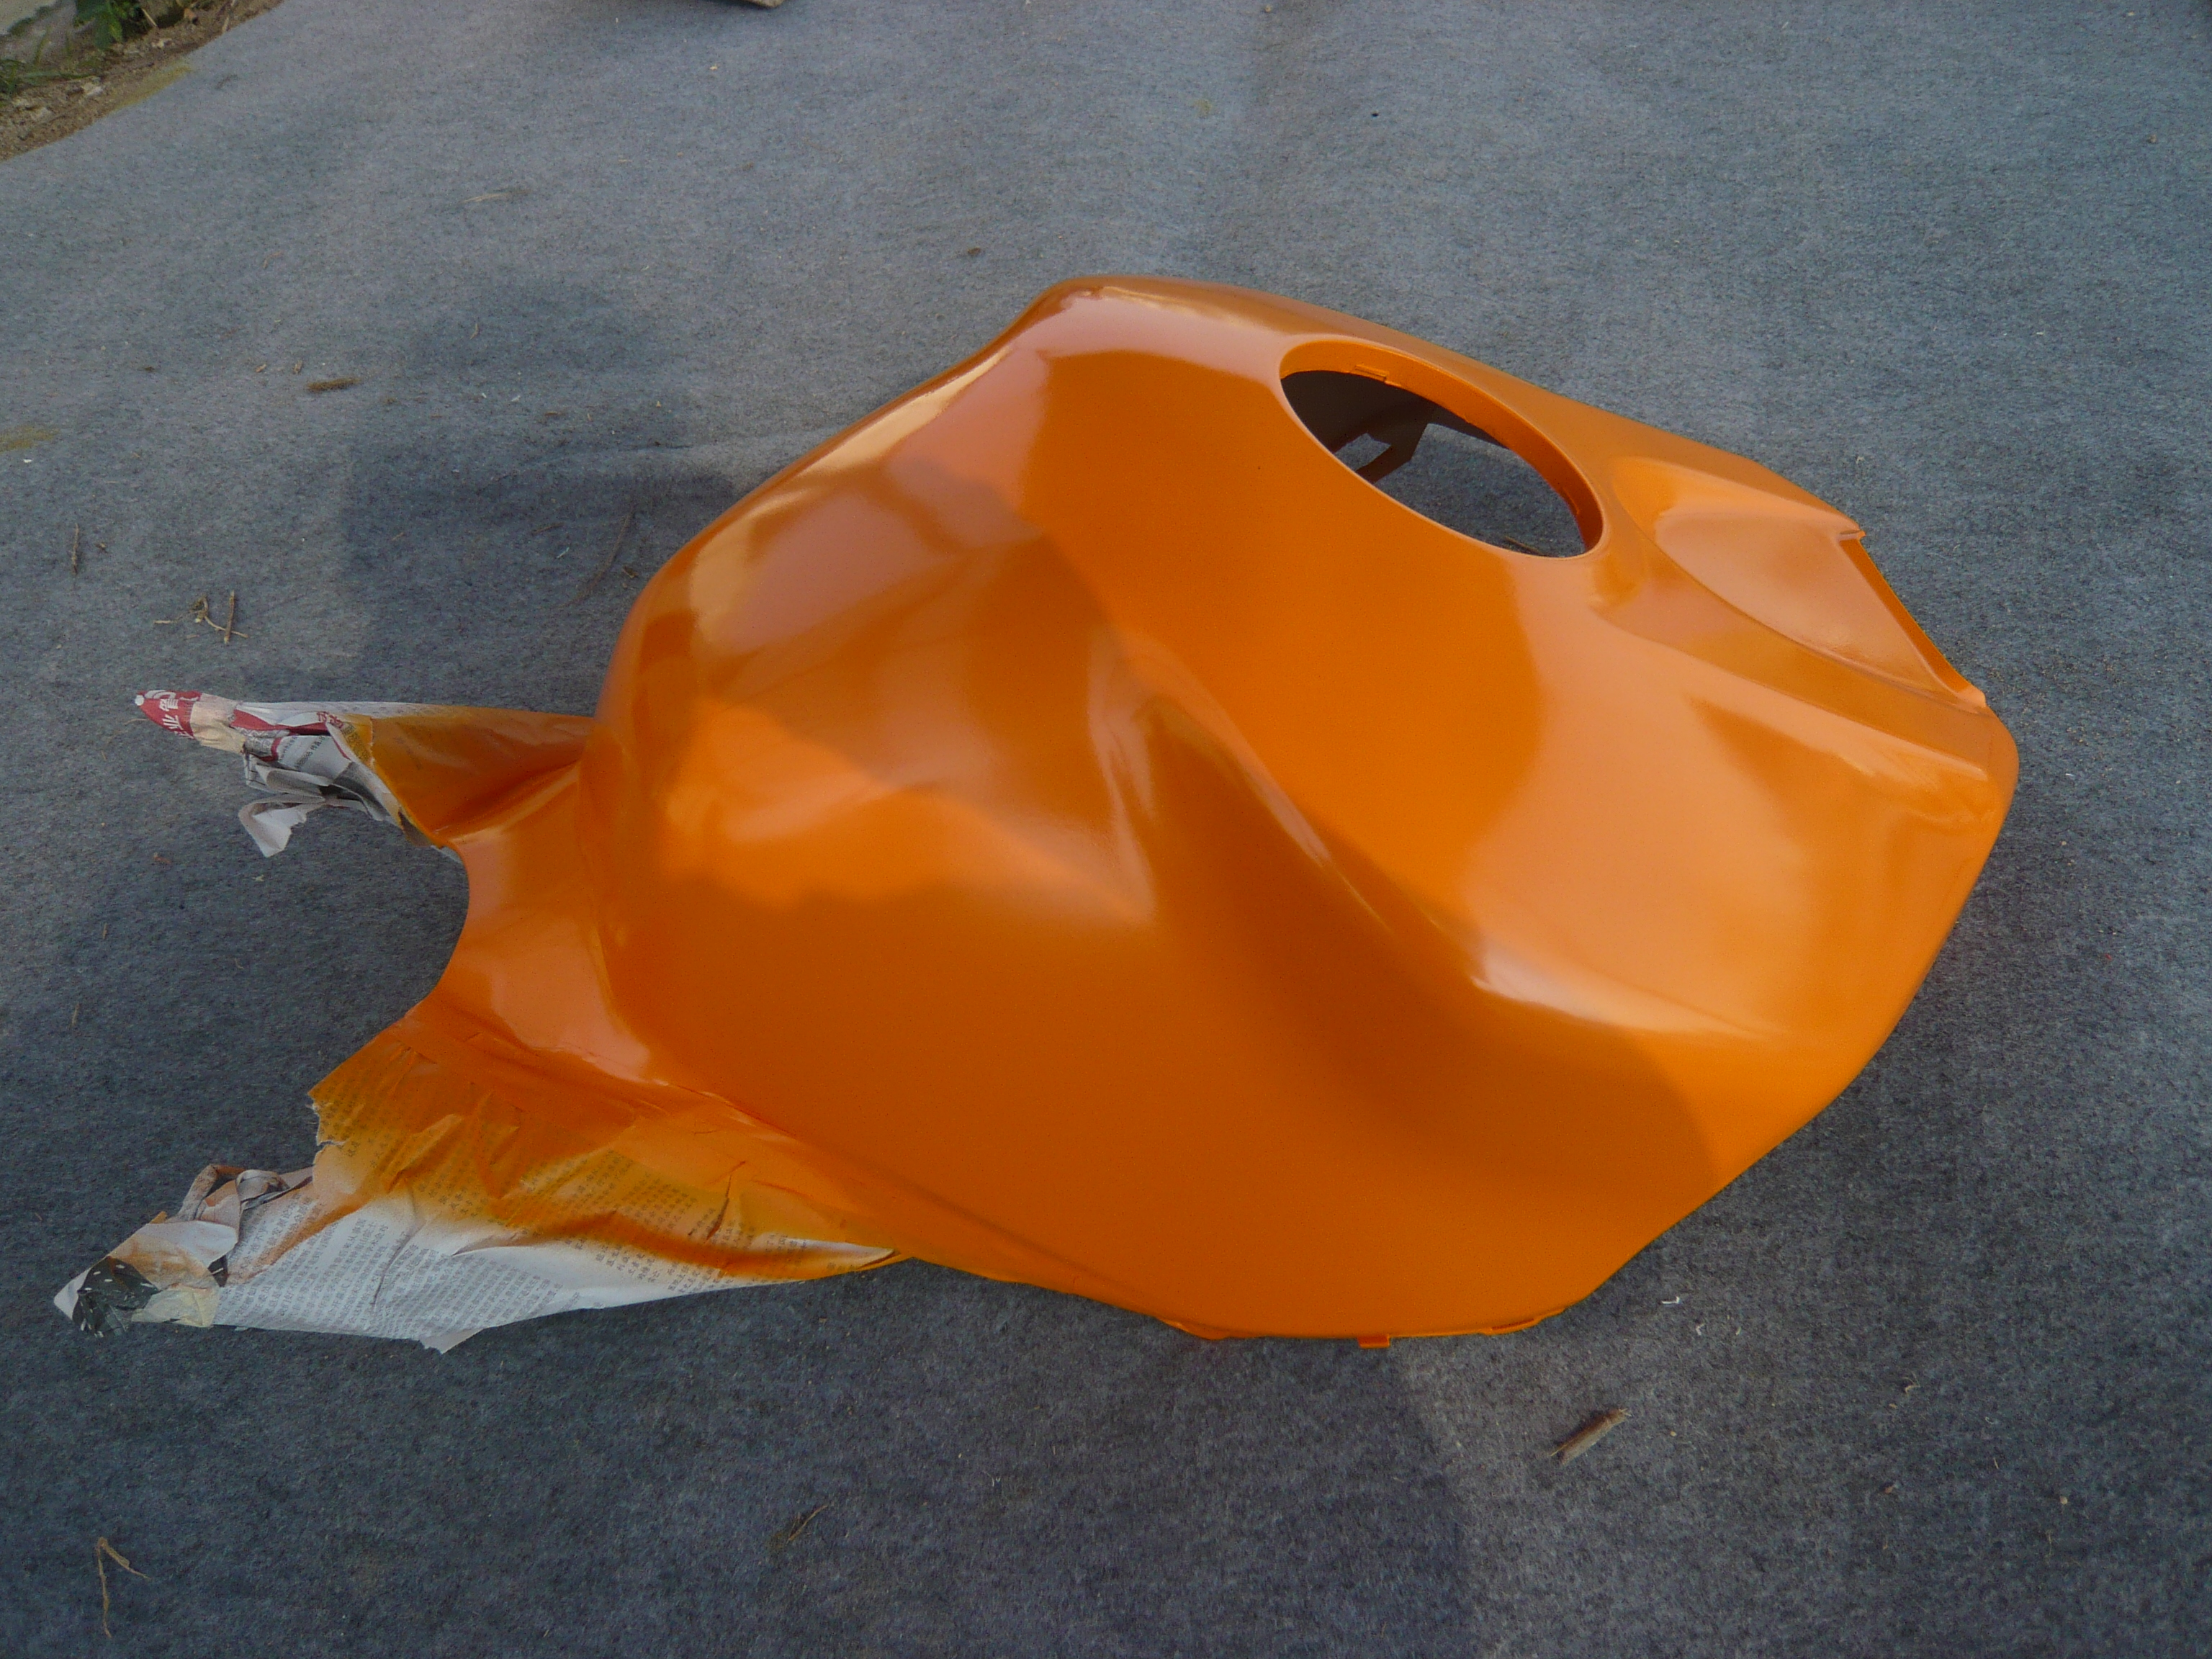
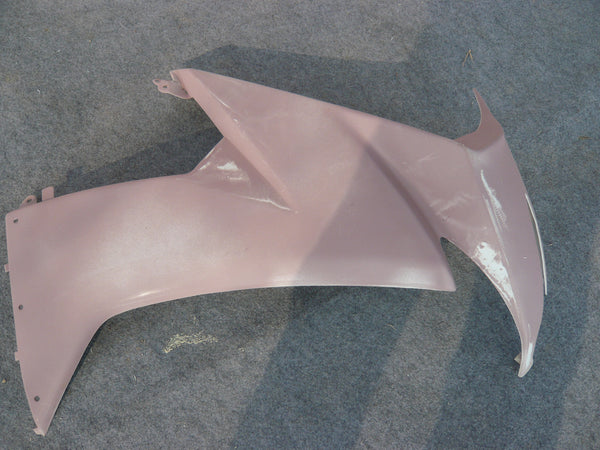
An authorized workshop photo of an orange tank-cover-shaped component. It is not a fuel tank, a finished-order acceptance photo or evidence of a particular coat count.
Separate pre-shipping approval from arrival inspection
Before dispatch, request photos tied to the order: overall kit layout, both sides, nose, tail, key graphic joins, and one or two close-ups of color and finish. Compare them with the saved design approval and option code. Our finished-photo checklist covers the full photo set; the task here is to classify what the paint actually shows. A finished photo can help catch the wrong graphic or a conspicuous shade difference. It cannot guarantee an exact screen-to-paint match or expose every hidden adhesion issue.
On arrival, record the carton and unwrap panels on a soft clean surface. Look at the same areas in diffuse daylight before installing or coating them. If a concern appears, preserve the original photo and send a second view with an orientation marker, the order reference and a description such as “right side panel, upper rear edge, narrow uncolored patch visible under diffuse light.” The delivery inspection guide handles damage and count; do not confuse shipping abrasion with an original paint application without evidence.
Do the acceptance review before mounting the panels. Hardware, handling and a tight bodywork seam can introduce fresh marks, making later responsibility hard to distinguish. Lay the parts on clean padding, with the painted faces protected and each piece identified. Save the delivery date, original carton condition, option name and the finished photos you approved. If you find a concern, pause work on that panel and ask the seller which evidence it needs. Do not rub a suspected weak edge, test adhesion with tape, polish through an unknown coating or remove a decal to “find out.” Those actions can destroy the evidence and create new damage.
A shop can still help without declaring a verdict from a photo. It can locate the mark on a panel, note whether it was present before installation, and distinguish a visible finish concern from a fitting stress point. The seller can compare the image with the order and production record it actually holds. A coating specialist may be needed if the issue is technical adhesion or an attempted refinish. The buyer's job is to preserve a clear sequence of observations, not to diagnose chemistry at home.
Do not use an extra clear coat as a universal repair
“Spray another layer of clear when you open the box” is a risky blanket rule. Additional clear may change gloss, color perception, graphic edges and panel dimensions. It can also fail if the underlying finish is contaminated, insufficiently prepared or chemically incompatible. A shop needs the actual coating system and product instructions before refinishing. A ceramic coating does not repair poor adhesion or thin color coverage. Paint-protection film can shield selected exposed areas from some abrasion, but its installer should confirm the finish is suitable and sufficiently cured for the film system being used; see our fresh-paint PPF guide.
If a shade discrepancy is the issue, do not solve it by applying clear to one side. First compare under controlled light and record the difference as described in the fairing-color comparison guide. If a decal edge is lifting, ask whether the seller wants photographs before any attempt to press, trim or coat it. If there is peeling or exposed substrate, pause installation and follow the seller's documented support process.
Decide what evidence is enough for each decision
There are three different decisions in a typical custom-painted order. First is design approval: does the layout, color intention and finish direction in the agreed reference match what the buyer wanted? Second is dispatch approval: do the finished photographs show the agreed visible pieces and design well enough to ship? Third is arrival acceptance: are the delivered panels in the expected condition before installation? A yes at one stage is not an automatic yes at the next. The lighting and image quality may differ, and shipping adds a separate opportunity for damage.
If the buyer asked for an exact match to an existing tank or a discontinued factory color, ask what reference was used and how the match would be judged. A digital screenshot is a useful direction but a weak physical master. A supplied paint code may still need a sprayout and comparison because the retained part has aged, the undercoat may differ, and viewing angle can change the appearance of effect colors. PPG's sprayout procedure illustrates why a physical sample is used in professional color work. It is a general refinish reference, not proof that NiceFairings performs a sprayout on every order.
For a numbered design chosen from a current NiceFairings fairing listing, save that listing and the selected image. For a bespoke design, save the final signed-off layout, any physical color reference and the seller's written interpretation. If the finish target is “similar to this image” rather than “match this retained panel,” say so. The more precise the request, the more meaningful the later comparison. The buyer should also know when a requested decision cannot be verified remotely and requires a sample or in-person inspection.
At the first sign of a disagreement, send one organized message: order number, exact design and finish, affected panel, agreed reference, overview photo, paired comparison and a one-sentence description. Ask for the next review step before changing the part. Avoid sending ten edited images with different filters; they make it harder to see whether the problem is in the coating, the lighting or the camera. A fair response may be a request for better photos, an explanation of the approved design, a proposed remedy, or a request to inspect the physical panel. Record that response against the order.
The one-paragraph finish brief
Before ordering through a specific fairing listing, write: “My motorcycle is [model/year/variant]. I want [design code or attached reference], [gloss/matte/satin] finish, and [which retained part, if any] to look coordinated. Please confirm whether this is a numbered design or a custom request, what color reference you can use, whether the left and right graphics mirror or differ, and which completed views I will receive before dispatch.” Leave unknown details as questions rather than allowing a screen image to become an unspoken promise.
Good paint is not a slogan. It is a finish whose requested color, visible coverage, graphic placement and sheen can be discussed against a saved order and clear photographs. The evidence lets the buyer and supplier make an informed decision before an installer hides the edges beneath the rest of the motorcycle.
Cover: NiceFairings workshop archive, showing a painted plastic fairing panel during production. It is an example of a paint stage, not the finish record for a specific customer order.