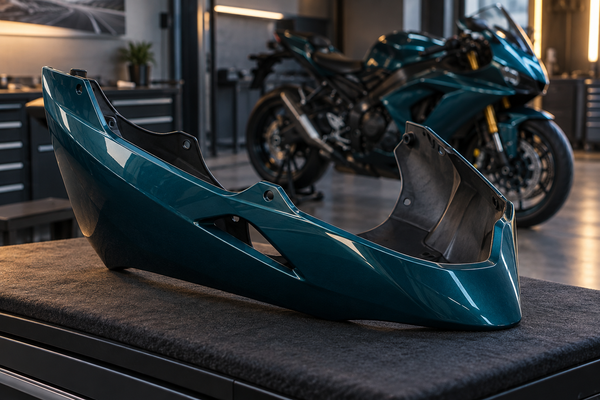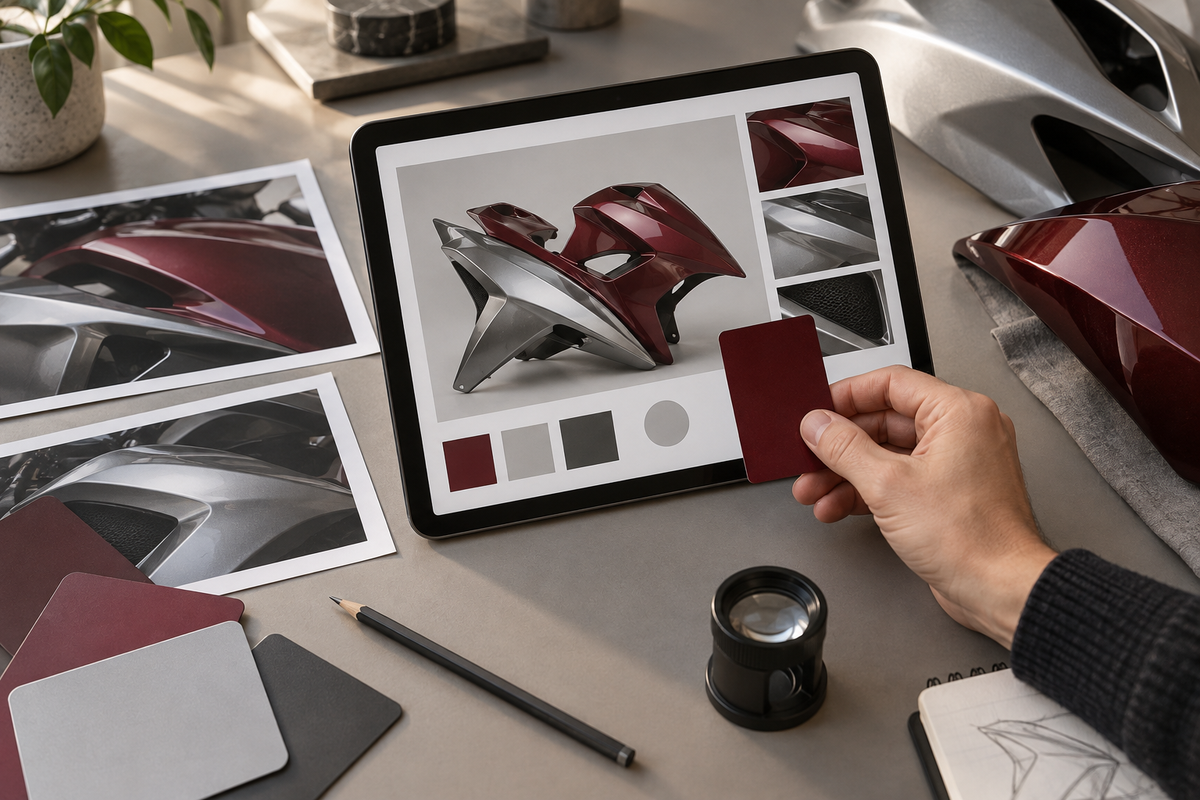
Finished fairing photos can reduce uncertainty before an international order leaves the factory. They can show whether the approved colors and graphics were followed, whether the major panels appear to be present, and whether an obvious visible finish issue needs clarification. They cannot prove installed fitment, hidden-tab condition, exact color under every light, material specifications, or the condition in which the package will arrive.
That distinction matters to buyers in the United States, the United Kingdom, and Europe who may be approving a made-to-order kit from another country. A useful photo review is a structured checkpoint, not a beauty-shot contest. This guide shows what to request, what each view can support, and which questions still need written answers. If you are planning a personalized kit, begin with the current NiceFairings custom fairing process and confirm your bike before discussing the design.
Key Takeaways
- Match the photos to the written order. Review model, year, panel scope, colors, finish, graphics, names, and numbers against the confirmed brief.
- Request a complete layout before close-ups. A perfect photograph of one side panel does not show whether the whole kit is present.
- Ask for left, right, front, rear, and detail views. One dramatic angle can hide seams, opposite-side graphics, and small pieces.
- Treat color on a screen as an approximation. Lighting, white balance, display settings, metallic flake, pearl, and viewing angle affect appearance.
- Photos do not prove fitment or delivery condition. The kit still needs an arrival inspection and a careful dry fit before final installation.
Start With the Order Record, Not the Photos
A photo has meaning only when you compare it with a clear reference. Keep the final order confirmation, motorcycle details, design notes, approved mockup or reference images, finish choice, requested names or numbers, and the list of included pieces in one place. Review that record before opening the finished-photo message.
Confirm these basics first:
- motorcycle make, exact model, model year, and relevant version;
- full kit, partial kit, or individual-panel scope;
- base color, secondary colors, and gloss, matte, metallic, or pearl direction;
- graphic layout on both sides;
- names, numbers, logos, and details that should be included or omitted;
- optional pieces and hardware stated in the actual order.
If the kit contents are unclear, compare the order with the motorcycle fairing kit contents guide. Fairing names vary, and a photograph should not be used to guess that an unlisted part was included.
The Six Photo Groups Worth Requesting
1. A Complete Kit Layout
Ask for one wide, well-lit image showing all major painted panels separated on a clean protected surface. The purpose is inventory and design context. You should be able to distinguish the major left, right, front, lower, tail, and fender-related pieces included in your order.
This image can help identify an obviously missing major panel or a color block that appears inconsistent across the kit. It may not show small hardware, hidden inserts, or pieces placed underneath another panel. Compare it with the seller's written contents list rather than counting shapes from memory.

2. Full Left-Side and Right-Side Views
Symmetrical graphics are easy to assume and easy to miss. Ask for both sides even when the design should mirror. A number, stripe ending, logo, or color transition may differ by side. If the design is intentionally asymmetrical, mark those differences in the brief before production.
Use the two side views to check graphic direction, scale, balance, and the relationship between neighbouring panels. Remember that panels shown flat on a floor or table do not meet at the same angles they will have on the motorcycle. The photos support a layout review; they do not demonstrate installed alignment.
3. Front, Tail, and Top Views
Side views can omit the nose, front fender, tank cover, and tail details. Request front and rear views when the design wraps around these areas. A top view is useful when stripes cross a tank cover or when a central graphic should appear balanced.
Check that the design has a deliberate stopping point around openings and edges. Do not use a photo to infer whether a specific headlight, windscreen, seat, or bracket fits. Those questions require the exact application and product description.
4. Close-Ups of Important Finish Areas
Choose the areas that matter most instead of asking for random detail shots. Useful close-ups include a color transition, graphic edge, name or number, pearl or metallic area, matte-to-gloss boundary, and any detail that was revised during design confirmation.
Ask for soft, even light plus one angled view that carries a reflection across the surface. Even light helps compare the overall color direction. An angled reflection can make obvious surface variation easier to discuss. Neither view certifies coating thickness, long-term durability, or every condition below the visible surface.

5. Edges, Openings, and Selected Underside Areas
Most finished photos emphasize painted faces. Buyers also care about what happens near holes, vents, edges, and mounting areas. Ask for selected reverse-side or edge photographs when a specific detail is important to the order.
An underside photo can show visible tabs and molded features from that angle. It cannot prove that every mounting point will align on the bike, that the motorcycle's brackets are straight, or that a hidden insert meets a specification. Do not ask someone to bend a tab or stress a painted panel for the camera.

6. Packed-Order Evidence
Finished-panel photos and packing photos answer different questions. Ask whether the supplier can document the kit as it enters protective packaging. Useful images may show separated painted surfaces, protective sleeves, dividers, edge protection, and the major pieces entering the carton.
Packing evidence does not guarantee how carriers or customs will handle the box. It creates a reference for the condition and arrangement at dispatch. Once the package arrives, photograph the unopened carton, shipping label, protective material, and panels during unpacking.

What Finished Photos Can Reasonably Verify
| Question | What photos can support | What still needs another check |
|---|---|---|
| Was the approved design direction followed? | Visible colors, graphic placement, names, numbers, and overall layout can be compared with the written brief. | Exact color under every light and every hidden surface. |
| Does the order appear complete? | A full layout can show the major visible panels and selected accessories. | Small hardware, hidden pieces, and the exact written contents. |
| Does the visible finish look consistent? | Even and angled light can reveal obvious visible differences worth discussing. | Coating thickness, adhesion, chemical compatibility, and long-term wear. |
| Will the kit fit the motorcycle? | Photos may confirm that the parts look consistent with the ordered generation. | Actual mounting alignment, bracket condition, transferred hardware, and installed clearances. |
| Will the package arrive undamaged? | Packing photos can document preparation before dispatch. | Carrier handling, customs inspection, and condition at delivery. |
What Finished Photos Cannot Prove
Installed Fitment
A panel can look correct on a table and still require the normal checks on the motorcycle. Fitment depends on the exact model and generation, the condition of brackets and fairing stays, original or transferred grommets and clips, and the sequence used during assembly. Dry-fit connected panels before final tightening, and never force a tab or hole into place.
Exact Color on Your Screen
Phone and computer displays are not paint instruments. Camera processing, white balance, room light, reflections, metallic or pearl effects, and display settings can all change the image. Compare several views and describe the target with words and reference photos, but expect the physical finish to vary with real lighting.
Material or Coating Specifications
A photograph cannot confirm a resin formula, plastic grade, film type, coating thickness, heat performance, or test result. Ask for the product's stated material and finish information in writing. Do not treat gloss, flexibility in a video, or the apparent thickness of an edge as laboratory evidence.
Condition After International Shipping
A finished-photo approval records a point before dispatch. It does not replace delivery inspection. NiceFairings currently advises buyers to photograph the outer package, shipping label, and damaged items and to contact the company within seven days if shipping damage is found. Check the current Production & Shipping page before ordering because timing and support instructions can change.
A Practical Review Order
- Verify identity. Match the order number, motorcycle, year range, and design version.
- Review the full layout. Compare the major panels with the written contents.
- Compare both sides. Check graphic direction, optional details, and deliberate asymmetry.
- Inspect front, tail, and top areas. Confirm wraparound graphics and requested color blocks.
- Open the close-ups. Review the exact details previously marked as important.
- List questions with image references. “Please check the silver stripe near the upper opening in photo 4” is clearer than “the graphics look wrong.”
- Wait for a written response. Do not approve dispatch while a material difference remains unresolved.
- Save the final record. Keep the approved photos, written response, and order scope together.
How to Report a Possible Mismatch
Describe observations rather than causes. State which photo, which panel, which side, and which part of the confirmed brief you are comparing. Attach the approved reference beside the finished photo when possible. Useful reports sound like this:
- “The right lower panel in photo 3 appears to be missing the silver section shown in the approved layout.”
- “Please confirm whether the number on the left tail panel is surface-applied or under clear.”
- “The complete layout does not show the front fender listed in the order. Is it photographed separately?”
Avoid diagnosing a finish failure, material defect, or fitment problem from one compressed image. Ask for another angle or written clarification. For graphics-layer questions, the guide to under-clear graphics and surface decals provides a focused checklist.
Arrival Is a New Inspection Stage
Do not treat dispatch approval as permission to install immediately. Open the carton carefully, retain packaging, and photograph the unpacking sequence. Compare the delivered pieces with the final layout. Check visible painted faces, edges, tabs, holes, and included items before drilling, trimming, transferring permanent adhesive, or completing installation.
Use the full fairing kit delivery inspection checklist when the package arrives. If you receive the wrong part, find shipping damage, or see a finish concern, stop and follow the current seller process before altering the panel.
Finished-Photo Approval Checklist
- Written order and final design version are available.
- Motorcycle model and year range match the order.
- One photo shows the complete kit layout.
- Both left and right designs are visible.
- Front, tail, top, and requested optional pieces are documented.
- Important graphics and finish transitions have close-ups.
- Names, numbers, and requested omissions are correct.
- Questions reference a specific photo and panel.
- Written answers are saved before dispatch approval.
- Packing and arrival inspections remain separate steps.
Frequently Asked Questions
Should every custom fairing order include finished photos?
Availability depends on the supplier and order process. NiceFairings states that finished photos can be provided before dispatch whenever possible. Confirm this expectation during design approval rather than assuming it applies automatically in every situation.
Can finished photos guarantee perfect color matching?
No. They help compare the overall color direction and design, but screens and lighting cannot guarantee an exact physical match. A nearby older panel may also have changed through exposure, cleaning, or previous repair.
Can I approve fitment from a full-kit layout?
No. A layout supports panel identification and inventory. Fitment requires the correct application plus a careful dry fit on the motorcycle with the relevant brackets, grommets, clips, and connected panels.
What if only one side is photographed?
Ask for the other side before approval, especially when the design includes names, numbers, logos, gradients, or stripes that cross panel seams. Do not assume the unseen side mirrors the photographed side.
What if a panel looks wrong but the photo quality is poor?
Request a clearer image in even light and identify the panel and area in question. Ask for a close-up and a wider context view. Do not approve or accuse from an image that cannot support the conclusion.
Do finished photos replace the return or damage policy?
No. Review current cancellation, return, shipping, and damage terms before ordering. After delivery, follow the stated reporting window and evidence requirements. Use the NiceFairings contact page when an order-specific point needs clarification.
Use Photos as Evidence, Not Assumptions
A good finished-photo review answers three questions: does this appear to be my order, does the visible design follow the approved brief, and is there anything obvious to clarify before dispatch? It should also preserve the limits of what a photograph can show. Fitment, hidden specifications, and delivery condition require their own checks.
For a custom order, send complete motorcycle details and a clear design brief through the custom fairings page. Then use the current production and shipping information to plan the review and delivery stages.