The new fairings have arrived. The box is open, and the only thing between you and the finished bike appears to be a few dozen screws. That is both encouraging and misleading. A full sportbike bodywork swap can be a manageable home project, but its difficulty is rarely the act of turning a fastener. It is identifying which parts the kit actually replaces, preserving the order and location of hardware, transferring the pieces that are not included, and recognizing when resistance means something is wrong.
There is no honest universal “four-hour install.” In one r/motorcycles discussion about a full fairing swap, one commenter reported two people spending roughly five to six hours on a 2003 CBR600RR. Other riders describe much shorter or longer jobs. These are anecdotal reports for different bikes and kits, not measured NiceFairings labor times. Plan enough daylight and transport flexibility for a project that could pause overnight. The useful question is not “Can anyone do this in four hours?” It is “What will I do if one mount does not line up after three hours?”
This is a time-and-decision framework, not another model-specific removal sequence. For a 2007–2012 CBR600RR or a 2019–2023 ZX-6R, use the relevant motorcycle instructions and our separate CBR600RR or ZX-6R guide as context; neither should be copied across generations.
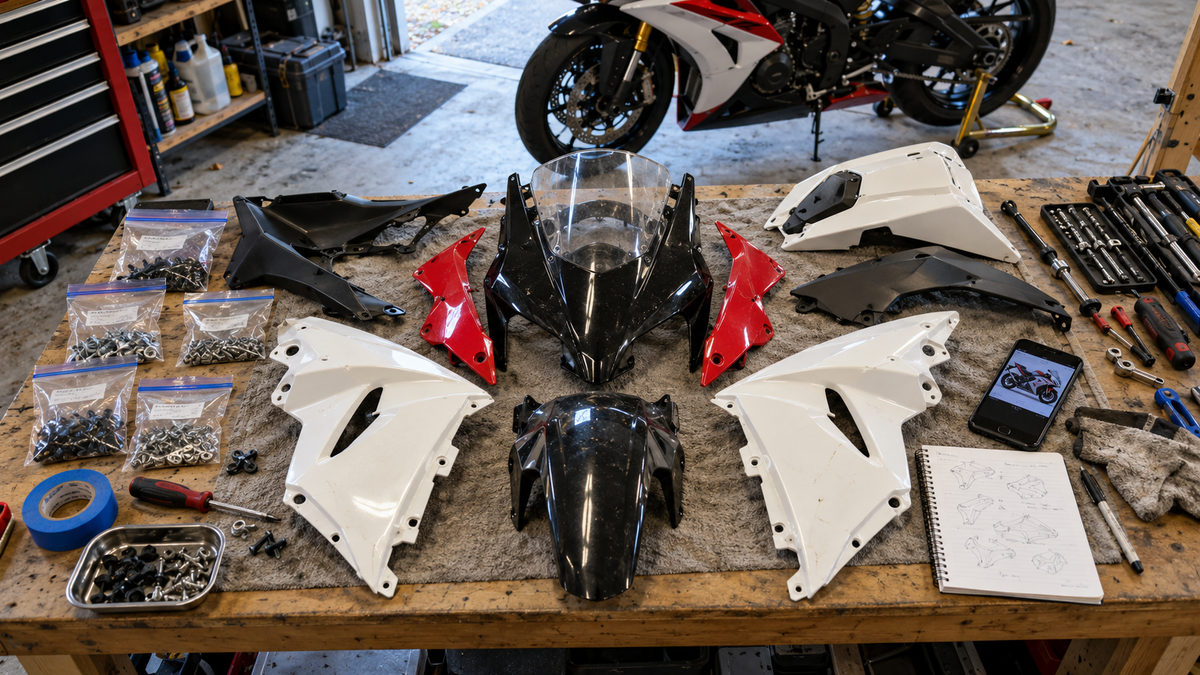
Cover: AI-generated workbench concept. The pictured panels, labels and motorcycle are not a real kit, customer installation or model-specific parts map.
What makes one swap easy and another a weekend project
A straightforward job starts with an intact motorcycle, a complete and correctly specified replacement kit, transferable hardware in good condition, and a clear parts map. A difficult job may involve previous crash repairs, missing grommets, aftermarket lights, sliders or exhaust, old brittle clips, incompatible trim, or a motorcycle that was partly disassembled long ago. New paint makes mistakes feel expensive, but the hidden state of the bike is often the larger variable.
Do a scope check before removing anything. Lay out every supplied panel on a clean soft surface and compare it with the listing and your bike. Note what is not in the carton: windscreen, mirrors, headlamp, inner cowl, tank cover, seat cowl, heat shielding, brackets, rubber pieces or fasteners may or may not be included in a particular product. The words “complete kit” are not a substitute for an itemized list. If a critical component is missing or the application appears wrong, stop and contact the seller while the original motorcycle is still assembled.
The same idea applies to the bike's identity. Confirm the exact model, production year and market variant, not just the color or a registration date. Similar-looking generations may use different upper-cowl shapes and mounts. If the old bodywork is itself aftermarket, do not assume its fittings are the original reference. Compare against the motorcycle-side brackets and official parts information where available. A design image does not establish interchangeability.
Budget time in phases, not one optimistic number
Break the job into preparation, removal, transfer, dry fit, final assembly and verification. Preparation includes a clean space, support for the bike, tools, itemized parts check and photos. Removal is when you discover hidden clips and different fastener lengths. Transfer may mean moving screens, lights, vents, foam, grommets or brackets. Dry fit is where gaps and mounting order reveal themselves. Final assembly includes tightening to the manufacturer's relevant instructions, electrical checks and a careful roadworthiness review.
For a well-documented, like-for-like job on a sound bike, an experienced person might finish within an afternoon. A first-timer working alone should reserve substantially more time and avoid booking a ride for the same evening. The five-to-six-hour CBR600RR comment is a useful reminder that even two people may spend most of a day, but it should not be converted into a published average. Record your own phase times. If removal took twice as long as expected, adjust the rest of the plan instead of racing the clock.
| Phase | Deliverable before moving on | Reason to pause |
|---|---|---|
| Inventory | Supplied pieces and missing/reused parts listed | Wrong application or unclear kit contents |
| Removal | Old panels photographed and hardware mapped | Hidden fastener or stuck panel needs force |
| Transfer | Lamps, screen, trim and rubber pieces accounted for | Broken or degraded reusable component |
| Dry fit | Panels sit without stress before final tightening | Hole, tab, heat or steering clearance conflict |
| Final check | All fasteners, lights, steering and road equipment checked | Anything loose, rubbing or electrically faulty |
This is a management tool, not a universal manufacturer procedure. Follow the service manual for your motorcycle and the supplied installation guidance where available. A professional may still be the right choice even when the schedule looks generous.
Plan for a deliberate break between dry fit and final assembly. That gives you a chance to check the entire silhouette before clamps and screws lock in a misplaced overlap. It also creates a natural point to stop if the part inventory or mounting arrangement is wrong. A rushed installer tends to interpret every extra minute as a failure and may start modifying a sound panel to recover time. A written phase plan makes an unexpected pause normal, which is exactly what you want when the alternative is damaging a painted part.
Build a hardware map before the first screw comes out
You do not need an elaborate workshop to avoid losing track. Prepare a tray or small labeled bags for each zone: nose, left side, right side, lower, tail and screen. A cardboard outline with holes for fasteners can also work, but label which face of the bike it represents and keep it away from children, pets and drafts. Photograph each panel before removal, then photograph the layer beneath it. Record the orientation of rubber washers, collars, clips and spacers. Those small pieces can determine whether a screw clamps the panel correctly or crushes it.

Real NiceFairings production-detail photograph of one threaded insert and its surrounding support. It illustrates why the correct fastener and gentle alignment matter; it does not identify your motorcycle, kit application, insert material or allowable torque.
Use the correct-size hand tools, a clean magnetic or compartment tray, soft cloths and enough light to see inside the cowl. A torque wrench is useful where the motorcycle or component maker specifies a torque, but do not invent one from a generic blog. A phone, painter's tape and pen are often more valuable than another power tool. Keep your original fasteners until the new set is fully fitted and tested; aftermarket hardware may differ in length, head shape or material.
The forum discussion includes a report of easily damaged aluminum kit bolts and widened holes on a particular installation. Treat that as a cautionary anecdote, not a standard step. Do not put a drill or rotary tool on the default checklist. Modifying a painted new panel can make an application error harder to diagnose and may affect a return or warranty claim. First verify that you have the right panel, the right side, the right grommet and the correct mounting sequence. Our pre-fit hole-alignment troubleshooting guide focuses on how to document a mismatch without forcing or altering it.
Remove slowly, then dry-fit loosely
Start from the manufacturer's disassembly sequence if available. As a general principle, support a panel before releasing its last attachment, and look for a clip or hidden screw when a part resists. Do not lever against painted edges. Set the old panel down on padding, not bare concrete. If one broken tab comes off with the old shell, determine whether it belonged to the panel or to a separate bike-side bracket before proceeding. New plastic cannot repair a bent stay or missing frame-side mount.
When you install the new panels, begin with a loose dry fit. Engage tabs and slots gently, align neighboring pieces, and start fasteners by hand where possible. Do not fully tighten the first convenient screw and then drag the opposite edge into place. A gap can be caused by a misplaced rubber piece, a bracket installed in the wrong order, trapped wiring or a neighboring panel not yet seated. Loosening several fasteners to let the assembly settle is often more informative than pulling harder on one part.
Keep left and right pieces separated. An inner trim piece can look nearly symmetrical in a pile and still be side-specific. If a fastener starts at an angle, back it out and inspect the thread; do not let a power driver chase it into a metal insert. If a tab begins whitening, cracking or bending sharply, stop. If the new shell cannot sit naturally with the correct pieces and supports, take photos of the panel, the bike-side mount and the gap, then ask for application or installation support. A grinder should not be the first diagnostic tool.
Before closing the lower bodywork, look at exhaust and radiator clearances, any heat shield that was present on the old panel, and hose or wire routing. A panel that fits when the bike is cold and stationary can still rub a hot or moving component. Do not copy a generic clearance number from another model; consult the appropriate service information and have a qualified mechanic review anything uncertain. After the upper is in place, turn the bars fully in both directions with the motorcycle stationary and check for cable, lever or panel contact. Our full-lock steering-clearance guide covers that separate inspection.
Five mistakes that cost more than the saved labor
The first is losing the original fastener map. A bag containing every screw is not a map; different lengths can damage a hidden part even if the head looks identical. The second is forgetting reusable small pieces such as sleeves, rubber cushions and support clips. The third is forcing alignment to make one opening meet a bolt, which can leave the panel stressed. The fourth is closing over a wire or hose and discovering the problem only after a lamp stops working or the steering binds. The fifth is calling the job done when the color looks good, before lights, mirrors, plate, fasteners and road equipment are checked.
Give yourself one deliberate “walk away and return” pause before final tightening. Look at the bike from the front and both sides. Compare panel gaps and check whether the nose is sitting square. Ask a second person to hold a large panel rather than using force to create a third hand. A careful helper is useful for supporting weight and seeing both sides; they are not a reason to wrench two misaligned holes together.
If something has already snapped, document it before changing anything else. Note whether the crack began at a tab, screw hole or painted edge, and photograph the corresponding mount on the bike. That record helps distinguish installation stress, old motorcycle damage and a supplied-part problem. It also makes the conversation with a supplier or mechanic far more productive than “the kit does not fit.”
When the professional quote is the better answer
Paying a shop is not an admission that fairings are beyond DIY. It may be sensible when the motorcycle has crash history, bent supports, damaged wiring, nonstandard lights or accessories, previous installation trouble, or no safe place to leave it partly disassembled. It also makes sense if you cannot identify the reusable parts or do not have the manual for a complicated front-cowl assembly. Ask the installer for a written scope that separates bodywork fitting from repairs to underlying mounts, electrical work and any cosmetic adjustments.
If the bike was dropped, the first shop visit may need to be a structural and mechanical assessment, not just a cosmetic install appointment. Replacing outer plastic is not proof the forks, steering, brakes or frame are sound. A good installer should be willing to pause if the underlying bike presents a fault. Agree beforehand who contacts the supplier about a disputed panel and whether modification is allowed; do not discover that after a painted part has been cut.
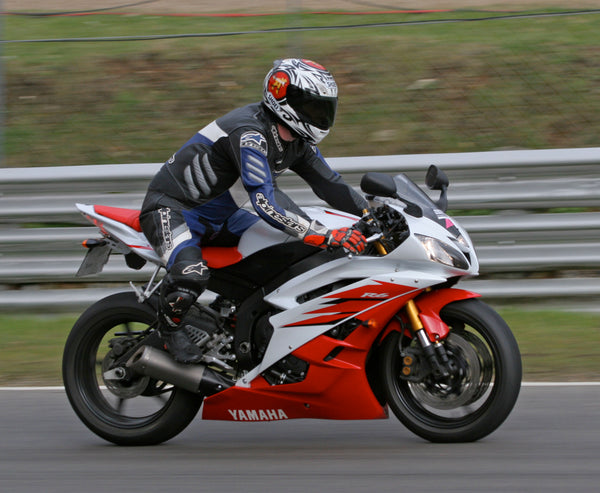
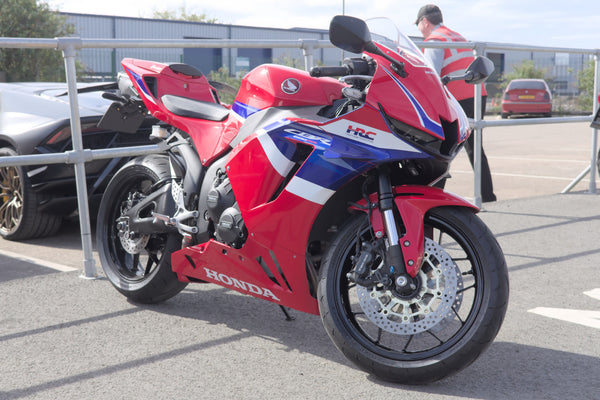
NiceFairings offers model-specific bodywork through the Yamaha R6, Honda CBR600RR and Kawasaki ZX-6R collection routes. These links are starting points for checking exact generation, product images, included parts and availability—not a claim that one generic installation procedure applies to all three. Before ordering, send the full model/year, photos of existing modifications, and a question about pieces you expect to transfer. For a realistic comparison of labor and unknown costs, use our fairing quote worksheet.
A full swap is less mysterious when you treat it as a sequence of checks rather than a race against somebody else's timer. Inventory first, map hardware, remove without force, dry-fit, verify clearance and electrical functions, then decide whether it is road-ready. If the process stops at a problem you cannot explain, that is not failure. It is the right moment to ask for help before a cosmetic project becomes a mechanical one.
Editorial note: quoted time and installation difficulty are individual forum reports, not NiceFairings testing or a guaranteed install time. The cover is an AI-generated concept; its panels are not a kit inventory. Follow model-specific service information and obtain professional assistance for damage or safety concerns.