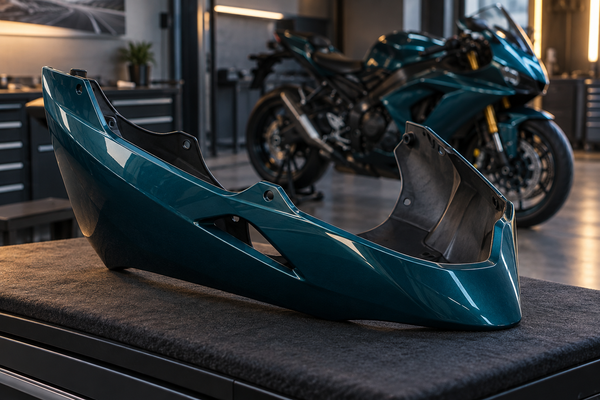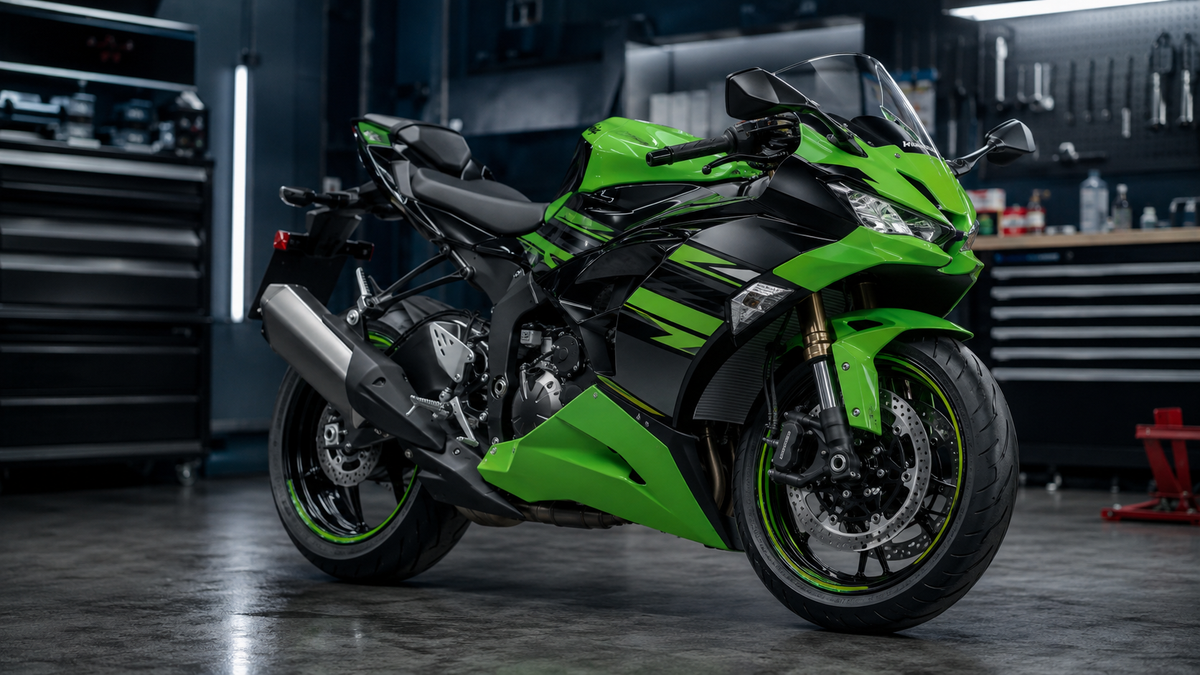
Replacing the bodywork on a 2019–2023 Kawasaki Ninja ZX-6R can transform a scratched or mismatched motorcycle, but the job goes well only when you treat the fairings as one connected system. The nose, side panels, lowers, inner trim and tail pieces all influence one another. A fastener that looks slightly out of place may be telling you that an earlier panel is not seated correctly.
This guide follows the same practical search intent that made our CBR500R installation article the strongest traffic page on the former NiceFairings blog: prepare carefully, preserve the original hardware, dry-fit everything and solve alignment issues before final tightening. It is written specifically around replacement bodywork sold for the 2019–2023 Ninja ZX-6R/636 generation. Always confirm the exact model and year shown on your motorcycle documents and product listing before starting.
Key takeaways
- Confirm the motorcycle model, market and year before ordering a Kawasaki fairing kit.
- Photograph each section before removal and keep fasteners grouped by location.
- Transfer reusable factory grommets, clips, heat protection and brackets carefully.
- Install every major panel loosely before tightening any section.
- Never force a bolt to pull a panel into position; find the cause of the misalignment.
- Use the Kawasaki service information for your exact year whenever the procedure or tightening specification matters.
1. Confirm the kit matches your exact ZX-6R
Start with the motorcycle, not the paint color. Check the VIN label, registration and original bodywork to confirm that you have a 2019–2023 ZX-6R/636. A similar-looking panel from another generation is not evidence of compatibility. Headlight openings, inner panels, mounting tabs, ram-air pieces and tail interfaces can change even when the motorcycle still carries the ZX-6R name.
Read the stated fitment range on the product page. For example, a green-and-black 2019–2023 ZX-6R fairing kit and a matte-black 2019–2023 kit may share the same bodywork range but include different painted finishes or accessory pieces. Compare the item list with your existing panels before disassembly. If the bike has a nonstandard exhaust, lighting, frame sliders or track hardware, photograph those areas and ask for a fitment review through the NiceFairings contact page.

2. Inventory the panels and inspect the motorcycle
Open the shipment on a clean, padded surface. Do not stack painted pieces directly against one another. Match each new panel to the corresponding original part and inspect edges, tabs and mounting holes under good light. Keep protective film in place where possible until the dry-fit is complete.
Inspect the motorcycle before blaming a new panel for a gap. A bent fairing stay, damaged bracket, missing rubber mount or previously repaired tab can move the entire assembly. Look around the headlight support, upper cowl, side-panel brackets, lower mounting points and tail. If the motorcycle was dropped, have questionable structural or safety-related damage evaluated by a qualified technician before continuing.
Pre-installation checklist
| Area | What to verify | Why it matters |
|---|---|---|
| Model and year | 2019–2023 ZX-6R/636 and the correct market version | Prevents generation mismatch |
| Panel inventory | Nose, sides, lowers, tail and included trim | Stops the job before a missing piece causes delay |
| Mounting hardware | Bolts, clips, well nuts, grommets and spacers | Maintains correct spacing and support |
| Motorcycle supports | Fairing stay and brackets are straight and secure | A bent support creates false fitment problems |
| Clearance items | Wiring, hoses, exhaust and added accessories | Prevents pinching, heat contact and interference |
3. Prepare the workspace and tools
Work on a level floor with the motorcycle secure on an appropriate stand. Use soft blankets or foam mats for painted panels. Useful tools normally include metric hand tools, hex keys, trim tools, magnetic trays, painter's tape and a camera. The exact tool sizes and tightening specifications must come from the service information for your motorcycle, not from a generic online list.
Disconnect electrical power only when the official procedure for the parts being removed calls for it. Let the exhaust and engine cool completely. Good lighting is especially important around hidden clips and wiring connectors. Review our broader motorcycle fairing pre-fit checklist before the first fastener comes out.
4. Photograph and remove the original bodywork methodically
Take wide photos of both sides, then close-ups of every panel seam, bracket, wire routing point and unusual fastener. These images become your reference when several similar bolts are on the bench. Remove one section at a time and place its hardware in a separate tray or bag. A simple map drawn on cardboard can help preserve location without relying on memory.

Support each panel with one hand while removing the final fastener. After visible bolts are out, stop and look for concealed tabs or push clips instead of pulling harder. Separate electrical connectors by their housings rather than their wires. If a panel resists, consult the Kawasaki owner and service-manual resources for the exact motorcycle.
As each original part comes off, compare its backside with the replacement panel. Note rubber isolators, foam pads, heat shields, mesh, clips and small brackets that may need to move to the new piece. Do not discard the original bodywork or hardware until the installation has been completed and checked.
5. Transfer reusable OEM components
Clean reusable grommets and rubber mounts before transferring them. Replace pieces that are torn, hardened or missing rather than improvising with an incorrect spacer. A rubber mount does more than fill a hole: it positions the panel and helps keep hard parts from rubbing against painted plastic.
Transfer heat protection to the same functional area and orientation shown on the factory panel. Keep adhesive surfaces clean and dry. Verify that brackets sit flat and clips face the correct direction. The official 2023 ZX-6R cowling-lowers parts diagram is a useful visual reference for part relationships, but owners of other years should select the matching diagram or manual for their own bike.
6. Dry-fit the ZX-6R fairings as a complete system
A dry-fit is a temporary assembly used to check relationships before final tightening. Begin with the major reference pieces identified by the service procedure, then add neighboring panels with fasteners only finger-tight. Do not fully tighten the nose while the sides and lowers are still off the motorcycle. The panel group needs room to settle into alignment.

Insert fasteners by hand for the first few threads. If a bolt immediately feels cross-threaded or must pull a hole sideways, remove it and diagnose the cause. Check whether a grommet is missing, a tab is sitting on the wrong side of a bracket, an inner panel is trapped or a previous section was tightened too soon. Never enlarge a painted hole or apply heat as a first response.
Work from stable reference points toward flexible edges. Compare left and right gaps, but remember that original brackets and accessories can create asymmetry. A pre-drilled ZX-6R replacement kit still requires a complete dry-fit; “pre-drilled” does not mean that damage or aftermarket parts on the motorcycle can be ignored.
7. Align the nose, sides, lowers and tail
Nose and headlight area
Confirm that the upper cowl rests naturally on its supports and that the headlight opening has even clearance. Check wiring behind the nose before adding side panels. Nothing should be stretched, pinched between tabs or routed against a sharp edge.
Side panels
Engage locating tabs gently and watch the seam against the tank area and upper cowl. If one side sits high, recheck the rubber mounts and the position of the inner trim. Avoid using a fastener as a lever; painted ABS can crack around a stressed hole.
Lower fairings
Join the lower sections loosely and check exhaust clearance with the engine cold. Reinstall heat protection as intended. The lower panels must not touch hot components, restrict a hose or trap fluid where it cannot drain.
Tail pieces
Protect the tank and seat area while handling the tail. Check lamp and connector routing before closing the assembly. Confirm that the seat, latch and nearby moving parts operate normally without scraping the new finish.
8. Tighten only after every panel is seated
When the complete bodywork sits naturally, begin final fastening in the order specified by the service information. Use the correct original-style hardware and follow the model-year tightening specifications. Small fairing fasteners do not need the force used on chassis hardware. Stop if a rubber well nut spins, a tab twists or the panel starts to dimple.
Remove painter's tape and protective film carefully. Wipe fingerprints with a clean microfiber cloth rather than dry shop paper. A custom-painted kit can also be ordered through NiceFairings Custom Fairings, but installation discipline matters regardless of color.
9. Complete the final inspection
Before riding, turn the handlebars fully in both directions and check that controls, cables and brake lines remain free. Test all lights and signals that were disconnected. Verify that the front wheel and suspension have clearance through their normal movement, and inspect the exhaust area again. Start the motorcycle only after tools and loose hardware are removed from the work area.

After a short, low-speed check in a safe area, stop and inspect every seam and fastener. Listen for a new rattle and look for witness marks that indicate rubbing. Recheck the installation after the first few rides. If a mounting point, bracket or safety-related component is questionable, stop riding and obtain professional help.
Common ZX-6R fairing installation problems
A hole is slightly out of position
Loosen the surrounding panels and confirm that tabs, grommets and inner pieces are seated correctly. One tight fastener elsewhere can shift several holes. Do not drill until the entire system and the motorcycle's supports have been verified.
The nose looks crooked
Inspect the fairing stay and front brackets. Crash damage to a support cannot be corrected by pulling plastic into place. Compare the position with your pre-removal photos and seek a technician's assessment if the support appears bent.
A panel rattles
Look for a missing rubber isolator, loose clip, incorrect spacer or nearby panel contact. Tightening harder may hide the symptom while increasing stress around the mounting hole.
Painted edges are too close
Return to the loose-fit stage and adjust the complete group. Add temporary protective tape during testing. If the motorcycle has mixed-generation parts or custom accessories, contact the seller with clear photos before making an irreversible modification.
FAQ
Can a beginner install 2019–2023 ZX-6R fairings?
A careful owner with suitable tools and service information may be able to complete a straightforward replacement. The work becomes less beginner-friendly when brackets are bent, wiring has been modified or the motorcycle has crash damage. Stop and use a qualified technician when the condition of the bike is uncertain.
Should I reuse every original fastener?
Reuse only correct, serviceable hardware. Replace missing, corroded, stripped or damaged pieces with the correct specification. Keep different lengths and shoulder styles in their original locations.
Do pre-drilled fairings skip the dry-fit?
No. Pre-drilled panels still interact with factory brackets, transferred hardware and any accessories already on the motorcycle. Dry-fitting protects the finish and reveals an assembly error before final tightening.
When should I choose a full kit instead of one panel?
A full kit is worth considering when several panels are damaged, the existing paint is badly mismatched or you want one coordinated design. A single panel may be more practical for isolated damage if an acceptable color match is available. Browse NiceFairings Kawasaki options and verify every listing's stated model-year range.
Build the result around preparation, not force
The best 2019–2023 ZX-6R fairing installation is not the fastest one. It is the job where the bike was identified correctly, every fastener was documented, factory support pieces were inspected, all panels were assembled loosely and final clearance was checked before the first ride. That process gives a replacement kit the best chance to sit cleanly without unnecessary stress on tabs or painted edges.
If your motorcycle has unusual hardware or you are unsure which kit matches it, send the model year and clear photos through NiceFairings fitment support before ordering or modifying a panel.