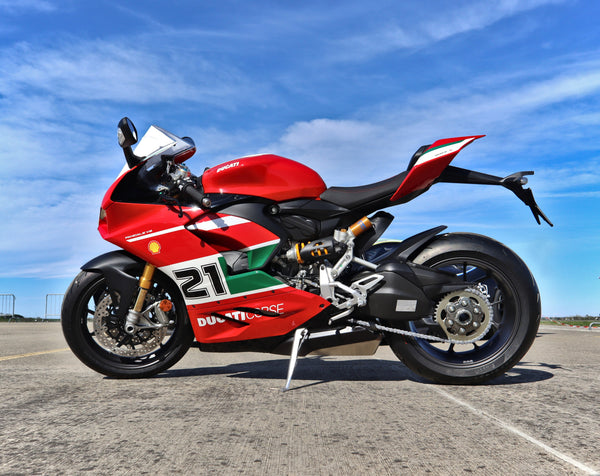
The most useful factory photograph is rarely the most polished one. A panel being prepared on a workbench may tell you more about the work than a dramatic finished-bike render. But a photograph is still a narrow piece of evidence: it shows one moment, one object, and only the surfaces visible to the camera. It cannot, by itself, certify an unseen material grade, a perfect fit on your motorcycle or the contents of your future carton.
The photographs in this story came from the NiceFairings workshop archive. They show preparation, paint-related work, surface finishes, details and packing. They do not document one customer's order from start to finish, and we will not present them as a single build's timeline. Instead, use them as a practical tour of the questions worth asking when you commission custom fairings or compare a design in the NiceFairings motorcycle collections.
Start with the surface, not the final color
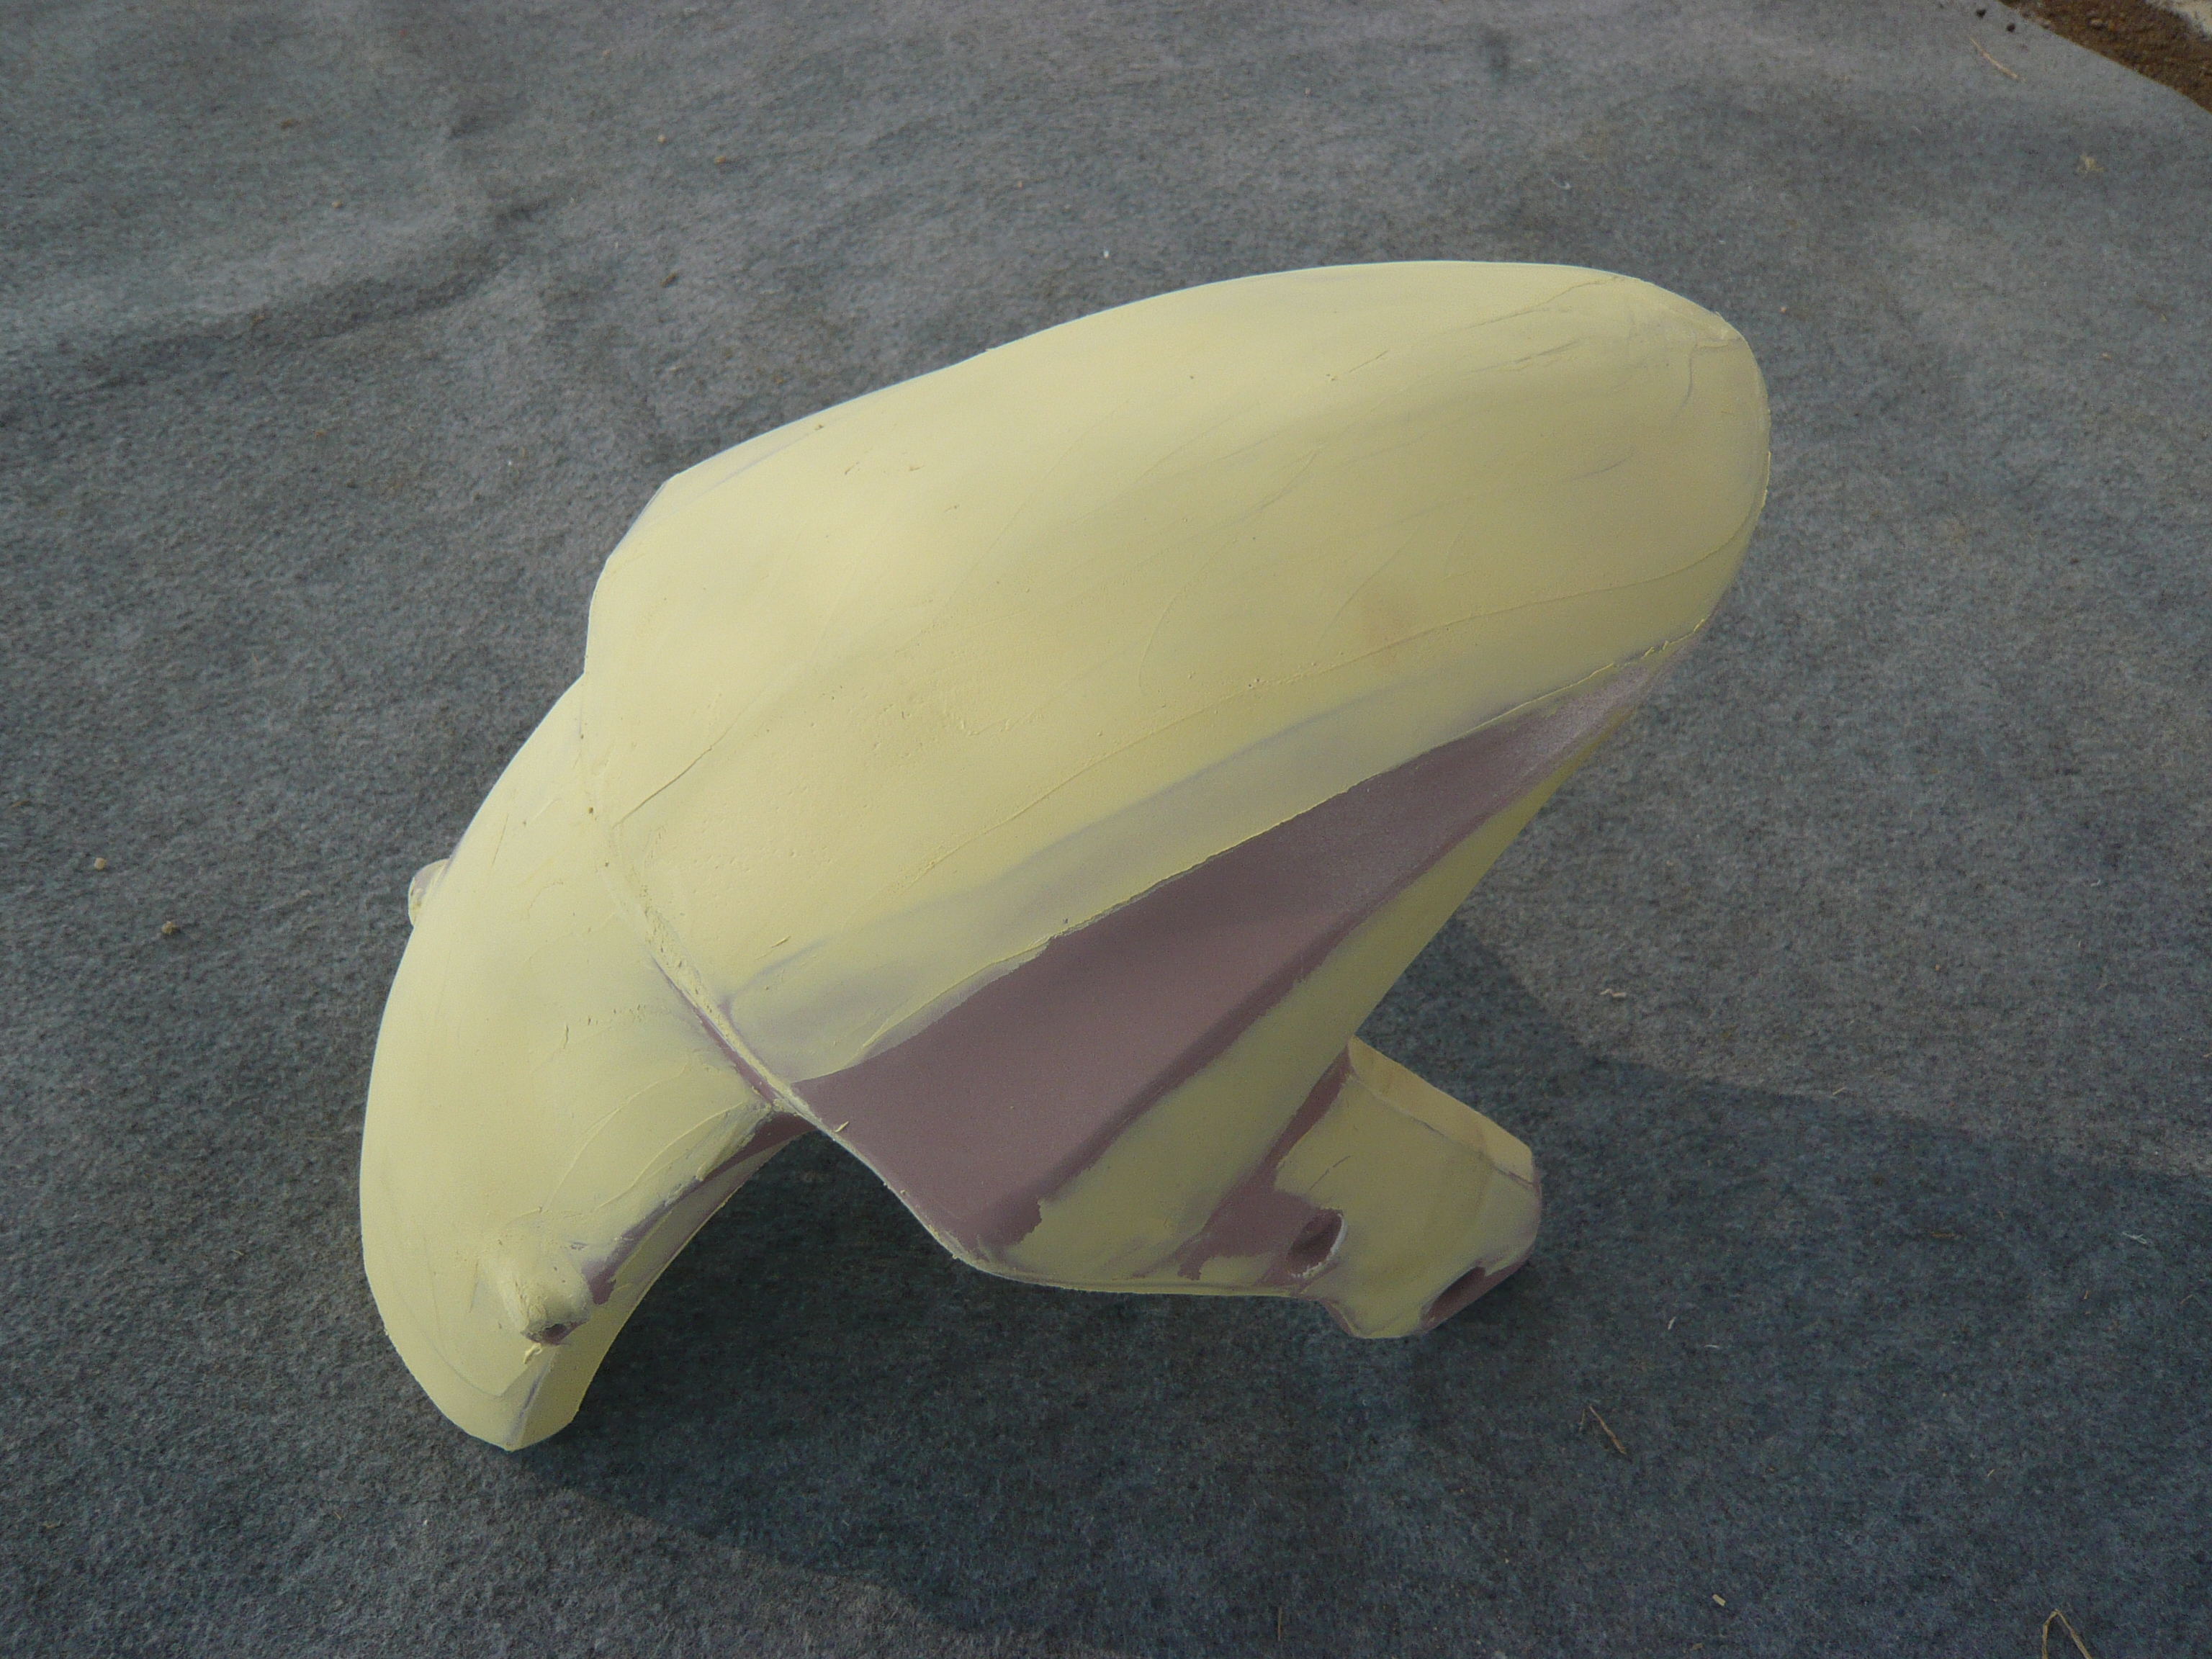
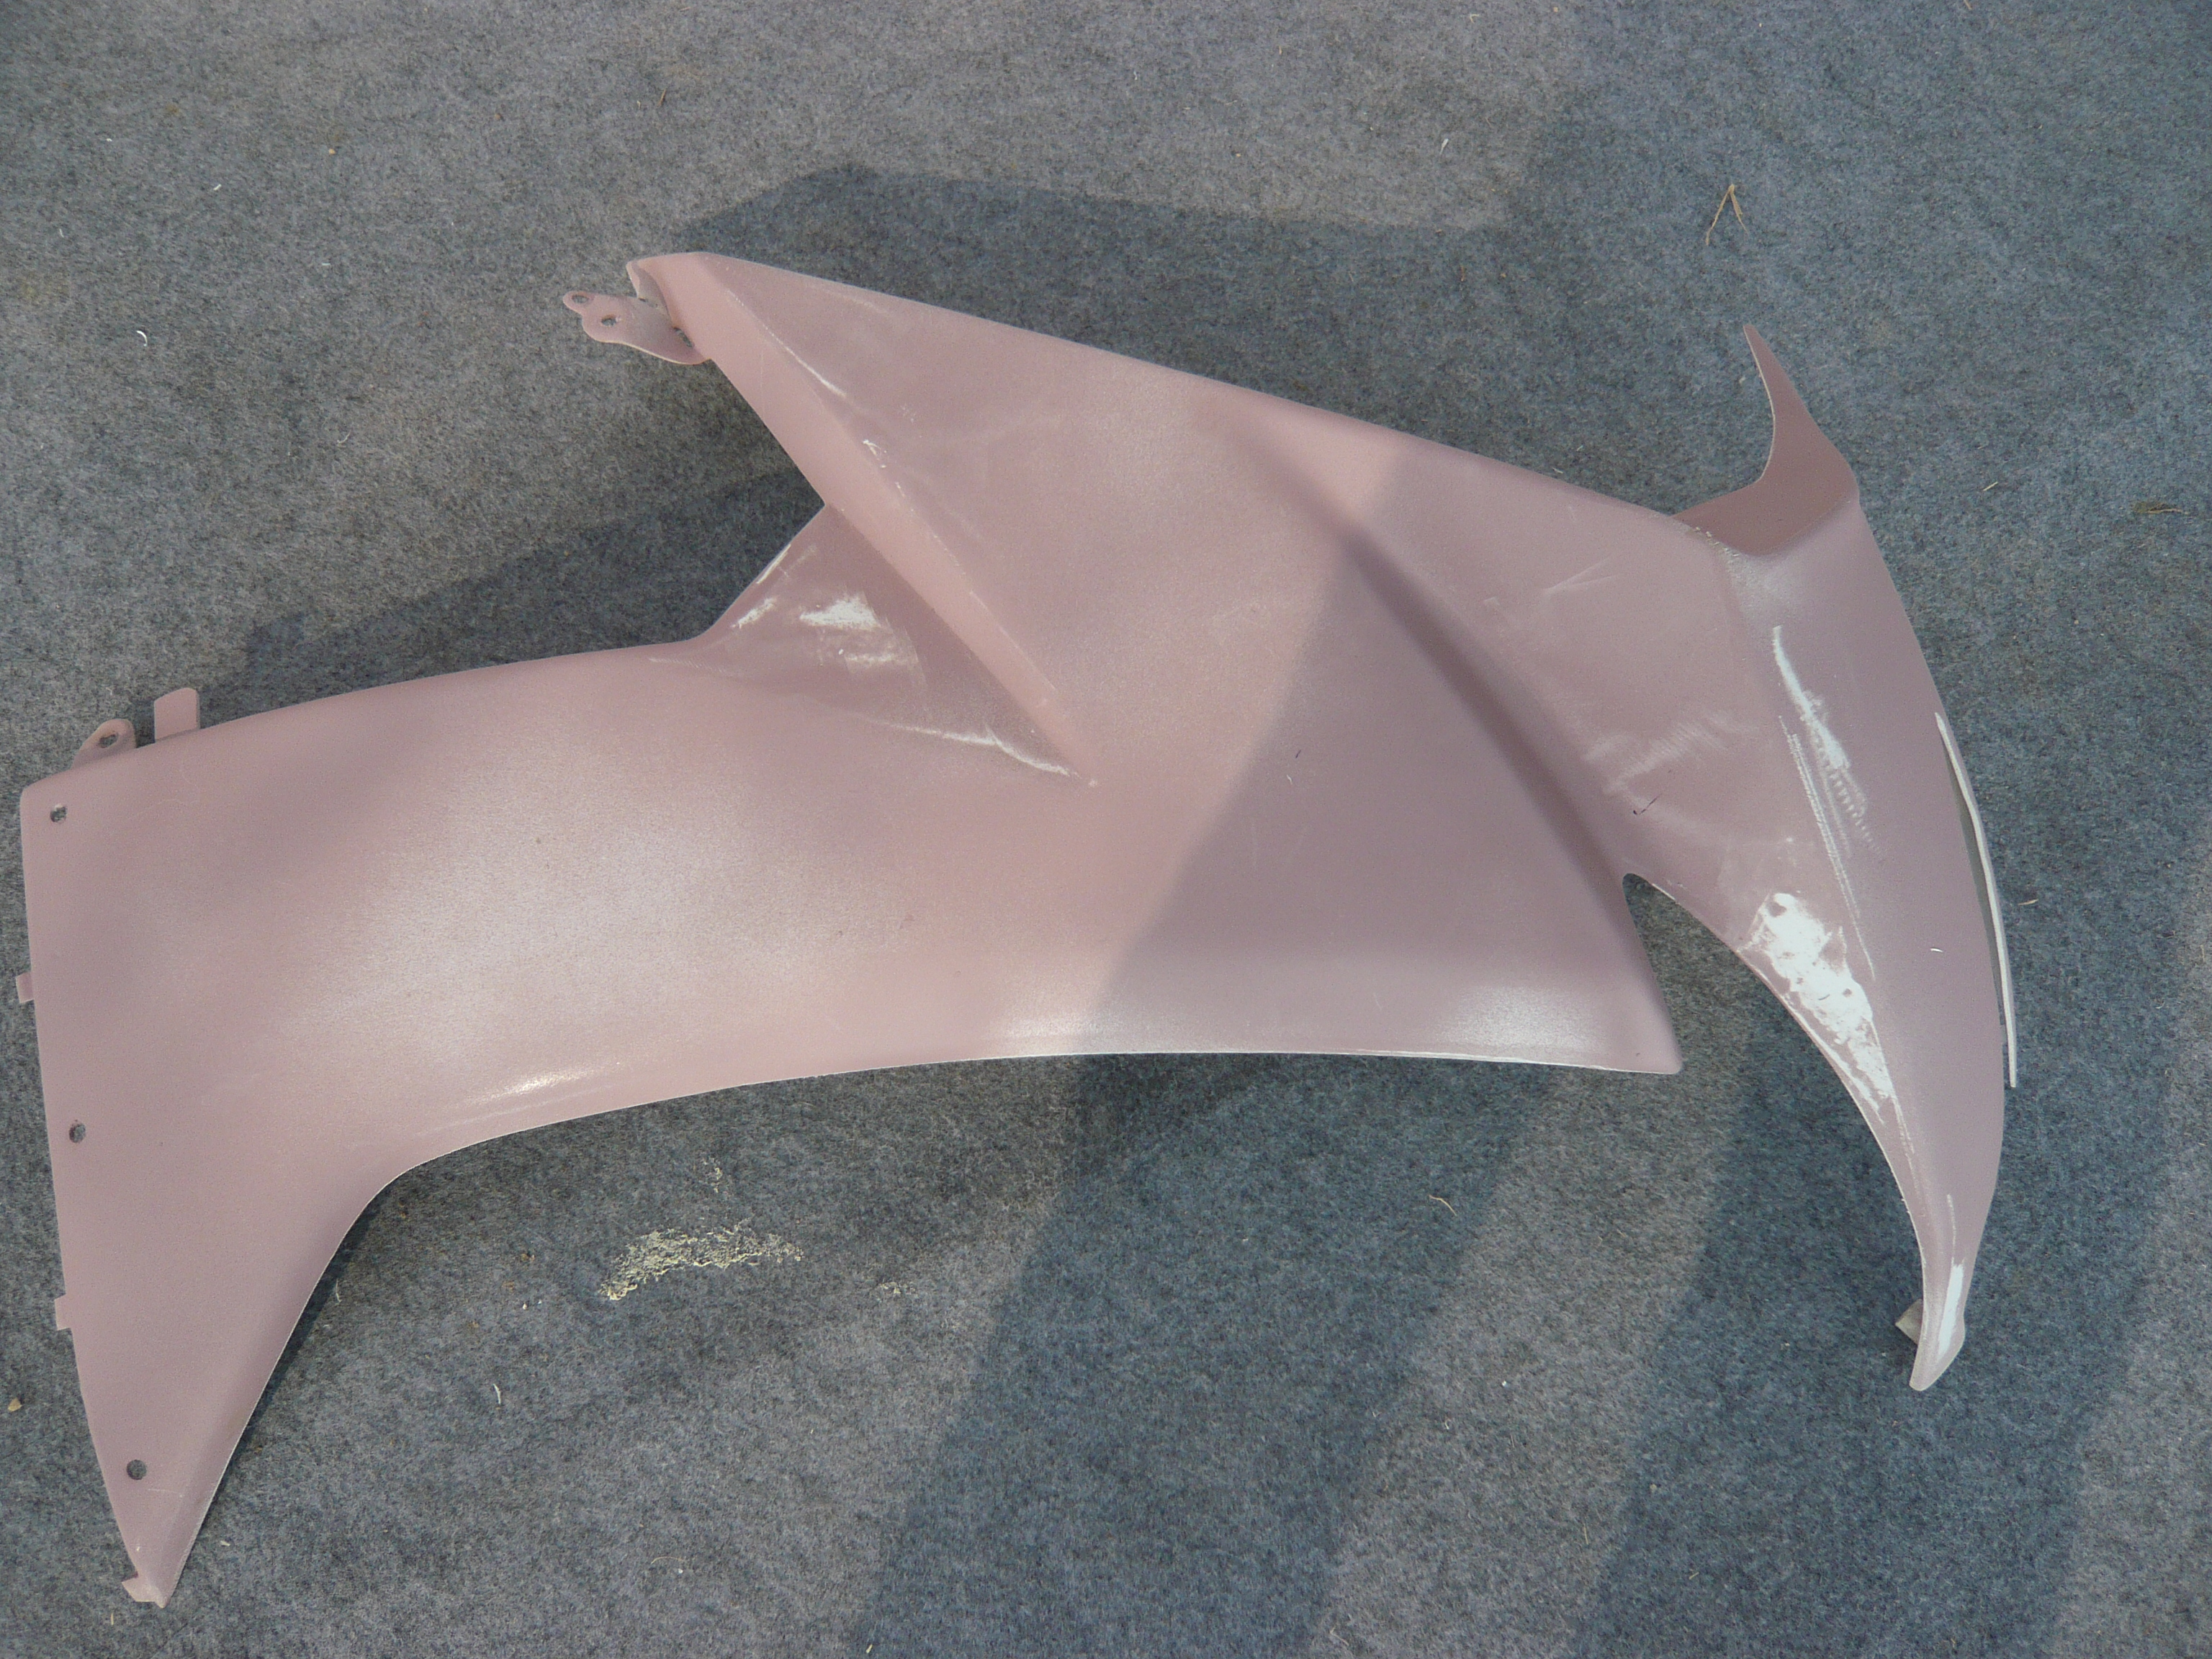
In three photographs, separate fender, tail and side-panel shapes are shown during surface preparation. Their value is not that they reveal a secret formula; it is that they remind us how much of a painted result depends on the work beneath the color. The rider sees the final gloss or satin finish. A painter has to work with the edges, openings, curves and transitions that will still be visible after paint.
Look at a prepared panel as an object, not a color sample. Is the edge continuous where it meets the neighboring piece? Are openings and mounting areas visible, or hidden by the angle? Does the image show both sides, or only the attractive face? An isolated photograph cannot settle all of these questions, but it can guide a more specific request than “Is the quality good?” If a particular opening or edge is critical to your project, ask for a clear, perpendicular close-up of that area on the finished part.
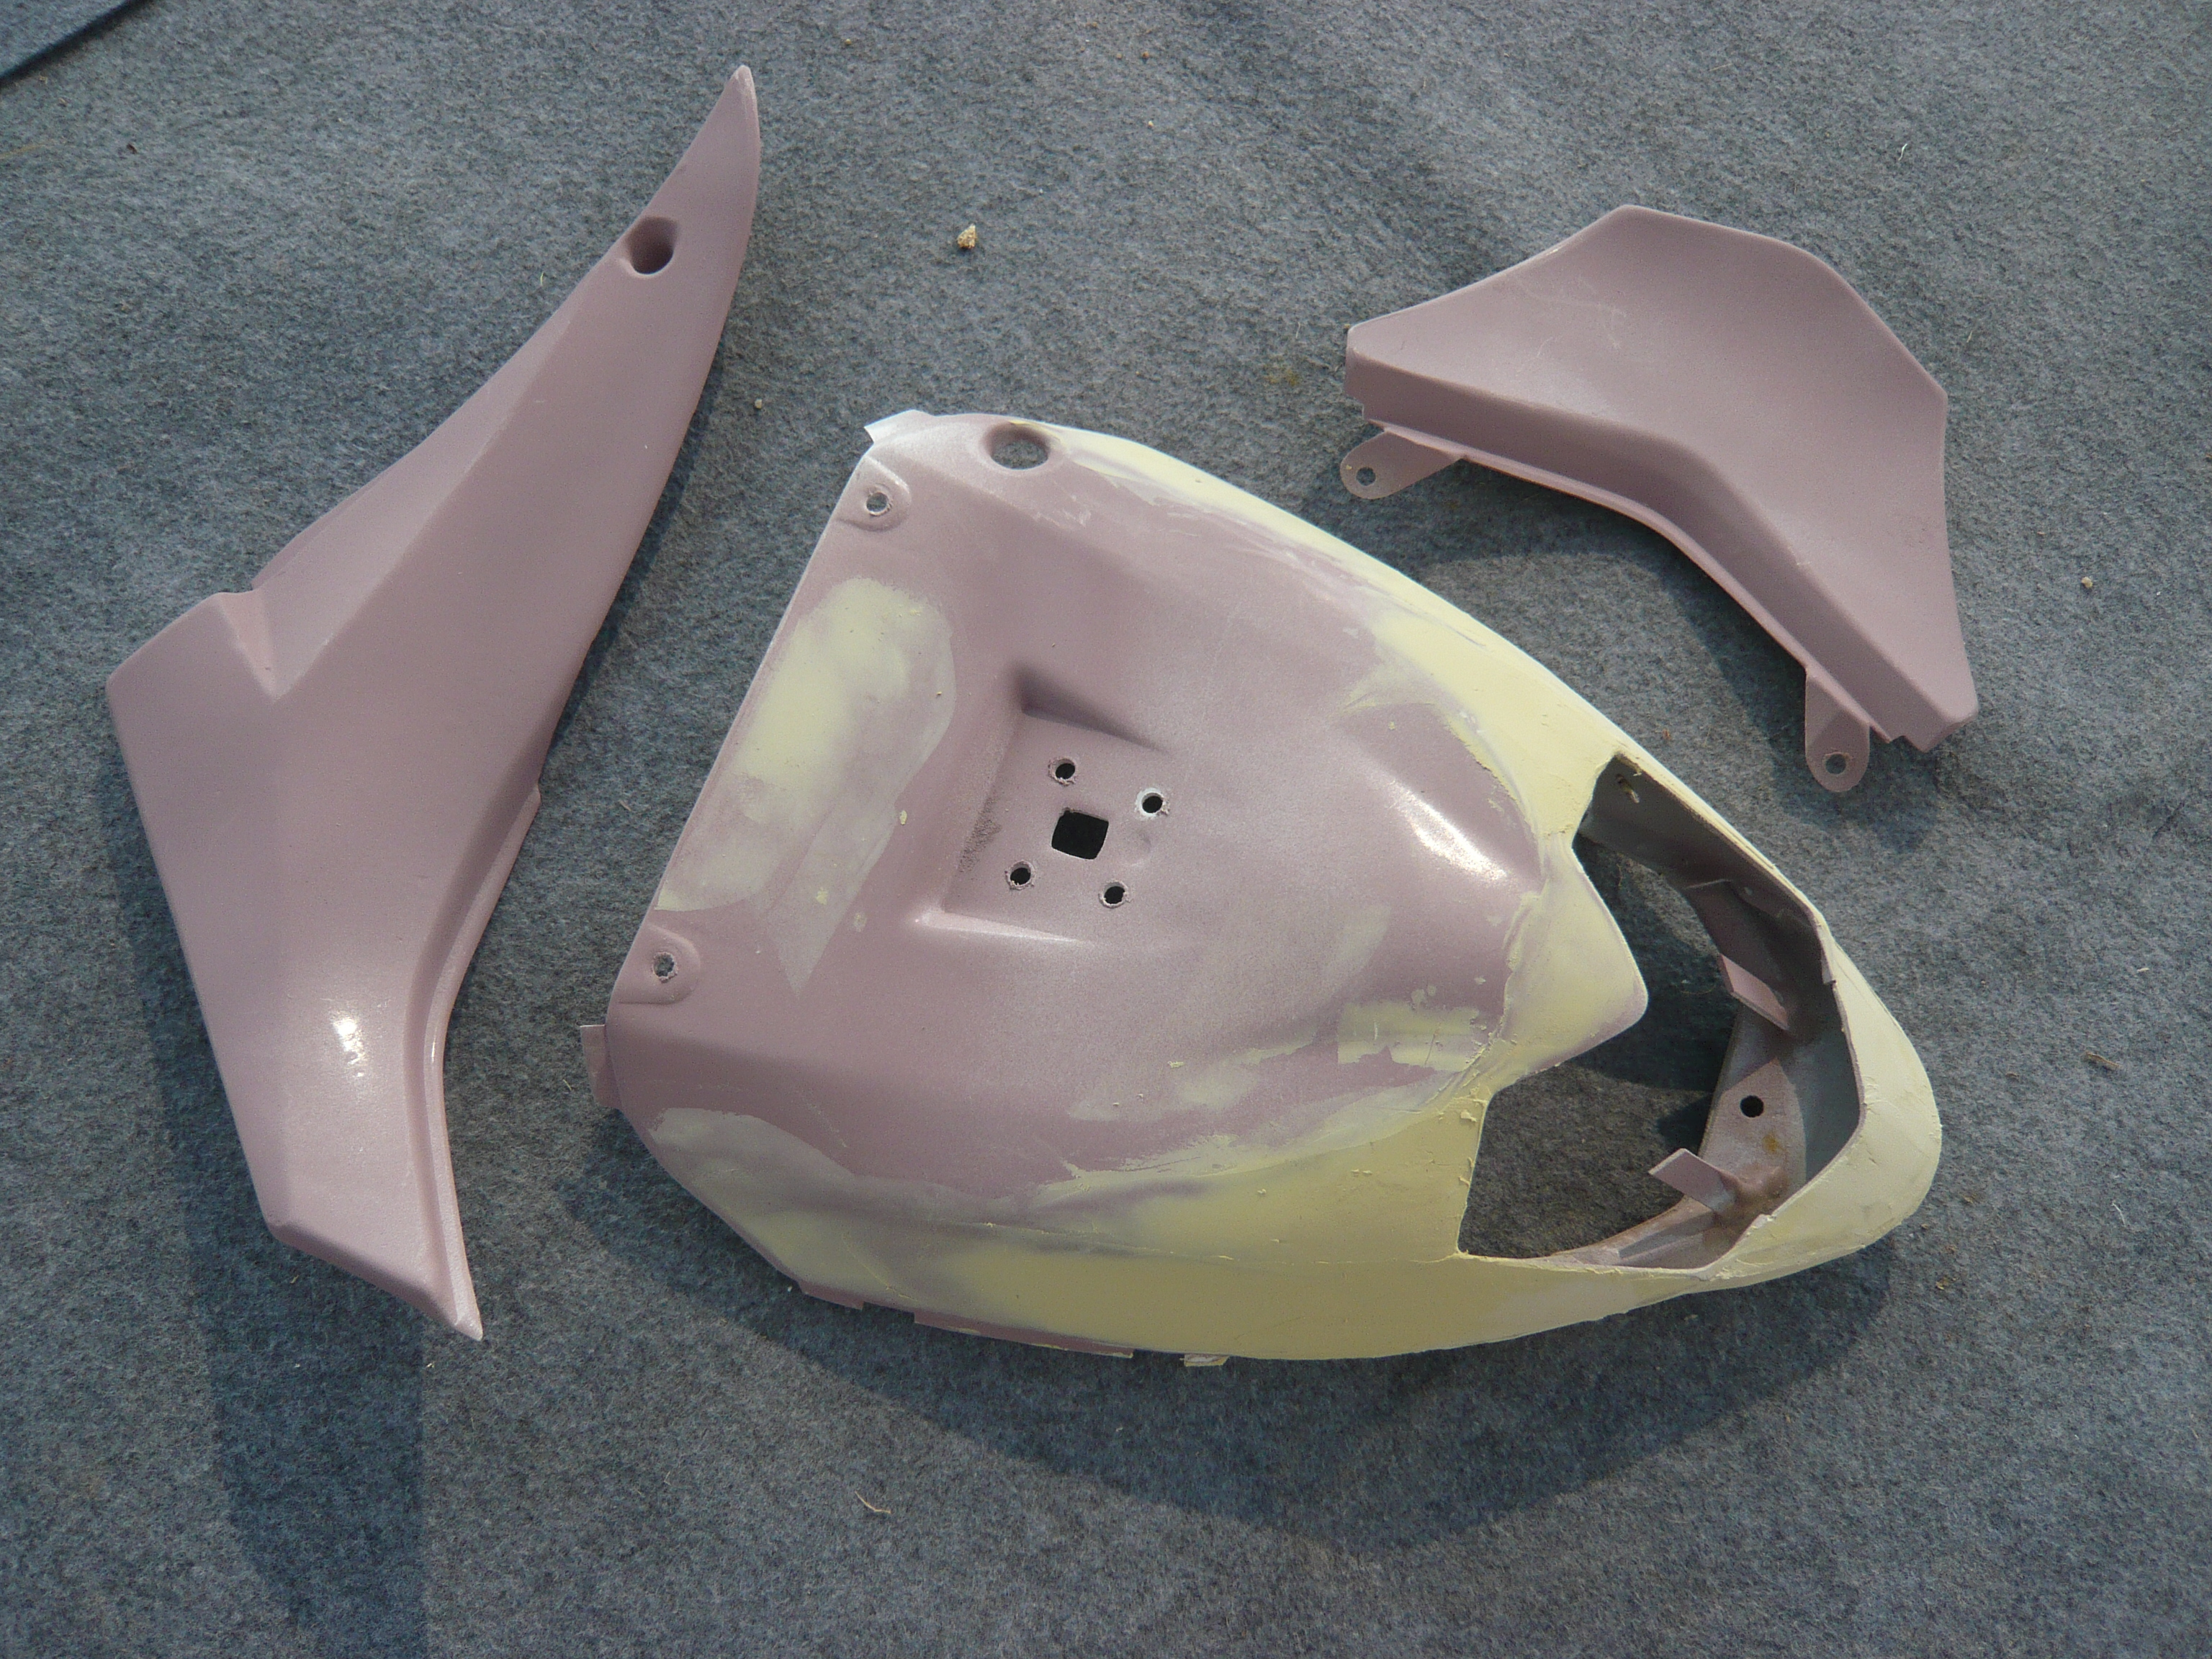
The fender photograph is useful for a different reason from the tail photograph. A front fender has a strong central crown and edges that sit close to the tire; the tail is a collection of shapes whose visual alignment matters around the seat and rear light. Neither image is a fitment test. They illustrate why surface review should be panel-specific. A smooth-looking patch on the broad side of a fairing says little about a tight inner corner, a tab behind the nose, or the clearances around an aftermarket exhaust.
A collage can explain tasks, but not chronology
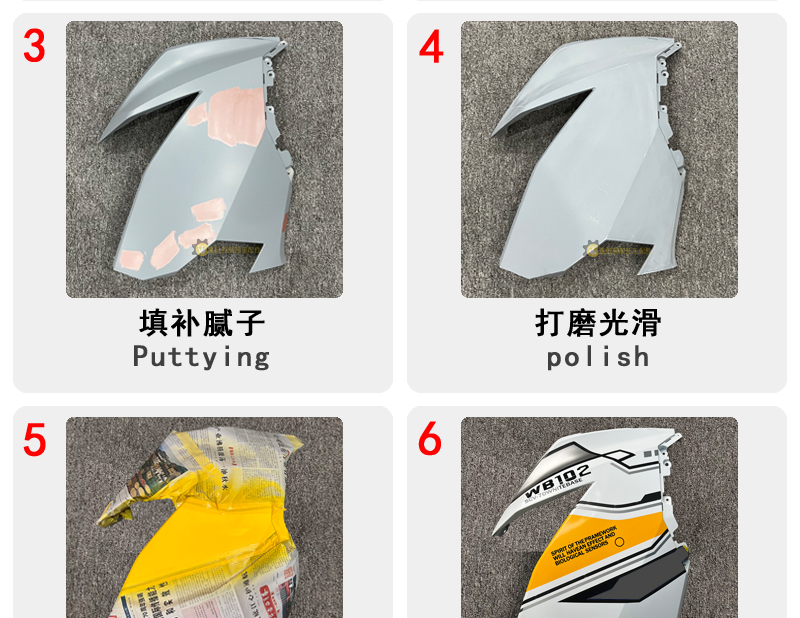
One archive image brings together filling, sanding, masking, paint and graphics-related scenes. It is tempting to read its panels like a clock: first this, then that, then a finished kit. That would overstate the evidence. A collage may combine different objects and moments. It is better read as a vocabulary of visible tasks. Filling and sanding deal with surface shape; masking separates areas intended to receive different treatments; paint and graphics create the visible design. The precise sequence, products, cure conditions and number of passes for an individual order are not established by the collage.
This matters when a buyer supplies a reference image. “Make it like this” may conceal several separate decisions: the base color, the boundary between colors, the placement of a stripe across two adjoining panels, the finish level and whether a graphic is painted, printed or applied. If those decisions are not resolved before production, an attractive final image can still differ from the rider's intention. Before ordering, send a marked-up reference with arrows at the seams that matter. State whether the tank or tank cover remains original, whether a retained front fender must visually match, and which side of the motorcycle the reference depicts. A single side photo cannot define a two-sided design.
The NiceFairings custom-design page is a starting point for that conversation. A useful brief is more than a color name. It identifies the bike's exact model and year, the target design, retained components, finish preference and any decal or number placement. If the graphics cross a panel joint, ask for a proof showing the adjacent pieces together. A beautiful isolated side panel is not the same as a coherent installed silhouette.
Why an orange panel is a better color reference than a color name
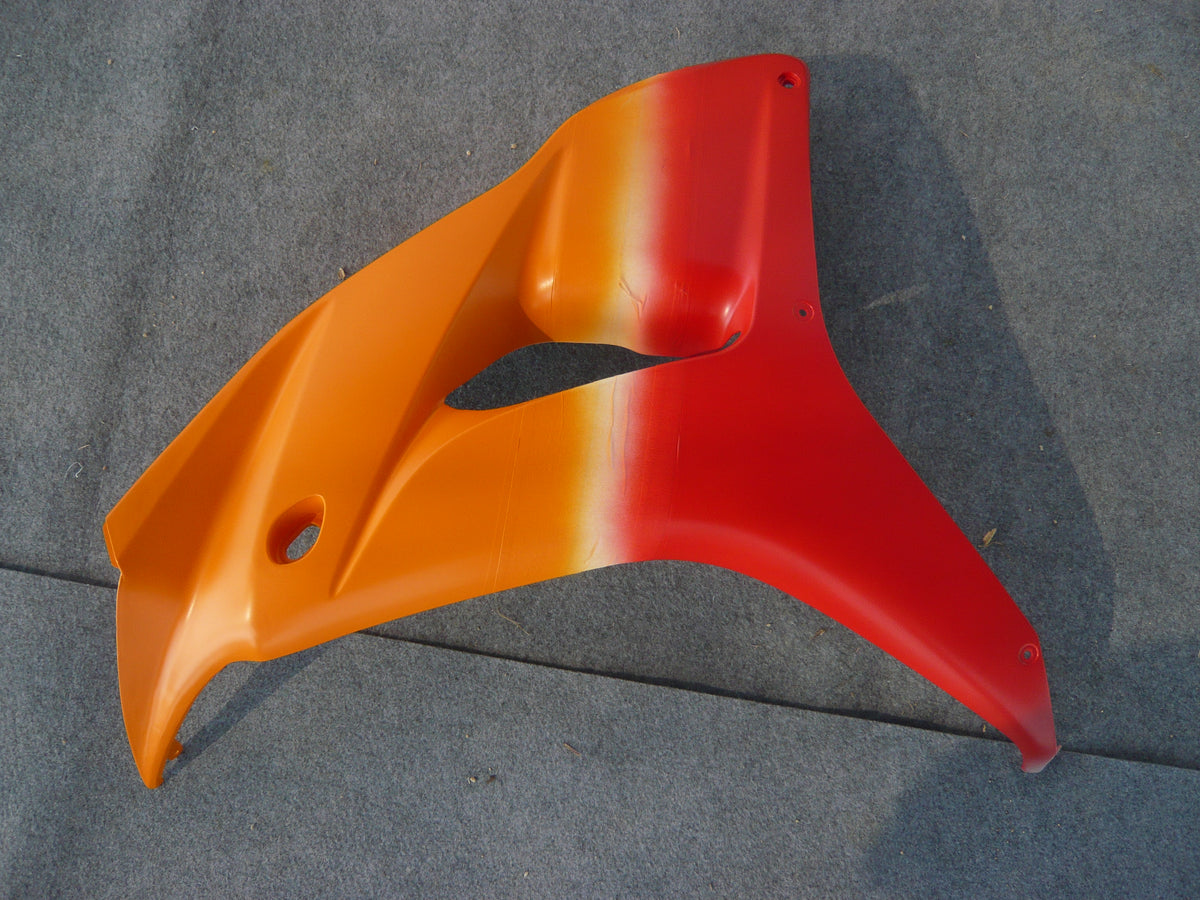
The archive contains an orange tank-cover-shaped piece and an orange-red side panel photographed during paint work. These are real surfaces with curvature, shadow and reflected light. That is already more useful than a flat digital swatch. It is also a reminder that “orange” is not a complete specification. The hue seen on a curved panel changes with the light source and camera processing; a red-orange beside black may read differently from the same shade beside white. Even the apparent gloss changes as the reflection moves across a convex surface.
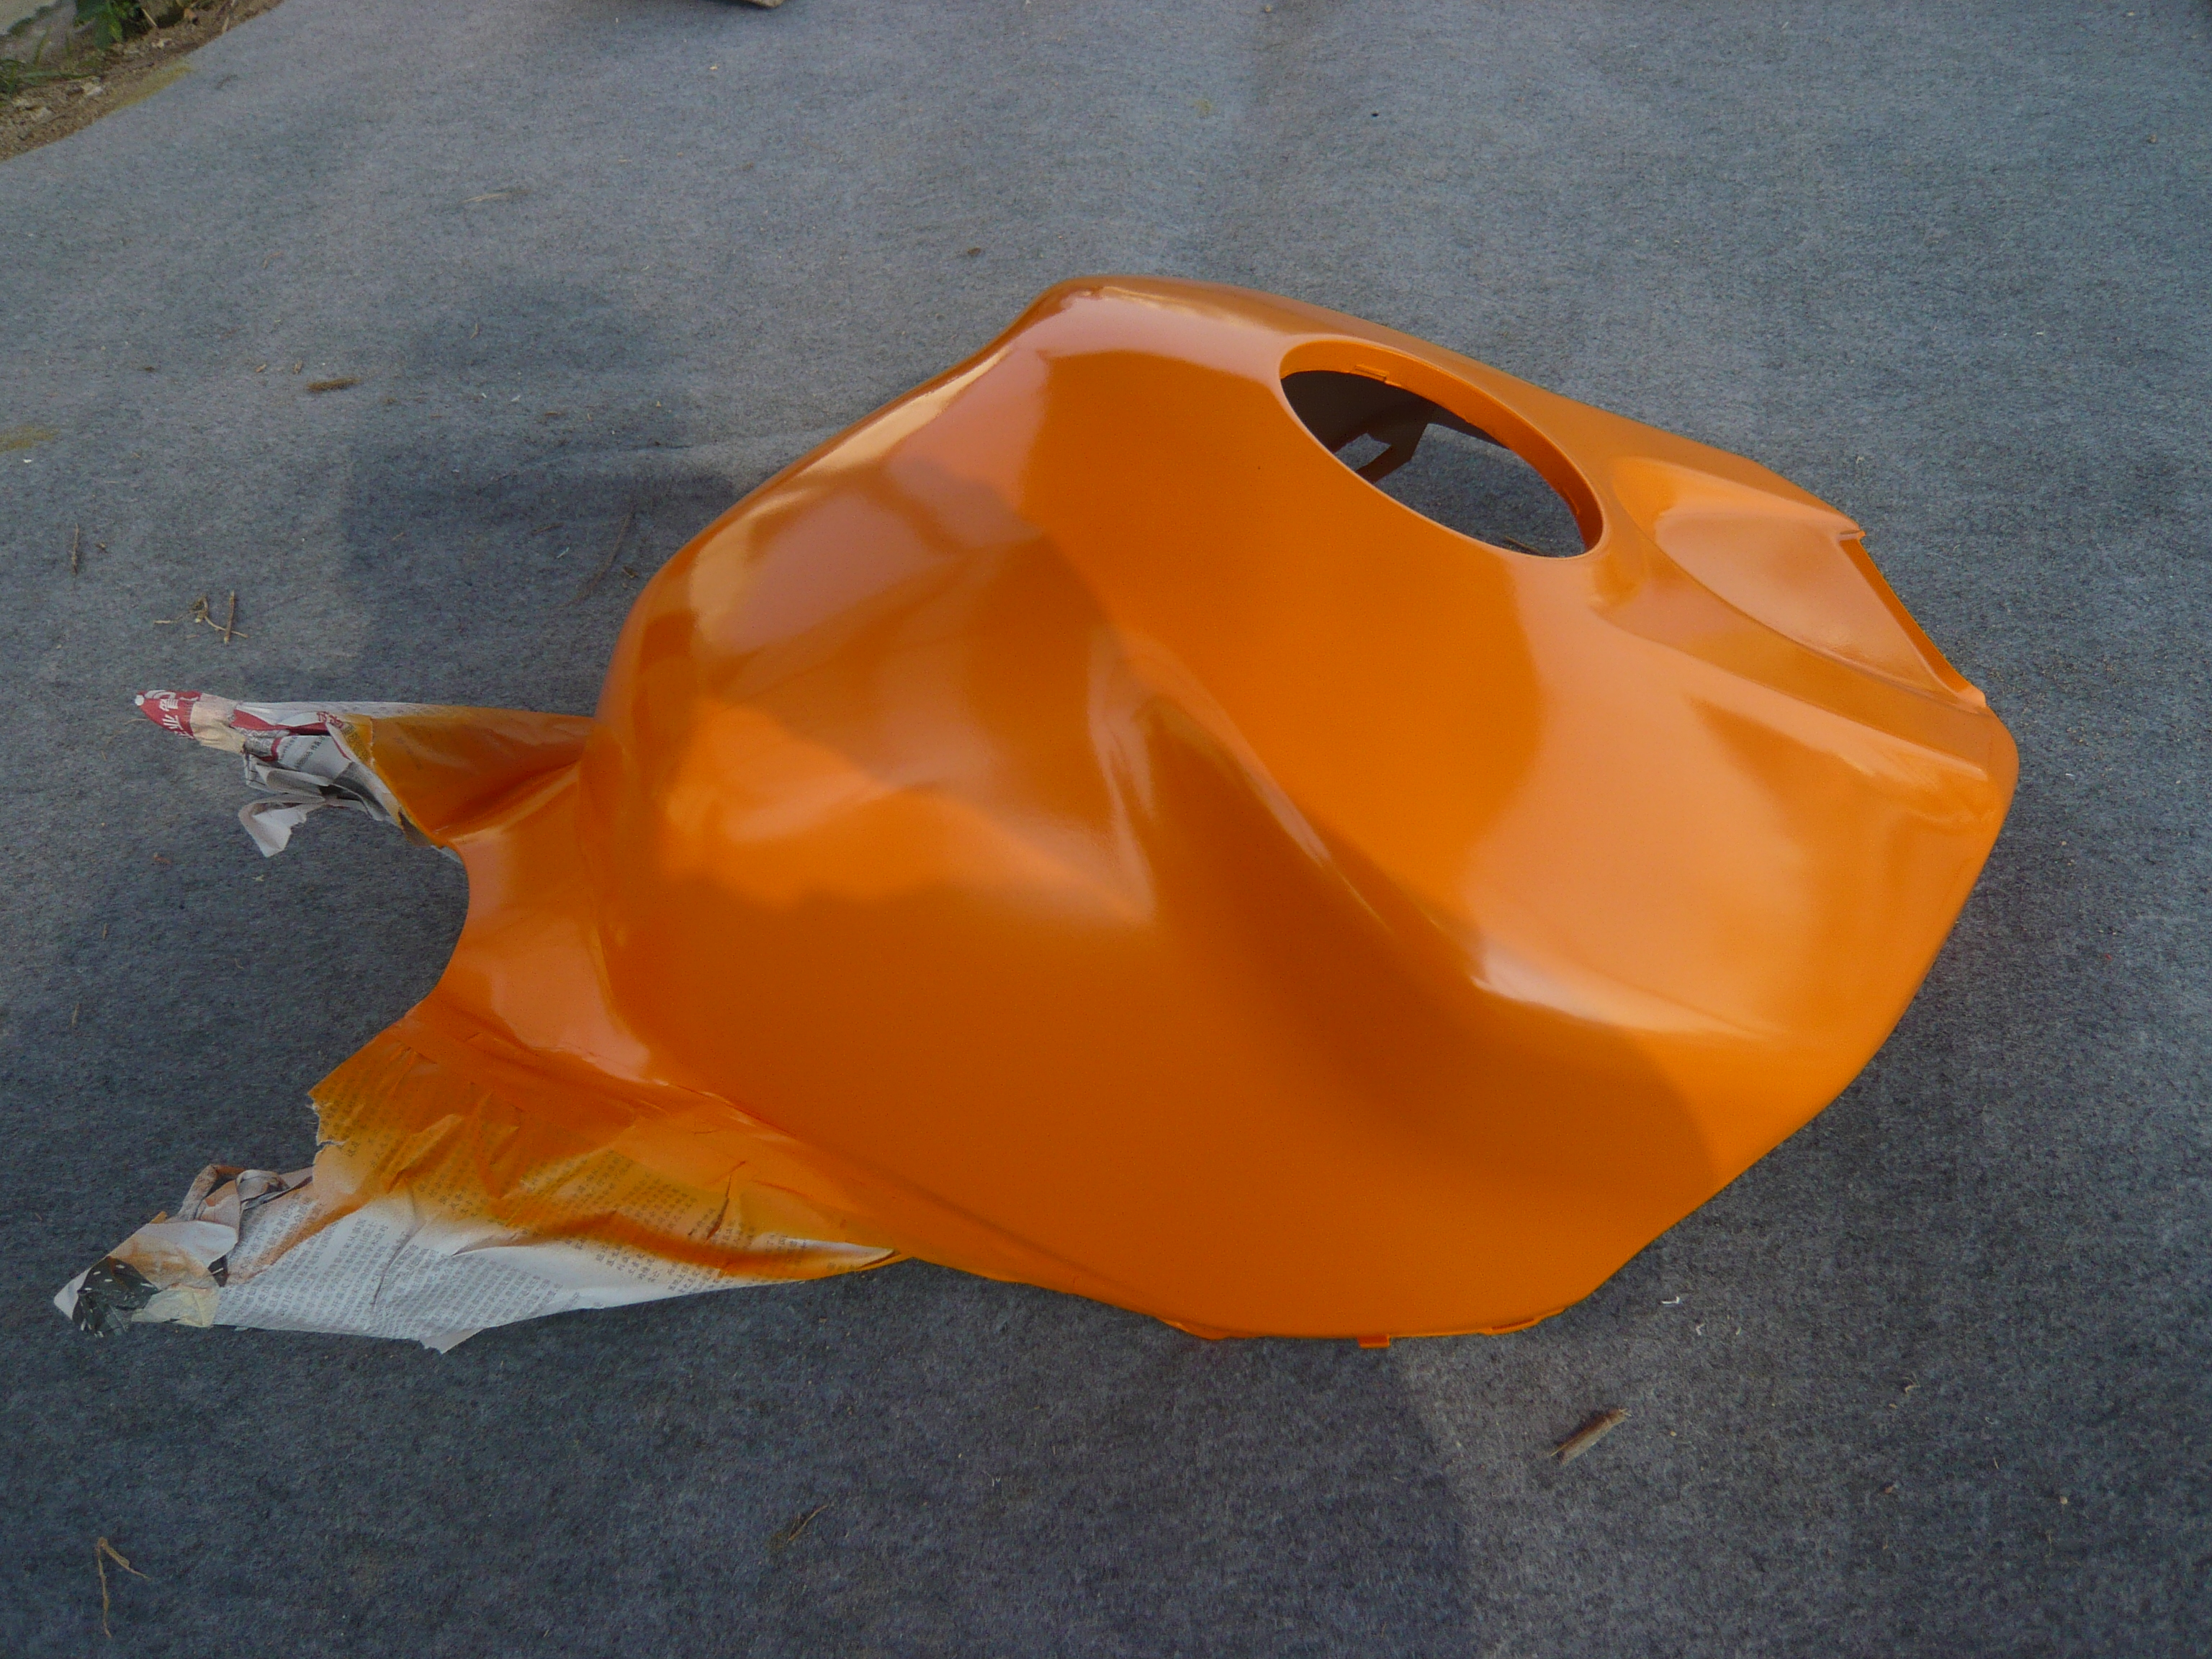
Do not assume these two panels belong to the same kit. Instead, use them to frame a pre-production question: what exactly should match? If the buyer wants a bright orange nose and a darker red-orange tail, that should be stated. If the buyer expects every orange surface to match, they should identify all pieces, including a retained tank or aftermarket seat cowl. Ask for comparison views under consistent, neutral lighting where possible. A phone photograph is helpful evidence of an appearance, but it is not a calibrated color measurement.
Finish belongs in the brief too. The archive's matte/gloss collage shows that the same broad color family can present differently under different surface treatments. Matte is not simply “less shiny” in a design plan. A gloss stripe running into a matte panel needs a deliberate boundary, and the rider needs to know how the transition will read at every visible seam. In a mixed-finish build, make a panel-by-panel map: upper cowl, left/right side, belly, tail, fender and tank cover. Do not approve only the most photogenic side.
Small details deserve appropriately small claims
The workshop archive also includes a close-up of a metal-threaded insert in a fairing mounting area. This is the sort of detail a buyer may reasonably want to see, because mounting points are easy to overlook in a glamorous hero photograph. The image shows a particular construction detail on a particular piece. It does not establish the insert alloy, pull-out strength, universal mounting quality or compatibility with your motorcycle. Those are different questions requiring different evidence.
A bag of plastic pellets appears elsewhere in the archive. It may illustrate a material-related stage of production, but it does not identify a resin grade or prove that every supplied panel uses the photographed material. A material claim should be supported by a named specification or appropriate supplier record, not reverse-engineered from the appearance of pellets. If material composition matters to your decision, ask for the exact claim and the documentation behind it. If fitment matters, ask about the exact bike and kit, not the polymer image.
The same restraint applies to decals. A photograph of number decals in bags shows decals; it does not show a personalized rider-number design in production or an included item in every kit. If your order includes a number, specify font, height, placement, color, outline and side-to-side mirroring in writing. Ask whether the number is part of the agreed design, a separate decal, or something you will apply yourself. This prevents a small visual detail from becoming a late-stage surprise.
The carton is a handover point, not the end of responsibility
The last pair of archive photographs shows protective wrapping and panels in a carton. Neither photograph is a complete shipping inspection record. They do, however, make the final handover concrete. A painted fairing has protruding edges, tips and contact points; preventing one panel from rubbing another matters just as much as choosing a sturdy outer box. The buyer also needs to know which loose pieces or accessories are expected in their order, not in a generic product photo.
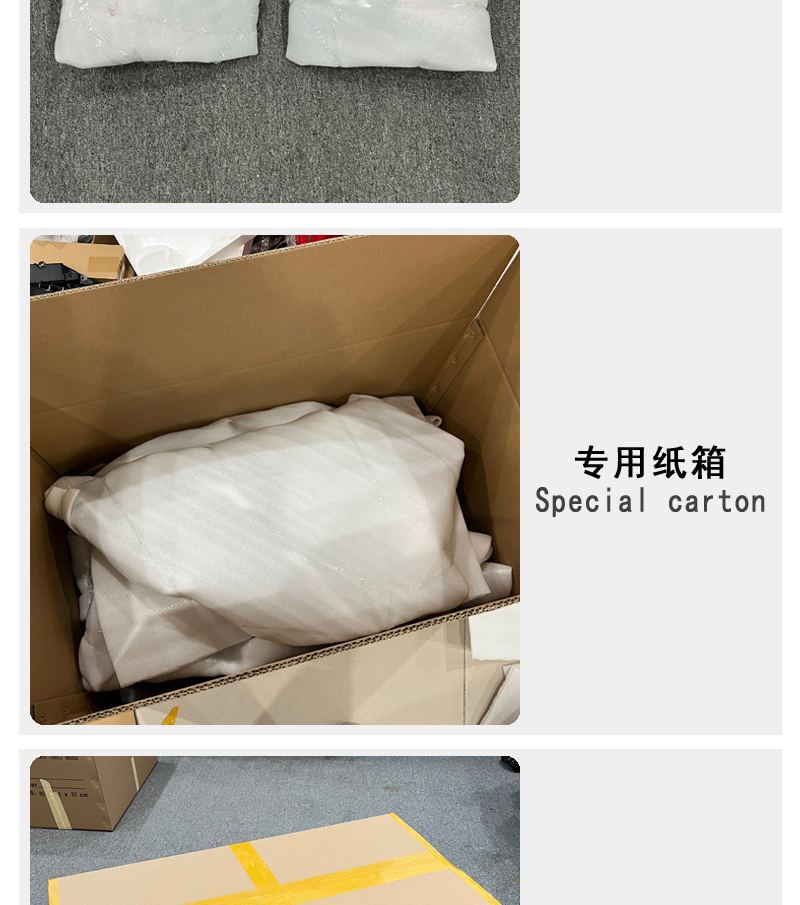
Before dispatch, ask whether a finished-set view is available that shows the ordered design and the major visible panels together. NiceFairings' shipping policy says finished photos can be provided when possible; it does not make every possible image a universal promise. If photos are provided, review the left and right side, the overall color arrangement and any named custom detail. A finished photograph can reveal a missing stripe or wrong shade; it cannot guarantee an invisible mounting point or prove the carton will arrive undamaged.
When the shipment arrives, photograph the unopened carton if it has visible damage, then document the packaging and each item before installation. Compare the received pieces against the exact written order, not an assumed universal “full kit.” If something is damaged or missing, preserve the box, inner protection and labels and contact support promptly according to the current shipping policy. That evidence helps separate shipping damage, a packing omission and an installation question. Do not force a panel to fit simply because it appeared in a photo.
Turn the photo tour into a better order conversation
The strongest outcome of these workshop images is a better set of questions.
Ask for the right image at the right decision point
Not every photograph is equally useful throughout an order. At the enquiry stage, a rider's own motorcycle photographs carry more weight than a workshop glamour shot: they establish the visible configuration the supplier is being asked to dress. Show the entire machine from both sides, then add details of modifications or damaged mounts. At design approval, the most valuable image changes. You need a left/right layout that shows the intended color and graphic placement across adjoining panels. A close-up of a glossy orange piece is a poor substitute for seeing whether the tail balances the nose.
During production, a task photograph can answer a very specific question—what does a prepared edge look like, where is a masking boundary, what does a named accent look like on a curved surface? It usually cannot answer whether the complete order is finished or whether the panel will bolt to a particular repaired motorcycle. At the finished-photo stage, ask for an overall set view and the particular details in your approved brief. When the carton arrives, switch from appearance review to inventory and condition evidence: outer carton, protective layers, every supplied piece and any shipping damage. These are different decisions. Calling all of them “quality photos” makes it easier to miss the one view that could have prevented a dispute.
Consider two hypothetical buyers, neither drawn from the archive. One wants an orange design to match a retained fuel tank. For that person, the crucial proof is an agreed color reference and a finished comparison view, not the pellet photograph. The other is replacing a cracked nose after a low-speed fall. Their key evidence is a clear view of the motorcycle's surviving front stay, headlight support and mounting points before ordering; a beautiful finished paint photo cannot establish whether a bent support has been repaired. Both customers might buy a painted kit, but the useful questions—and the photos that answer them—are different.
Even a requested photograph may be unavailable. In that case, record what remains unknown and decide whether it is acceptable before proceeding. A supplier can explain a product listing and design; a qualified mechanic may need to inspect motorcycle-side damage. Do not force one party's photos to stand in for the other's work.
Here is a concise brief a rider could send before approving a NiceFairings design:
My motorcycle is [make, model, model year, market and relevant modifications]. I am considering [exact product link or design reference]. These are the panels I intend to replace: [list]. These original or aftermarket parts will stay: [list]. Please confirm which panels and accessories are included in this exact order; whether my modified areas need additional photos; the approved color and finish for each panel; and whether finished left/right views can be provided before shipping when possible. My most important visual details are [marked reference images].
This is not a request for the workshop to guarantee what photographs cannot show. It is a way to make the agreement observable. Save the product link, chosen design, written answers and approved references together. At arrival, compare the actual parts and painted result with that record. If the motorcycle has previous crash damage or altered mounts, have the motorcycle-side condition assessed independently before blaming or modifying the new panels.
There is a reason this article uses imperfect, task-specific workshop photographs instead of a flawless generated garage scene. The photographs give us something real to inspect, and their limits are part of their usefulness. Good product content does not ask you to believe more than the evidence shows. It helps you ask the next exact question.