You want the cleaner line of a solo tail on your Ninja ZX-4RR, but you still occasionally take a passenger. Before ordering a seat cowl, find out what secures it and how much work is involved in putting the passenger seat back. The painted cover is only one part of the decision.
For a specific US 2025 ZX-4RR KRT Edition, Kawasaki's pillion-seat-cover parts catalogue lists a cover, several brackets and other hardware. That is a useful example of why an attractive top-view photograph cannot tell you the complete mounting story. It is an OEM parts record for a particular motorcycle and accessory, not an inventory for every aftermarket kit.
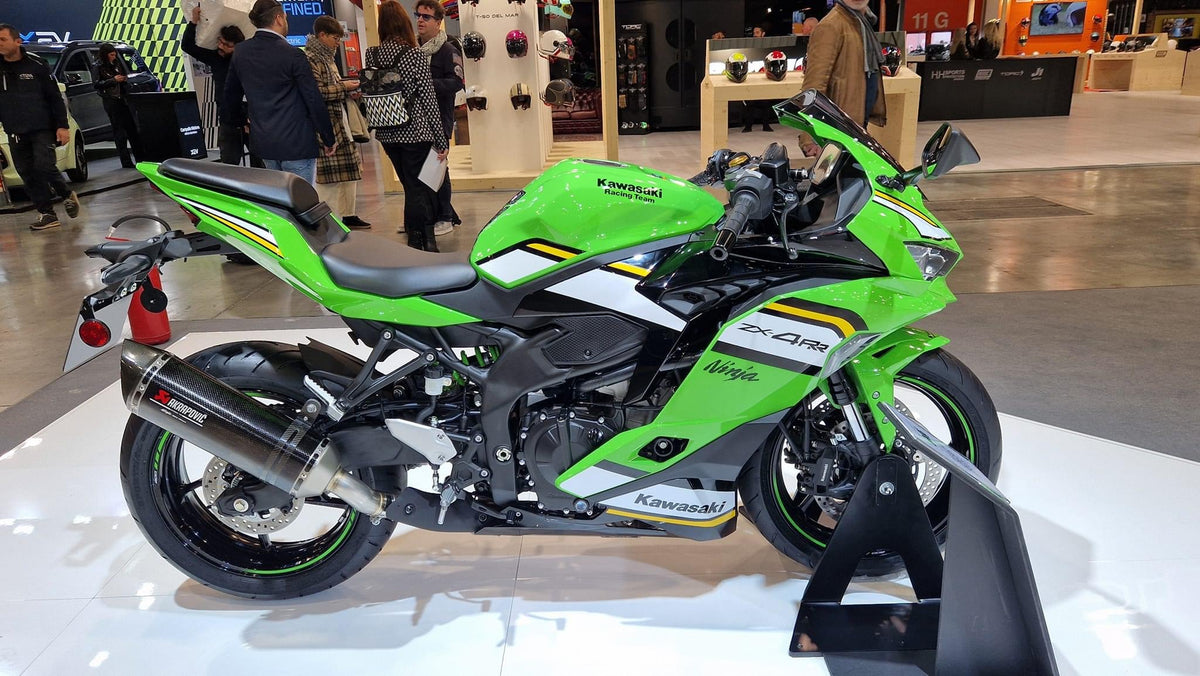
Cover: a real 2025 ZX-4RR Performance on display with its passenger seat fitted, shown to identify the rear-seat area discussed here. It does not show a solo-cowl installation or a NiceFairings kit. Photograph: AVMOTO / Wikimedia Commons, CC0.
The question that changes the purchase
Ask the seller: “For my exact model, year and market, does this cowl replace the passenger seat using its existing attachment, or does it need a separate bracket?” Then ask whether the bracket, its fasteners and any cushions are included, and what must be removed to reinstall the passenger seat.
One ZX-4R community discussion shows why that question matters. The original poster investigated a particular aftermarket cowl and later reported that it required a bracket. Another owner corrected an earlier recollection after discussing the OEM arrangement. These are individual reports, not a test of all aftermarket products. Use the actual instructions and parts list for the cowl you are considering.
If switching back and forth is important, ask for the exact procedure and whether tools are needed. A listing that says “easy to install” does not establish how quickly it changes back to a passenger seat.

Rear view of the same type of display motorcycle, showing the passenger seat and surrounding tail. The attachment hardware is hidden, so the photograph cannot establish how a solo cowl mounts. Photo: AVMOTO / Wikimedia Commons, CC0.
Read the underside, not just the paint
Request a clear photo of the underside of the exact part and the hardware laid out beside it. Compare it with the motorcycle's current rear-seat and latch area. Do not treat visual similarity as proof of fit: hooks, rubber supports, mounting points and brackets can differ even when the top silhouette looks right.
| Ask for | What it helps establish |
|---|---|
| Exact model, year, market and accessory application | Whether the seller has identified the motorcycle you actually own |
| Underside and complete hardware photos | Whether the seller can show the attachment method and what is supplied |
| Written list of parts to reuse or purchase | Whether a bracket, fastener or cushion is missing from the quote |
| Instructions for switching back | Whether two-up use requires tools or removal of extra parts |
| Color and finish reference | Whether the cowl is intended to match or contrast with the tail |
A written answer helps define the order; it does not replace a careful physical fit check. Do not assume the OEM parts catalogue is the contents list of an aftermarket cowl, or that a complete fairing kit includes a separate passenger-seat cover.
Keep the passenger setup together
Before removal, photograph the original seat, strap and hardware. Label removed parts and store them together, including any bracket or fastener that must be restored for passenger use. Use the instructions for the motorcycle and the exact accessory; don't guess fastener specifications or adapt a guide for a different model.
A cosmetic cowl is not a passenger seat. Before carrying someone, restore the complete appropriate passenger arrangement and verify that the seat is securely retained. Check the applicable vehicle requirements where you ride. If the mounting area is damaged, modified or missing parts, ask a qualified technician to assess it before fitting the cover.
Check fit without forcing the panel
Place the painted part on a clean soft surface while checking its finish and underside. Follow the supplier's installation instructions and ensure the specified supports and fasteners are present. Once fitted, confirm the cowl is securely retained, sits without loading adjacent paint, and allows the release mechanism to operate as intended. It should not interfere with required lights or other equipment.
If a tab does not engage or the cover moves, stop and check the application, hardware and instructions with the seller. Do not force a fastener, drill a painted piece or use padding as a substitute for the correct mounting arrangement. A photograph cannot establish that a latch or bracket is secure.
Coordinate the color without over-ordering
A solo cowl can be a deliberate accent or an attempt to match the surrounding tail. Ask for a daylight photograph of the actual finish, and provide pictures of the panels that will remain. Screen settings, lighting and aging paint can make a named color look different; discuss the desired match before ordering.
If you are also planning a full bodywork refresh, check the model-specific fairing listing and ask in writing whether the seat cowl and its mounting hardware are included. If you only need the cowl, ask about that part separately before purchasing a full kit. Explore NiceFairings custom fairing design to discuss the color and model, or use the R6 tail and passenger-seat guide for a separate explanation of the different rear components. Its R6-specific application does not establish ZX-4RR fit.
The right cowl is the one whose attachment, included hardware and return-to-passenger procedure are clear before you pay for paint. Start with that answer, then choose the color you want to see at the end of the ride.