To get accurate help from a supplier, you need clear photos to identify a replacement motorcycle fairing. Take close-up shots of mounting points, part numbers, and damage. Then label and organize the files before sending them. This guide assumes your fairing is already removed or safely reachable. It only focuses on taking good photos to identify a replacement motorcycle fairing, not on removing, repairing, or installing parts.
A modern smartphone and suitable light are usually enough to begin a useful photo enquiry; specialist camera equipment is optional. Clear images can reduce avoidable follow-up questions by showing the panel and the details you are asking about. They cannot guarantee compatibility, original maker, material or interchangeability. The aim is to help the supplier assess what further information is needed, not to turn a photograph into a fit certificate. The AI illustrations in this guide explain photographic subjects only: send real, unaltered photographs of your own panels, never generated pictures as identification evidence.
Key Takeaways
-
Take clear photos from a straight-on angle of the front, back, mounts, and markings you can read.
-
Use soft daylight, avoid using a direct flash, and put a ruler in the photo to show the size.
-
List your bike's model, year, market, and color code to help the supplier.
-
Keep original files privately; send high-quality, privacy-checked copies and separately labeled annotations.
-
Share necessary identifying details only through an agreed private channel; review visible details and location metadata first.
Photos to Identify a Replacement Motorcycle Fairing
This part tells you the main shots you need. Good photos to find a replacement motorcycle fairing start with the whole panel. Next, take pictures of the back and any readable marks. Each photo helps your supplier find the correct part.
Overall Outer Views From Every Side
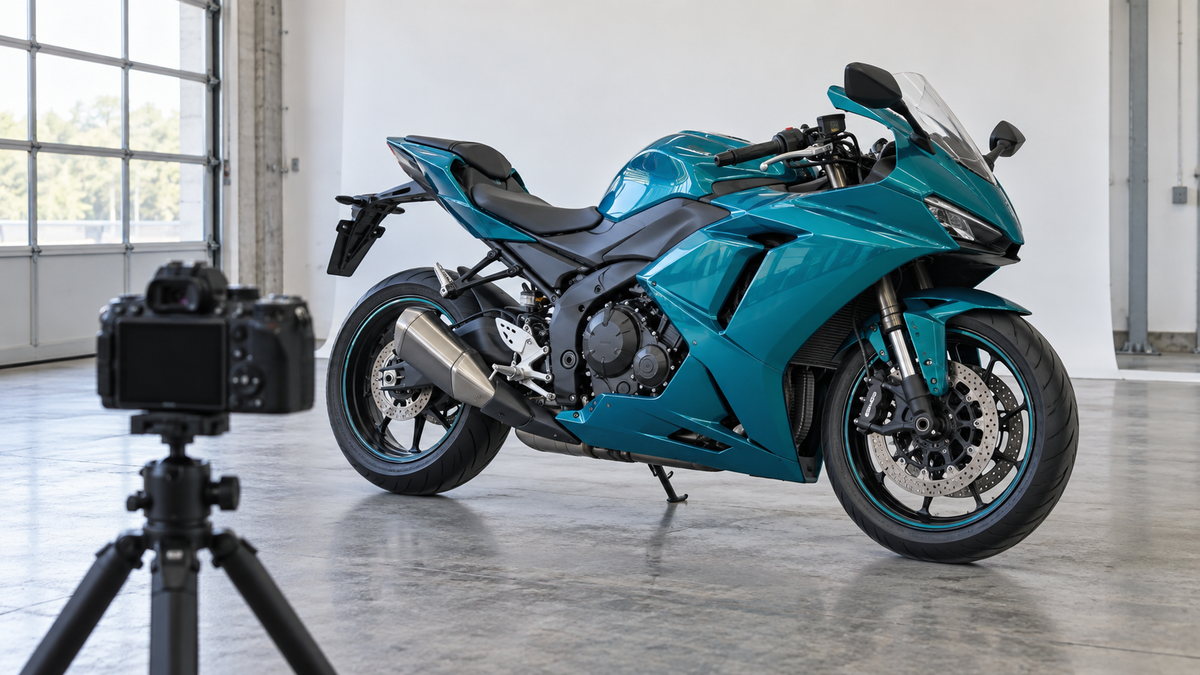
Stand back and take a photo of the whole outer face from the front, both sides, the top, and the back. If the fairing is still on the motorcycle, first take one full-bike shot to show context. That wider view shows how the panel fits next to the tank, the seat, and other fairings. It also helps your supplier see the overall shape and color in place.
Call left and right as if you are sitting on the bike and facing forward. This small detail stops confusion when you name your photos. A panel from the left side of one motorcycle can look like a right-side piece from a different angle. Clear labels fix that problem.
For an overall reference, aim as squarely as practical at the panel area you want to show. Avoid an extremely close ultra-wide view that exaggerates near edges. Leave enough distance to keep the full outline in frame, and use a suitable lens or modest optical zoom if available. This can reduce perspective exaggeration, not eliminate distortion. A curved cowl has no single flat face, so supplement the reference with clearly labeled oblique views rather than claiming one shot shows its true dimensions.

Rear Face, Mounts, and Readable Markings
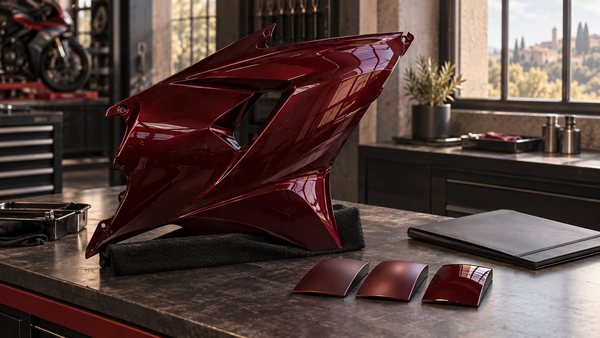
If you already took the panel off, place it on a soft, clean surface. Support the back so nothing pushes on the tabs. Never bend tabs, force clips, or reach near hot or moving parts just to take a photo. Safety comes first, and a broken tab ruins the evidence you need.
Take close-ups of accessible mounting areas, including intact features and any visible damage relevant to the enquiry. Include the surrounding panel so a detail can be located in context. Show visible openings, ducts, brackets or existing protective layers without disturbing them. These views help communicate the configuration but do not establish the function or suitability of every component. Do not remove a barrier or detach a fitting solely to improve the photograph.
Look for stamped numbers, letters, barcodes or molded markings that are already visible. Some may be orderable part numbers; others may be mold, cavity, date or material designations. Photograph them exactly as found and distinguish a clearly read character from an uncertain one. The supplier may need manufacturer records or dealer help to interpret a mark, and some marks may remain unresolved. Do not invent a decoding rule or assume a readable code proves the panel is genuine OEM.
Place a ruler next to the panel at the same level to show the size. This gives a rough idea of how big it is. Remember that photos are not manufacturing drawings or proof of fit. They cannot confirm original maker, material, or interchangeability.
Take several photos of the same spot in different light. Glossy paint makes harsh reflections that hide cracks and scratches. Soft daylight or shade works best. Do not use direct flash on shiny surfaces. A few extra pictures capture color changes and surface details that one photo may miss.
Label each photo file by location and angle. Put the outer views, the back, and the close-ups into separate folders. This order speeds up the review and cuts down on email questions. Clear photos to identify a replacement motorcycle fairing give your supplier the best chance at an accurate match.

Shooting Clear Motorcycle Fairing Photos With Less Distortion
Lighting, Angles, and Background Control
For detail shots, keep the relevant feature in focus and include enough surrounding material to identify its location. Move the camera rather than forcing the panel into a strained position. Use both a broad context image and a closer view where needed. A different viewpoint can reveal a hidden edge, but it also changes apparent proportions. Keep those files labeled by viewpoint; do not use a perspective photograph as a machining template.
Strong reflections can obscure scratches and surface details on glossy paint. Try diffuse daylight and vary the camera or light angle gently until the area is visible without a bright hotspot. Direct flash often makes glare harder to manage, although carefully controlled lighting can be useful. Nikon School explains the relationship between source size, diffusion and reflections in its notes on light and color. Use that guidance to improve visibility, not to infer an exact paint match from a photograph.
Clear clutter from the background and use a clean, plain support that does not press against vulnerable tabs. This is background preparation, not an instruction to sand, polish or chemically clean the panel. Photograph its existing condition honestly. If dirt obscures a marking, ask for an appropriate way to inspect it rather than scraping the surface or applying an unverified solvent. Keep unrelated objects out of the frame so the outline is easy to follow.

Preserving Originals and Annotated Copies
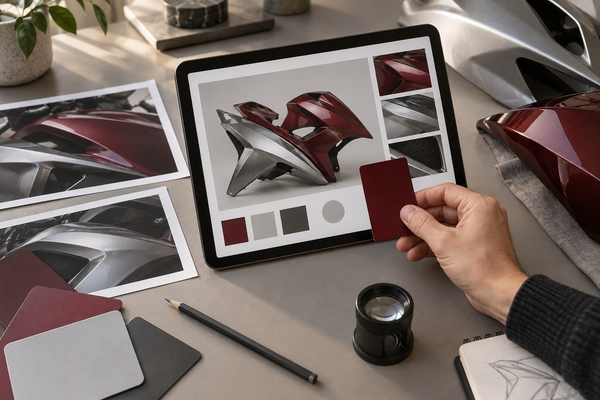
Keep your original, unedited files. Make separate annotated copies with arrows or labels. Do not use AI retouching. Never reshape or remove cracks from the image. Those marks are evidence. Changing them misleads your supplier.
Drawings you add later are separate from the actual identification evidence. They help explain, but they do not replace the real photo. Label each copy clearly. Mark mounting points, part numbers, and damage areas. This organization speeds up the review process for your motorcycle fairings.
Good photos support a supplier enquiry but do not certify compatibility, OEM authenticity, material or roadworthiness. Record what can be seen and what remains uncertain. Do not attempt a physical fit test or remove more parts just to complete a photo list. Once replacement parts arrive, a separate delivery inspection serves a different purpose from identifying the old panel. Photography does not replace the required application checks or qualified installation review.
Context for Matching Your Fairing
Model, Year, Market, and Color Code
Begin with the facts you are sure about. Look at your owner's manual, registration, or dealer papers. Write down the model, year, and market for your motorcycle. These details help narrow the search for replacement motorcycle fairings. A fairing from a 2018 model might not fit a 2020 bike, even if they look alike. Market matters too. A motorcycle made for Europe may have different parts than the same model sold in the US.
If a color reference is available, record it and say where it came from. Consult the model-specific documentation or dealer about the location and meaning of any label rather than assuming every motorcycle has a color sticker under the seat. Do not dismantle the bike just to reach it. Photograph only safely accessible relevant markings and a paint area in gentle light. Paint aging, lighting and camera processing limit what a picture can establish; our Yamaha R3 color-matching guide gives a specific example of the wider matching question. State clearly when a code is unknown.
Modifications, Damage, and Unknowns
List every modification, aftermarket motorcycle fairings part, and past repair you know about. Keep what you can see separate from what the previous owner told you. Label anything unknown as unknown. Do not guess. A clear list helps your supplier understand your motorcycle.
Damage notes help too. Describe cracks, missing tabs, or scrapes. These notes tell the supplier what you need to replace. Do not run destructive tests. Do not try to diagnose roadworthiness. Photos support your supplier enquiry, but they never guarantee accurate identification, compatibility, OEM authenticity, material, or roadworthiness.
If a marking or application remains uncertain, pause the order decision and ask the supplier or dealer what additional evidence is needed. They may be able to narrow the options, but a reply or photograph is not an unconditional fit guarantee. State the exact current setup, including known bodywork swaps. Keep their answer with the enquiry so later decisions are based on the same information rather than an assumed model-year match.
Sending Photos to Your Supplier
File Format, Resolution, and Naming
Retain your full-quality original files privately. Ask which file types and upload limits the recipient supports; JPEG and PNG are common choices, but not every phone captures those formats by default. Send clear, high-quality copies after checking privacy information. Avoid screenshots of photographs and repeated lossy resizing when a suitable original-quality export is available. A JPEG is itself a compressed format, so the practical goal is readable detail rather than a blanket ban on compression. Use descriptive names such as left-side-outer.jpg and left-rear-mount-closeup.jpg, and identify which detail belongs to which overview.
Add a short written summary with your photos. List the bike's make, model, year, and market. Include the color code and any known changes. This gives your supplier context for the parts you need. Keep it short and factual. Do not guess at details you do not know. Mark unknowns clearly. This honesty helps your supplier give you better feedback on motorcycle fairings.

Private Details and Public Uploads
Before sharing, inspect the background, reflections and labels for unrelated personal information. Keep the untouched originals privately, and make separate sharing copies with unnecessary identifying details concealed without altering the panel evidence. Do not post full VINs, addresses, plates or personal papers publicly. If a verified supplier needs a particular identifier, agree an appropriate private channel and share only what is necessary; being a supplier does not automatically make every request necessary or secure. Photos can also contain location metadata. Apple explains how to review and withhold that information in its official photo-location sharing guide. Check the actual exported files rather than assuming the visible picture shows everything being shared.
Use the NiceFairings contact page to ask how to submit a parts enquiry and what information is useful. It is a general contact route, not a guaranteed identification service. Agree the supported attachment method and file limits before sending a large batch. For the separate question of what an offered replacement set includes, consult our fairing kit contents checklist and compare the actual listing and written quote. Clear photographs help describe the existing panel; the supplied-parts list describes what you would receive. Keep those two records distinct.
Clear, well-labeled photos of the whole fairing, its rear face, mounts, and readable markings give your supplier the best chance at an accurate match. Keep your original files. Send annotated copies with arrows or labels. Include your bike's model, year, market, and color code. Protect private details like your VIN in public posts. Photos cannot guarantee identification, OEM origin, material, or interchangeability. Yet thorough documentation saves time and helps you avoid wrong orders. A few minutes of careful photography makes your supplier's job much easier.
FAQ
How many photos should I send?
Send enough to show the whole outer face and the safely accessible rear face, mounting areas and readable markings. Note any views you cannot obtain safely; do not remove more components just to complete the photo set. There is no set number. A few clear shots per area beat dozens of blurry ones. More angles help, but quality matters most.
Which side is "left" and which is "right"?
Define both from the seated rider facing forward. The left fairing sits on your left hand when you sit on the bike. State this in your file names and your written summary. This small habit stops mix-ups between mirrored panels.
Can you identify my fairing from photos alone?
Sometimes a supplier may recognize a likely panel from photographs, but identification is not guaranteed. Photos alone do not certify compatibility, OEM authenticity, material or roadworthiness. A supplier or dealer may request records, measurements or an appropriate physical inspection before giving an application recommendation. The required evidence depends on the particular motorcycle and its current modifications; no single check universally settles every match.
What if I cannot find a part number?
Many panels carry mold, cavity, date, or material codes instead of orderable part numbers. Photograph every marking you can read and send them as-is. Do not invent a decoder or guess at a number. Ask your supplier or dealer when a marking is unclear.
Should I edit my photos before sending them?
Keep the original, unedited files privately. Send clear sharing copies after reviewing location metadata and unrelated personal details. Make separately labeled copies with arrows if you need to identify a feature. Do not use AI retouching, reshape a panel or remove damage from the picture. Privacy masking must not conceal the feature the supplier needs to inspect; explain any relevant redaction instead of silently changing the evidence.
Where do I send my photos and details?
Start with the NiceFairings contact page and ask which submission route and details are needed. Keep full-quality originals privately, review metadata and unrelated identifying details in sharing copies, and send sensitive information only when necessary through an agreed private channel. Include enough context to connect each close-up to the correct panel. For the next purchasing step, use the kit contents guide to distinguish the old part you photographed from the components actually included in the proposed order.