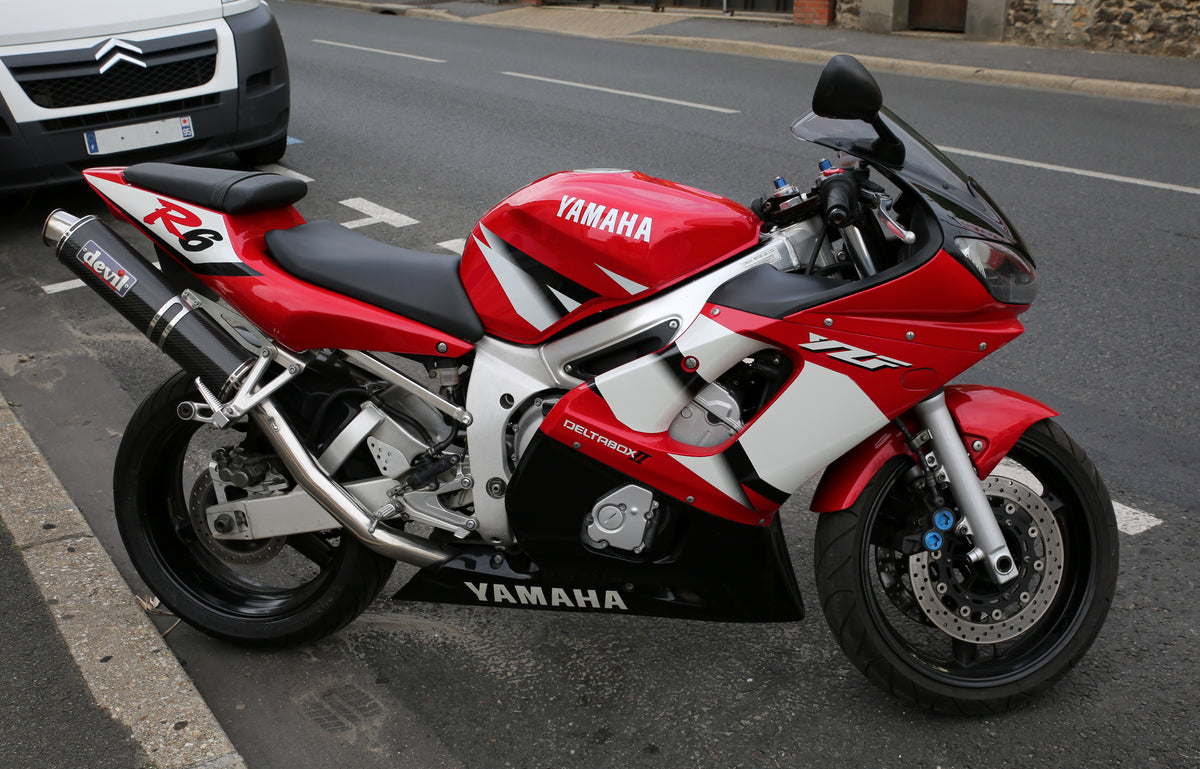
Cover: red and white Yamaha YZF-R6 photographed by A1AA1A, Wikimedia Commons · CC BY-SA 4.0. Photograph unchanged; display crop may vary. Reference motorcycle, not a NiceFairings supplied-kit example.
To identify an R6 or R3 replacement panel, start with the exact motorcycle record, the correct catalog illustration and photographs of the part you mean. Keep the illustration callout beside its parts-list entry; then ask the seller which listing and supplied pieces correspond to your request. A manual label such as “Cowling A” is useful within that manual, but is not an orderable part number. If a number is unknown, say so—you can still ask for help. This is a way to make a clear parts enquiry, including when an installation has stalled at one mounting point.
Four Identifiers in a Yamaha Fairing Parts Diagram
Four kinds of identifier can appear while researching the same panel. They come from different documents and sellers, so they do not form a universal one-to-one code system. Knowing the distinction is more useful than trying to fill every field before contacting anyone.
Manual Labels vs. Diagram Callouts vs. OEM Numbers
Owner’s manuals may assign letters to panels for a particular maintenance procedure. For example, Yamaha’s YZFR6W(C) owner’s manual, document 2C0-28199-11, shows cowlings A–E and panels A/B in its illustrated bodywork section. Those letters belong to that document. They must not be transferred to another R6 manual or an R3. Record the manual and page with the letter.
An exploded diagram uses callouts to connect pictured components with entries in its accompanying list. A callout is meaningful only with that illustration and selected catalog record. The same number on another drawing can refer to something entirely different. Save the drawing title or number, not just a cropped numeral.
An OEM service part number is a manufacturer reference shown in the catalog entry. Record the complete selected entry and any relevant notes or alternatives. Have an authorized Yamaha dealer resolve an uncertain application or replacement number. A marking molded into a panel is not automatically the current orderable service number.
The seller SKU is the aftermarket listing code. It belongs to the seller, not to Yamaha. The same panel may carry different SKUs across different sellers.
Here is how the four identifiers map to each other:
| Identifier | Where it comes from | What to keep with it |
|---|---|---|
| Manual panel letter | A specific owner’s or service manual | Document reference, page and illustration |
| Diagram callout | A selected exploded drawing | Catalog model record and drawing reference |
| OEM service part number | The accompanying parts-list entry | Description, application and any notes |
| Seller SKU | A particular aftermarket listing | Listing URL, chosen variant and included pieces |
A discrepancy is a reason to clarify the records. It is not automatic proof that the panel is wrong: the documents may use different names or divide an assembly differently.
Why the Seller SKU is Your Final Cross-Check
An aftermarket SKU identifies what that seller offers. It may describe a kit containing several panels rather than a single OEM component, and there may be no direct OEM-number cross-reference. Ask the seller to identify the selected variant, intended motorcycle application and contents. If the scope remains uncertain, resolve it before ordering. An OEM number can help the conversation, but it is not a prerequisite for sending useful photographs.

Lock in Your Model, Year, and Market Context
Start with exact model, model year and market. Similar-looking motorcycles and broad collection labels are not enough to establish that two panels interchange. Record what is known about the motorcycle’s current bodywork, particularly if it has a track conversion, replacement supports or an uncertain repair history.
Finding Your Exact R6 or R3 Diagram
Keep two records separate: the motorcycle’s original identity and the parts now fitted to it. The correct factory catalog describes the original application. It cannot tell you which parts a previous owner changed. If the current bodywork does not resemble the catalog, document the difference instead of choosing a different year until the picture seems to match.
Use the motorcycle identification information and applicable documents to establish the model record; ask a Yamaha dealer if the model year or market is uncertain. A first-registration date alone may not settle model year. You do not need to post a full VIN publicly: provide identification details through the appropriate dealer or seller’s private support channel when needed.
Save the selected model description, market, illustration reference and relevant list entry together. Add an ordinary-language location such as “left-side painted outer panel, viewed from the rider’s position.” This gives the recipient context even if their catalog calls the part something different.
Navigating the Official Yamaha Parts Catalog
Use Yamaha’s European parts-catalog entry point or the appropriate local-market catalog. The Canadian Yamaha parts-catalog interface, for example, provides a selected-parts list for discussing an order with an authorized dealer. A Japanese host address does not make that Canadian interface a universal catalog for every market.
Follow the selection options actually available in the regional catalog. Check the selected model record before opening its drawings, then read the list accompanying the relevant illustration. Do not rely on a fixed sequence of search boxes: interfaces and available records can differ.
Compare the illustration with accessible views of the actual component. Outline, openings and mounting features are identification clues, not proof of physical fit or strength. A simplified drawing may omit detail. If the relationship is unclear, preserve the selected record and photographs for clarification rather than forcing a match.
Separate the Painted Panel on Your Yamaha Fairing Parts Diagram
The outside view can hide several separate components. Painted bodywork, inner trim, ducts, supports and fixings may be listed under different drawings. Read the descriptions and associated notes rather than assuming everything behind one colored surface is one assembly.
Outer Panel Shapes vs. Inner Supports and Brackets
Trace the painted panel to its list entry, then identify adjacent components separately. Do not decide from drawing texture alone: a line drawing may not show paint, material or finish. In your notes, distinguish the outer shell you want from any inner piece or support that also needs identification.
The order should match the assessed need. It might be one outer panel, several components or a coordinated kit. Confirm any separately required trim, ducts, brackets, lights and hardware. A complete exploded view is not a promise that all those pieces come in a fairing package.

Record Location and Visible Mounting Features
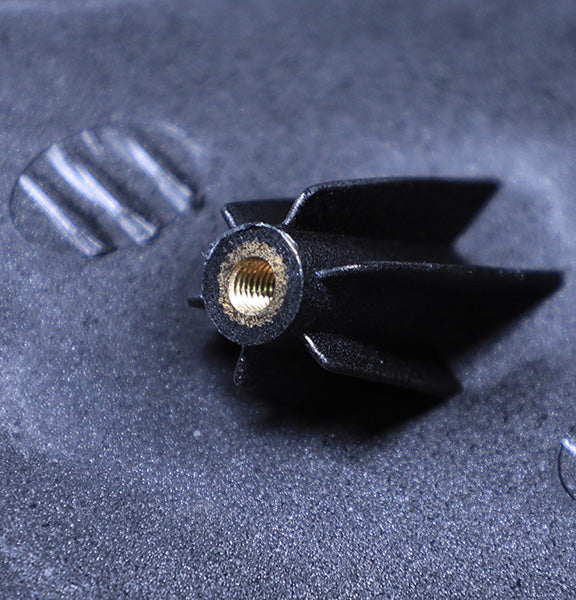
Photograph the panel’s overall location first. Add an exterior close-up and, if already removed and safe to handle, its reverse side and visible mounting features. Do not dismantle damaged equipment simply to complete this photo set. Avoid cropping so closely that the recipient cannot tell where a detail belongs.
Describe left and right from the rider’s seated orientation. A front-facing photograph reverses their position on the screen. Mark a copy of the photo with the area in question and retain the unmarked original. A caption such as “rider’s left, lower rear corner” is clearer than “the hole on the right of this picture.”

Hypothetical Example: From Panel to Order
Documenting Panel Observations Without Part Numbers
Consider a hypothetical R3 enquiry: the owner wants the painted left-side outer panel, but is unsure whether the neighboring black trim is part of the same listing. They attach a complete side view and mark the painted piece. The exact catalog entry is still unconfirmed. This example describes a communication problem, not the panel layout or mounting specification of a particular R3 year.
The useful next step is to distinguish “piece I want” from “piece I cannot yet identify.” Record the actual motorcycle details and any known listing reference. Ask the seller to mark which supplied piece corresponds to the photographed area, and whether the adjoining trim is included, reused or separately required. Unknown fields stay unknown until checked.
Using the Compact Inquiry Template
You now have enough detail to contact a seller. Use a short, direct message. Copy this template and fill in your details:
Motorcycle: [exact model, model year and market]. Current bodywork changes: [known changes / unknown]. Requested area: [rider’s left/right and location]. Attached: [overall view, marked detail, reverse view if already available]. Catalog record and callout: [reference / unknown]. OEM number: [verified number / unknown]. Your listing: [URL and selected variant]. Please confirm the corresponding supplied piece, application, included trim/hardware and any separately required items before I order.
The request connects the catalog information to the actual motorcycle and seller listing without claiming that a photograph proves fitment. Ask the reply to identify the same marked area. Save that response and the listing variant with the order; a generic “fits R3” answer does not settle an unresolved component question.
When the Diagram Isn’t Enough and You Need Support
A catalog is useful for identifying the factory specification, but cannot certify the condition of the motorcycle in front of you. It also does not replace the relevant service procedure. Similar outlines, matching callouts or a supplied photograph cannot establish that a mounting support is straight or an installation is complete.
If an installation stops at a misaligned mounting point, do not use the bolt to pull the panel into place. Record the affected connection, adjacent panels and hardware, then use the exact installation instructions and obtain seller or qualified technician support. Avoid drilling, filing, heating or altering supports as a guessed fix. This identification guide does not diagnose the cause or establish an acceptable millimeter tolerance.
Limits of the Parts Diagram for Color and Condition
The catalog’s associated entries may contain finish or color-related information, but a line drawing alone does not show the condition or appearance of your existing paint. Confirm the intended finish separately. Matching words or codes are not proof of an invisible match to a used or refinished panel.
A listed component is not proof of current stock or production availability. Ask whether the exact item is available, made to order or subject to another lead time. Keep that answer separate from the application confirmation.
Questions to Ask for Written Scope Confirmation
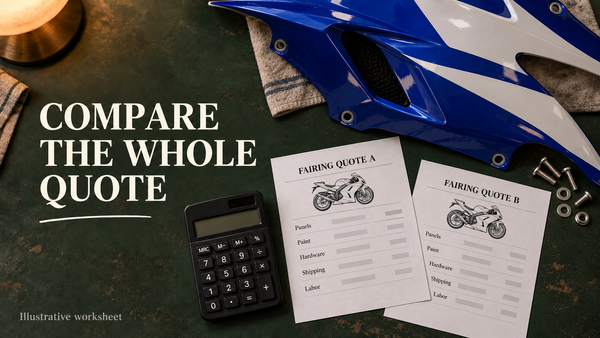
When enquiring about NiceFairings aftermarket bodywork, identify the selected listing and ask for its actual scope. A supplier’s panel grouping may differ from Yamaha’s original component breakdown. Ask what is supplied, what stays on the bike, and what still needs confirmation.
Ask these questions:
- Which supplied piece corresponds to the area marked in my photo?
- Which exact model application and listing variant have you confirmed?
- Which neighboring pieces, mounting items and finish details are included?
- What remains unconfirmed, and what information would resolve it?
Browse Yamaha fairing options after identifying the relevant motorcycle and component. For a specific enquiry, send NiceFairings the marked photo and listing reference. If the remaining question is about hardware condition, use our fastener reuse and replacement guide; if it is appearance, see the R3 color-matching comparison.
FAQ
What if I cannot find the OEM part number for my panel?
An unknown OEM number is acceptable. Describe your panel by its diagram callout number, location, and side. The seller can help you confirm the OEM number. Do not delay your inquiry just because one field is blank.
How do I confirm I have the correct side panel?
Use the rider’s seated orientation to label left and right; you need not sit on a damaged motorcycle to describe it. Include the whole-bike view and the marked area so the recipient can orient the close-up.
Can the parts diagram tell me if a panel will match my paint?
A drawing does not establish a match to your current paint. Check any catalog finish information and confirm the proposed finish with the seller. A matching color label alone is not a guarantee.
Does a full fairing kit include inner trims and hardware?
Not always. A kit may not include hidden trims, ducts, brackets, hardware, lights, or the tank. Confirm kit contents with the seller in writing before you order. The diagram identifies orderable components, not package contents.