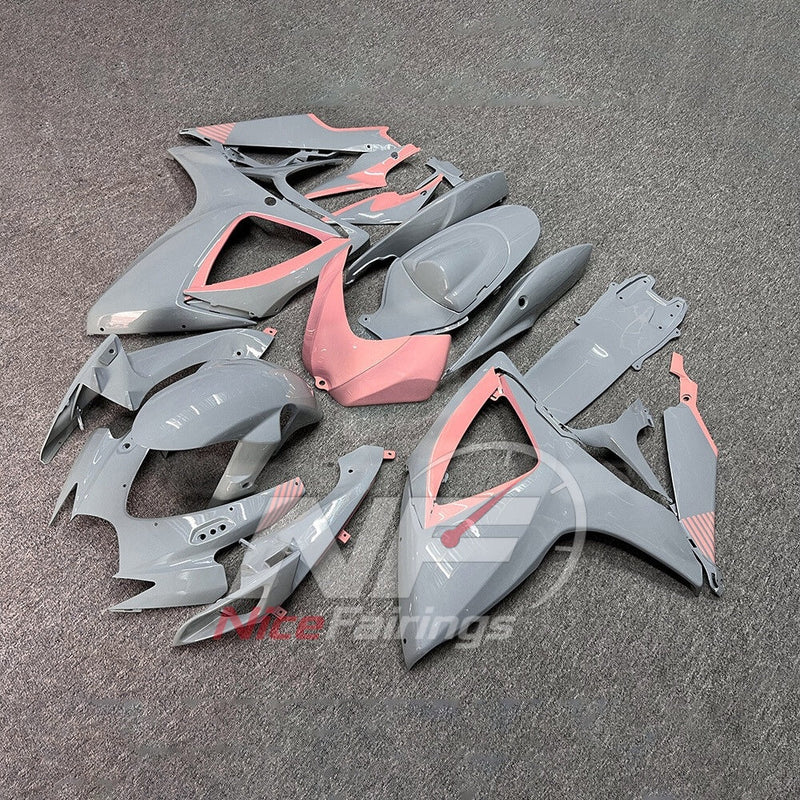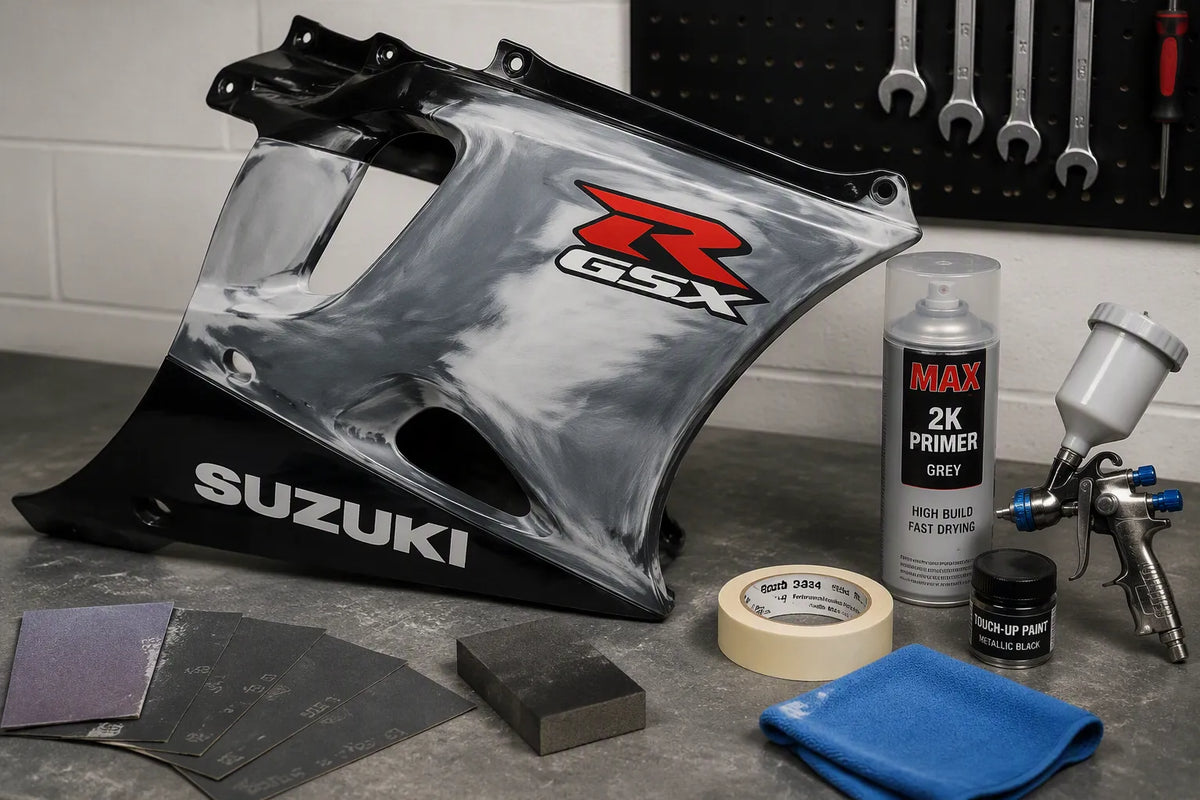
Your 2006-2007 Suzuki GSX-R has served you well. After nearly two decades, the bodywork shows its age. Faded paint, stress cracks, and broken mounting tabs plague these machines. You face a choice: buy a new suzuki gsx-r600 gsx-r750 fairing kit 2006 2007 or restore your original panels. This guide shows you both options. You will learn to check fitment for your exact model. The GSX-R600 and GSX-R750 share the same bodywork for these years. Still, you must confirm your motorcycle's exact specs before ordering. Mislabeled kits cause frustration. Aftermarket fairings from trusted brands like NiceFairings offer quality replacements. These fairings come pre-drilled and ready to install. We use reliable sources throughout. Expect clear, step-by-step instructions built for the DIY mechanic. Your machine deserves a tough finish that lasts another decade.
Key Takeaways
Check the tenth digit of your GSX-R's VIN to confirm the exact year before you order any fairing kit.
You can choose OEM fairings for a perfect fit, or aftermarket ABS kits to save a lot of money.
Check all mounting tabs and brackets for cracks or damage before you put on the new fairings.
Fix cracked ABS plastic with cement, and strengthen the stress areas with fiberglass mesh.
Always test-fit the panels before painting to spot alignment problems and prevent expensive errors.
Replace old grommets and well-nuts to stop rattles and make sure they fit tightly.
Use a 2K clear coat to shield your paint from sun damage and help it last longer.
Take your time taking it apart, and sort the screws and bolts by area so putting it back together goes smoothly.
Buying Guide: Suzuki GSX-R600 GSX-R750 Fairing Kit 2006 2007
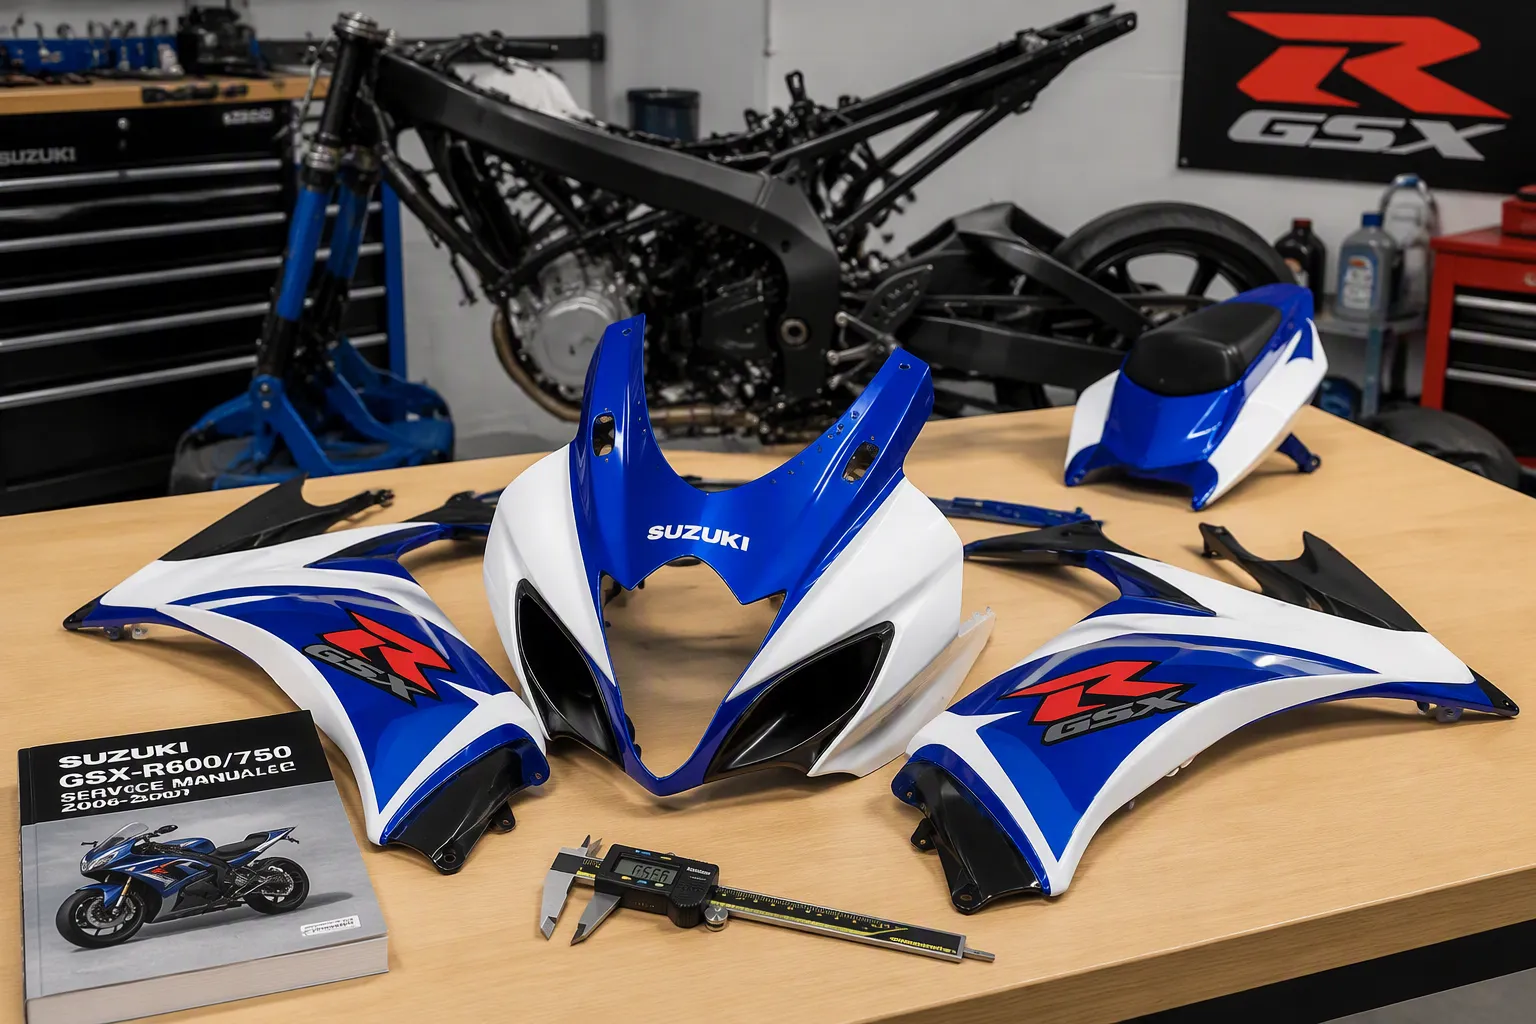
You need a fairing kit that fits your machine. The GSX-R600 and its sibling share the same bodywork for 2006 and 2007. This guide helps you find the right parts. You must verify your exact model before you order. A mislabeled kit causes frustration. Follow these steps to avoid mistakes.
Verifying Model Year and VIN
Check your VIN to confirm the year. The tenth digit in the VIN shows the model year. For 2006, the digit is 6. For 2007, the digit is 7. Write down your full VIN before you shop. This number ensures you buy the correct suzuki gsx-r600 gsx-r750 fairing kit 2006 2007. Check the Suzuki service manual for your model. Suzuki provides detailed fitment information for each year.
Checking Subframe and Mounting Points
The subframe holds your fairings in place. Inspect your subframe for cracks or damage. Look at the mounting points where fairings attach. These points must match the new kit. Measure the distance between mounting holes. Compare these measurements to the kit specifications. A mismatch means the kit will not fit. Check trusted sources like NiceFairings for fitment details. The website offers a collection page for the 2006 to 2007 GSX-R models at their dedicated page.
Distinguishing K6 and K7 Differences
The K6 and K7 fairings look similar. Small differences exist in the tail section and headlight. The K7 has a slightly different headlight connector. Check your service manual for these details. You want a kit designed for your specific year. A K6 kit works on a K7 bike in most cases. Still, confirm this before you buy.
OEM vs. Aftermarket Fairing Options
You have two main choices. OEM parts come from Suzuki. Aftermarket parts come from third-party manufacturers. Each option has benefits and drawbacks.
Sourcing Genuine Suzuki Parts
OEM fairings match your motorcycle exactly. They use the same plastic and paint as your original panels. The fit is perfect. The cost is high. A full OEM set costs more than the bike itself. You can find used OEM parts online. Check eBay and forum classifieds. Used parts may have cracks or faded paint. You pay for the fit and the brand name. OEM fairings offer peace of mind.
Aftermarket ABS Plastic Options
Aftermarket options offer a lower price point. Many use injection-molded ABS plastic. This plastic matches the strength of parts from the manufacturer. The price often includes paint and graphics. You save money by buying a complete set. The fit may require adjustment. Read reviews before you buy. Some brands deliver better results than others. Compare different kits on the NiceFairings website. They offer a wide selection of aftermarket fairings for your model.
Evaluating Kit Quality and Inclusions
Not all aftermarket options are equal. You need to check what the kit includes. Some sets come with all panels. Others leave out the inner fender or air ducts. Read the product description carefully. You want a complete set.
Here is a look at typical pricing for complete motorcycle fairing kits for your GSX-R:
Color Scheme |
Price |
|---|---|
Viru white black |
$303.00 |
White black |
$303.00 |
Yellow black |
$303.00 |
Blue black |
$303.00 |
Golden black |
$303.00 |
Voltcom 8 |
$303.00 |
84 viru |
$303.00 |
Matte black |
$303.00 |
Fcb red blue |
$303.00 |
Black red bull |
$303.00 |
These prices show the average cost for a complete kit. You get all body panels for your bike. The price is much lower than stock parts. You save money while getting a fresh look for your bike. This is the best deal for riders on a budget.
Pre-Drilled Holes and Hardware
Quality options include pre-drilled holes. These holes match the mounting points on your bike. You do not need to drill new holes. The kit also includes necessary hardware. Bolts, clips, and grommets come with the kit. Check that the hardware is complete. Missing hardware delays your installation. Good options make the installation process smooth.
Understanding Warranty and Return Policies
Before you buy, read the warranty. A good warranty covers defects in the plastic. It also covers paint flaws. Check the return policy. You can return the kit if it does not fit. Some sellers accept returns. Others do not. Look for a seller with a fair return policy. This policy protects your investment. The suzuki gsx-r600 gsx-r750 fairing kit 2006 2007 represents a solid investment. Your bike deserves quality parts. Check the fitment of each panel.
Color Matching and Design Selection
Your GSX-R's color scheme shows off its style. The 2006-2007 models came in several cool factory colors. You can keep the original Suzuki paint or make something new. This part helps you pick the best route for your restoration.
Decoding Suzuki Paint Codes for K6/K7
Suzuki gives each model year and color a special paint code. These codes tell you the exact factory color mix. You need this code to order matching paint or pre-painted panels. The code for your 2006 GSX-R600 is not the same as a 2007 model. Even colors that look alike have different codes for different years. You cannot think a blue from one year will match a blue from another.
Locating the Paint Code on Your Bike
You can find the paint code in a few spots. Look at the VIN sticker on the steering head or frame. Suzuki also lists the code in the service manual. Some bikes have a separate color label under the passenger seat. Search for a code like "Y7U" or "QHU" on these labels. Write down the full code before you order anything. This code makes sure you get the right color for your exact bike. A wrong code gives you a clear difference in shade. Check your code against the color chart for your model year. You can also call a Suzuki dealer with your VIN. They can tell you the original paint code for your bike.
Factory Replica vs. Custom Graphics
You have two main design choices. You can copy the factory look or make a custom style. Each choice changes how you restore the bike. Factory replicas keep the bike's original feel. Custom graphics let you show your own taste. Think about your goals before you decide.
Ordering Pre-Painted Kits
Pre-painted kits are the easiest way to get a finished look. You pick your color scheme when you order. The maker puts on the paint and clear coat before shipping. You get panels that are ready to install. This choice saves you many hours of painting. You also skip the cost of buying spray tools. Many aftermarket sellers offer factory replica styles. You can match the original Suzuki colors for your year. You can also pick from popular racing designs. Look at the product photos closely before ordering. Make sure the colors match what you expect. Some sellers show computer-made images. These images may not show the real paint finish. Read customer reviews for honest color feedback.
Planning for Custom Paint Work
Custom paint work needs more planning. You must pick your color mix. You also need to choose a design layout. Think about how the graphics flow across the body panels. The front cowl, side panels, and tail section should look like one piece. You can work with a local painter or use a custom order service. NiceFairings has a custom fairings page where you can ask for special color schemes. You tell them your design, and they make the panels. This service gives you full control over the final look. You can match your bike's current accents or make a whole new style. Custom work costs more than standard options. The result is a one-of-a-kind motorcycle that stands out.
Disassembly and Damage Assessment
You need a proper workspace before you start working on your motorcycle. A clean, well-lit area helps you see details you might miss. Flat surfaces give you room to lay out panels. Good lighting shows cracks and stress signs clearly.
Essential Tools and Workspace Setup
You need specific tools for this job. Gather these items before you start:
Phillips screwdriver
Flat-head screwdriver
Allen wrenches (hex keys)
Basic wrench or socket set
Torx drivers (depending on model)
Plastic pry tools
Torque wrench (for reassembly)
These tools cover every fastener on your Suzuki GSX-R. The plastic pry tools protect your paint from scratches. The torque wrench prevents overtightening during installation. You can find these tools at any hardware store. A magnetic tray helps you keep track of small fasteners.
Organizing Fasteners and Small Parts
You remove many bolts and clips during disassembly. Each one goes back in a specific spot. Use small containers or a labeled board to organize them. Write down where each fastener came from. Take photos with your phone before you remove panels. These photos show you the original arrangement. This guide recommends bagging fasteners by panel section. One bag for the front cowl. One bag for the side panels. One bag for the tail section. This system saves you time during the installation process.
Inspecting Mounting Tabs and Brackets
Each fairing panel attaches to your GSX-R through mounting tabs and brackets. These parts take stress every time you ride. Vibration and age cause them to weaken. Inspect every tab and bracket closely. Look for hairline cracks along the edges. Check the metal brackets for rust or corrosion. A bent bracket causes poor fitment of your new panels. Replace any damaged brackets with OEM parts or quality aftermarket options before you install new fairings.
Identifying Stress Cracks and Broken Welds
Stress cracks appear near mounting holes. They look like thin white lines in the plastic. Hold the tab and bend it gently. A crack opens up when you apply pressure. Broken welds occur on metal brackets. The weld separates from the frame or subframe. You can see a gap where the metal pieces meet. Fix these issues before you proceed. Weld repairs require a professional shop. Plastic cracks need ABS cement or plastic welding. You address these problems in the restoration section of this guide.
Evaluating Headlights, Ducts, and Tail Section
The headlight assembly and air ducts need inspection too. These parts sit behind the front fairings on your GSX-R. They direct airflow to the engine and protect electrical components. Remove them carefully. Check the rubber seals around the headlight. Dry or cracked seals let moisture inside. Moisture damages the bulb and wiring. The tail section holds the rear light and turn signals. Inspect the plastic for cracks near the mounting points.
Checking Seals and Electrical Connections
Look at every rubber seal on your GSX-R600 or GSX-R750. The seals around the headlight, air ducts, and tail light keep water out. Press the rubber with your finger. Hard or brittle rubber needs replacement. Check the electrical connectors for corrosion. White or green powder on the terminals means moisture got inside. Clean the connectors with electrical contact cleaner. Apply dielectric grease to prevent future corrosion. Good seals and clean connections keep your lights working. They also prevent short circuits. Take your time with this step. A small seal failure causes big problems later.
Step-by-Step Fairing Restoration Process
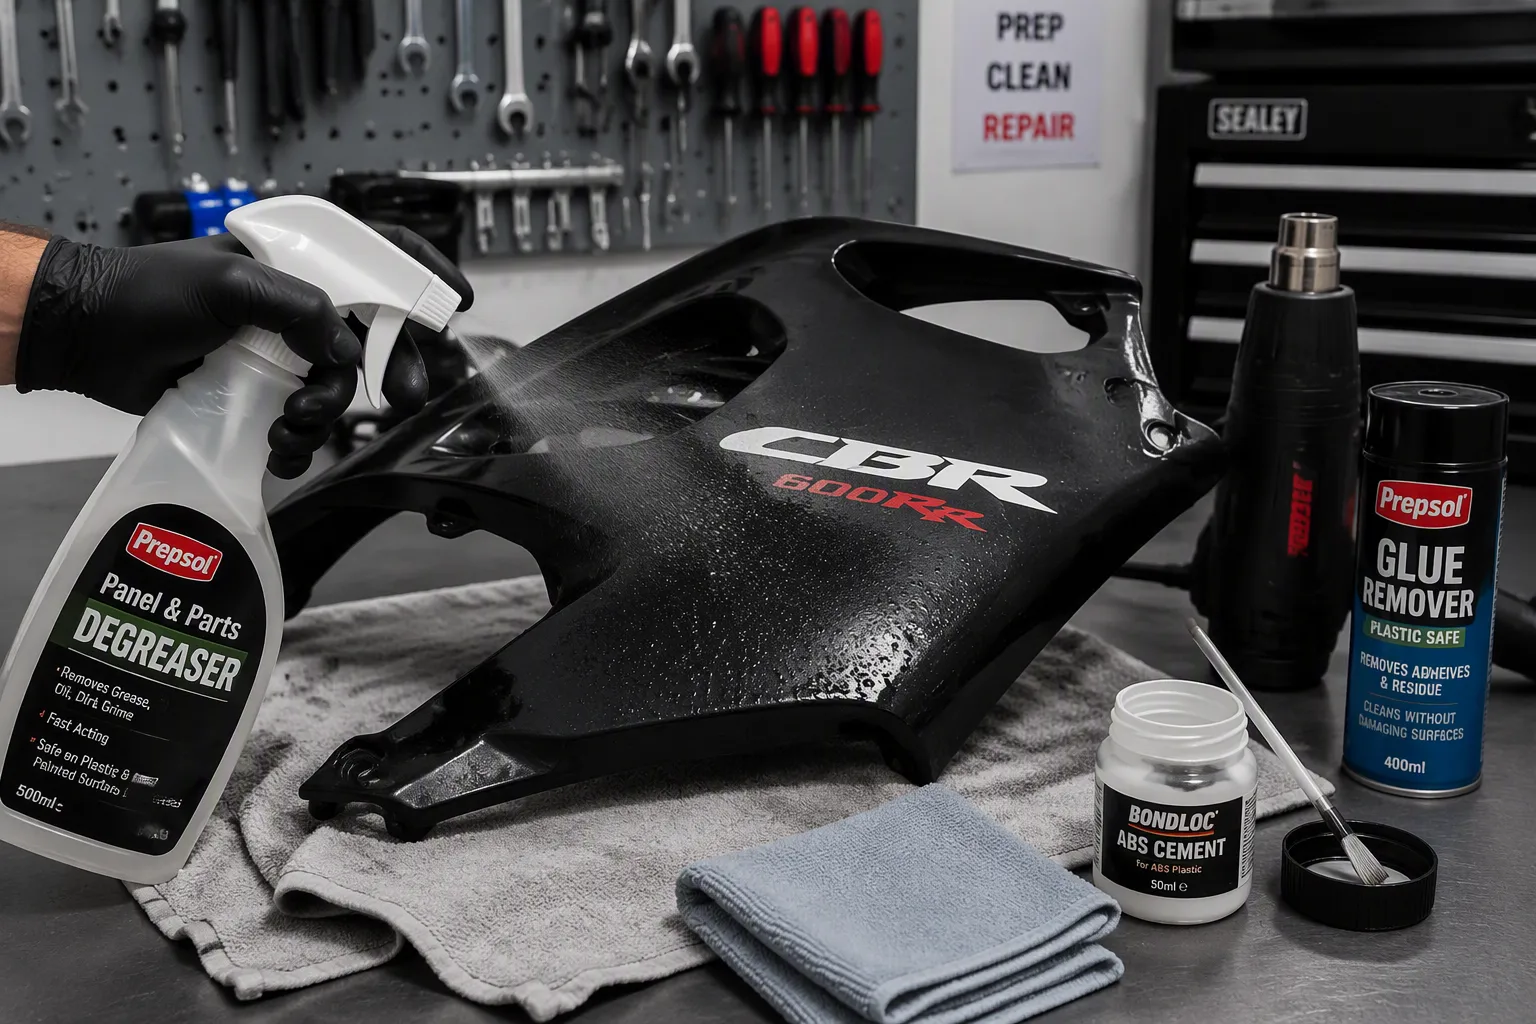
You have taken off your panels and checked the damage. Now you start the real repair work. This task needs patience. Each step comes after the last one. If you rush any part, the final result will be worse. Follow this order carefully.
Cleaning and Surface Preparation
Start with a clean work area. Put your panels on a soft surface. Old towels or foam mats keep the plastic from getting scratched. Get your cleaning supplies ready before you start.
Degreasing and Removing Old Decals
Spray the whole panel with a good degreaser. Focus on spots near the engine and wheel wells. These areas collect oil and road dirt. Let the degreaser sit for a few minutes. Wipe it off with a clean microfiber cloth. Do this again until the cloth stays clean.
Old decals need a different method. Heat them gently with a hair dryer or heat gun on low. The heat makes the glue soft. Peel the decal from one corner. Pull slowly and steadily. Hard decals may leave glue behind. Remove that glue with a plastic-safe glue remover. Do not use metal scrapers. They scratch the plastic. After taking off the decals, wash the panel again. You need a completely clean surface for repairs and paint.
Repairing Cracks and Holes in ABS Plastic
Your GSX-R fairings are made of ABS plastic. This material works well with certain repair methods. You can weld cracks back together. You can fill holes with new ABS material. The key is using the right products and steps.
Using ABS Cement and Plastic Welding
ABS cement works like a solvent weld. It melts the plastic edges together. You can buy ABS cement at hardware stores. You can also make your own by dissolving ABS scraps in acetone. This homemade version works well for small repairs.
Clean the crack area with isopropyl alcohol. Put the ABS cement along the crack line. Press the edges together firmly. Hold them in place for several minutes. The solvent creates a chemical bond as it dries. For bigger cracks, use a plastic welding kit. These kits melt ABS filler rods into the damaged area. The melted rod joins with the plastic around it. This makes a strong repair. Practice on scrap plastic first if you have never welded plastic before.
Reinforcing with Fiberglass Mesh
Cracks near mounting tabs need extra support. These areas take the most stress during riding. Put fiberglass mesh on the backside of the repair. Cut a piece of mesh bigger than the crack. Clean the backside of the panel with alcohol. Apply a layer of ABS cement or plastic epoxy. Press the mesh into the glue. Add another layer of glue on top. Smooth it out to remove air bubbles. Let this cure fully. The fiberglass mesh spreads stress over a larger area. This stops the crack from coming back. Your repaired panel now has strength close to the original.
Priming, Painting, and Clear Coating
You have fixed all damage. Now you get the surface ready for paint. This step decides the final look. Good preparation stops peeling and fading later.
Selecting the Right Primer
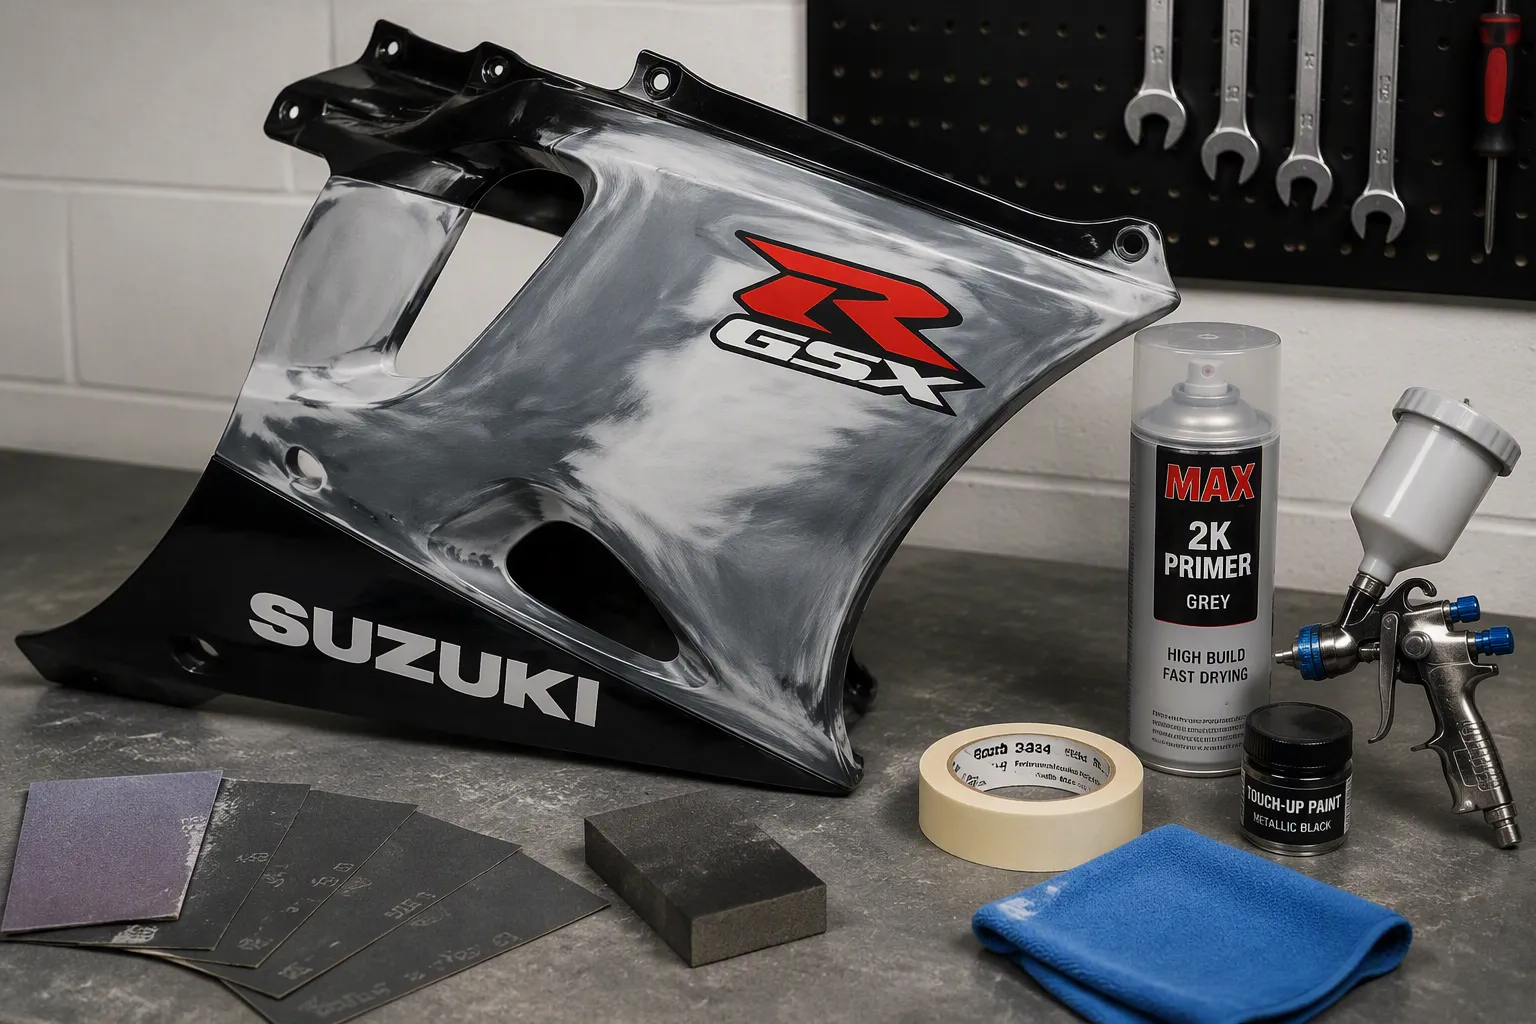
Pick a primer made for plastics. Regular car primer may not stick well to ABS. Plastic primer has adhesion promoters. These chemicals bond with the plastic. Look for a primer that fills small scratches. Sand the repaired areas with fine-grit sandpaper first. Use 400-grit for bare plastic. Use 600-grit for areas with old paint. Wipe away sanding dust with a tack cloth. Apply the primer in thin, even coats. Let each coat dry before adding the next. Two or three coats give enough coverage.
Applying Base Coat and Clear Coat
Your base coat gives the color. Your clear coat protects that color from sunlight. Both layers need careful application.
Shake your base coat paint well. Spray in a well-ventilated area. Hold the can or spray gun about eight inches from the surface. Apply light, overlapping passes. Heavy coats cause runs and drips. Let the base coat dry completely. Check for any flaws. Lightly sand with 1000-grit sandpaper if you see dust specks. Apply more coats until the color looks even.
The clear coat is your final protection. Use a 2K clear coat for the best results. This type has a hardener that makes a strong finish. Standard clear coats stay softer and scratch more easily. The 2K formula also protects better from UV rays. Your fairings face direct sunlight every time you ride. UV rays fade unprotected paint quickly. A good 2K clear coat stops this fading for years.
Apply the clear coat the same way as the base coat. Three to four medium coats give good coverage. Let the final coat cure for at least 24 hours before handling. Full curing takes about a week. During this time, keep the panels in a dust-free area. After curing, you can polish the surface for extra shine. Your restored fairings now look fresh and new. The suzuki gsx-r600 gsx-r750 fairing kit 2006 2007 restoration process works for both original panels and aftermarket replacements. This guide gives you the full picture for a successful restoration. Your motorcycle will look sharp for many more seasons.
Hardware Replacement and Installation Guide
You have restored or replaced your panels. Now you need the right hardware to mount them. Old fasteners on a 2006-2007 suzuki often show wear. Bolts strip, grommets crack, and well-nuts lose their grip. Reusing worn hardware leads to loose panels and rattles. A fresh set of fasteners makes your installation smooth and secure.
Sourcing New Grommets, Well-Nuts, and Fasteners
Your GSX-R uses several types of fasteners. Fairing bolts hold the main panels. Grommets cushion the bolts where they pass through plastic. Well-nuts expand behind the panel to create a tight fit. Each piece plays a role in keeping your fairings stable at speed.
Using OEM Suzuki Parts vs. Aftermarket Kits
You have two routes for replacement hardware. OEM suzuki parts match the original specifications exactly. The rubber compounds and thread pitches are correct for your motorcycle. You order each piece individually from a dealer or parts diagram. This route takes more time but guarantees a perfect match.
Aftermarket bolt and clip kits offer a faster solution. These kits include all the fasteners you need in one package. Many riders choose this option because original fasteners are often missing on older bikes. The kits use stainless steel bolts that resist corrosion better than the factory zinc-plated pieces. Check that the kit lists your exact model year before ordering. A kit made for a different generation will not fit your mounting points.
Pre-Fit Workflow: Dry Fitting Panels
Dry fitting means mounting your panels without paint or final hardware. This step is critical for aftermarket fairing installation. You catch fitment issues before you commit to paint. NiceFairings provides a detailed pre-fit checklist on their blog that walks you through this process. Follow that guide alongside these steps.
Aligning Panels and Adjusting Gaps
Mount each panel with a few hand-tightened bolts. Start with the front cowl, then the side panels, then the tail section. Check the gaps between panels. Factory gaps sit even and consistent. Aftermarket panels may need slight adjustment. You can file mounting holes gently to shift a panel a few millimeters. You can also add thin washers behind mounting tabs to change the panel angle. Do not force a panel into place. Forcing creates stress cracks later. Take your time with this step. A proper dry fit saves you from removing painted panels to fix alignment problems.
Final Mounting and Alignment
Your dry fit confirmed the panels work together. Now you mount everything for the final time. Work in a clean area with soft surfaces nearby. Handle each panel by its edges to avoid fingerprints on fresh paint.
Securing Front Cowl and Side Panels
Start with the front cowl. Slide the headlight wiring through the opening before you bolt the panel down. Connect the electrical plugs first. Then align the cowl with its mounting points. Tighten the bolts in a cross pattern. This pattern distributes pressure evenly. Move to the side panels next. These panels tuck under the fuel tank and meet the tail section. Check the alignment at each seam as you tighten.
Aligning Tail Section and Headlight
The tail section mounts last. Align the rear light and turn signals before you tighten the bolts. Check that the seat locks properly with the tail in place. The headlight needs final adjustment after you secure the front cowl. Aim the beam according to your owner's manual. A properly aligned headlight keeps you visible and safe on the road. Your motorcycle now wears its fresh bodywork with confidence.
Verifying your model year protects your investment. The trade-off between OEM and aftermarket parts comes down to budget and fit. A thorough pre-fit process prevents frustration. Patience and preparation matter more than the final paint job. Take your time with disassembly and hardware organization. This attention makes your installation smooth. Doing the labor yourself saves money. Sourcing quality aftermarket parts from reputable suppliers like NiceFairings yields professional results for a fraction of dealer cost. Your suzuki gsx-r600 gsx-r750 fairing kit 2006 2007 brings fresh life to your gsx-r. The gsx-r600 and gsx-r750 share the same bodywork. OEM fairings offer perfect fit but high cost. Aftermarket fairings deliver value. Your motorcycle deserves this care. Restore your gsx-r with confidence. Each fairing panel needs careful alignment.
FAQ
How do I know if my GSX-R is a K6 or K7 model?
Check the tenth digit of your VIN. The digit 6 means 2006. The digit 7 means 2007. You can also look at the headlight connector. The K7 uses a slightly different plug. Write down your VIN before ordering any parts.
Will GSX-R600 fairings fit my GSX-R750?
Yes. The 600 and 750 share identical bodywork for 2006 and 2007. You can use the same suzuki gsx-r600 gsx-r750 fairing kit 2006 2007 on either model. Still, verify your exact year and subframe condition before you purchase.
What tools do I need for fairing removal?
You need Phillips and flat-head screwdrivers, Allen wrenches, a socket set, and plastic pry tools. A torque wrench helps during reinstallation. A magnetic tray keeps small fasteners organized. Gather these tools before you start your project.
Can I repair a cracked fairing panel myself?
Yes. Clean the crack with alcohol. Apply ABS cement along the break line. Press the edges together firmly. For stress areas near mounting tabs, add fiberglass mesh on the backside. This reinforcement prevents the crack from returning.
How long should I wait before installing painted fairings?
Let your clear coat cure for at least 24 hours before handling. Full curing takes about one week. Keep panels in a dust-free area during this time. Rushing this step risks fingerprints and dust specks in your fresh paint.
What should I check during a dry fit?
Mount each panel with hand-tightened bolts. Check gaps between panels for even spacing. Look for alignment issues at the headlight, side panels, and tail section. File mounting holes gently if needed. This pre-fit process prevents problems after painting.
Do aftermarket kits include all necessary hardware?
Quality kits include pre-drilled holes and basic hardware. Check the product description for bolts, clips, and grommets. Some kits may not include every fastener. Compare options from reputable suppliers like NiceFairings to find a complete set for your motorcycle.
How do I prevent fairing rattles after installation?
Replace worn grommets and well-nuts during your installation. These rubber parts cushion the bolts and stop vibration. Tighten all fasteners to the correct torque. Check each panel for movement after mounting. A secure fit eliminates annoying rattles while you ride.