
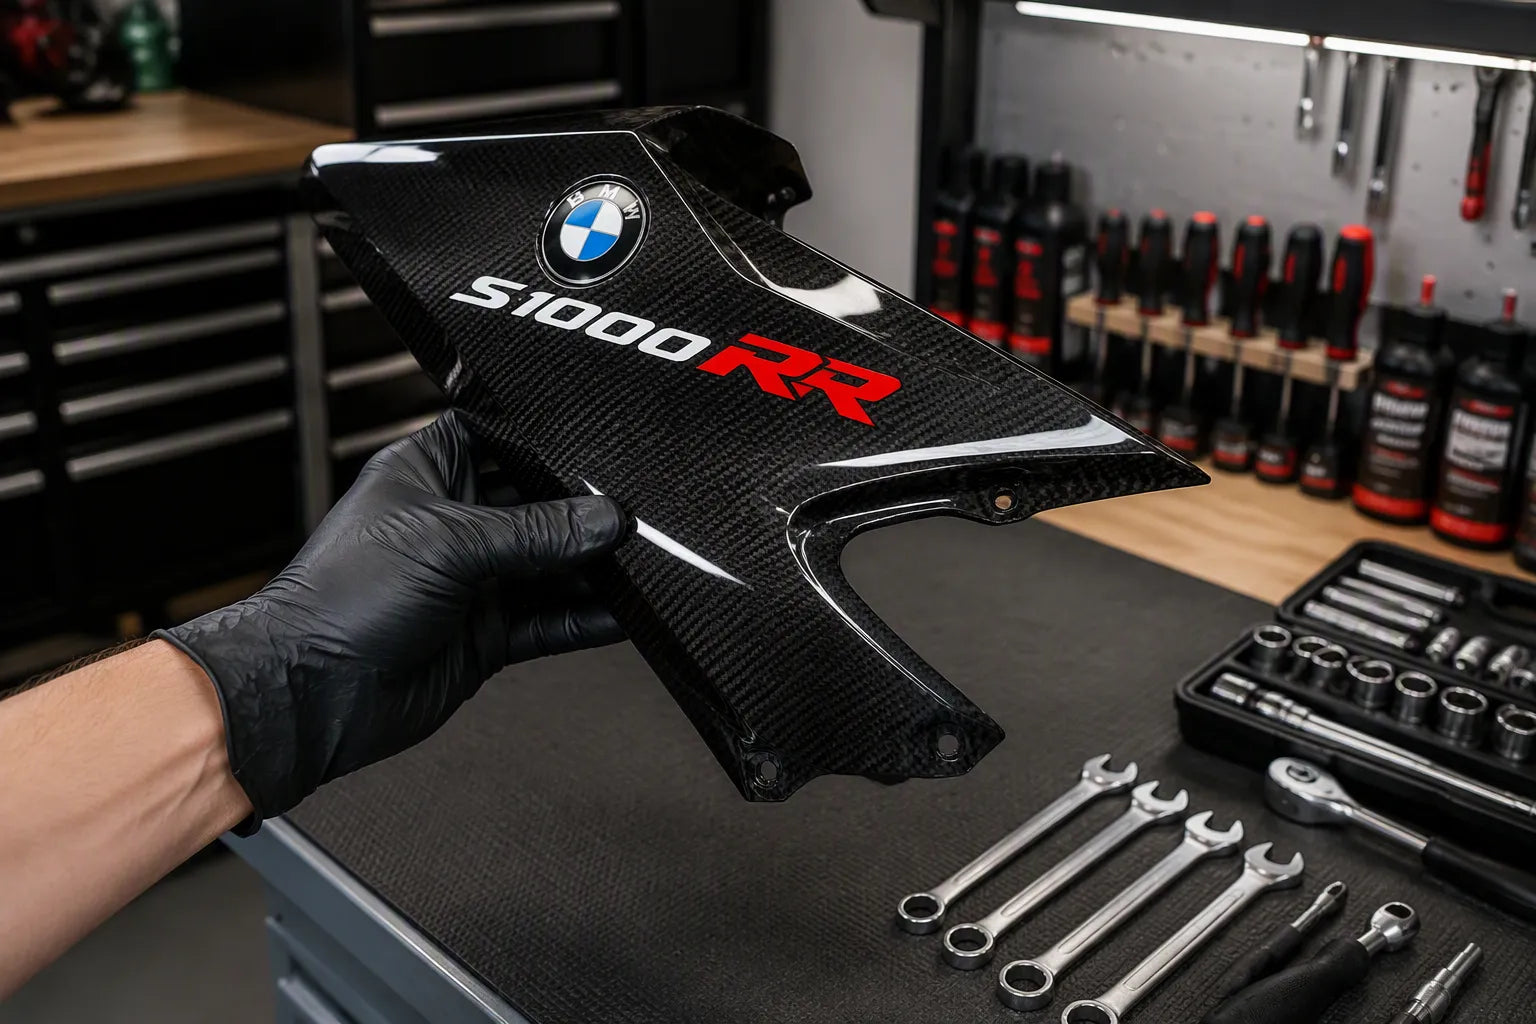
You walk back to your 2019-2022 BMW S1000RR after a drop, and your stomach sinks. You see scraped plastic, a cracked panel, maybe a broken tab. Your first instinct is to ask: repair or replace? This decision is not about pride. It is a practical look at the damage, cost, and safety.
Three factors guide your choice. First, find out if the damage is cosmetic or structural. Second, compare the cost of repair labor and paint to buying new parts or an aftermarket kit. Third, think about how your choice impacts resale value-OEM panels keep their value better than replacements that don't match.
This guide walks you through each step. You will learn when a simple fix makes sense and when a bmw s1000rr fairing replacement after crash is the better investment. You will look at replacement bodywork choices, from complete sets to single fairings. You will compare the price of kits against professional painting. You will avoid paying too much or spending too little on a safety-critical part.
Key Takeaways
Use the fingernail and tap tests to check for structural damage. Cosmetic scratches can be fixed, but structural cracks mean you need a new part.
Repair only works for one panel with small damage. If many panels are hurt, fixing them costs more than a whole new aftermarket kit.
Professional repair costs $200 to $400 for each panel. A full aftermarket kit costs about $620, which saves money if you need two or more panels.
Replace broken mounting tabs, brackets, and the fairing stay. A secure fairing stops dangerous failure at high speed.
Assessing S1000RR Fairing Damage After a Crash

Cosmetic Scratches vs. Structural Cracks
Start your inspection in good light. Examine each fairing panel for surface damage. A cosmetic scratch shows a smooth line with no edge issues. A structural crack shows fraying or whitening beyond the line. The table below shows the key differences for your bmw s1000rr.
Diagnostic Method |
Cosmetic Scratch |
Structural Crack |
|---|---|---|
Angled lighting |
Smooth line, no whitening |
Fraying, whitening beyond the line |
Fingernail test |
Nail glides over |
Nail catches, past clearcoat |
Tap test |
Solid sound |
Hollow or dull sound |
Visual fiber check |
No exposed fibers |
White fibers or broken weave |
Use the fingernail test. Run your nail across the scratch. If it glides, the damage stays in the clearcoat. If it catches, the scratch goes deeper. This means the panel may need replacement.
Tap the area with a coin. A solid sound means the material is intact. A hollow sound suggests delamination. Delamination weakens the panel.
Look for white fibers or broken weave. Exposed fibers mean deep damage. Black sanding dust during light sanding indicates carbon fiber layers. Cracks beyond the scratch line are structural.
If you see structural indicators, do not plan a simple repair. A bmw s1000rr fairing replacement after crash is the correct solution when the panel is compromised.
Inspecting Brackets, Lights, and Cooling Ducts
Damage often hides behind the panels. Remove the fairings carefully. Inspect the mounting brackets and fairing stay. The fairing stay holds the front nose section. If it bends, the fairings cannot mount correctly. Misalignment creates stress at speed.
Check the headlight assembly. Look for cracked housings or broken mounting ears. Replace damaged light components. A loose headlight fails over time.
Inspect the cooling ducts. Cracks reduce cooling efficiency. Your s1000rr runs hot on track days. Restricted airflow leads to overheating.
Professional mechanics use these steps for structural integrity inspection on your s1000rr.
Examine edges for delamination signs.
Check weave alignment across the fairing and dash interface. Ensure weave shift does not exceed 3 degrees.
Inspect internal mounting tabs for reinforcement.
Verify all hardware torque to factory specs. Use blue thread locker.
Pay special attention to mounting tabs. These break easily. If mounting tabs on one panel are broken, replacement is the only reliable option, as repair cannot restore strength.
Compare the cost of fixing individual parts against a full aftermarket kit for your bmw s1000rr. A complete kit may cost less than repairing multiple damaged panels. You get consistent color across all panels. This matters for the 2019-2022 s1000rr with multi-tone paint schemes. An oem kit guarantees perfect fit, but a quality aftermarket kit saves money.
OEM brackets offer the best fit. Aftermarket replacement panels work well at a lower price. Replace any component that affects safety.
Repairing Fairings: DIY Feasibility and Professional Costs
The True Cost of a Professional Paint and Plastic Repair
Repairing a fairing only works for cosmetic damage or small, non-structural cracks on your fairings. Your bmw s1000rr needs intact mounting tabs and no deep fractures for a fix to hold. The DIY process includes plastic welding, filling, sanding, and repainting. Each step needs precision. Matching the multi-tone paint schemes on your s1000rr takes skill. A poor color match stands out.
The cost of professional work can surprise you. For surface-level damage like chips or shallow gouges, a DIY repair costs $20 to $80; a professional shop charges $50 to $150 for a single hairline crack with intact tabs. A single hairline crack with intact tabs costs the same range. Compare this to the price of a full aftermarket kit. A quality bmw s1000rr fairing kit from a supplier like Alfairings is priced between $649.98 and $739.98. If you damage two or three panels, the professional labor cost plus paint quickly reaches or exceeds that amount. The math shows that a kit becomes the better value.
Consider the cost of repeated attempts. A first plastic-weld job costs $50 to $150. A second attempt on the same panel costs another $50 to $150. After two or three cycles, you have spent $150 to $450 on a panel with weakened integrity. Replacement with a kit becomes more cost-effective.
When a Repair is Not a Safe Option
Certain damage makes a repair unsafe. You cannot fix cracked mounting tabs. A repaired tab fails within 500 to 1,000 miles. The panel never seats properly. Structural cracks from bolt holes indicate weakness. Spider-web fractures across your fairings show molecular breakdown. These cracks re-crack under vibration. The labor you spend is wasted.
For these types of damage, replacement is mandatory. An oem panel provides guaranteed fitment and strength. An oem fairing kit ensures perfect alignment. An oem replacement stays secure at speed. An aftermarket panel provides good fitment at a lower price. An aftermarket replacement offers a cost-effective alternative. Check the mounting brackets and stay during disassembly. If these components are damaged, they must also be replaced. A fairing that fails at speed is a serious hazard. Your safety depends on making the right choice.
BMW S1000RR Fairing Kits: OEM vs. Aftermarket
When you need a bmw s1000rr fairing replacement after crash, you have two main choices. You can buy single oem panels from a dealer. Or you can get a full aftermarket kit. Each option fits a different need.
OEM Panels: Guaranteed Fitment and Color Matching
OEM panels come straight from BMW's factory. They match your s1000rr's original paint exactly. Every mounting hole lines up perfectly. You get the same quality as the fairing that came on your bike.
The cost is a different story. Dealer oem parts carry a high price. A single side panel can cost hundreds of dollars. When you damage several panels, the total climbs fast. You might spend more on two OEM panels than on a complete aftermarket set.
OEM makes sense in one case. You own a low-mileage bike and want to keep its original character. You plan to sell it soon and want top resale value. In that case, the high price buys peace of mind.

Aftermarket Kits: Cost Savings and Customization Options
Aftermarket motorcycle fairings offer a better financial path for most riders. A full-body replacement kit from a supplier like Alfairings costs between $649.98 and $739.98. The listed MSRP for similar OEM parts sits around $1,089.98. You save roughly $350 to $440 per kit. That difference covers installation supplies or a new helmet.
The savings matter when you crash. Damage often involves several panels. Fixing each one alone costs more than replacing the whole set. A motorcycle fairing kit gives you even color across every panel. You avoid the patchwork look of mismatched repairs.
Customer reviews confirm the quality. One rider on ifairings.com reported that two sets of fairings fit perfectly and shipped quickly. Another on Amotopart stated that all pieces fit correctly and the paint looked great. He admitted the result looked perfect despite low expectations.
User |
Source |
Review Summary |
|---|---|---|
Seraphim38 |
ifairings.com |
Two sets fit perfectly, shipped quickly, color scheme customized |
SI000RR |
Amotopart |
All pieces fit correctly, paint/color great, result looked perfect |
Aftermarket ABS fairing kits also open customization doors. You can pick a different color scheme. You can match track-day graphics. You can order a custom design that makes your bike stand out.
Fitment varies between brands. Some aftermarket panels need small adjustments during installation. Check reviews for your specific model year. The 2019-2022 s1000rr has unique mounting points. A quality kit fits well. A cheap one causes frustration.
The aftermarket vs oem decision comes down to your budget and goals. OEM guarantees perfection. Aftermarket saves money and offers choice. For most riders after a crash, the aftermarket kit wins.
Weighing Costs, Resale Value, and Safety
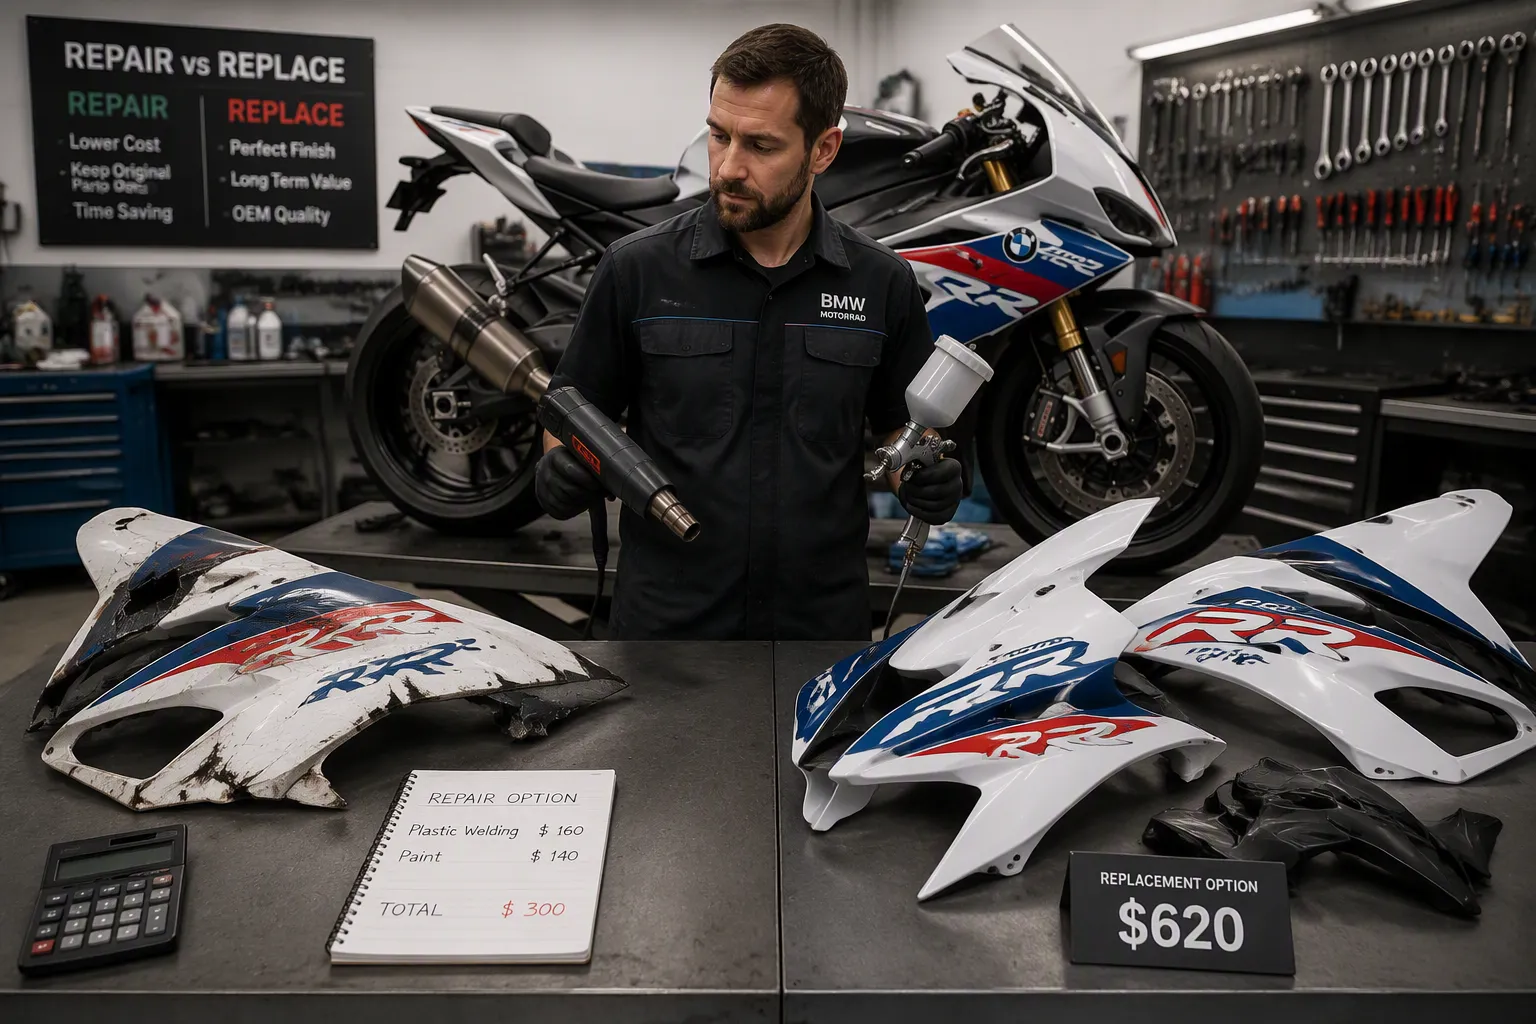
Comparing Repair Bills vs. New Fairing Kit Prices
You need to compare the numbers carefully. A full aftermarket kit for your s1000rr is priced between $649.98 and $739.98. That price includes every panel for the bike. Now look at professional repair costs. A single panel repair, especially when paint matching is required, can cost significantly more than the labor alone. Two damaged panels can cost $100 to $300 in labor alone, and with paint, the total can exceed the kit price. Three damaged panels cost even more.
A professional shop charges $50 to $150 for a single hairline crack repair. For surface-level damage, a DIY repair costs $20 to $80. Paint matching, especially for multi-tone schemes, adds significant cost and time. Your s1000rr uses multi-tone paint schemes. Matching those colors takes extra time and skill. The cost goes up quickly.
You also face the risk of a poor color match. The new paint may not look like the original. A full set gives you consistent color on every panel. You avoid the patchwork look.
Consider the DIY route. You can buy plastic welding tools and materials at a relatively low cost, but the risk of mistakes is high. A bad weld fails. A poor paint job looks wrong. You may need to redo the work. Each attempt costs time and money.
The math favors a set when you need to replace several damaged panels. A full-body replacement kit from a supplier like Alfairings gives you all new fairings. You get consistent color. You skip labor costs. You avoid the risk of failed fixes. Think about hidden costs too. A service shop may find more damage during disassembly. They may charge extra for broken tabs or brackets. A kit includes everything you need. You know the total cost upfront.
For a bmw s1000rr fairing replacement after crash, a kit costs less than multiple fixes. The installation of a quality set takes a few hours. You can do it yourself. You save money on labor. During installation, check all mounting points. A replacement panel fits perfectly with the rest of the kit.
How Your Choice Affects the Bike's Future Value
Your choice affects resale value. A buyer sees a fixed panel differently than a new one. OEM panels hold the best value. OEM panels match the original factory condition. A buyer pays more for a bike with OEM parts. A professional fix also holds value well. A skilled painter matches the color perfectly. The fix looks factory. But you must disclose the damage. Some buyers hesitate.
A poor DIY fix hurts value. The paint may not match. The panel may have visible waves or cracks. The buyer sees the fix as a problem. They offer less money. They may walk away.
An aftermarket kit sits between these options. Aftermarket motorcycle fairings from a trusted supplier look good. The paint matches across all panels. The fit works well. A buyer may not notice the difference. But you must be honest. Tell them about the change.
A well-done installation with a quality aftermarket kit holds value better than a cheap fix. A poorly executed fix lowers value. A professional fix or OEM parts is the best choice for resale. A quality aftermarket option is a close second.
Safety also matters. Cosmetic fixes do not restore structural integrity. A fairing stay, bracket, or mounting point must be secure. A panel that fails at speed creates a serious hazard. You must replace any damaged OEM mounting components. A motorcycle fairing kit includes all new parts. You ride with confidence.
Consider bmw s1000rr fairing kits as a complete solution. They give you everything you need. You get consistent quality. You avoid the guesswork of individual fixes.
Pre-Fit Checklist and Final Decision Framework
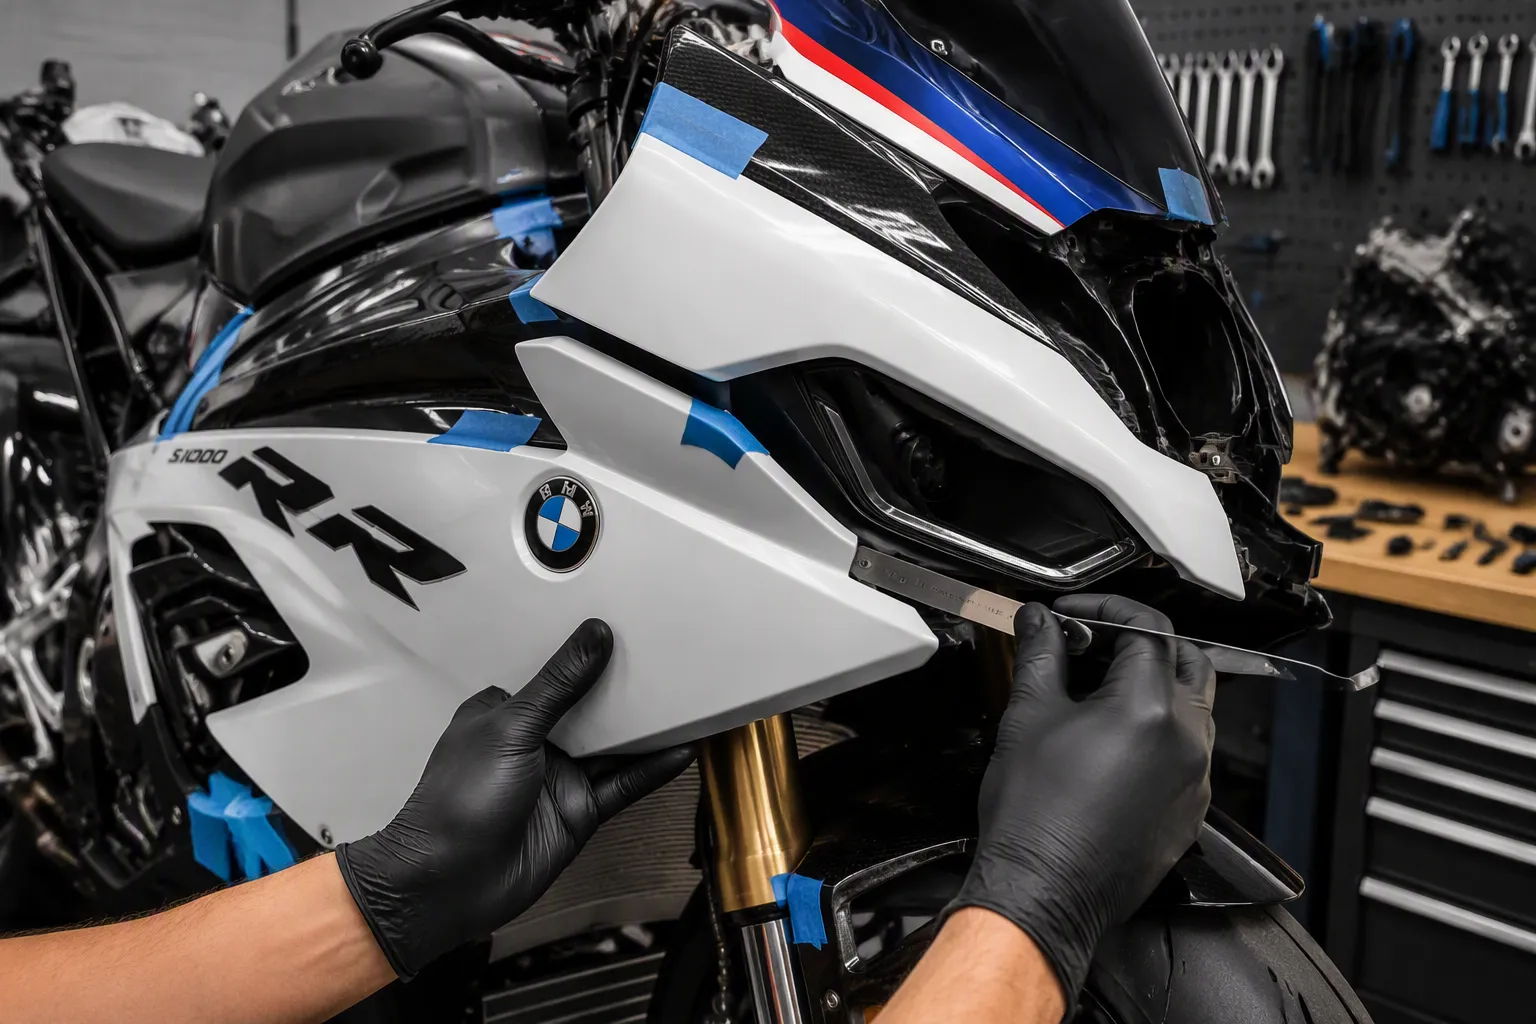
The Essential Dry-Fit Test Before Painting
You should test each new fairing before you paint or put it on for good. This step helps you avoid costly errors. A dry-fit test means you mount each panel without glue or final screws. You check how they line up, gaps, and where holes are. You make sure the kit works with your s1000rr before you go ahead.
Follow the pre-fit checklist from a quality supplier. Start with the biggest panels first. Put on the front nose section and check the headlight opening. Make sure the side panels line up with the tank and tail parts. Check every mounting tab against its bracket. If a tab does not line up, fix it now, not after painting.
Use blue tape to protect painted surfaces during the test. Put all fasteners in by hand. Do not force any screw or bolt. Forcing a fastener can break a new panel. Check the gaps between panels. They should be even and consistent. Uneven gaps mean you need to change the mounting spot.
Check the fairing stay and brackets during this test. A bent stay causes misalignment that no panel can fix. Make sure all cooling ducts line up with their openings. Confirm the headlight wiring goes without pinching. This dry-fit process takes about an hour. That hour stops you from finding fitment issues after you paint.
A Simple Guide to Making the Final Call
You now have the info to choose. Use this simple guide for your bmw s1000rr fairing replacement after crash.
Damage Type |
Best Action |
Reason |
|---|---|---|
Scratches on one panel, no cracks |
Repair |
Cost stays under $150 |
Small crack, all tabs intact |
Repair |
Plastic weld holds if done well |
Cracked panel, broken tabs |
Replace |
Repair fails within 1,000 miles |
Damage to 2+ panels |
Replace with kit |
Kit costs less than individual fixes |
Bent fairing stay or brackets |
Replace hardware |
Safety-critical component |
A repair works for one panel with light damage. A replacement kit is a better deal when you have deep damage or many panels hurt. The aftermarket kit price of around $650 to $740 is often lower than the cumulative cost of repairing multiple damaged panels professionally.
During disassembly, check for hidden damage past the fairings. Look at the frame for cracks or bends. Check the radiator for leaks or bent fins. Test the clutch and brake levers for smooth use. Look at the handlebar controls for cracks. These parts affect your safety directly. A fairing that looks fine cannot protect you if the frame underneath is hurt.
Remember that cosmetic repairs do not fix structural strength. If you have any doubt about the mounting points or brackets, replace them. An oem panel guarantees fit. A quality aftermarket option saves money. Your choice between oem panels and aftermarket parts depends on your budget and your bike's use. For track days, a full kit makes sense. For a bike you plan to sell, oem panels protect your investment.
When in doubt about structural strength, get a professional inspection before you decide. The cost of an inspection is small compared to the risk of a fairing failure at speed.
Minor cosmetic scratches on your s1000rr deserve a repair. Structural cracks, broken tabs, or damaged mounting points demand a replacement. Your decision balances budget, skill, and whether you ride street or track.
Never compromise safety for savings. A fairing that fails at speed creates a serious hazard. An aftermarket kit offers value, while oem panels guarantee fitment. Proper installation matters more than the parts you choose.
When you doubt the structural integrity of your bmw, seek a professional inspection before deciding on your fairings. That small cost protects you from a costly mistake. Your s1000rr deserves a bmw s1000rr fairing replacement after crash that you trust completely.
FAQ
Can I fix a cracked fairing panel by myself?
You can fix small scratches with sanding and touch-up paint. Structural cracks need plastic welding skills. If the crack has whitening or exposed fibers, do not try to fix it. A bad weld will break within 500 to 1,000 miles. Buying a new part costs less than fixing it again and again.
How do I know when a full kit is better than fixing each part?
Add up the cost for every damaged panel. A pro charges $50 to $150 per panel for labor on a simple crack, and paint can add significantly to the total. Two damaged panels can cost $100 to $300 in labor alone, and with paint, the total can be higher. A full aftermarket kit is priced between $649.98 and $739.98. If you have two or more damaged panels, the kit saves money and gives your s1000rr the same color on all sides.
Will aftermarket fairings fit as well as OEM parts?
Good aftermarket fairings fit well with small tweaks. OEM panels fit perfectly but cost more. Check reviews for your 2019-2022 model year before you buy. Test the fit before painting to fix most problems. How you install the parts matters more than which brand you pick.
Does my choice change the bike's resale value?
OEM panels keep the highest resale value because they match the factory look. A professional repair also keeps value well. A good aftermarket kit is close behind if installed the right way. A bad DIY fix hurts value a lot. Buyers can see paint that does not match and wavy surfaces.
What hidden damage should I look for after removing fairings?
Check the frame for cracks or bends. Look at the radiator for leaks or bent fins. Test the brake and clutch levers to make sure they move smoothly. Check the fairing stay for alignment problems. A bent stay causes misalignment that no panel can fix. Replace any damaged mounting parts before you put on new fairings.
