
The bodywork is finally back on. The fasteners are organized, the new finish looks clean, and the first mild weekend is in the forecast. That is exactly when a winter project can go wrong: the motorcycle looks finished, so the rider treats the first ride like a normal ride.
A fairing installation is not fully proven until the bike has passed three different checks: stationary clearance, a controlled heat cycle, and a short low-speed shakedown. Panels can sit perfectly on a stand yet touch a fork leg at full steering lock, trap a wire behind the nose, or move toward the exhaust after the engine warms. None of those problems requires panic. They require a deliberate spring motorcycle fairing inspection before speed and wind load enter the picture.
This guide begins after the winter fairing rebuild is complete. It is for a complete street motorcycle with lights, mirrors and production-style bodywork—not a race-only machine. Use the service manual for your exact year and model whenever a procedure or torque specification is involved.
1. Start With the Build Record, Not the Bodywork Shine
Before touching a tool, review what changed during the winter. A full fairing swap often grows into several smaller jobs: a windscreen replacement, mirror removal, turn-signal work, a battery tender lead, new frame sliders or exhaust service. The final inspection must cover every disturbed system, not only the painted panels.
Make a short list with three columns:
| Area | What changed | What must be verified |
|---|---|---|
| Front cowl | Screen, mirrors, nose panels | Steering clearance, wiring, light operation |
| Side bodywork | Mid-panels, vents, inner trim | Tab engagement, hose and fan clearance |
| Lower bodywork | Belly pan, heat barrier | Exhaust distance, drain openings, secure insulation |
| Tail | Seat cowl, side panels, signals | Latch function, wire routing, tire clearance |
| Hardware | Bolts, clips, well nuts, collars | Correct location, correct stack, no missing pieces |
This record prevents a common mistake: finding one loose fastener and assuming it explains every symptom. It also gives you a baseline if the bike later develops a buzz, gap or electrical fault.
2. Confirm the Motorcycle Is Stable and Cold
Inspect the bike on level ground with stable support. If you use stands, make sure they are correctly placed and the motorcycle cannot roll. Work with the engine and exhaust completely cold during the first visual inspection.
Use bright, movable lighting. Look through vents from more than one angle rather than reaching blindly behind a painted panel. Keep the ignition off while checking routing near connectors. If any step involves removing a battery terminal or an electrical connector, follow the manufacturer’s procedure.
The goal is to see the installation as a system. A gap that looks cosmetic from outside may reveal a trapped loom or displaced grommet from behind.
3. Check Every Fastener Stack, One Location at a Time
Fairing hardware does more than hold a panel on the bike. Shoulder bolts, collars, washers, rubber grommets and well nuts control how much the plastic can move and how the load is spread around a hole. Substituting a random short bolt or omitting a collar may clamp the panel directly, even when the bolt feels “tight.”
Follow the motorcycle’s parts diagram or your teardown photos and verify:
- the correct fastener occupies each location;
- collars and shouldered spacers sit in the correct order;
- rubber grommets are seated rather than folded behind the panel;
- push clips are fully engaged and not missing their center pins;
- no bolt is cross-threaded or being used to pull two misaligned holes together;
- painted holes are clear enough for the specified fastener to pass without force.
Do not invent a universal torque value for bodywork. Use the model-specific service information where torque is specified. On plastic-retaining fasteners, more force is rarely a cure for poor alignment. If a hole will not meet naturally, loosen the neighboring panels and investigate the cause.
4. Read the Panel Seams Before Tightening Anything Further
Stand several feet away and compare the left and right sides. Then inspect every seam at close range. You are looking for consistent relationships, not mathematically identical gaps; motorcycles are assembled from brackets, rubber mounts and molded parts with tolerances.
Warning signs include:
- one panel edge sitting on top of an adjacent locating lip;
- a tab visible outside the slot it should enter;
- a fastener hole pulled into an oval shape;
- white stress marks around a mounting point;
- a panel that springs away when a bolt is removed;
- a sharp edge touching a hose, cable or painted neighboring surface.
If a panel stores tension, stop and reset the local assembly. Loosen several nearby fasteners, seat the locating features, and bring the joint together by hand. Never use the screw thread as a winch. Static tension plus engine vibration can turn a small alignment problem into a cracked mounting tab.
5. Test Full Steering Lock With the Front Wheel Unloaded Only as Specified
Turn the handlebars slowly from center to full left and full right. Do this with the motorcycle stable and follow the manufacturer’s guidance if unloading the front end is necessary. Watch the fork legs, brake hoses, control cables, lever ends, master cylinders, mirrors, windscreen and inner cowl.
At both locks, confirm that:
- cables and hoses follow their intended routes without stretching or pinching;
- the throttle returns normally at all steering positions;
- the brake hose does not rub a sharp fairing edge;
- the fork and controls do not contact the nose or inner panels;
- the steering lock can operate without bodywork interference;
- aftermarket accessories retain clearance throughout the sweep.
Our detailed full-lock steering-clearance check explains why checking only the centered position is insufficient. Any interference with steering, brakes or throttle is a stop condition. Correct it before starting the engine.
6. Verify Lights, Signals and Connectors
Winter bodywork projects often disturb the headlight, front indicators, running lights, license-plate light or tail connectors. Turn on the ignition and check each function in a controlled sequence. Confirm both the function and the physical routing behind it.
Look for connectors that are fully latched, wires that have enough slack for steering movement, and looms that are retained away from hot or moving parts. A connector can appear joined while its lock is not engaged. A wire can also work in the garage yet fail after the handlebar pulls it at full lock.
If the nose, headlight or mounting bracket changed, check the beam position using the proper method before night riding. See our headlight-aim guide after nose-fairing replacement for a dedicated procedure. Do not treat a visually level headlight lens as proof that the beam is correctly aimed.
7. Inspect Heat Shields and Lower-Fairing Clearance
The belly pan and lower side panels operate close to the exhaust, engine and radiator airflow. The correct clearance and insulation arrangement are model- and component-specific. A universal “finger-width” rule is not reliable because exhaust layouts, panel shapes and heat loads differ.
Check that heat barriers required by the original design or kit instructions are present, fully bonded and positioned without blocking drains or vents. Confirm that no foil edge can flap against a pipe and that adhesive has not released during storage. Inspect the full exhaust route near the bodywork, including places hidden when viewed from the side.
If an aftermarket exhaust, headers or link pipe were fitted, do not assume original clearances still apply. Follow the exhaust manufacturer’s instructions and resolve any uncertain hot-zone relationship before running the bike. Our motorcycle fairing heat-damage guide provides a more detailed inspection sequence.
8. Confirm Vent, Fan and Radiator Paths
Fairings manage airflow as well as appearance. Look through the front and side openings to confirm that inner ducts, trim panels and mesh pieces are correctly seated. Nothing should touch the radiator fan or obstruct a designed air path.
Rotate or test components only as the service manual permits. Never put fingers or tools near a fan that may start automatically. Check that loose wiring, heat foil and trim edges cannot migrate into the fan area. Verify that drain openings at the bottom of the bodywork remain open.
A fairing should not become a container for water, oil or road debris. If the kit or model uses a particular lower-panel drain arrangement, preserve it.
9. Check the Tail, Seat and Rear-Wheel Zone
Reinstall the rider and passenger seats or seat cowl exactly as intended. Operate the latch several times. Make sure the seat is truly locked, not merely resting on the latch hook.
Inspect rear signal wiring, license-plate wiring and any tail-tidy hardware. Look upward from behind the motorcycle to confirm that no connector or cable can drop toward the tire. Check clearance around the rear suspension and wheel through the range you can safely inspect statically. If suspension travel or a modified component creates uncertainty, use professional help rather than guessing.
Also confirm that luggage mounts, passenger pegs and grab handles do not preload the new panels. Accessories installed over bodywork can distort it when their spacers are omitted or placed in the wrong order.
10. Perform a Controlled Cold Start in a Ventilated Area
Once the static checks pass, move to a well-ventilated location suitable for running the motorcycle. Never idle a motorcycle in a closed garage. Keep loose clothing and tools away from moving or hot parts.
Start the engine and let it settle according to the owner’s manual. Watch rather than revving for a dramatic test. Listen for a new buzz, observe the panels near the radiator and exhaust, and check the instrument panel for warnings. Verify that lighting still works and the handlebars can move freely.
Shut the engine off immediately if you smell hot plastic, see smoke, notice a fluid leak, hear contact with a moving part, or encounter any control or electrical fault. Let the motorcycle cool before touching panels near the engine or exhaust.
11. Make the First Ride a Short Shakedown
The first ride should be a test route close to home, in daylight, on familiar roads and at conservative speed. Avoid carrying a passenger or joining a fast group ride. Wear normal protective equipment and bring only the tools appropriate for safe roadside checks.
Build the ride in stages:
- Move slowly and confirm steering, brakes and controls feel normal.
- Ride over a smooth section and listen for contact or buzzing.
- Add modest road speed only if the motorcycle remains normal.
- Stop in a safe place and perform a quick visual check.
- Return home before heat, distance or darkness complicates diagnosis.
Do not reach down to touch a panel while riding. Do not continue to “see if it clears up” when a new steering, brake, electrical, heat or structural symptom appears.

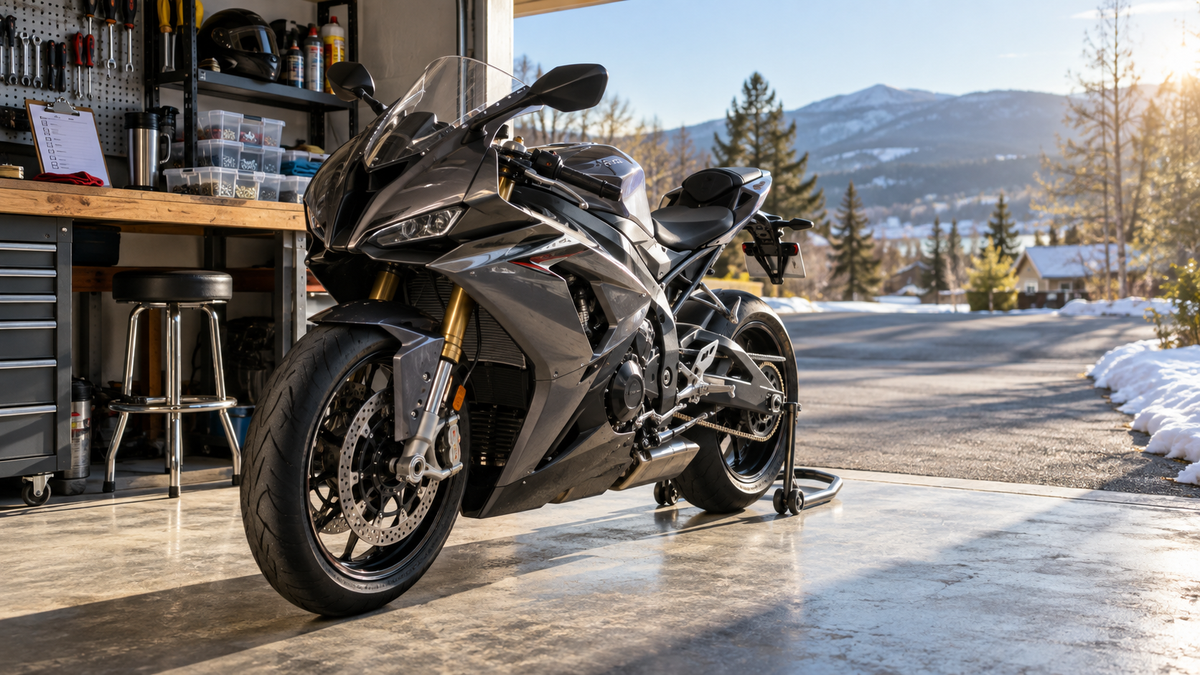
AI-generated editorial illustration showing the inspection context; it is not a model-specific service reference.
12. Let the Bike Cool, Then Reinspect the Evidence
After the shakedown, park safely and allow the motorcycle to cool fully. Recheck the same zones instead of tightening every visible screw by habit.
Look for:
- fresh witness marks at panel seams or around fastener heads;
- a shifted grommet or clip;
- heat-shield lifting or discoloration near a hot zone;
- new rubbing on a hose, wire or panel edge;
- fasteners that are no longer seated as documented;
- fluid traces trapped by the lower bodywork;
- a gap that changed after the heat cycle.
Correct the cause, record what changed, and repeat a controlled test if necessary. A fastener that repeatedly moves may indicate incorrect hardware, a missing spacer, damaged threads or an alignment problem. Simply tightening it harder can hide the evidence while increasing stress in the plastic.
Pre-Ride Inspection Checklist
Use this compact list before the first normal ride:
- Exact model-year service information and installation notes reviewed
- All fairing bolts, collars, washers, clips, well nuts and grommets accounted for
- No fastener is pulling a misaligned hole into place
- Panel seams and locating tabs sit naturally without stored tension
- Handlebars move freely from lock to lock
- Throttle returns and brake hoses remain free at every steering position
- Headlight, signals, brake light, running lights and instrument functions checked
- Wiring is latched, retained and clear of sharp, hot and moving parts
- Exhaust and engine hot zones have verified clearance and required shielding
- Radiator ducts, fan area, vents and drains remain unobstructed
- Seats, cowl and latches are secure
- Rear wiring and bodywork remain clear of tire and suspension movement
- Cold start completed in ventilation with no smoke, hot-plastic odor or warning light
- Short daylight shakedown completed
- Motorcycle cooled and bodywork reinspected before normal riding
A Good Spring Reveal Is Quiet and Uneventful
The best first ride after a winter fairing rebuild should feel almost ordinary. The controls move freely, the lights work, the panels stay quiet, and the finish arrives home exactly as it left the garage. That result comes from checking interfaces rather than admiring surfaces.
A complete fairing set can transform a motorcycle’s appearance, but its real success is measured by correct model matching, patient assembly and safe recommissioning. Give the bike one calm inspection day before the season begins. The photographs can wait until the mechanical evidence says the project is finished.



