For a carbon-look fairing design, decide where the pattern belongs before choosing how much of it to use. A tail accent, a narrow lower section or a small area beside a painted color block can make the pattern easier to appreciate than covering every visible surface.
Carbon-look describes an appearance. This article is a design workbook, not a claim about carbon-fiber construction, weight or strength. If material identification is your main question, start with our carbon-look versus carbon-fiber guide.
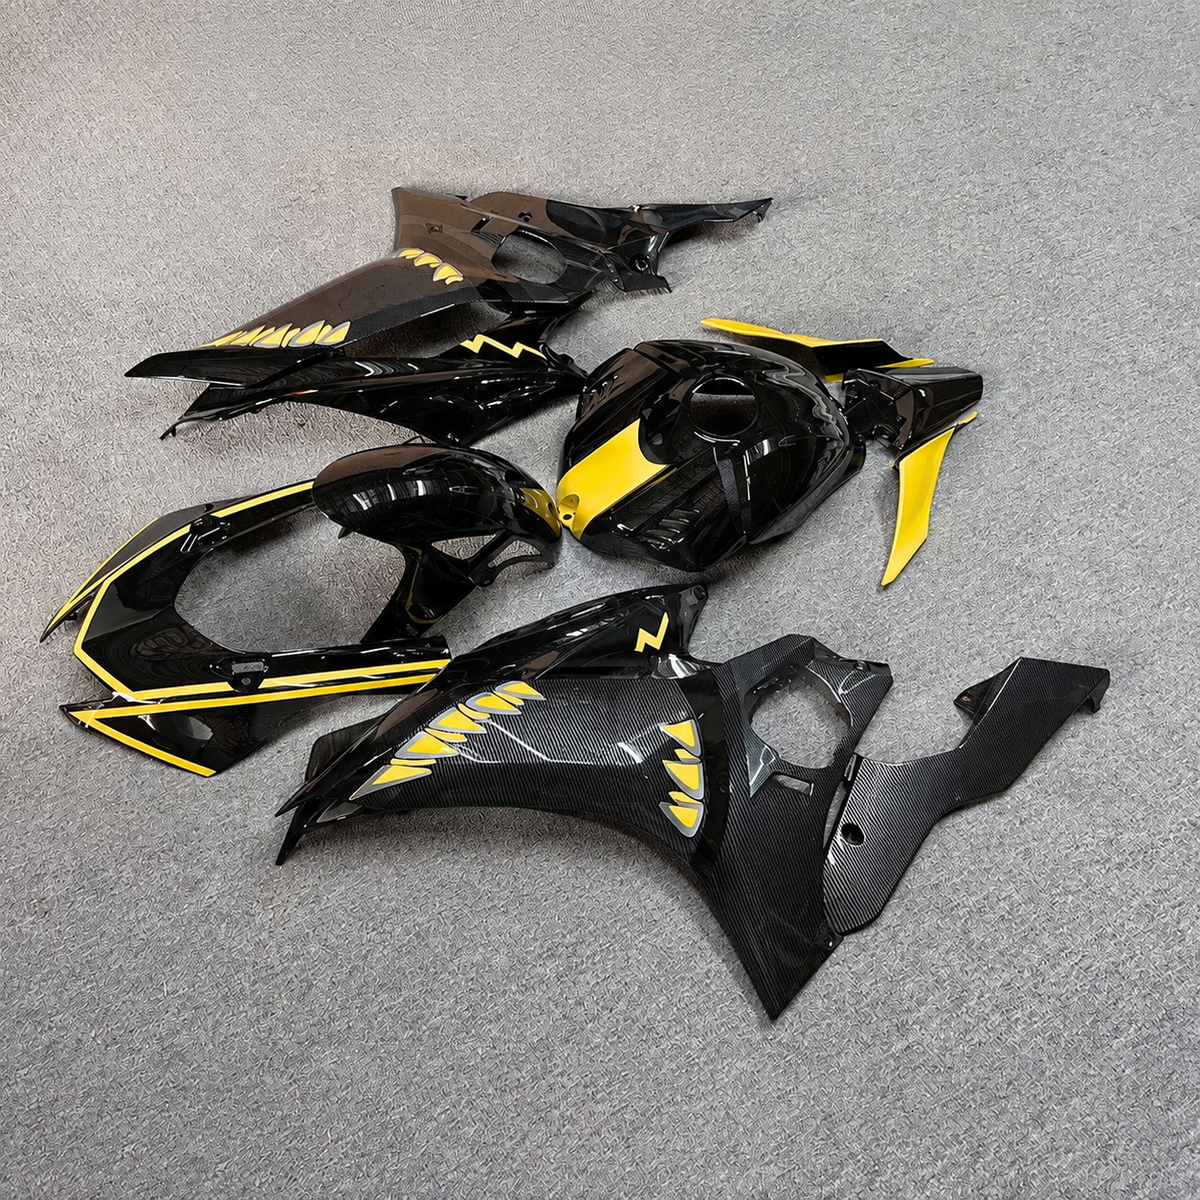
Cover: NiceFairings catalog photograph, AI-retouched to remove the watermark. Decorative carbon-look ABS bodywork with yellow painted accents; not structural carbon-fiber bodywork.
Give each accent a visual job
Look at a side photograph of your actual motorcycle and choose the area you want to emphasize. A patterned tail can draw attention to the rear silhouette. A narrow lower accent can support a larger painted side panel. A patterned tank cover, where one is actually part of the confirmed order, can become a more prominent feature.
These are options, not a rule that every bike needs all three. Start with one main patterned zone and one supporting zone. If the design already includes several stripes, numbers or logos, removing a competing detail may help more than adding another carbon-look panel.
Ask which exact pieces can receive the requested finish. A photograph of a complete kit does not establish that every individual part or pattern variant is available separately. Keep the design proposal connected to the actual panel list.
Specify direction and scale, not just “carbon”
Two carbon-look designs can use similar colors but read very differently. One may have a fine, quiet pattern; another may have a larger, more obvious diagonal. Send a close reference for the pattern and a wider view showing how prominent you want it to be on the motorcycle.
Direction also needs a reference. “Diagonal to the right” becomes ambiguous when a loose panel is turned over or moved to the other side of the bike. Mark the intended direction on an upright left-side image and an upright right-side image. Describe whether the two sides should mirror each other or follow another deliberate arrangement.
There is no universal correct diagonal for every fairing. Judge it against the panel shape and the surrounding painted lines. Ask whether the proposed finish can reproduce the requested direction and scale on the actual curved piece. Do not infer the finishing process from the picture or assume a particular dipping or printing service is offered.

A wider catalog view shows how patterned areas and yellow accents are distributed across this example kit. It does not guarantee an identical appearance for a different order.
Define the painted boundary
A request such as “carbon at the bottom” leaves a large decision to the painter. Mark where the pattern starts and stops, using recognizable features of the panel. Specify whether a colored band separates it from the main paint, whether that band stays visually consistent and where it ends.
Look at the boundary from the intended mounted orientation. A curved edge may appear different in a tabletop photograph. This is a reason to compare equivalent views and ask questions, not a reason to accept every irregular line as inevitable.
Finish matters too. Gloss and matte surfaces reflect their surroundings differently, which can change how noticeable the pattern looks. Request the intended finish for each zone and ask what combination can actually be supplied. A rendering cannot prove the final sheen, and a bright reflection can hide rather than reveal pattern detail.
Review one complete design before approving it
Consider a hypothetical blue motorcycle with white main side panels. The owner wants a small carbon-look tail accent and a blue border. A clear request identifies the tail pieces, marks the pattern direction on both sides, shows the desired pattern scale and states whether the border should visually relate to the retained tank.
The review then becomes specific: is the tail accent the agreed size, does its direction match the marked reference, and does the painted border stop at the intended feature? This is more useful than asking whether the entire kit looks “premium.”
- Which pieces receive the pattern, and which remain painted?
- What pattern scale and direction are intended on each actual side?
- Where do the painted boundaries start and stop?
- Which areas are gloss or matte?
- What can the supplier reproduce, and which details remain uncertain?
If a finished photograph shows stretching, a sudden pattern change or an uneven boundary, identify the location and ask for an explanation against the agreed design. Curvature and process limitations can affect appearance, but they do not automatically make a discrepancy acceptable. Record any limitation before approval.
NiceFairings' custom fairing enquiry is a place to discuss the requested appearance and available options. Read the FAQ for current service wording; finished photos are provided whenever possible, rather than promised for every order. Send your marked reference images with the exact model and year so the discussion starts with a design that can be evaluated.