Images are AI-generated editorial illustrations, not photographs of supplied products, customer vehicles or fitment tests.
You just got your fairing back, and something looks off. Maybe the color shifts under your garage light. Maybe it looks fine in the sun but wrong under fluorescents. You wonder if this is normal, or if the shop missed the motorcycle fairing paint match.
You do not need to be a paint expert to sort this out. A simple four-step process helps you decide with confidence. First, establish a reference. Second, observe under controlled lighting. Third, record what you see. Fourth, agree on a resolution before the repair begins.
These steps turn a vague worry into a clear, factual comparison. You stay in control of the approval.
Establish Your Color Reference
Identify the Factory Paint Standard
Your factory color code is a starting point, not a guarantee. Exposure and previous refinishing can affect the finish on your bike over time. A code that left the factory years ago may not describe the surface you see today. Age alone does not prove fading, though. A well-kept fairing can hold its color for a long time. Treat the code as a reference value, not a verdict.
Exact matching is not universally impossible. Many repairs match closely when the shop works from the right reference. The problem starts when someone compares new paint to a code instead of to the actual part. Confirm the exact model and year application before anyone mixes paint. NiceFairings asks for this step because fairing fit and finish depend on the correct application. A part listed for a similar year may not share your bike's finish.
If you bought a used bike, the paint history may be uncertain. PPG's color-identification procedure includes checking for previous refinishing and comparing physical references under suitable lighting. Ask the painter to identify the reference surface before discussing a correction.
Gather Physical Samples or Chips
Ask a qualified refinisher which physical reference or spray-out sample is appropriate. Compare it with the retained painted component you want to match. A paint code, stock chip and a sample prepared with the proposed process answer different questions; record which one is being used.
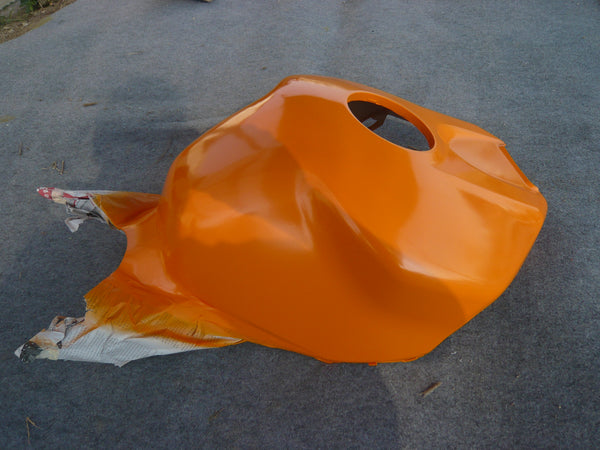
Identify the painted surfaces that will remain on the motorcycle. A kit may exclude the tank or surrounding trim; confirm its actual contents. If your goal is a close match to a retained surface, use that surface as the agreed reference rather than assuming a coordinated new set will match it.
Observe Color Under Controlled Lighting
Lighting changes what you see. A panel can look perfect in your driveway and wrong in the shop. That does not automatically mean the paint is bad. It means you need a controlled comparison before you judge the motorcycle fairing paint match.
Use Two Light Sources for Motorcycle Fairing Paint Match
Choose useful lighting conditions with the painter and compare both surfaces together in each condition. Record the light source and viewing angle; the aim is repeatable observations, not a home-made acceptance standard.
Begin in even daylight where glare does not obscure the surfaces. Position the reference beside the panel without scratching either.
Repeat under the workshop lighting used for the discussion. Note the source and keep the relative positions comparable.
Different light and viewing angles can change the appearance of a finish. Record whether the difference is in hue, lightness, gloss or metallic effect, and whether it is visible to your eye under each condition. Neither light source automatically proves that the finish is correct.
PPG's PD0631 procedure tells technicians to compare physical chips or spray-outs under suitable light rather than trusting a screen or a memory. You can follow the same logic. Hold your reference chip next to the repaired panel under each source. Look at both at the same time, not one after the other.
If a repair is proposed, ask the refinisher whether it involves a new mix, a test sample, blending or another process, and which surrounding surfaces would be affected. Do not polish or apply compounds as an improvised color correction, especially before the coating maker's curing and care requirements are known.

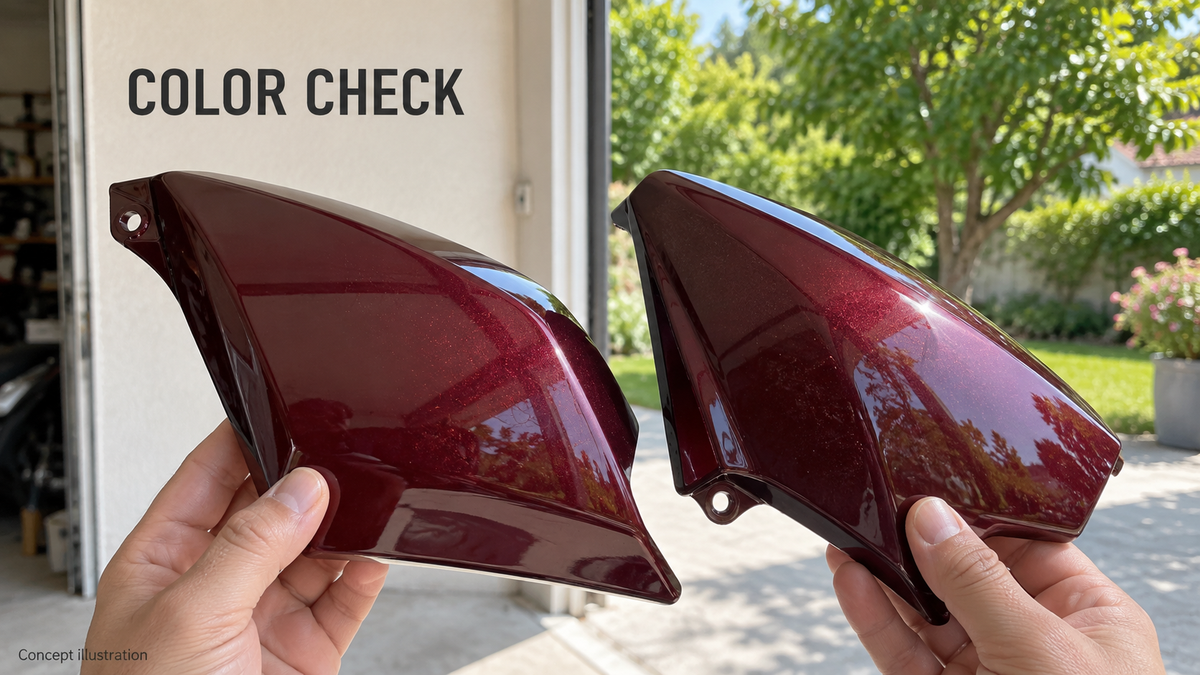
Curved painted surfaces can look different with light and viewing angle. Illustrated finish, not a supplied product sample.
Check Color from Multiple Viewing Angles
Color shifts as you move. Walk around the bike and view the panel from several positions. Look straight on. Look from a low angle. Look from the side. Metallic finishes change with angle because the flake reflects light differently in each direction.
Compare the panel with its intended reference at each angle. Note whether the difference persists or appears only at particular angles. Visibility from one angle is still a relevant observation; it does not by itself establish that the concern is less important.
Two lighting conditions and multiple viewing angles give you useful observations. They are not an acceptance standard. They are not proof of a match. They simply help you describe what you see in plain terms. Use the actual retained surface and any sample agreed with the refinisher as references; specialist assessment may still be needed.
Take photos during this step. Our guide on finished motorcycle fairing photos before shipping explains how to capture panels clearly. Those photos help you document the observation. They do not waive defects, and they do not replace a physical check.
Record Color Discrepancies
Your eyes gave you helpful facts. Now you need a record you can share. A written record turns a fuzzy worry into a clear, factual claim. It also gives the shop something specific to work with.
Document with a Two-Lighting Photo Pair
Take a comparable pair of photographs under each chosen lighting condition, with the new panel and its reference together. Avoid filters and edited colors. Keep settings consistent within each pair, record the conditions, and avoid overexposure. Different light sources may require different camera settings; identical settings across all lighting are not a color measurement.
Keep framing and the relative position of the surfaces comparable. Include a wider view showing which components are being compared, then a closer view of the area of concern. Keep original files rather than only sending compressed screenshots.
Label the files clearly. Use names like sunlight-left-right.jpg and shoplight-left-right.jpg. Store them with your order number.
Photos help describe a concern but cannot establish an exact match on their own. Keep the written scope and original files, and raise any concern before approving further work. Camera processing and display settings can change apparent color.

Keep observations and proposed next steps in a written record; photographs support the discussion rather than proving a color match.
Describe the Difference in Simple Terms
Write a short, factual message to the seller. Say what you saw, where you saw it, and under which light. Avoid words like "wrong" or "bad." Describe the difference instead.
Here is a copyable template you can adapt:
Hello, I received [panel/order] for my [year/model]. My agreed reference was [retained tank/sample/reference]. In [light], I see [specific difference]; from [angle], I see [observation]. I have attached labeled original photographs and notes on the conditions. Please review the concern and proposed options before any repair or further approval.
That message gives the seller specific, checkable facts. It also keeps the talk calm and useful.
PPG's guide on poor color match lists formula, mixing, and application as possible causes of a mismatch. A shop can review those three areas against your recorded observations.
Keep your message under a few short paragraphs. Attach both photos. Note the light source for each. This record supports a clear motorcycle fairing paint match discussion without guesswork.
Resolve Color Issues Before Repairs
You have your two-lighting photo pair and a written description. Now you need a decision. Talk with the shop before anyone sprays more paint. Share your photos and your notes. Walk through the observations together. A calm, factual talk beats a vague complaint every time.
Decide Whether to Accept, Adjust, or Request a Remix
Some differences are acceptable. A slight shift visible only under one light type may not bother you on the road. If the panel looks close under sunlight and only shifts under shop LED, you might approve the finish. That choice belongs to you. The shop cannot make it for you.
If the difference does not meet the agreed result, ask the shop or seller to review the cause and propose options before work continues. A new mix or blending may be appropriate in some cases, but the remedy, affected surfaces, cost and timing require assessment rather than an automatic assumption.
Ask the shop to document the proposed process, which surfaces it affects, any cost, and how the next sample or finished part will be reviewed. Describe the observed difference rather than prescribing pigment or flake changes yourself.
Get a Written Agreement on the Outcome
Put the proposed next step in writing. For example: "Please prepare a sample using the proposed process for comparison with the retained tank, under the conditions we have recorded, before refinishing the panel." Record the actual acceptance criteria agreed with the provider; do not promise a universal exact match.
For a NiceFairings order, raise a color concern with customer support before altering the finish. The FAQ explains that a close visual match can be pursued but an exact match is not guaranteed. Its 7-day reporting instruction concerns packages arriving damaged, not a blanket conclusion about every color concern.
You now have a four-step method: set a reference, check the color under controlled light, write down what you see, and agree on a fix before any paint is used. Careful checking keeps you from ending up with a mismatch you never agreed to. Remember that photos do not prove the color is correct, and a full set of fairings does not guarantee an exact motorcycle fairing paint match to your old tank or trim. Next time you see a fairing that looks off, stop, follow these steps, and only approve when you are happy.