
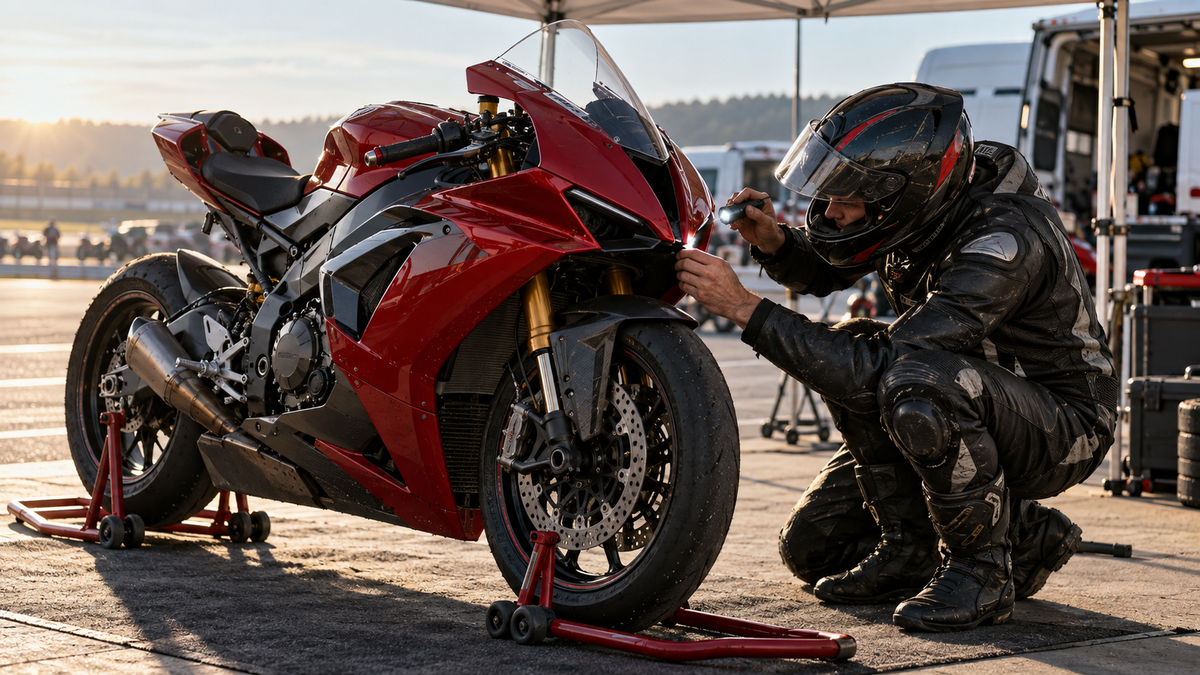
An uneven fairing gap is an observation, not a diagnosis. It may come from a panel sitting outside a grommet, a missing collar, trapped wiring, a displaced bracket, the wrong hardware, or interference elsewhere in the connected panel group. Pulling the gap closed with a bolt can hide the real cause while loading a painted tab that was never meant to act like a clamp.
The safe response is simple: stop tightening, let the panels float, and identify what changes immediately before the seam opens. This guide gives home mechanics a repeatable way to do that without promising that every motorcycle or fairing kit behaves the same way. Always use the motorcycle's service information and the instructions supplied with the exact kit for model-specific fastener locations and tightening specifications.
Stop before a cosmetic gap becomes structural damage
Do not continue tightening when the panel needs obvious force to reach a mounting point. Pause the dry fit if you see or feel any of the following:
- whitening, distortion or a fresh crease around a painted tab;
- a fastener that will not start by hand in its correct thread;
- a collar, rubber isolator, well-nut or grommet whose location is uncertain;
- wiring, a hose or a connector trapped between two panels;
- contact with a headlight, intake duct, radiator, exhaust component or moving control;
- a bracket that looks bent, loose or different from the motorcycle's reference information;
- a panel that changes position sharply as one neighboring fastener is tightened.
A gap can be cosmetically annoying. A loaded tab, trapped harness or uncertain hot-part clearance can become a safety or durability problem. Treat those as stop conditions rather than styling compromises.
Establish the baseline before moving a bracket
Begin with the exact motorcycle application: model, model year, market version and any front-end, exhaust, lighting or bracket changes. Similar-looking generations may use different stays, inner pieces or hole locations. Confirm the part labels and left/right orientation before assuming a panel is faulty.
Next, study the motorcycle side of the installation. Look for previous crash repairs, bent stays, missing rubber pieces, aftermarket lights, replacement windscreens, relocated electronics or exhaust changes. If the original panels are available, photograph how they meet the same bracket and store those photos as a reference. Original bodywork that also sits poorly at the same point directs attention toward the motorcycle-side mount, although it still does not prove the cause by itself.
Make a hardware map during disassembly. A sheet of cardboard, divided tray or labeled bags can keep fasteners associated with their original locations. Record collars and grommets separately because two bolts with similar heads may still have different shoulders, lengths or load paths.
Use a float-and-observe dry fit
The objective of a dry fit is to see where the assembly wants to sit before clamping it. Work with clean contact surfaces and protect painted parts from the floor, tools and neighboring edges.
- Position the related panel group and engage its locating features without forcing them.
- Lightly engage only the confirmed fasteners in their intended locations. Keep the assembly free enough to settle.
- Confirm that tabs are entering the correct slots and that rubber supports, collars and inner trims are present as specified.
- Observe the seam before adding clamp load. Photograph both sides from matching angles.
- Change one condition at a time. If engaging one location opens another seam, record that sequence.
- Stop at the first hard contact or uncertain alignment. Do not use the next bolt as a winch.
This method does not assume that the narrowest visible gap is automatically the cause. The controlling conflict may be hidden behind the panel or several mounting points away. The useful clue is the first repeatable change in the assembly as a known location is engaged.

Keep fasteners, collars and rubber parts tied to their recorded positions. A tidy hardware map is part of the diagnosis, not just workshop housekeeping.
A practical troubleshooting worksheet
Use the table as a sequence of checks, not as a universal verdict. If the motorcycle's service information differs, follow that information.
| What you observe | Evidence to collect | Safe next check | Stop and escalate when |
|---|---|---|---|
| Nose or headlight seam is uneven | Matching left/right photos, lamp and duct position, bracket condition | Confirm every locating feature and specified isolator is seated before any final tightening | The panel contacts the lamp or duct, a tab distorts, or the bracket position is uncertain |
| One mounting hole is offset | Wide view plus close-up with all neighboring fasteners loose | Verify exact application, panel label, correct fastener location and motorcycle-side mount | The hole only aligns under obvious bending or clamp force |
| A seam opens when one bolt is tightened | Before/after photos and the order in which locations were engaged | Release that load and inspect the associated collar, grommet, shoulder and contact surface | The tab whitens, paint cracks, threads bind or the panel jumps position |
| A tab will not enter its slot | View of both mating features and any inner trim between them | Confirm orientation and check for burrs, trapped trim or an incorrect overlapping order | Entry requires levering, heating, cutting or enlarging a painted feature |
| Lower fairing appears close to the exhaust | Photos of the installed exhaust route, mounts and specified shielding | Compare with model-specific instructions and confirm that all exhaust and body mounts are secure | Clearance cannot be verified, there is contact, heat odor, discoloration or warping |
For a broader preparation sequence, use the motorcycle fairing pre-fit checklist before returning to the problem seam. If the conflict is concentrated around a Suzuki nose and headlight assembly, the GSX-R headlight and nose fairing guide covers that area in more detail. Ducati owners can compare the same evidence-first method with the Panigale fairing alignment diagnosis.
Why small hardware changes can move a large seam
Fairing hardware does more than keep plastic from falling off. A collar may limit how far a fastener compresses a mount. A rubber grommet may locate a pin while isolating vibration. A shoulder fastener may support a panel at a defined depth. A well-nut may expand inside a mounting hole. Their exact jobs depend on the motorcycle and location, so a generic replacement that happens to fit through the hole may not position the panel correctly.
Inspect removed hardware for mixed lengths, damaged threads, flattened rubber, missing washers or collars stuck inside an old panel. Compare replacements with the specified part before installation. Do not assume that a new universal bolt kit will correct an alignment problem. The fairing fastener reuse-or-replace guide explains how to audit the hardware before ordering.
Thread engagement is also evidence. A correct fastener should begin cleanly without being used to drag the panel sideways. If it binds or approaches the mount at an angle, back out and investigate. Final tightening should follow the service information for the exact application, using the appropriate hand tool and sequence.
Do not file the hole until the cause is known
Enlarging a mounting hole can remove paint protection, weaken the surrounding area and erase evidence that would help a supplier identify the problem. It can also compensate for a displaced motorcycle-side bracket while leaving the assembly under load. The same caution applies to bending stays, heating tabs and trimming interlocking edges.
There are legitimate repair and modification procedures, but they should follow a confirmed diagnosis and model-specific guidance. If a seller or qualified technician recommends an alteration, ask for the location, method and expected finished condition in writing. Photograph the panel before any irreversible work.
Build a supplier-ready photo set
“The holes do not line up” rarely gives a supplier enough information to help. A useful request includes:
- the motorcycle model, year and market version;
- the order or kit identification and the labels on the affected panels;
- one wide photo showing the entire panel group on the motorcycle;
- matching views of the left and right sides;
- a close-up of the first repeatable contact or offset;
- a photo showing which fasteners are only lightly engaged;
- the motorcycle-side bracket, grommet and collar at the affected location;
- a note listing non-stock lights, exhaust, windscreens, stays or previous repairs;
- confirmation that no hole has been drilled, enlarged or forced.
Use neutral light and keep the camera square to the seam when possible. Include a scale reference only when it can be placed safely without pushing the panel. Photos can document geometry and condition, but they cannot by themselves prove resin quality, bracket straightness or a precise root cause.
Final no-stress inspection
Once the panel group sits naturally and every mounting location has been identified, complete the assembly according to the motorcycle and kit instructions. Then inspect the whole system again rather than judging only the seam that first caught your attention.
- Confirm every fastener, collar, grommet, push rivet and inner trim is in its specified location.
- Check that wiring and hoses are routed and retained correctly.
- Verify the handlebars move through their full range without touching bodywork or stretching cables.
- Confirm controls, steering lock and lights operate normally.
- Inspect tire, fork, radiator, fan, chain, exhaust and other hot or moving components for required clearance.
- Make sure no panel carries obvious preload, distortion or fresh stress whitening.
- Recheck required fasteners after the installation procedure and again at the interval specified for the motorcycle or kit.
Do not ride when a mount, clearance or control movement remains uncertain. A qualified motorcycle technician can inspect the chassis-side brackets and the completed installation.
Key takeaways
- A panel gap is a symptom. Diagnose the assembly before changing the panel.
- Keep the related panels lightly engaged during the dry fit so one bolt cannot conceal a conflict.
- Correct collars, grommets and shoulder hardware can affect position as well as retention.
- Never use a fastener to pull a misaligned painted tab into place.
- Photograph the first repeatable conflict and the loose-fastener state before modifying anything.
- Follow model-specific service information for final tightening and safety checks.
Frequently asked questions
Does an uneven fairing gap prove that the aftermarket panel is defective?
No. The panel may be involved, but an uneven gap can also come from hardware, overlapping order, inner trim, a displaced bracket, previous repairs or a non-stock component. Record the complete assembly before deciding which part is responsible.
Can I tighten nearby bolts to pull one hole into alignment?
Do not use nearby fasteners as pullers. That can place continuous bending load into a tab or boss. Release the load, confirm the hardware and locating features, and document the first point where alignment changes.
Should I enlarge a hole that is slightly offset?
Not before the cause is confirmed. Enlarging a painted hole is irreversible and may mask a motorcycle-side alignment problem. Ask the kit supplier or a qualified technician to review the evidence and provide application-specific instructions.
What is the most useful photo for a fitment question?
A short set is better than a single close-up: one wide view of the connected panel group, matching views from both sides, a close-up of the first conflict, the relevant bracket and hardware, and a view showing which fasteners remain loose.



