
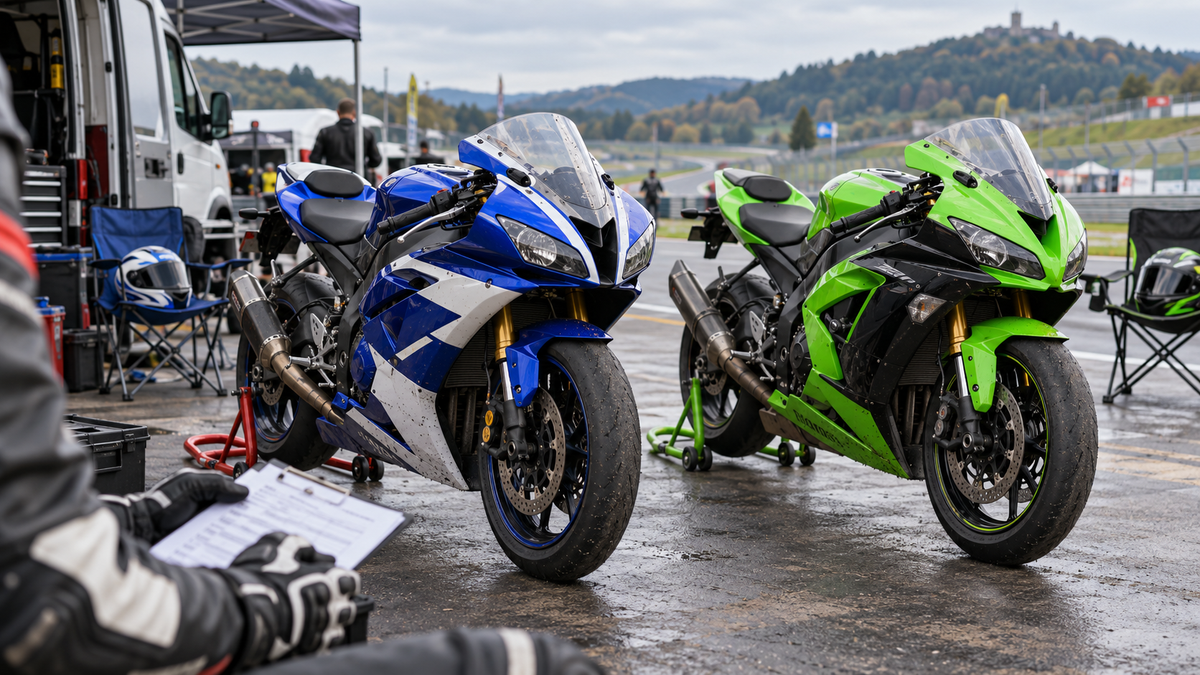
The better fairing-rebuild project is the motorcycle with the clearer identity, straighter mounting structure and more complete hardware—not automatically the R6 or the ZX-6R. Both names cover multiple bodywork generations, and a cheap bike can become an expensive puzzle when its headlights, inner ducts, stay, brackets and fasteners come from different versions.
This comparison is for buyers looking at used street bikes, lightly damaged projects or track-day conversions. It does not rank engines or lap times. It shows how to compare the bodywork project that will remain after the purchase excitement wears off.
Begin with the exact generation, not the badge
“R6” and “ZX-6R” are not sufficiently precise ordering descriptions. Record the VIN, model year, market version and the identifying information on the motorcycle before pricing any painted kit. Compare those records with the supplier's stated application. A registration year, seller caption or familiar paint scheme can be misleading after previous bodywork changes.
Photograph the motorcycle from both sides, directly from the front and rear, and around the cockpit with the windscreen visible. Include the headlight or intake area, tail arrangement and major brackets. These photos create an application record; they do not prove that every installed panel belongs to that motorcycle.
The R6 deserves extra care because existing online fitment discussions often collapse several generations into broad date ranges. Our older R6 comparison pages contain facts that require separate review, so this article does not use them as fitment evidence. For a 2008–2016 front assembly, use the dedicated R6 headlight, windscreen and stay alignment guide as a preparation reference, then confirm the exact bike and kit independently.
Compare the motorcycles as projects
At the viewing, separate cosmetic damage from missing-system risk. A scratched side panel is visible and easy to photograph. A missing inner duct, altered lamp mount, mixed fastener set or bent front stay can affect several neighboring panels and be harder to price.
| Project question | R6 candidate | ZX-6R candidate | Evidence to request |
|---|---|---|---|
| Exact application established? | VIN, year and front/tail configuration recorded | VIN, year and front/tail configuration recorded | VIN photo, registration record and current full-bike photos |
| Original pieces retained? | Note every outer panel, inner trim and bracket included | Note every outer panel, inner trim and bracket included | Laid-out parts photo with both sides shown |
| Front structure appears complete? | Headlight/intake/windscreen interfaces documented | Headlight/intake/windscreen interfaces documented | Cockpit and nose photos with panels removed when permitted |
| Hardware history known? | Identify mixed bolts, missing collars and tired rubber pieces | Identify mixed bolts, missing collars and tired rubber pieces | Labeled hardware map rather than a loose container |
| Non-stock parts disclosed? | Record exhaust, lights, screen, stay, sliders and controls | Record exhaust, lights, screen, stay, sliders and controls | Receipts, part names and installed close-ups |
Do not decide from a single attractive side photo. The valuable evidence is usually around the hidden interfaces.

Editorial concept: compare complete interfaces and hardware groups; the picture is not a product photograph or proof of interchangeability.
The nose assembly can set the difficulty of the whole rebuild
The front cowl joins visible paintwork to the windscreen, headlight or intake components, inner trims and a motorcycle-side stay. If that structure is incomplete or displaced, an apparently simple nose replacement can become a multi-part diagnosis.
On either motorcycle, look for uneven lamp gaps, cracked mounting ears, holes elongated by previous work, brackets with fresh tool marks and wiring routed across contact surfaces. Ask whether the current lights and screen are stock for the recorded application. Aftermarket parts are not automatically a problem, but they change the baseline and must be identified.
For a 2019–2023 ZX-6R candidate, the ZX-6R fairing installation guide provides a model-specific checklist. Treat it as a guide for that stated range, not permission to extend the same layout to every ZX-6R.
If a panel group will not sit naturally, use the no-force panel-gap diagnosis. Bolts should retain a correctly positioned assembly; they should not be used to pull a painted tab across an unexplained offset.
Inventory the parts that a painted kit may not replace
A complete painted outer set may still depend on retained motorcycle parts. Before comparing quotations, build a row-by-row inventory for each candidate:
- outer nose, side, lower and tail panels;
- inner trims, ducts, infill pieces and splash guards;
- windscreen and its support pieces;
- headlight, signal and license-related mounts where applicable;
- front and rear stays or sub-brackets;
- rubber grommets, well-nuts, collars, shoulder fasteners and push rivets;
- heat barriers and attachment materials specified for the lower area;
- seat, cowl and passenger-related pieces for the intended configuration.
Ask the fairing seller what the exact kit includes. Do not infer inclusions from the number of pieces in another listing. Photograph retained parts before disassembly and keep the two motorcycles' cost worksheets separate.
Street restoration and track-day bodywork are different briefs
A street rebuild usually must preserve normal lighting, legal equipment, tidy inner trim and everyday service access. A track-focused project may prioritize replaceable outer paintwork and preserving original panels, but requirements vary by organizer and motorcycle. If the bike will serve both roles, write down which equipment must remain functional and how often the bodywork will be changed.
Do not assume race-style fiberglass and painted ABS solve the same problem. Track-specific bodywork may use different panel groupings and omit street openings. A street-compatible replacement kit may retain more interfaces but still needs careful pre-fit. Choose the system around the intended use rather than the look alone.
For a valuable original set, photograph every panel, clean it according to its finish instructions, protect contact points and store pieces so their weight is supported. Keep hardware associated with the correct motorcycle and location.
Build a comparable landed-project quote
The purchase price of the motorcycle is only the first row. Use the same cost headings for both candidates:
| Cost or risk | What to record |
|---|---|
| Painted bodywork | Exact application, finish, stated inclusions and support terms |
| Missing retained parts | Lamps, ducts, inner trim, brackets, screen, hardware and shields |
| Motorcycle-side repair | Inspection of stays, mounts and previous repairs by a qualified technician |
| Shipping and tax | Written landed quotation and damage-claim process |
| Installation | Your realistic time, workspace, help and any professional work |
| Paint approval | Reference images, graphic placement, finish and pre-shipment confirmation |
| Downtime | Parts verification, production, transit and correction time without fixed promises |
Do not fill unknown rows with optimistic zeros. Mark them “unconfirmed” and ask the seller or motorcycle owner for evidence. A more expensive but documented bike can be the lower-risk project.
Paint choice should follow the panel audit
It is tempting to choose blue, green or a race-replica design first. Finish decisions are easier after the part boundary is known. Confirm which original pieces will remain beside the new paint, whether the tank surface is original or previously refinished, and how graphics cross panel seams.
Request current reference images for the intended design and confirm whether graphics are surface-applied or integrated into the stated finish system. Color shown on a screen is a planning reference, not a guaranteed match under every light. When adjacent retained parts matter, photograph them in neutral daylight and tell the supplier what must coordinate.
A no-surprises viewing checklist
Before choosing either project, confirm:
- the VIN, model year and market version agree with the documents;
- both sides and the front structure have been photographed clearly;
- every loose panel and inner part has been laid out and identified;
- non-stock lights, exhaust, screen, stays and sliders are recorded;
- no fastener is being used to hide a panel offset;
- steering movement, controls, wiring and hot-part clearance can be checked safely;
- the seller has disclosed previous falls and repairs to the best of their knowledge;
- the quotation lists what is included and what must be retained or purchased separately;
- irreversible drilling, filing or bracket bending is excluded until the cause is diagnosed.
If a mount or chassis-side structure is uncertain, arrange a professional inspection before purchase or riding.
Verdict: choose the evidence, then choose the motorcycle
An R6 can be the better rebuild when its generation is verified, the front structure is straight and the retained parts are organized. A ZX-6R can be the better rebuild for exactly the same reasons. Neither badge cancels incomplete hardware, mixed-generation bodywork or hidden bracket damage.
Score both motorcycles using the same inventory and quote. The winner is the one whose unknowns you can turn into evidence before money changes hands.
Frequently asked questions
Are R6 and ZX-6R fairings interchangeable?
No. They are different motorcycle families with different bodywork systems. Even within one family, generation and market details matter. Order only against the exact verified application.
Is a full painted kit enough to rebuild a stripped motorcycle?
Not necessarily. A painted kit may rely on retained lights, inner pieces, brackets, rubber mounts, collars and hardware. Confirm the exact contents of the listing and audit the motorcycle separately.
Which bike is cheaper to re-fair?
There is no responsible universal answer. The current completeness, generation, finish scope, shipping route and motorcycle-side repair needs determine the real project cost.
Can I judge bracket alignment from photos?
Photos can reveal obvious differences and help a supplier ask better questions, but they may not prove straightness or dimensions. Use model-specific references and professional inspection when the structure is uncertain.



