Replacing the bodywork on a 2025–2026 BMW S1000RR is not just a color decision. First decide whether the damaged area can be repaired, whether one panel is enough, or whether a complete kit will give the bike a more consistent finish. Then confirm the exact model-year listing before ordering. This guide keeps the choice practical for street riders who want a clean OEM-inspired look or a more personal custom build.
Quick Decision Guide
Repair the original panel when the damage is cosmetic, the panel still holds its shape, and every mounting tab remains sound.
Replace one panel when damage is localized and you can confidently match the surrounding paint and graphics.
Choose a complete kit when several panels are damaged or you want a coordinated color change across the whole motorcycle.
Choose an OEM-inspired design when resale-friendly styling and a factory-like visual balance matter most.
Choose a custom design when the goal is a distinctive street build rather than an exact factory replica.
Start with the BMW S1000RR 2025–2026 fairings collection to compare complete-kit colors and panel layouts in one place. For the motorcycle itself, use the official BMW S1000RR model page as a general reference, then rely on the product listing and your bike details for fitment.
Inspect the Damage Before Buying Anything
Remove dirt and inspect the affected area in bright light. Look beyond the visible scratch: check tabs, bolt holes, inner edges, adjoining panels and the gap around lights or vents. A panel that looks acceptable from the outside may still have a cracked mounting point. If the panel moves, touches another component, or no longer follows the original body line, stop treating the problem as cosmetic.
Repair, Single Panel or Full Kit?
A local repair can make sense for shallow scuffs or a small, stable crack away from a mounting point. A single replacement can be efficient when only one section is damaged, but paint age and finish can make matching difficult. A complete kit becomes the cleaner choice when damage crosses several panels or when the owner already wants a new color scheme.
When comparing routes, separate the purchase price from the total project. Surface preparation, paint matching, decals, clips, damaged fasteners and installation time can change the real cost. The OEM versus aftermarket fairings guide explains the trade-offs without assuming one option is right for every rider.

Confirm 2025–2026 Fitment Before Choosing a Style
Search by the exact year group shown on the seller’s product page, not by the model name alone. Do not assume that a kit for an earlier S1000RR generation will share mounting points, panel shapes or openings with a 2025–2026 listing. If the listing is unclear, ask the seller to confirm the year, market version and any relevant equipment on your motorcycle before payment.
Questions Worth Asking
Is the listing for a complete kit or selected panels?
Which factory pieces and fasteners are reused?
Are holes pre-drilled, and is minor alignment work expected?
Does the product photo show the actual paint layout being ordered?
What should be photographed before unpacking and installation?
Keep the original panels until the replacement has been inspected and pre-fitted. Retaining them gives you a physical reference for tabs, openings and fastener locations. It also prevents a color decision from becoming a rushed fitment decision.

Choose the Visual Direction for Your Build
OEM-Inspired
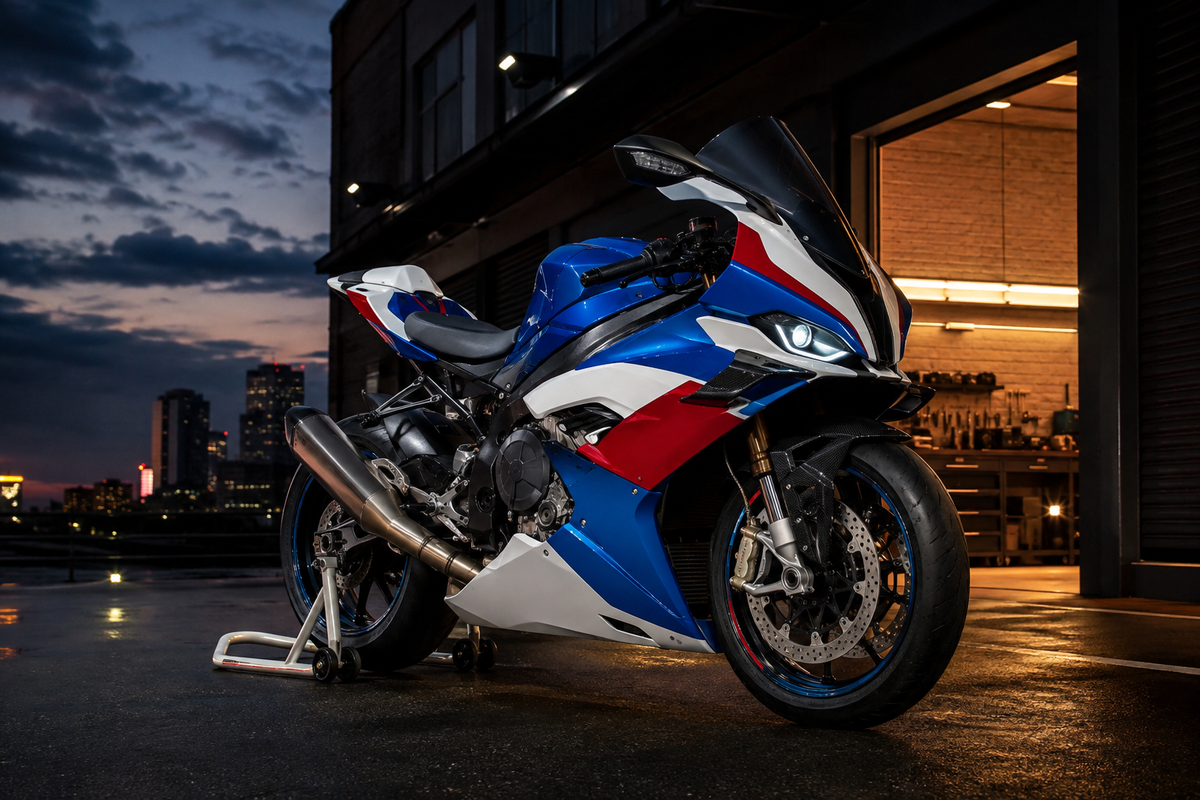
OEM-inspired schemes suit riders who want the motorcycle to look cohesive and familiar. They usually work best when the color blocks respect the shape of the fairing instead of covering every surface with graphics. This is a useful direction for a street bike that may later be sold, because the design can feel intentional without being overly personal.
Dark and Understated
Black, graphite and dark-blue combinations emphasize the S1000RR’s silhouette. They can also make dust, fingerprints or fine surface marks more visible under direct light, so consider how often you are willing to clean and detail the bike.
Bright Custom Color
Yellow, teal, green, purple or other high-contrast accents make the motorcycle easier to identify and give the build a stronger personality. Judge these schemes using several product angles; a color that looks balanced from the side may feel very different at the nose or tail.
Track-Inspired Street Style
Track-inspired graphics can bring a race-bike mood to a road-going build, but avoid adding decals that imply a sponsorship or specification the bike does not have. A clean number area, strong color blocks and restrained branding often age better than a crowded replica layout.

Pre-Fit Before Final Tightening
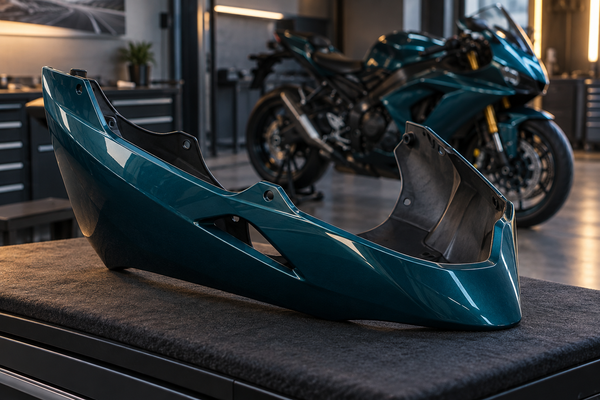
Prepare a clean, padded workspace and photograph the bike before removing anything. Label fasteners by location instead of placing them in one tray. Unpack each new panel carefully, record any shipping damage, and compare it with the corresponding original piece before installation.
Loosely position the major panels first. Check the relationships between the nose, side panels, belly area, tank covers and tail before fully tightening fasteners. Never force one hole into place by loading stress into another tab. After alignment, verify steering movement, brake-line clearance, lights, signals and any openings affected by the bodywork.
Use the detailed motorcycle fairing pre-fit checklist before completing the job. If installation requirements are unclear, consult the product instructions or a qualified motorcycle technician.
Order With Fewer Surprises
Compare listings on more than color. Read the panel list, material description, preparation notes, photo policy, lead-time information and return terms. Save screenshots of the exact scheme selected and confirm any custom color instructions in writing. Product photography can vary with lighting and screens, so ask questions before relying on a subtle color match.
If you need help narrowing the options, review the NiceFairings FAQ and contact the seller with your model year, desired design and clear photos of the motorcycle. A specific question usually receives a more useful answer than simply asking whether a kit “fits.”
Build a Replacement-Scope Worksheet
Before shopping, photograph the motorcycle from the front, both sides, rear and above. Then make a panel-by-panel list: upper cowl, side panels, lower sections, tank cover pieces, front fender and tail pieces. Mark each as reusable, uncertain or damaged. This prevents a highly visible broken tab or missing inner trim from being overlooked.
Inspect the parts behind the painted skin as well. A bent stay, displaced rubber mount or damaged fastener can make a correct panel appear to fit poorly. If a bracket is questionable, compare it with the opposite side and the official parts diagram before judging the replacement bodywork.
Single Panel or Complete Set?
A single panel can be the efficient choice when the surrounding finish is still consistent and the mounting structure is sound. A complete set makes more sense when several pieces are damaged, the old paint has faded unevenly or the rider wants a coordinated restyle. Ask whether the listing includes inner trim, heat protection and hardware; kit contents vary.
Understand How the Finish Will Live
Gloss finishes show depth and are easy to compare visually, but they also reveal dust and fine marks under bright light. Satin and matte schemes create a more technical appearance yet need gentler cleaning because polishing can create shiny patches. Metallic and pearl colors change with viewing angle, so inspect product photos in several lighting conditions.
Choose a scheme for real ownership, not only the first photograph. Think about the wheels, tank, frame and any panels that will remain original. Riders who commute may value easy cleaning, while a weekend build can prioritize a more dramatic contrast. See NiceFairings custom fairing options for planning ideas.

Document the Order Before Checkout
Save the product title, stated model years, color reference and panel list. Send the seller clear photos when anything about the bike or desired finish is unusual. Written confirmation is particularly useful for a new-generation motorcycle because listings and color names can look similar while the physical interfaces differ.
Also review production timing, shipping expectations and the return policy before ordering. Keep the packaging until the dry-fit is complete. Do not remove protective material or make irreversible adjustments until you have confirmed the seller's instructions.
Post-Installation Walkaround
With the engine off, turn the bars from lock to lock and inspect clearances around wiring, hoses, air ducts and the front wheel. Check that panels do not press against hot or moving components. After a short, careful ride, recheck the interfaces and fasteners. Any new rubbing, movement or vibration deserves attention before normal use.
For current model information, consult the official BMW S 1000 RR page.
Final Recommendation
For minor cosmetic damage, repair may preserve the original bodywork at the lowest disruption. For one clearly isolated damaged panel, replacement can be sensible if the finish can be matched. For multi-panel damage or a full visual change, a complete year-correct kit offers the most coherent result.
Make the fitment decision first and the styling decision second. Once the product listing is confirmed for your motorcycle, compare the full range of BMW S1000RR 2025–2026 fairing kits and choose the design that still looks right from the front, side and rear.
FAQ
Can I replace only one damaged BMW S1000RR panel?
Possibly. Confirm that the single panel is sold separately, fits the exact year group and can be matched to the surrounding paint and graphics. Multiple damaged panels often make a complete kit easier to coordinate.
Should I reuse the original fasteners?
Follow the specific product instructions. Inspect every reused fastener and clip, keep hardware organized by location, and replace damaged items with parts suitable for the application.
Why is pre-fitting important?
Pre-fitting lets you check alignment, panel gaps, clearances and hardware before final tightening. It reduces the risk of scratching finished panels or stressing a tab during assembly.
How do I choose between a factory-inspired and custom scheme?
Choose the design that matches how you use and maintain the bike. Factory-inspired colors are restrained and familiar; custom colors deliver more individuality but deserve extra attention to visibility, cleaning and long-term preference.