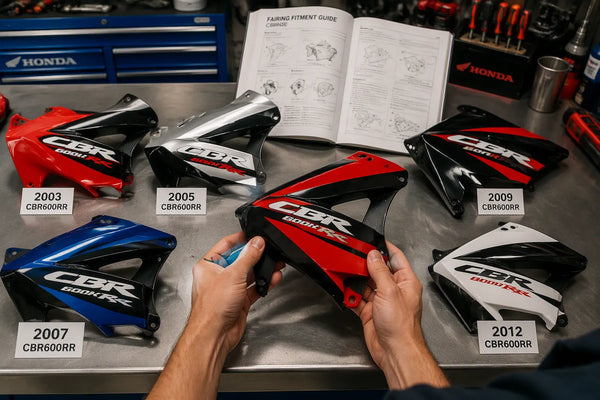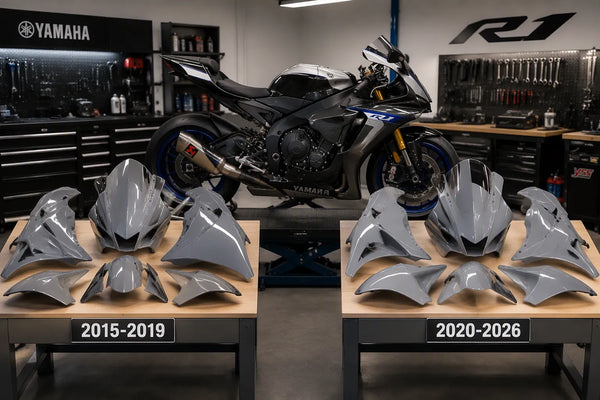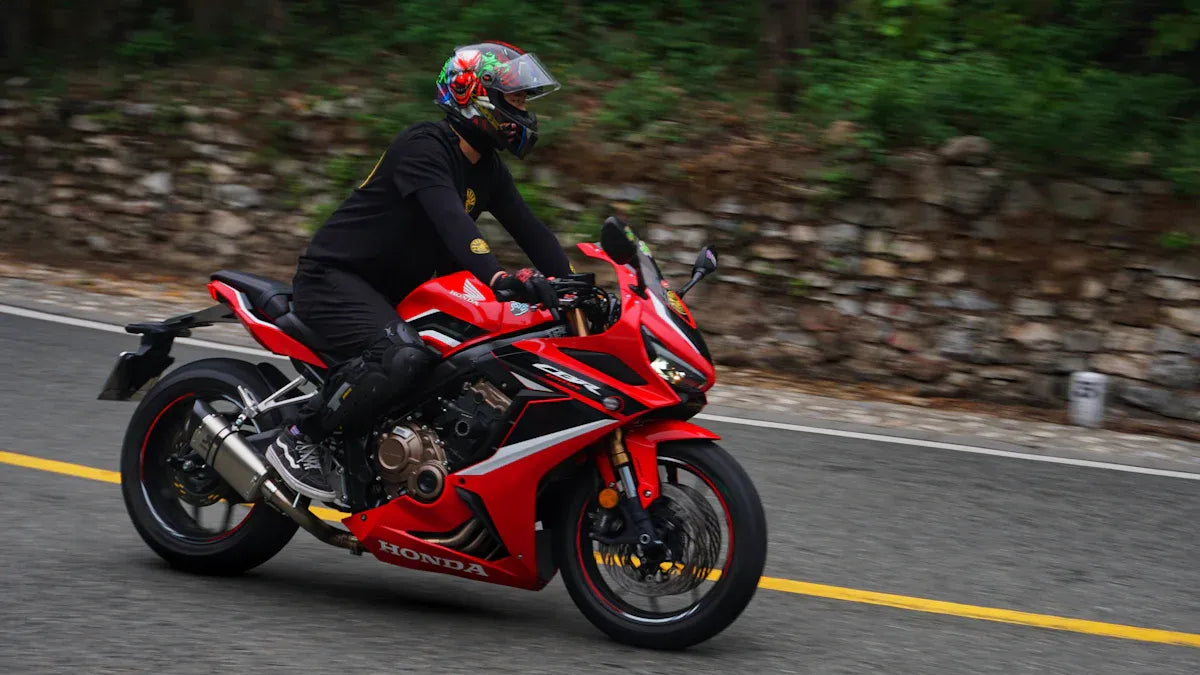

Choosing between OEM and aftermarket motorcycle fairings is not simply a question of which option is “better.” OEM panels are designed around the motorcycle’s original specifications and are usually the safest choice when factory originality and a single matching replacement panel matter most. A well-made aftermarket kit can make more sense when you want to refresh the entire bike, change its color scheme, or control the total cost of a full bodywork replacement.
The important word is well-made. Aftermarket quality varies, and even a good kit must match the exact make, model, generation, and production year of your motorcycle. Before ordering, compare what is included, how the panels are molded and finished, what support the seller provides, and how much installation work you are prepared to handle. For more model-specific buying and installation advice, explore the Motorcycle Fairing Guides.
Key Takeaways
OEM fairings generally offer the closest match to factory specifications and are often the simplest option for replacing one damaged panel.
Aftermarket fairings can provide more color and graphics choices and may offer better value when replacing a complete bodywork set.
Fitment depends on the exact motorcycle generation and year, not only the model name.
Material, mounting tabs, edge finishing, paint, clear coat, included hardware, and seller support all matter.
Always pre-fit every panel before final tightening, and keep your original hardware and bodywork whenever practical.
OEM vs Aftermarket Fairings: Quick Comparison
Buying factor |
OEM fairings |
Aftermarket fairings |
|---|---|---|
Fitment |
Built to the original factory specification for the correct model and year |
Varies by mold quality and supplier; careful model-year verification is essential |
Purchase approach |
Often practical for replacing one matching panel |
Often attractive for replacing a complete set |
Finish |
Factory color and graphics when the correct part remains available |
Stock-inspired, custom-color, and custom-graphics options |
Installation |
Usually the most predictable when the correct part number is ordered |
May require patient alignment, transferred hardware, or minor adjustment |
Availability |
Can become limited for older motorcycles or discontinued color schemes |
May provide additional options for older sportbike generations |
Originality |
Best suited to restorations and factory-correct builds |
Best suited to visual refreshes and personalized builds |
Quality consistency |
Controlled by the motorcycle manufacturer’s production requirements |
Depends heavily on the supplier, material, molding, paint process, and quality control |
This comparison is a starting point, not a universal rule. A correct OEM part is not useful if it is for the wrong generation, and an aftermarket kit should not be judged only by its product photo. The listing details and the seller’s fitment process matter just as much as the label.
Cost and Long-Term Value
Compare a full kit with a full kit
Price comparisons can become misleading when one listing covers a single OEM panel and another covers a complete aftermarket set. Start by listing every part you actually need: upper fairing, side panels, lower fairing, tail sections, front fender, inner panels, heat shields, fasteners, and any model-specific trim. Then compare equivalent packages.
For one scratched side panel on a newer motorcycle, a correct OEM replacement may be the cleanest solution. If several panels are cracked, faded, mismatched, or unavailable, a complete aftermarket kit may create a more consistent result across the whole bike.
Include the costs that are easy to overlook
Your total project cost may include shipping, taxes or duties, paint, graphics, clear coat, replacement clips, well nuts, heat shielding, professional labor, and downtime. Ask what is included before ordering. A kit with a lower headline price is not automatically the better value if important trim or mounting hardware must be purchased separately.
Fitment and Installation
Verify the exact generation and production year
Motorcycle manufacturers often keep the same model name while changing the headlight shape, intake ducts, mounting points, tail section, or side-panel geometry. Two bikes can look similar in photographs and still use different bodywork. Confirm the complete motorcycle designation, production year, and generation before relying on a fitment claim. U.S. riders can use the official NHTSA VIN Decoder as an additional check for information encoded in the VIN.
When reviewing a listing, look for clear photos of the complete kit, an exact year range, a list of included pieces, and a way to ask fitment questions. For example, this 2021–2026 Ninja ZX-10R fairing listing shows how a model-specific page should define its year range and included bodywork. If your motorcycle has non-standard lighting, exhaust, frame sliders, air ducts, or other modifications, mention them before ordering. Honda owners can also cross-check the model and year in Honda’s official owner’s manuals.
Pre-fit before final tightening
Lay out the panels in installation order and compare them with the original bodywork. Transfer reusable rubber grommets, clips, heat shields, and brackets only after checking their condition. Start every fastener loosely, align neighboring panels, and tighten gradually. Do not force a tab or enlarge a hole before confirming that the correct panel sequence and hardware are being used.
Use the detailed motorcycle fairing pre-fit checklist before installation. If you are not comfortable removing bodywork or working around lights, wiring, air ducts, and hot components, ask an experienced motorcycle technician for help.
Material, Molding, and Paint Quality

Inspect more than the material name
Many street-focused aftermarket kits are described as ABS, while other bodywork may use different plastics or fiberglass. The material label alone does not tell you how well a panel was molded. Check the edges, mounting tabs, hole locations, surface consistency, and flexibility. Tabs should look clean and purposeful rather than thin, rough, or heavily repaired.
Panel thickness should feel reasonably consistent, but thicker is not automatically better. Bodywork needs the right balance of shape retention and controlled flexibility. If the seller provides close-up photos, use them to inspect mounting areas and inner surfaces instead of judging only the painted exterior.
Evaluate paint, graphics, and clear coat
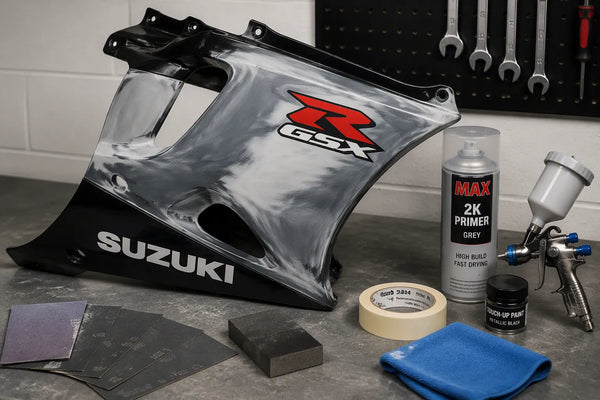
A strong finish depends on preparation as well as color. Look for even coverage around edges and openings, clean graphic alignment, consistent gloss, and adequate protection during shipping. Colors can appear different under studio lights, direct sun, and a phone screen, so ask for clarification when an exact shade is important.
Inspect painted panels as soon as they arrive and photograph the packaging before installation. Follow the seller’s reporting process if you find shipping damage, missing parts, or a finish problem. Do not remove protective material or begin drilling until you understand the return and damage policy.
Which Option Fits Your Priorities?
OEM may be the better choice when
You need one panel that must match the original factory bodywork.
You are restoring a motorcycle and factory originality is a priority.
You want the most predictable factory-specification mounting arrangement.
The correct OEM part and color are still readily available.
Aftermarket may be the better choice when
You need several panels or want to refresh the complete motorcycle.
You want a color or graphics package not offered by the manufacturer.
Original bodywork for an older generation is difficult to find.
You are comfortable verifying fitment and performing a careful pre-fit.
A reputable aftermarket listing should help you make the decision instead of hiding the details. You can browse NiceFairings motorcycle fairings to compare model-year coverage and available finishes, then confirm the exact bike before choosing a kit. Riders comparing popular sportbike platforms can also browse the Kawasaki fairing collection by model and year.
Aftermarket Fairing Pre-Purchase Checklist
Confirm the make, model, generation, and production year.
Compare the listing photos with the original headlight, tail, vents, and mounting layout.
Check the complete list of included panels and hardware.
Confirm the stated material and ask questions about molding and tab construction.
Review paint, graphics, clear-coat, and custom-color expectations.
Check production time, shipping method, packaging, duties, and delivery estimates.
Read the damage, return, cancellation, and warranty policies.
Plan the installation space, tools, replacement clips, and professional help if needed.
Keep the original panels, fasteners, brackets, and heat shields organized.
Frequently Asked Questions
Do aftermarket fairings fit exactly like OEM?
Not always. Fitment quality varies by supplier, mold, motorcycle generation, and installation method. A model-specific kit from a transparent seller can fit well, but you should still pre-fit every panel and start all fasteners loosely before final tightening.
Are ABS aftermarket fairings durable?
ABS is commonly used for painted motorcycle bodywork, but durability cannot be judged from the material name alone. Molding consistency, tab design, panel thickness, paint preparation, installation stress, heat exposure, and impact all affect service life.
Can I install a fairing kit myself?
A patient owner with suitable tools and bodywork experience may be able to install a kit. The work becomes more difficult when clips are damaged, hardware is mixed, or accessories change the mounting layout. If you are unsure, use a qualified motorcycle technician.
Will aftermarket fairings affect resale value?
Buyer preferences vary. Some buyers prefer factory-original bodywork, while others value a clean, professionally installed custom look. Keep the OEM panels and hardware whenever possible so a future owner has the option to return the motorcycle to its original appearance.
Final Decision
Choose OEM when factory originality, a single matching replacement panel, and the closest factory-specification result matter most. Consider a well-documented aftermarket kit when you want to replace several panels, personalize the motorcycle, or find bodywork for a generation with limited original-part availability.
Whichever route you choose, verify the exact motorcycle first, compare equivalent packages, inspect the panels on arrival, and complete a careful pre-fit. Those steps have a greater effect on the final result than choosing by price or product photography alone.