
A new lower fairing may photograph beautifully next to a sportbike whose exhaust has been changed. That image does not answer the question that matters after the first ride: does the actual pipe, bracket, shield and panel arrangement leave a safe, documented installation for this bike? A burning smell or softened plastic is a reason to stop using the motorcycle and find the cause, not proof that one brand of fairing plastic is “fake.”
NiceFairings has already published a general belly-pan heat diagnosis and a hot-zone damage map. This piece addresses an earlier decision: what must the buyer, supplier and installer agree before a replacement lower panel is ordered for a motorcycle with a non-stock exhaust? It is an order-scope checklist, not a substitute for the correct service information or a thermal engineering test.
Record the configuration that the panel must live beside
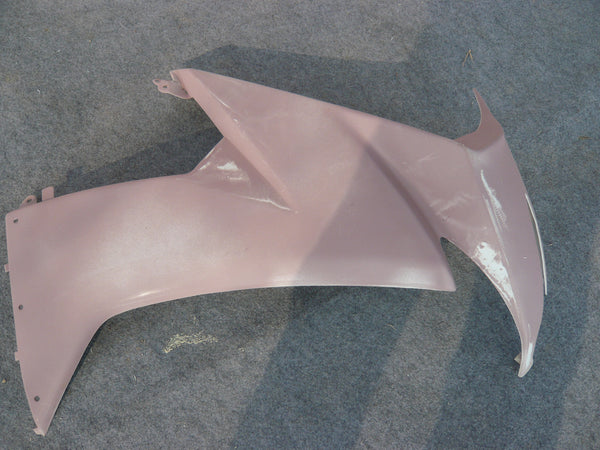
Identify the motorcycle's documented year, market and variant. Then record the exhaust manufacturer, part or configuration if known; whether the headers, mid-pipe or muffler differ from stock; and any retained heat shields, spacers, fairing brackets or belly-pan mounts. Photograph the whole motorcycle, both lower sides, the pipe route with the bike cool, and the original panel's inner surface and attachment points. A close-up of a brown mark without the pipe and its supports gives the supplier little context.
If you cannot identify a used motorcycle's exhaust, state “unknown” and ask a qualified technician to inspect it. Do not make the replacement panel the measuring instrument by installing it and riding until a mark appears. A previous owner may have removed an original heat barrier or moved a bracket, so a panel that resembles the factory silhouette can still be too close to the present hardware.
Describe the change, not simply the brand on the silencer
“Yoshimura exhaust” or “race pipe” is not a complete fitment description. A motorcycle may retain original headers and replace only the muffler; another may have a different header route, mid-pipe, hanger and heat shield. The component near the proposed lower panel is what matters. If you know only the muffler badge, photograph the rest of the route and ask the installer to identify it. Do not assume a visible logo describes every hidden section.
Include both sides even when the pipe exits on one side. A bracket or removed inner trim on the opposite side can change how the new lower assembly sits. If the old lower is already off the bike, photograph where it attached, the condition of its spacers, and any marks on its inner face. Date the photographs, and distinguish a pre-existing mark from one found after a trial fit. This packet lets the supplier state what it knows about the product and lets the installer state what it can see on the motorcycle.

A real, modified sportbike illustrates why the installed exhaust must be identified. The photograph does not reveal internal shielding or certify a lower-fairing installation. Steven Bohn / Wikimedia Commons, CC BY-SA 3.0.
The cover photograph likewise shows a real Yamaha R6 with a visible Yoshimura exhaust, but its outer side view cannot reveal the pipe-to-panel distance behind the lower fairing. It is an example of a changed exhaust, not a fitment test for a NiceFairings panel. When asking about your own motorcycle, imitate the orientation of the side view, then add the missing underside and inner-panel views. Photograph the same side with the old lower installed and, if a qualified person has removed it, after removal. Put a simple left/right label in the file names so a remote reviewer does not reverse the route. Do not infer a hidden clearance by comparing the apparent gap in two unrelated photographs.
Ask three separate product questions
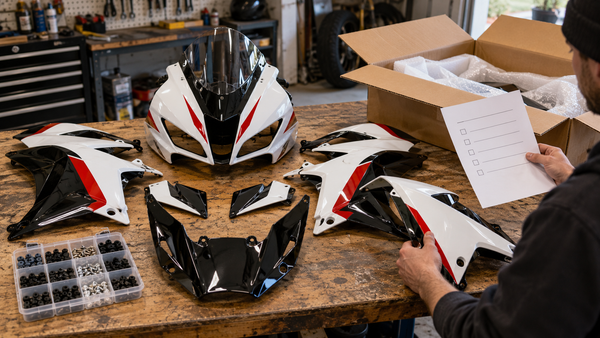
What painted piece is sold? Open the exact NiceFairings listing and selected option. A photograph of a full kit does not establish that a separate lower panel is available or that every black inner piece comes with it. If you need only a right or left lower, get the part scope in writing. Our contents guide explains how to distinguish a pictured panel from an itemized supply promise.
What thermal pieces are supplied? Ask about any shield, foil, spacer, bracket or edging by name and location. Do not infer inclusion from a product-category name or a staged flat lay. Some protection may be a motorcycle component to transfer, some may be a separate accessory, and some may not be suitable for a changed exhaust at all. The exact listing and written reply are the relevant documents.
What configuration is the offer based on? A standard street-bodywork application does not establish compatibility with every aftermarket header or race setup. Send the exhaust information and photographs to NiceFairings before production, then ask the installer to assess the actual motorcycle. If neither party can verify the altered configuration remotely, record that limit rather than translating “ABS” into a heat guarantee.
Turn the enquiry into a scope table
An attractive kit photograph is not a bill of materials. For the selected product, make a four-column note before ordering. Do not fill an “included” cell from a category description. Ask which answer is a quoted supply commitment and which is still for the mechanic to determine on the bike.
| Item or decision | Supplier should identify | Owner should document | Installer should verify |
|---|---|---|---|
| Lower painted panels | The exact left/right pieces offered with the selected option | Which old pieces are damaged or absent | Trial fit of those pieces with adjacent bodywork |
| Heat barrier or foil | Whether any material is supplied, its intended location and instructions | What barrier is currently present | Suitability and placement for the actual exhaust |
| Brackets and spacers | Whether any are part of the offer | Repairs, missing originals and previous modifications | Support position and condition before final fastening |
| Exhaust configuration | Any product-specific exclusions the seller can state | Header, mid-pipe, muffler and hanger identification | Actual pipe route and relevant operating clearances |
| Unresolved interface | What additional information the supplier needs | Clear photos and order reference | Whether the work can proceed without irreversible modification |
The entries are questions, not NiceFairings' standard package contents. A “no answer yet” is an honest row. It tells the owner not to book a one-hour cosmetic swap as though the heat and hardware questions were already settled. If the proposed order changes from a full kit to a single lower, ask for a revised itemized response: the two offers may not include the same auxiliary items. Our order-specific parts matrix gives the broader template; this one adds the changed-exhaust decisions.
Keep the supplier's answer, the selected product page, the exhaust identification and the installer's findings together. If a different exhaust is fitted between ordering and installation, reopen the clearance question; the earlier answer described a different motorcycle configuration. This simple version record also prevents a later paint approval from being mistaken for approval of hidden thermal or mounting interfaces.
Heat protection starts with the arrangement, not the sticker
Heat can reach a lower panel through direct contact, radiation, hot airflow or a mount that changes where the plastic sits. A barrier is one element of a system; it cannot correct a pipe physically pressing on a fairing. An adhesive material also has its own application instructions and temperature limits. A supplier should identify any shielding it supplies, while the technician checks the bike, exhaust and bodywork as assembled under the applicable service and exhaust-manufacturer instructions.
There is no responsible universal millimeter clearance or “ABS melting temperature” to paste into every product page. ABS is a family of formulations; the part's geometry, thickness, surrounding airflow, finish and the motorcycle's operating conditions all affect what happens. The Protolabs material guide discusses material selection in terms of properties and conditions rather than treating a resin label as a complete installed design. A sticker advertising “heatproof” without an application and test basis is not an answer to a pipe-to-panel conflict.
Even when a product page names a thermal material, ask what that statement applies to. Is it supplied loose, installed on the panel, or merely shown in a photograph? Which part of the proposed assembly is it meant to protect? The appropriate answer depends on the actual pipe route, supporting brackets and installation instructions. Do not press adhesive shielding against a pipe to compensate for direct contact. Do not move or remove factory heat hardware because it seems hidden after the new outer panel goes on. If the correct arrangement cannot be established, keep the motorcycle out of service until a qualified person resolves it.
Give the installer a stop point
Put this instruction in the job description: before irreversible trimming, drilling or bonding heat material, compare the new lower panel, actual pipe route, original shields and all required mounts with the correct motorcycle and exhaust documentation. If a panel touches a hot component, seats only by force or lacks an essential support, stop and photograph the first conflict. Ask who will supply or repair the missing piece and obtain approval before alteration. The shop-install work-order guide offers a broader template for owner, installer and supplier responsibilities.
The technician should assess clearance in the operating states relevant to the exact bike, including movement of supported parts, without guessing from a cold static photograph. The conclusion may be that the present exhaust and offered bodywork cannot be combined safely without different supporting hardware or a different bodywork choice. That is a useful result, not a failure of the project.
Three possible answers before the seller produces the paint
Ready for a normal bodywork order: the motorcycle and exhaust are identified, the seller names the offered lower pieces and any supplied thermal items, the original hardware is accounted for, and an installer can assess the fit before final assembly. This is not a promise that every clearance is proven remotely; it is enough to avoid an order based solely on a photo.
Conditional order: the exact exhaust route or an original shield is unknown. The owner can still choose a paint design, but should not treat an unchecked lower panel as guaranteed compatible. Arrange a workshop inspection or obtain the missing parts information, then ask the seller to reconfirm the selected option. Record the condition in writing rather than letting it disappear during checkout.
Change the project: the mechanic finds a physical conflict between the altered exhaust and the proposed bodywork, or a necessary mount is missing and no appropriate replacement has been identified. Buying another identically shaped painted panel is unlikely to solve that geometry. Repair the supporting system, choose bodywork intended for the actual configuration if available, or restore a suitable exhaust arrangement before committing to a paint order. The correct choice is bike-specific; this article cannot choose a safe component combination from a remote photograph.
If the first ride produces a smell or new mark
Stop riding and allow the motorcycle to cool safely. Do not touch the hot exhaust, rub melted residue onto a brake or tire, or attempt a “test ride” to see if the smell clears. A qualified mechanic should identify the source and assess whether the panel, shielding, mounts or exhaust requires repair. Photograph the whole lower side and the first visible damage area before cleaning it away, and preserve the installation record.
Do not assume that sanding the melted edge, adding more foil or ordering another painted panel solves the cause. If the lower panel has lost shape or its mounting point is weakened, it may need replacement. The technician's mechanical and thermal correction comes before a cosmetic reorder. Our belly-pan heat audit goes deeper into distinguishing contact, radiation and hot airflow after a mark is found.
A precise enquiry beats “does it come with heat tape?”
My motorcycle is a [verified year, make, model and market]. It has [identified exhaust or unknown configuration] and [known changes to mounts or shields]. I am considering [exact product URL and selected option]. Here are full-side, lower-inside and exhaust-route photos. Which painted lower pieces are offered; which shields or spacers are included, if any; and what original parts does this offer assume remain on the bike? Please state whether you can assess this altered configuration from the supplied information or what additional detail you need.
The final answer may require a workshop visit. Still, a written order that names the lower pieces and thermal hardware gives the installer a much better start than an attractive picture and an unexamined promise. Once the configuration is sound, choose a color or custom design that suits the motorcycle; the paint should follow the fit and heat decision, not conceal it.
Cover photo: Nicole Cordeiro / Wikimedia Commons, CC BY 2.0. Original photograph shown without modification. It depicts an owner motorcycle, not a NiceFairings product installation or a lower-panel clearance measurement.