A refreshed set of Yamaha R3 fairings can change the whole appearance of a familiar motorcycle. The successful projects begin before a panel comes off: identify the bike, confirm a compatible product, decide which finishes stay, and organize the fitting work. This guide follows that planning process for owners of 2019–2024 YZF-R3 models. The year range defines the bikes discussed here; it is not a blanket guarantee that every kit, panel or fastener interchanges across all those years and markets.
Images in this guide are AI-created editorial illustrations, not photographs of a supplied kit or a completed customer project.
Identify Your Yamaha R3 and Documented Fairing Kit
Before you spend money on bodywork, collect a clear record of your motorcycle and the supplier's product specification. Photos help explain what you own, while a written fitment confirmation ties your order to the exact model year, market and kit. Similar-looking panels alone are not enough to establish compatibility.
Confirm Your 2019–2024 R3 Generation
Yamaha's 2019 Japanese-market announcement describes revised bodywork and inverted front forks. Its 2025 Japanese-market announcement describes another body design update and slimmer seat and side covers. These releases establish design changes, not a parts-interchange chart. For an earlier 2015–2018 bike or a 2025 model, do not assume a kit advertised for 2019–2024 is suitable.
Use the motorcycle's documented model year and market when contacting a seller. Ask them to confirm the specific kit against those details and identify any additional components or adjustments it requires. A broad year label on a listing should be backed by the supplier's application information, especially if the motorcycle already has replacement bodywork.
Check your bike's VIN or registration to confirm the model year. Look at the shape of your side panels and the color of your fuel tank. Take clear photos of both sides of the bike, plus close-ups of the mounting areas where the fairing attaches. These photos will help any seller confirm what you need.
Ask Sellers for Written Fitment Details
A seller's listing photo is not a fitment document. You need written confirmation that the kit or panel is designed for your specific model year and market. Ask for the following details in writing:
The exact model years the product fits
Whether the kit requires any modification to mounting points
What hardware comes with the kit and what you reuse from your original fairing
Whether the kit includes heat shielding or if you need to transfer it
The return policy if the panels do not align with your bike
Availability note, checked September 16, 2026: NiceFairings did not list a purchasable R3 kit in its R3 collection at the time of review. Request current availability and fitment confirmation before planning an order.
Ask whether the proposed product is available, made to order, or currently unavailable. Request a written production estimate where applicable, the expected shipping stage, and the exact contents before committing. A generic catalog image cannot confirm the status of a particular order.
Send your model year, market, photographs and preferred design direction through the contact page. Keep the seller's reply with your quote so the agreed fitment and scope remain easy to check.
A documented kit is not a guarantee of perfect fitment. It is a starting point. Adjustment may still be needed during installation. The goal is to reduce surprises, not eliminate all work.
Build a Color Brief for Your Yamaha R3 Fairing
A color brief tells the seller exactly how you want your new fairings to look. It includes three parts: the base color, the finish type, and any accent or graphic details. Without a clear brief, you risk getting colors that do not match your retained tank or graphics that clash with your bike's style. A written brief also gives you a record if the final result differs from your request.
OEM Matching, Custom Paint, and Design Directions
You have two main paths for color. You can match your original Yamaha factory colors, or you can choose a custom design. OEM matching means the new panels look like the paint that came on your bike. This works well if you want a stock appearance. Custom paint lets you create a unique look. You might change the color entirely or add graphics that Yamaha never offered.
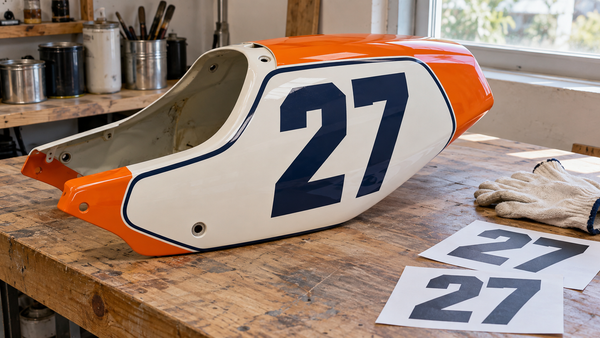
Blue, neutral grey, gloss or satin black, and restrained retro stripes are common design directions. These are not ranked trends or official paint-code matches. They are starting points for your own plan. Blue is a classic sportbike color that many owners choose. Neutral grey offers a clean, modern look. Black works as a stealthy base or a full fairing color. Retro stripes add a vintage racing feel without being too loud. Your chosen shade may differ from what you see on screen. Lighting and monitor limits affect color appearance.
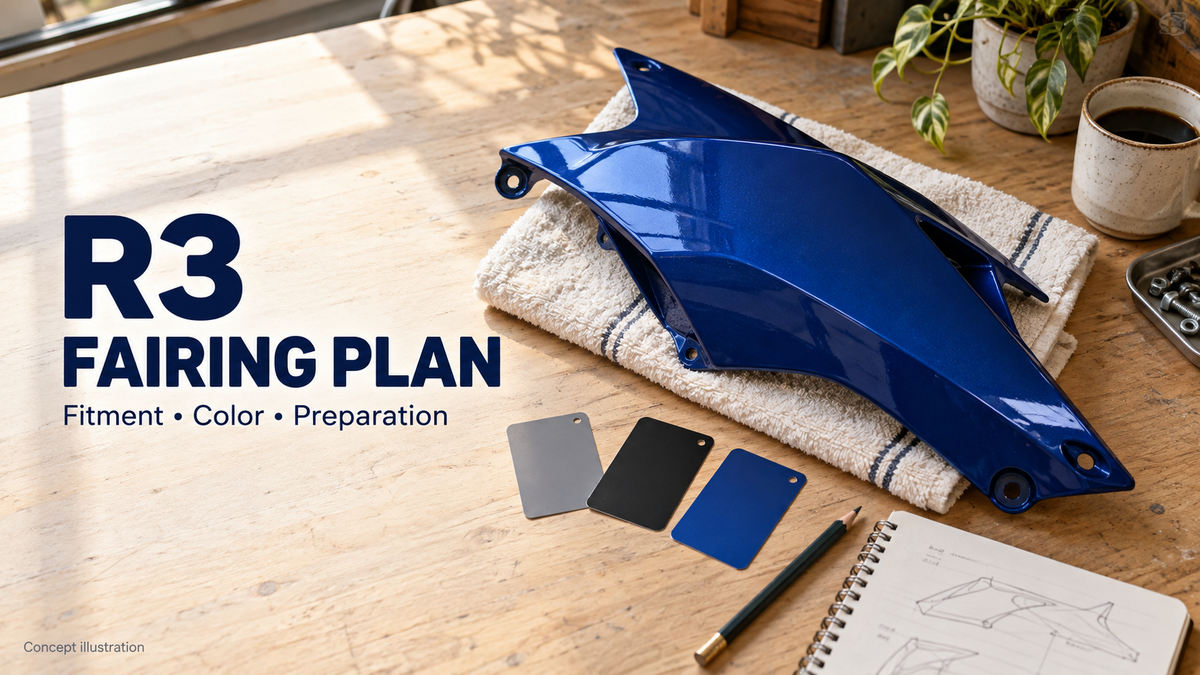
Here is a hypothetical brief for an R3 with a retained blue tank-area finish: “Main fairing surfaces in medium grey with a satin finish; gloss black accent stripes with a thin white edge; keep the current blue tank-area finish. Confirm the exact panels covered and provide a layout showing both sides before production.” This describes a design direction rather than an official Yamaha paint code. The supplier still needs to confirm feasibility and the quoted contents.

When you write your brief, identify the tank, tank covers and any other surfaces you intend to retain. A fairing set does not necessarily include those pieces or a replacement fuel tank. Mark each retained surface in your reference photographs. A stripe or accent can connect contrasting colors, but it is a design choice rather than a requirement.
A photograph alone cannot establish an exact paint match. For a close-match project, ask about physical references and the painter's matching process. For a contrast design, agree on the intended contrast instead. Finished photographs can help review the layout and general finish, with the limitations of lighting and screens kept in mind.
Gloss vs. Satin and Retained Tank-Area Colors
Gloss gives sharper reflections; satin gives softer reflections. Choose the appearance you prefer, then ask for the coating supplier's care instructions. Durability and cleaning requirements depend on the actual coating system, not simply the words gloss or satin. Avoid assuming that a finish can be polished or maintained the same way as another.
A retained blue tank-area finish can become a deliberate accent against grey or black panels, rather than something every new panel must imitate. Place proposed samples near the retained finish in daylight and shade. If matching is the priority, use that comparison to discuss a physical reference with the painter; a phone image is useful context but not a color standard.
Some OEM fairings use a two-tone design with separate colors for upper and lower panels. Your color brief can follow this factory approach. You can also choose a single color for all panels. The brief should state which panels get which color and finish. Describe any graphics in simple terms. A clear brief reduces the chance of mistakes.
Send the agreed colors, finishes and retained areas through the custom fairings inquiry, together with your motorcycle details. Ask for availability and design feasibility before treating a concept as an orderable product.
Choose Your Yamaha R3 Fairing Kit Scope
You have three main paths for your project: replace a single damaged panel, refinish your existing fairings, or order a full Yamaha R3 fairing kit. Each option serves a different situation. A full kit is not always the better choice. A single panel works well when one side has road rash and the rest of your bodywork looks fine. A refinish makes sense when your panels are structurally sound but the paint has faded or you want a new color. A full kit gives you a complete visual reset. The right scope depends on your budget, your bike's condition, and your goals.
Think about what you actually need before you request a quote. If your left side fairing cracked in a parking lot tip-over, replacing that one panel may cost less than a full set. If your tank has a deep scratch and your side panels have sun damage, a refinish plus a tank repair might serve you better. If your bike has mismatched panels from previous owners, a full kit brings everything into one consistent design. No single option wins for every rider.
Single Panel, Refinish, or Full Kit
A single panel replacement is the most targeted approach. You order one piece that matches your existing color and finish. This works when your other panels remain in good shape. The challenge comes from color matching. Paint fades over time, so a new panel may look slightly different from your original bodywork. Ask the seller about their color process and request finished photos of similar work.
A refinish keeps serviceable existing panels and changes their painted finish. A painter should first assess the substrate, previous repairs and preparation required. Buying pre-painted replacement panels is a different option. Compare itemized quotes rather than assuming repainting always costs less than a kit, and agree which retained surfaces are included.
A full kit can replace several panels in a coordinated design, but “full” is a listing description that needs an explicit contents list. Inner panels, tank covers, hardware or other components may be outside the package. Confirm those boundaries and the condition of the underlying mounts before deciding whether a broader replacement is worthwhile.

Confirm Contents, Lead Times, and Quotes
Before you order anything, get written confirmation of what the seller will ship. Ask for these details in your quote request:
The exact panels included in the kit
Whether hardware, fasteners, or heat shielding come with the order
The current lead time from payment to shipment
The return policy if panels arrive damaged or do not align
Browse the Yamaha fairings collection for general brand options. It is not confirmation of R3 availability. For a closer comparison of repair scope and matching concerns, see the R3 color-matching and replacement guide.
Request an installation estimate from the shop doing the work. Ask what it includes, how pre-existing damage or missing hardware would be handled, and whether additional work needs approval. Keep that estimate separate from the product quote unless a written package explicitly includes both.
Prepare for Installation Handoff and Records
Good preparation makes the fitting appointment more useful. Organize the instructions, original hardware, photographs and agreed scope so the installer can identify missing information before the motorcycle is taken apart. If you intend to do the work yourself, first assess whether you have the correct instructions, workspace, tools and experience for your exact application.
Tools, Workspace, and Original Hardware Inventory
Get the correct factory service instructions for your market and model year. Yamaha makes service manuals for the R3, and these documents have the right steps for your bike. The fairing kit should also come with its own installation instructions. Read both before you start any work.
Set up a clean, well-lit workspace if you plan to take off panels yourself. You need enough room to lay out fairings without scratching them. Padded surfaces help stop damage during the handoff. Gather basic hand tools, but do not think one tool list works for every R3. Your factory manual tells you what you need.
If a qualified installer removes your original fairings, ask them to separate and label all fasteners, spacers, and pushpins. Put each group in a labeled bag or container. This inventory helps during reassembly and shows any missing pieces. Take photos of the hardware layout before removal as a reference.

Heat shielding depends on the application. Some areas near the engine or exhaust may need heat protection. Other areas do not. Follow the kit instructions and your factory manual for guidance. Do not cover every surface with heat foil. Do not assume the kit includes heat shielding unless the seller confirms it in writing.
Check your mounting points before installation. Bent brackets or earlier repair work need a closer look. Stop and contact support about any problems before you change anything.
A beginner readiness checklist helps you stay organized:
Factory service manual for your market and year
Kit installation instructions from the seller
Labeled bags for original fasteners and hardware
Clean, padded workspace with good lighting
Camera or phone for reference photos
Written record of any bent mounts or prior repairs
When to Involve a Qualified Professional
Some tasks need experience and the right tools. If you are not confident in your mechanical skills, hire a qualified installer. A professional can check mounting points, spot possible fitment issues, and do the work correctly.
Your Yamaha R3 fairing project benefits from professional help in several cases. Bent mounts, cracked brackets, or earlier accident repairs need expert review. Electrical parts near the fairing need careful handling. Any task that involves changing the bike's structure should go to a shop.
Ask your installer to document the process with photos. These records help if you need to contact the seller about fitment problems. A written summary of any adjustments made also works as a useful reference.
Inspect Delivery and Close the Yamaha R3 Fairing Project
Your fairings have arrived. Now you need to check them carefully before you touch your bike. This last step keeps your investment safe and finishes the project well. A Yamaha R3 fairing upgrade for 2019 to 2024 ends with a careful check and a clear record.
Photograph Everything Before Modification
Open the box in a clean, well-lit area. Take pictures of the packaging before you take anything out. Photograph the shipping label, the box condition, and any damage you see on the outside. These pictures create a timeline if you need to file a claim later.
Put each panel on a padded surface. Take pictures of each piece from several angles. Include close-ups of edges, mounting tabs, and painted surfaces. These pictures help you compare what you got with what you ordered. They also record the condition before you start any installation.

For a NiceFairings order, report shipping damage within 7 days of delivery. Send the order number, outer-box and label photographs, damage close-ups and photographs of all received parts. Keep the parts and packaging unmodified while support reviews the case. The applicable remedy depends on that review and the policy; check the FAQ and damage-reporting guidance.
Do not install anything until you finish this check. Do not throw away the packaging. A claim review needs the original materials just as you got them.
Final Checks and Qualified Completion
Compare the received panels with the order confirmation: quantity, specified design, finish and apparent condition. If alignment or mounting looks wrong, pause and document it. Do not force a panel or assume drilling is an acceptable fix. Ask the installer and seller to resolve the cause before irreversible changes.
If you find a discrepancy, send support the order details and clear photographs before modifying the affected parts. Finished photos supplied before shipping, where available, can be compared with your delivery photographs; neither replaces an inspection of the actual pieces.
Ask the installer to complete the application-specific checks using the correct instructions, including specified fastener tightening, mounting security, clearances and relevant heat protection. Retain photographs and a record of any adjustments. Those details will be useful if you later service or replace a panel.
A well-planned Yamaha R3 fairing project starts with the right application and a clear design brief. Confirm availability, obtain a precise contents list, plan around retained finishes and arrange competent fitting. Those steps give your motorcycle a considered refresh while keeping the practical details visible from the first inquiry through delivery and completion.