Before you give a final yes to your CBR500R custom fairing graphics, review three connected details: panel seams, views of each side and the front, and the agreed color reference. This guide walks through checking a visual design proof before approving production. Start with the exact model year, a supplier-confirmed panel map and a list of parts you intend to keep. These checks reduce avoidable misunderstandings; a digital proof is not a guarantee of physical fit or an exact paint match.
Key Takeaways
-
Check your bike's model year and make a panel map with special names for each fairing piece.
-
Make sure the graphic lines, logos, and stripes line up just right across every panel seam.
-
Make sure the decals do not cover air vents or fastener holes. Mark these exclusion zones on your map.
-
Check the agreed symmetry or intentional asymmetry on both sides; lettering should remain readable, not mirrored.
-
If the supplier can provide a relevant color sample, compare it to the parts you will retain in different lighting. Otherwise agree a clearly identified reference and its limitations.
-
Keep track of every design change with version numbers and marked-up mock-ups so everyone can communicate clearly.
-
Record the approved design version and agree with the supplier when production is released and how later changes are handled.
Verify CBR500R model year and panel map
Confirm model year and fairing generation
Check model-year records against the kit listing
Identify the exact model year, market and current bodywork configuration before approving artwork. Do not treat a broad label such as “2019 onward” as proof that every later CBR500R uses the same panels. This guide does not establish a generation interchangeability chart. Ask the supplier to confirm the actual kit application and template for your motorcycle, including any previous bodywork changes.
The model year and calendar year of manufacture can differ. Use reliable vehicle records and ask Honda or a qualified dealer to resolve conflicting identification. Then compare the supplier-confirmed application with the CBR500R fairing collection and the specific listing. Vehicle identity alone does not prove which panels are currently fitted to a modified motorcycle.
Identify left and right panel part numbers separately
Identify the left and right cowls separately, using the supplier’s part references when provided. Define left and right from the rider’s seated position facing forward. Do not assume the two panels have identical outlines or infer their details from an exhaust or shifter location. The actual template, openings and adjoining parts determine the graphic layout for each side.
Specify each panel separately when you order. Some listings show a left side option and a right side option as separate items. Other listings group them into a set. Confirm the kit includes both side panels with their correct designations. A single order note for "side cowls" can cause confusion at production time.
Build a panel map with unique names
List every panel: nose, side cowls, tail, belly pan
Create a diagram of your motorcycle. Give every fairing piece a unique name. Use specific labels like these:
-
Front nose (upper and lower sections if separate)
-
Left side cowl
-
Right side cowl
-
Tail section
-
Belly pan
Do not use general terms like "side panel" or "lower fairing." The designer needs precise labels to plan graphic flow across each seam. Write the name directly on your printed diagram. This map becomes the reference document for every revision.
Mark fastener holes and vent cutouts on the map
Locate every fastener hole on each panel. Mark its position on your map. Note the hole diameter if you know it. Include every vent cutout and air intake opening. The graphic must not cover these openings. A decal placed over a vent blocks airflow.
Supply clear photographs of your current panels as context, but ask the designer to use the verified template for the replacement kit. A photograph or hand tracing can contain perspective distortion and is not a manufacturing drawing. Mark important openings and joints, and ask how graphics will continue around or stop beside those features.
Match the kit to retained original parts
Note which panels stay OEM (tank, seat, front fender)
Your new kit replaces only the components specified in the order. Do not assume the tank cover, seat cowl or front fender is included or excluded. Make two lists: parts being replaced and parts being retained. Distinguish a cosmetic tank cover from the fuel tank itself. Confirm what paint or graphic treatment, if any, is planned for each item.
Verify the graphic treatment for those retained parts
Plan the new graphics alongside the parts you intend to retain. A tank or wheel color can be repeated as an accent, deliberately contrasted or kept separate from the new design. Continuous stripes are an option, not a requirement. If continuity is intended, show the neighboring retained panel on the proof rather than reviewing the new cowl in isolation.
Ask whether any requested graphics for retained components are included, available separately or outside the order. A stripe may deliberately end at a seam; the important point is that the stopping position is intentional and visible on the proof. Your panel map should distinguish painted replacement panels, separate decals and untouched original surfaces.
Inspect CBR500R custom fairing graphics across panel seams
Separate panels make seam planning important. If your design uses a continuous line, it must be reviewed across the adjoining pieces rather than on isolated flat artwork. A clean digital image can conceal the gap, curvature or cutout where that line will be interrupted. A design using independent color blocks needs a different check: confirm each block ends where you expect.
Verify graphic continuity at seam boundaries
Check that lines, logos and stripes align across the gap
Open the design proof and zoom in on each seam. Trace every stripe, line and logo from one panel to the next. A pinstripe that runs from the left side cowl onto the front nose must meet at the same height and angle on both panels. A logo that spans two panels must sit at the same vertical position on each side of the gap.
Ask the designer to overlay the verified panel outlines on the proof. This makes the intended seam locations visible and helps you discuss how a stripe approaches each joint. Request both an overall view and close-ups of difficult intersections. Those views communicate design intent; they do not certify the finished panel gap or manufacturing tolerance.
Look for color offset or breaks at the seam line
Ask how the same color reference will be used across adjoining panels and whether the design will be painted, printed, applied as decals or use a combination. Keeping a coordinated master artwork file can reduce version mistakes, but file organization alone cannot guarantee paint or print consistency. Confirm the intended color reference and review any available finished photos before dispatch.

Align graphics around vents and bolt holes
Ensure decals do not cover air intake openings
Mark the actual openings on the confirmed replacement-panel template, including vents and any intake interfaces relevant to your configuration. Decorative paint may surround an opening; material must not bridge or obstruct an opening that needs to remain clear. Ask the supplier how the design accommodates edges and cutouts instead of assuming a universal clearance margin.
Review graphics around fastener positions
Show fastener holes and any visible fastener heads on the proof. Decide whether a graphic can be interrupted at that point or should be routed around it. A line crossing a hole is not automatically wrong, but a small letter or important detail may become unreadable. Confirm the actual panel geometry rather than asking the artwork file to establish hole accuracy.
Common seam alignment failures come from a few sources. Watch for these in your proof:
-
Misalignment arising from the original graphic design
-
Misalignment caused by panel positioning during installation
-
Misalignment due to production variation between panels
-
Failure to plan graphics across assembled seams, which breaks visual flow
-
Overlooking exclusion zones near seams, cutouts, or fastener holes
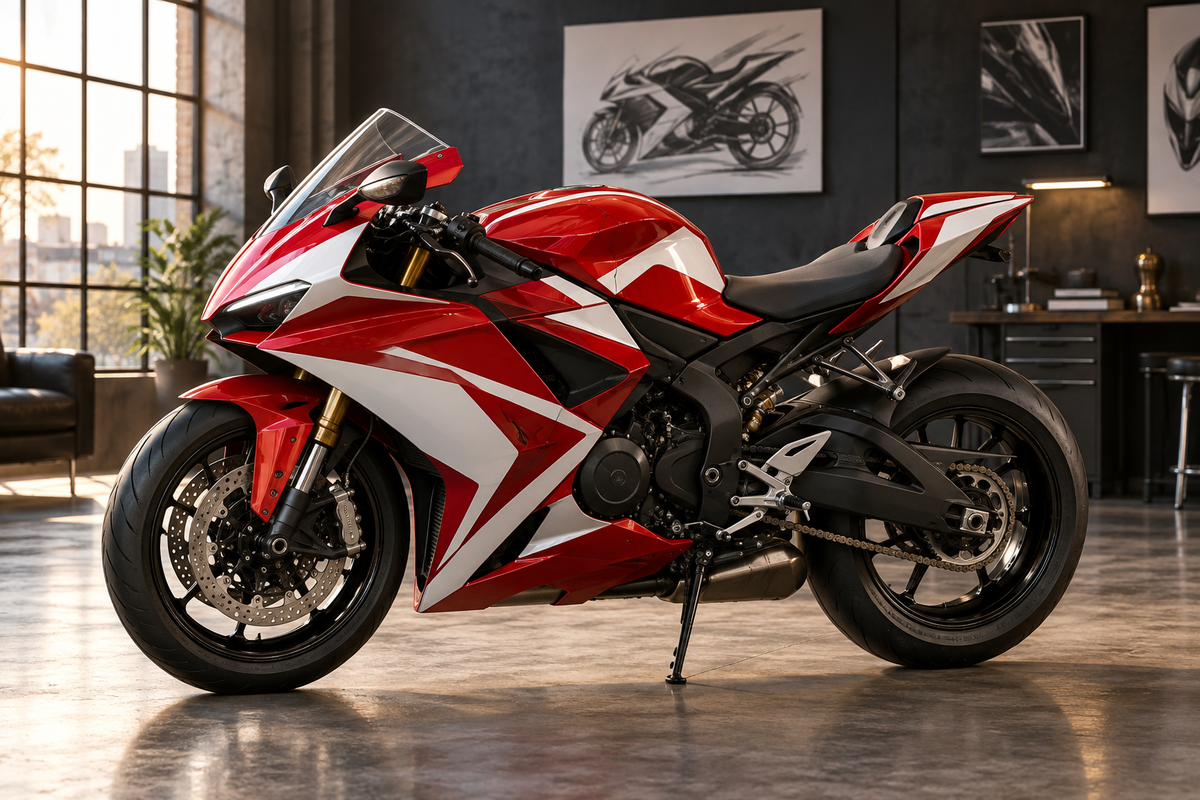
AI-generated illustrations can communicate a visual direction, but neither an AI image nor a printed proof proves physical fitment. Use the supplier-confirmed template for artwork approval and verify the actual application and later trial-fit process separately.
Assess panel gap consistency on both sides
Separate proof review from physical gap checks
A design proof cannot establish the real installed gap between panels. Ask for the correct template and, when available, relevant actual-product or supported trial-fit photographs. Differences need investigation; they do not automatically diagnose a bracket or panel defect. Before production, record the intended graphic relationship without inventing a physical gap measurement.
Record intended seam relationships before production
Do not use a universal gap number or demand that unlike panel joins look identical. Discuss where a continuous stripe crosses the intended joint and how a small alignment variation would affect its appearance. Keep the artwork decision separate from the later supported pre-fit check. Do not force, heat or drill a panel to make the graphic appear aligned.
Review left, right and front views for symmetry
Verify CBR500R custom fairing graphics symmetry between sides
Check mirror-image placement of decals and text
For an intentionally symmetric scheme, compare matching graphic features in separate left and right views. For an asymmetric scheme, compare each view with its own approved instructions. The two physical panel shapes may differ, so visual balance does not always mean identical measurements from every edge. Review both sides at comparable scale and orientation.
Trace an important stripe or color block through both views. Ask whether its position and apparent width match the agreed design intent. Do not measure inches using a ruler against an uncalibrated screen: zoom, perspective and display size change the result. If a specific placement dimension matters, request it on the supplier’s correctly scaled template and confirm how it is measured.
But text follows different rules. A logo or word on the left side should NOT be mirrored on the right side. Mirrored text reads backwards. That looks wrong. Each text element must read correctly left to right on each side of the bike. The designer must flip the position of the text but keep the text orientation the same.
Check this carefully. A decal that reads "CBR500R" on the left side must read "CBR500R" on the right side too. It must not appear as a mirrored version. The design proof should show the text in correct orientation on both views. Mark each text element with a note confirming it reads correctly.
Confirm logo orientation reads correctly on each profile
Directional artwork needs an explicit instruction. An original arrow motif might point toward the front on both sides, while a licensed logo may have a fixed orientation that should not be altered. Do not automatically flip every logo. Show each version in the proof and use artwork you own or have permission to reproduce.
Look at each directional element and compare it with your written brief. If flames are meant to sweep backward on both sides, make that intention clear. If the design deliberately uses different directions, record that choice. Treat a discrepancy as a question for the designer rather than assuming one layout rule applies to every custom scheme.
Intentionally asymmetric designs exist. Some owners choose a different graphic on each side. That is a valid design choice. But you must approve it specifically. Do not assume asymmetry is a mistake. Confirm it with your written notes. Write down which elements are intentionally different on each side.

Review front and tail alignment
Assess how graphics wrap around the nose and tail edges
The front view shows how the design relates to the centerline, headlights, openings and curvature. If a stripe is intended to join across the center, inspect that join. If the pattern intentionally stops or changes direction, confirm the stopping point. The same approach applies to the tail; not every scheme needs a continuous centerline graphic.
Zoom in on the front view, then return to the whole motorcycle view. Trace the intended line from either side and check whether its join, break or change of direction matches the brief. Ask for clarification where a seam or opening hides the transition. A close-up should support the overall design rather than make you judge a curved panel as if it were a flat sheet.
Review the tail with the seat or seat cowl you intend to use. For a symmetric scheme, compare the apparent height and width of corresponding stripes. For an asymmetric scheme, confirm which side carries each element. This helps catch a left/right mix-up without insisting that every tail design must meet at its centerline.
Look for ghosting or misregistration at centerlines
A faint duplicate edge in a proof may be an unintended layer, a shadow, a rendering effect or a deliberate graphic detail. Ask the designer which it is before approving. The practical concern is whether that mark belongs in the final artwork, not diagnosing a print fault from a preview image.
For printed graphics, misregistration refers to intended elements or color separations failing to align. An exported preview may also show scaling or compression artifacts that are not in the production file. Have the supplier check an unexplained halo, white line or overlapping edge in the original artwork; do not assume a screenshot reveals the cause.
Check critical edges at the proof’s intended viewing size and in a suitably detailed view. If a mark appears only at extreme zoom, request a clearer export or confirmation from the designer. Note its location and attach a marked-up copy so the question can be answered against the correct version.
Confirm left and right panel designations
Specify separate part numbers for each side cowl
Use the supplier’s actual identifiers for each side, if available. Otherwise agree clear labels such as left upper cowl and right lower cowl, supported by an annotated panel map. A generic kit reference may not provide an individual part number for every painted piece. The aim is unambiguous identification, not inventing numbers.
The NiceFairings custom fairing process explains the motorcycle information and design details to provide; it is not a panel part-number catalog. Ask for references from the exact listing or supplier. Never assume options labeled Type 1 or Type 2 mean left and right: obtain their actual definitions before selecting.
Avoid swapping design treatments intended for one side only
An asymmetric design has a different treatment on each side. The left side may carry a large number decal. The right side may carry a brand logo. Each treatment belongs on that specific side. Swapping them creates a confusing visual. The design intent gets lost.
Label each panel in your proof. Write "LEFT" and "RIGHT" directly on the design file. Confirm the designer used your labels. The proof should show the correct graphic on the correct side. If you request a specific design for the right side cowl, check that no part of the left side design appears on the right side.
Match color samples with retained tank and seat parts
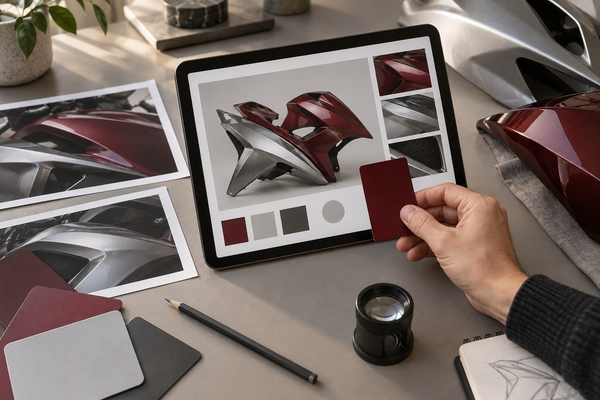
A screen is useful for layout and broad color direction, but it cannot guarantee the appearance of finished paint. Ask whether a sample for the proposed paint system is available and what it represents. If no sample is available, agree a named color reference, finish and comparison method, and record the limits of screen-based approval. Do not treat an illustrative photograph as a physical color standard.
View the sample under different lighting
Compare an available sample in more than one practical lighting condition. Daylight and indoor lighting may make a finish look different. The purpose is to understand the difference you are accepting, not to apply an invented pass/fail rule.
Test under direct sun, fluorescent shop lights and shade
View the sample in daylight and the indoor lighting where you normally inspect the motorcycle. Keep the sample and retained panel under the same light and at comparable angles. Avoid judging one in shade and the other under a bright lamp. Record any difference that matters to you and discuss it with the supplier.
A second comparison in diffuse shade can help you assess the color without strong glare. A photograph may document your concern, but its exposure and white balance can change the appearance. Refer back to the agreed physical or named color standard instead of treating a phone image as a precise measurement.
Observe color shift at dusk or in low-light conditions
If appearance in evening light matters to your design, include that condition in the comparison. There is no requirement that every finish look identical under every light source. Check whether the change suits the look you want and whether adjacent retained parts still work with it.
For metallic or other effect finishes, vary the viewing angle as well as the light. Keep your notes descriptive: for example, a sample appears warmer than the retained panel in shade. This is more useful feedback than requesting an undefined “perfect” match under every possible condition.
Compare with retained tank, seat and wheel colors
List the tank, seat or seat cowl, wheels and other colored parts that you actually intend to retain. They need not all share one color or sheen. Decide which elements should match, which should contrast and which are simply background to the new graphic scheme.
Place the physical sample swatch next to original painted parts
Compare the sample beside the motorcycle rather than relying on memory. Hold it close without rubbing it against paint or setting it on the wheel where it could scratch or fall. Protect finished surfaces and keep the sample under the same light as the reference part. Note whether the difference is in hue, brightness, sheen or viewing-angle effect.
If an apparent difference is unacceptable for a section intended to match, resolve it before approval. A deliberately contrasting design can be a valid alternative, but it should be agreed rather than introduced unexpectedly during production. A sample reduces uncertainty; it does not eliminate variation from application or aging of existing paint.
Account for metallic flake, pearl or matte effects
Metallic and pearl finishes can change appearance with viewing angle and lighting. Ask the supplier to identify the proposed finish and how the sample relates to it. Do not assume every pearl finish uses one universal number of paint stages or that a sample duplicates the application on every curved panel.
Matte, satin and gloss surfaces reflect light differently. Mixing them can be an intentional design choice. Compare the visual effect without rubbing or polishing a matte sample, and follow the supplier’s handling guidance. Touch alone does not establish paint-system compatibility or final quality.

Confirm finish type and texture
Confirm the finishing system and the intended sheen with the supplier. A sample can help communicate expectations, but it does not certify the quality of every finished panel. Ask what finished-photo review is available and distinguish a reference sample from the actual supplied bodywork.
Choose between gloss, satin or matte clear coat
Choose gloss, satin or matte according to the agreed design and available options. Gloss generally gives sharper reflections, while satin and matte soften them. A mixed-finish scheme is not automatically a mismatch or a repair-like appearance; review how the combination looks beside the parts you are keeping.
Look at the reflection and the overall design together. If a continuous color area is intended to share one sheen, confirm that instruction for every relevant panel. If an accent is deliberately different, identify it separately in the proof and order notes.
Assess depth and orange peel potential on the sample
For a glossy reference, inspect reflected lines and surface texture under gentle angled light. An orange-peel-like texture can make reflections appear uneven. Do not use reflection sharpness alone to infer paint thickness, coating durability or the quality of an unseen finished kit.
If the sample surface is not what you expected, ask what it demonstrates and discuss the desired finish. A sample defect does not prove every final panel will have the same defect, and a flawless sample does not guarantee every final surface. Agree a practical review process for the actual completed bodywork.
Treat the sample as one part of the approval record, alongside the color reference, finish description and supplier correspondence. If no physical sample can be provided, record how you reached the color decision and any remaining uncertainty. Then carry those same references into final artwork approval and any available finished-photo review.
Control revisions and final approval
Your model year is checked. Your panel map is done. You looked at the seams, checked if both sides match, and compared the color sample. Now you need to manage the changes. This step locks the design and stops confusion.
Track changes with version numbers
Use one main document for your details and name it with a version number and date, such as CBR500R_Artwork_v3_2026-09-10.pdf. Give substantial changes a clear identifier and note whether they have been incorporated. This keeps the current approved version separate from superseded drafts.
Keep all edits under a single revision version
Do not spread your requests across emails and calls. Bring them together. Create one document for your CBR500R custom fairing graphics design file. Keep all edits under one version until you give the final OK.
Use marked-up mock-up photos for each change request
Talking is not enough. Mark up the design proof directly. Draw an arrow to the problem. Write a note about the fix. This is a marked-up mock-up photo. Send it with your change request. Put every change in writing. Use the unique change ID. Always get a written reply before work goes on.
Best ways to handle versions include keeping one main document. That document holds all color codes, graphic placement, and panel instructions. Name files with version numbers and dates. Log each change with a unique ID. Require written approval for all changes. Get a final written OK before production begins.

Run the final approval checklist
Before you say yes, go through the full checklist.
Confirm model year, panel map, seams, views, and color sample
-
Model year matches the kit listing.
-
Panel map lines up with the kit panels.
-
Seam continuity checked on every graphic line.
-
Intended symmetry or asymmetry checked; text remains readable.
-
Color reference or available sample compared with the parts being retained.
Ensure AI visuals are labeled as illustrations, not fitment proof
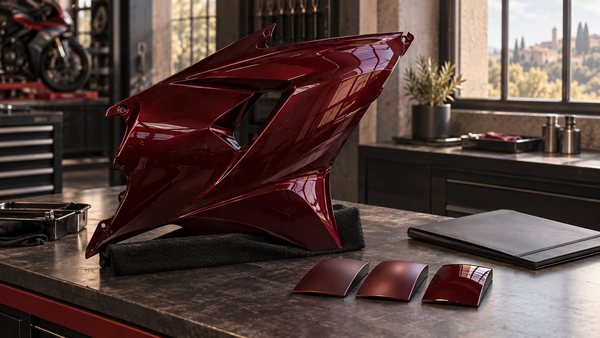
The cover and body illustrations in this guide explain design-review concepts; they are not actual CBR500R product photographs. Similarly, an AI mock-up or printed proof supplied during an order does not prove physical fitment. Use the confirmed panel template for artwork and the appropriate application records and supported trial fit for the actual panels.
Issue written sign-off
The last step is a written record of the design version you approve, the scope it covers and any unresolved conditions. Confirm the supplier’s approval and production-release process rather than assuming all sellers use the same terms.
Agree the approval and production-release stage
Agree when the approved design is released to production. The current custom-order guidance warns that changes or cancellation may not be possible once an order is confirmed and production has started. Ask about the actual stage and options before requesting a revision; do not assume an extra fee always makes a change possible.
Retain a copy of the approved design and revision history
Keep your own copy of the final approved design. Keep the revision history. Keep the signed approval paper. This makes a clear record of what you approved.
Once you give this sign-off, you can move to the next step with confidence. The design is ready for production.
You now have a full plan for saying yes. Go through this last checklist before you sign off:
-
Checked the model year and made a panel map.
-
Looked at how graphics line up across every seam.
-
Checked left, right and front views to make sure both sides match.
-
Compared the agreed color reference or available sample with the parts you are keeping.
-
Tracked changes with version numbers and gave written approval.
These checks help catch misidentified panels, unintended seam breaks, unclear left/right instructions and unresolved color choices. They create a shared approval record, not a promise of a flawless result. Resolve remaining questions with the supplier before releasing the design, and retain the record for the later review of the actual panels.
FAQ
How do I confirm my CBR500R model year matches the fairing kit?
Establish the model year from reliable vehicle records and resolve conflicts with Honda or a qualified dealer. Manufacture date is not automatically model year, and the VIN does not identify later bodywork modifications. Confirm the exact application and current setup with the supplier before approving a panel template.
What should my panel map include?
Your panel map needs a unique name for every fairing piece. Label the front nose, left side cowl, right side cowl, tail section, and belly pan. Mark every fastener hole and vent cutout. Note which parts stay original, like the tank and seat. This map guides the designer and prevents placement errors.
Why do panel seams matter most in the design proof?
The fairing is not one piece. It is separate panels that bolt together. A graphic that looks continuous on a flat file can break at every seam once printed. Check that stripes, lines, and logos meet at the same height and angle across each gap.
How do I handle a design that is intentionally different on each side?
Some owners choose asymmetric graphics. That is a valid choice. Label each panel clearly in your proof. Write "LEFT" and "RIGHT" on the design file. Confirm the designer placed the correct treatment on the correct side. Get written confirmation of the intentional difference.
Can I trust my screen for color approval?
Use a screen for layout and color direction, not a guaranteed finished-paint match. Ask about a relevant physical sample if available, or agree an identified color reference and finish with the supplier. Compare the parts you actually plan to retain and record the limits of the chosen approval method.
What happens after I give written approval?
What happens next depends on the agreed order stage and supplier terms. Confirm the approved version, production-release date and change process in writing. Keep the artwork and revision history. If you need a change, ask promptly; approval does not guarantee that later changes will be possible.
How do I track changes during the revision process?
Use one main document for all edits. Name the file with a version number and date. Log each change with a unique ID. Mark up the design proof directly with arrows and notes. Send every request in writing. Get a written reply before work continues.