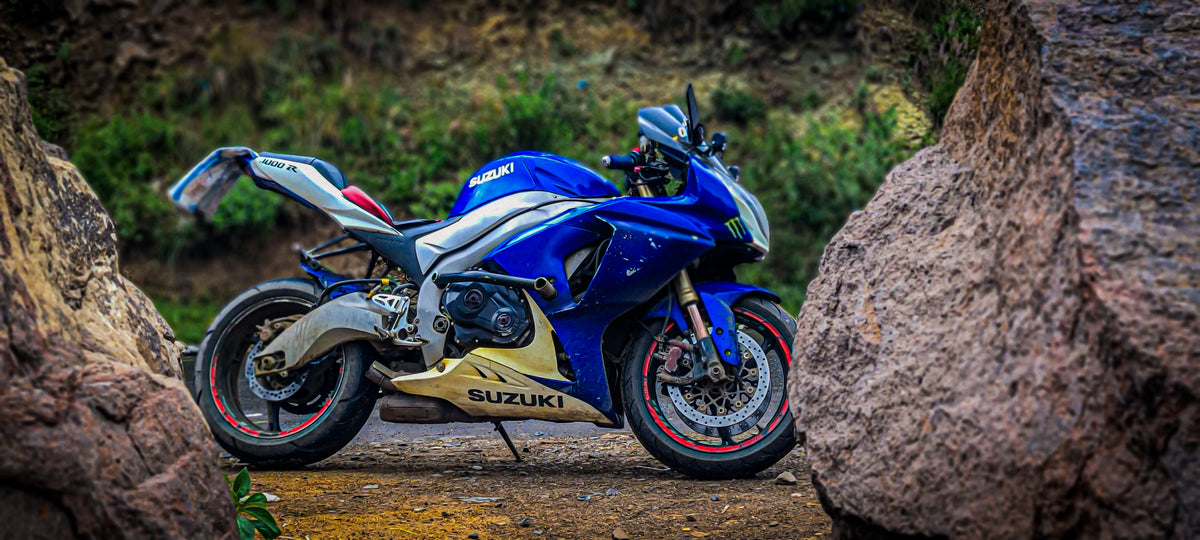
The motorcycle is parked for winter. Your hands are not. A new color seems like the perfect off-season project—until the first warm weekend arrives and the bike is still half disassembled, its fasteners mixed in a tray, or the promised finish has not cured. The best winter “glow-up” is not the most ambitious one. It is the one whose scope fits the condition of your panels, your workspace, your budget and the date you actually want to ride.
Begin with one question: Are you changing a finish, repairing a panel, or replacing bodywork? Those are different jobs. A vinyl film can change appearance over sound panels. Paint can refinish a prepared surface. New fairings replace physical pieces when damage, missing tabs or a new painted design make that more appropriate. None is an automatic solution to a cracked mounting point, bent stay or rubbing cable.
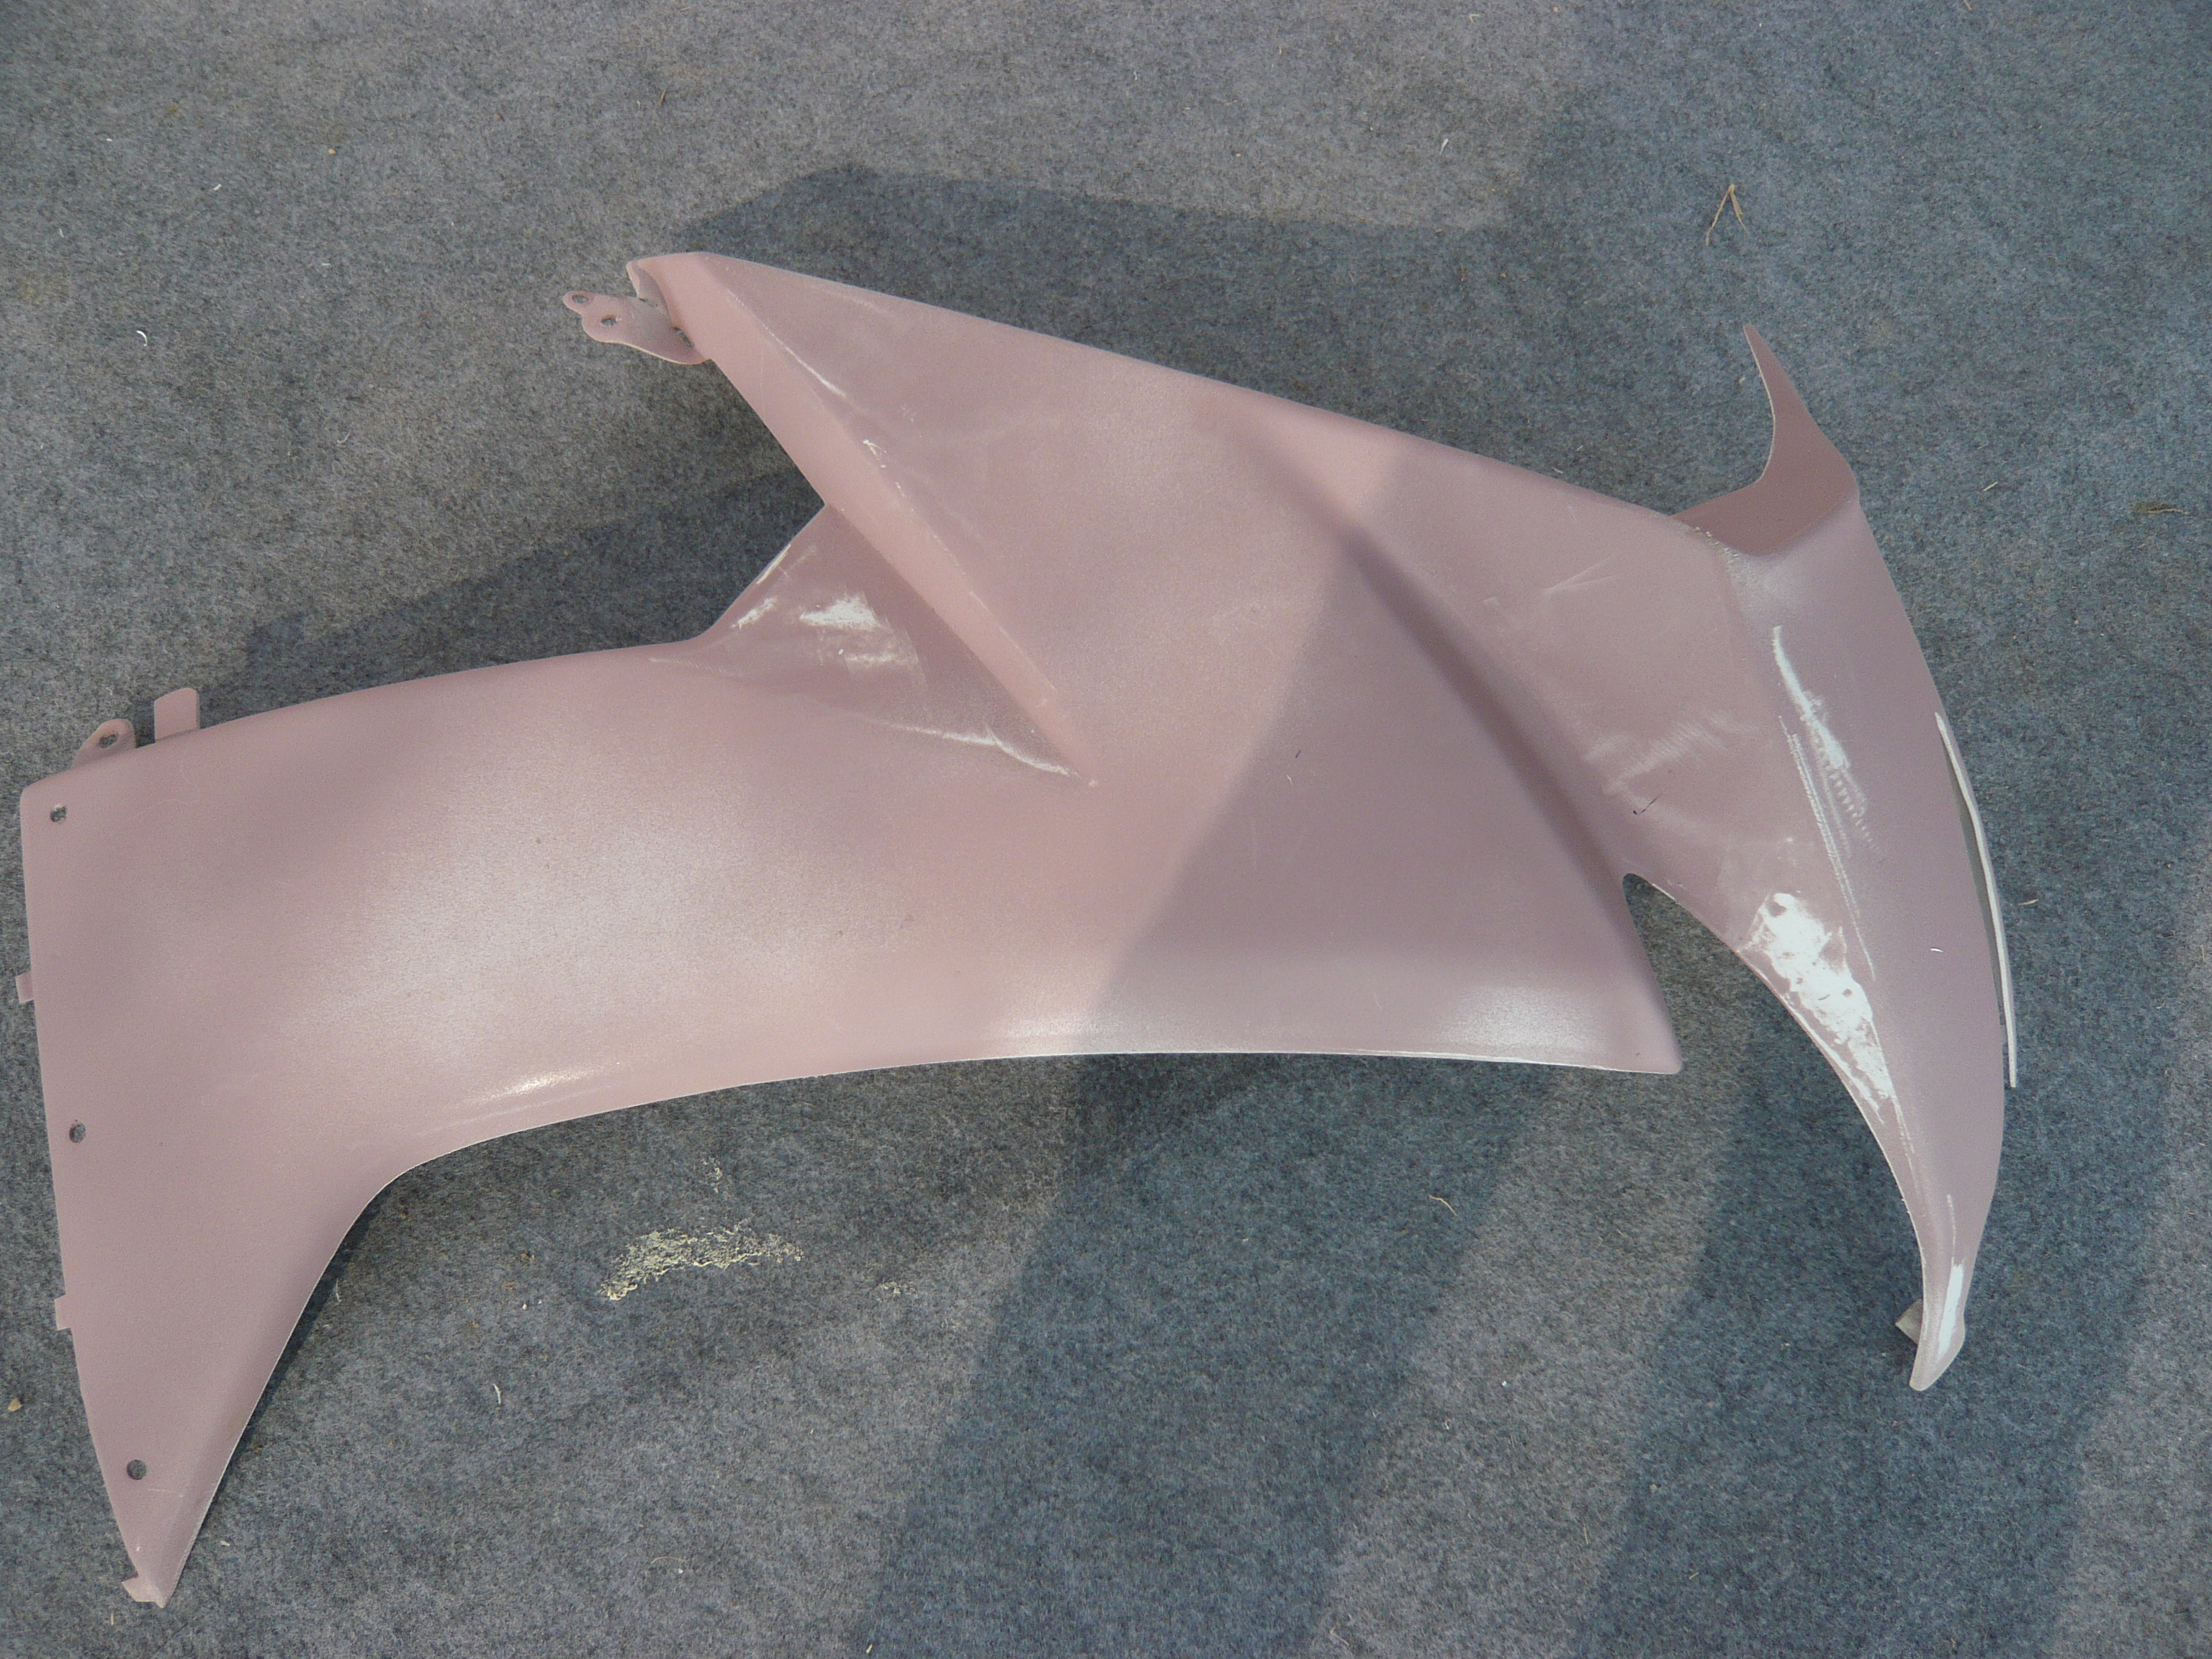
A rider's winter repaint post can make the work look appealing, and it may be a useful source of ideas. It is still one person's project. In this r/Trackdays repaint account, the author was working on previously damaged fiberglass track fairings. Its price and preparation steps cannot be copied wholesale onto ABS street bodywork, a different finish system or a professionally quoted job. The useful lesson is simpler: surface preparation takes real time, and the material beneath the color determines the plan.
First weekend: inspect before buying supplies
Wash the bike and photograph every side in ordinary daylight. Mark chips, cracks, missing tabs, lifting wrap edges, soft paint, mismatched panels and fasteners that do not seat. Then look behind the panels you intend to change. Identify whether a damaged edge is only a finish problem or whether a mounting feature is broken. Note the tank, front fender, mirrors and tail pieces: a beautiful new fairing color may look disjointed beside a tank you were not planning to repaint or wrap.
Make a simple three-column list: keep, repair or refinish, replace. Do not decide that a whole kit is necessary because one panel is scratched. Do not decide that paint is cheaper until you have priced the preparation and any repair. If the motorcycle has unknown structural or steering damage, resolve that with a qualified mechanic first. A cosmetic winter project should not hide a safety question under fresh color.
This inspection also creates a useful baseline. Photograph the bike before disassembly and each removed piece with its fasteners. Label the bags. Leave enough access for battery, coolant or other normal winter service. Your future self will be glad that the project did not consume the entire riding season simply because two similar-looking screws were mixed.
Route one: paint the panels you already have
Painting makes sense when the existing bodywork is sound and you want a finish that can follow its contours without a film edge. The biggest mistake is budgeting for paint but not for preparation. Cleaning, removing damaged coatings, repairing appropriate cosmetic defects, choosing compatible primers and checking a test piece all consume time. A professional shop may quote substantially more work than the price of a can suggests because surface condition and finish expectations are part of the job.
If you intend to paint at home, consult the exact product's technical data and safety sheets. Ventilation, protective equipment, temperature, humidity, application and cure instructions depend on the material; they are not universal values an article can safely prescribe. Some coating systems require professional controls. Do not spray a two-component product simply because a social post makes it look inexpensive. Also do not assume a cracked tab becomes safe merely because the outside has been filled and painted.
Paint is especially satisfying when the design is restrained: a repaired original color, a tank-to-fairing color relationship worked out in advance, or a livery whose seams have been planned. It is less satisfying when you discover after painting that another panel, the tank or the seat cowl still clashes. Lay out the entire bike's color story before committing.
Route two: wrap selected sound panels
Wrap can be useful for a reversible-looking color experiment, selected graphics or a design you may want to change later. It is not a guaranteed reversible process. Removing film from a weak, repainted or poorly bonded finish may lift coating; old edges and complex fairing shapes can add labor. Check a small low-visibility area and follow the film maker's installation instructions. If the panels have cracks or missing mounting points, film covers the symptom rather than solving it.
“Carbon look” film and actual carbon-fiber components should not be sold as equivalent choices. One is a decorative surface; the other is a different part with its own construction, mounting, cost and damage considerations. A printed weave can be a design choice without claiming the weight or structure of carbon. Neither option has a universal scratch-resistance ranking: film grade, coating, use, cleaning and repairability all matter. Ask to see real samples in daylight, not only saturated online images.
If your motorcycle is already wrapped and the film is lifting, do not automatically add another layer. Our guide to removing, rewrapping or replacing covered fairings starts with inspection of the finish underneath.
Route three: replace the fairings
New fairings become attractive when you want a complete painted design, several existing panels are damaged, or preserving an original set matters to you. The visible price of a kit is only one line of the project. Confirm exactly which pieces are included, the motorcycle's model/year/market and any variant, whether the tank and fender are part of the visual plan, shipping timing, and what hardware or professional help you may need. Do not assume every listing marked “complete” contains identical components.
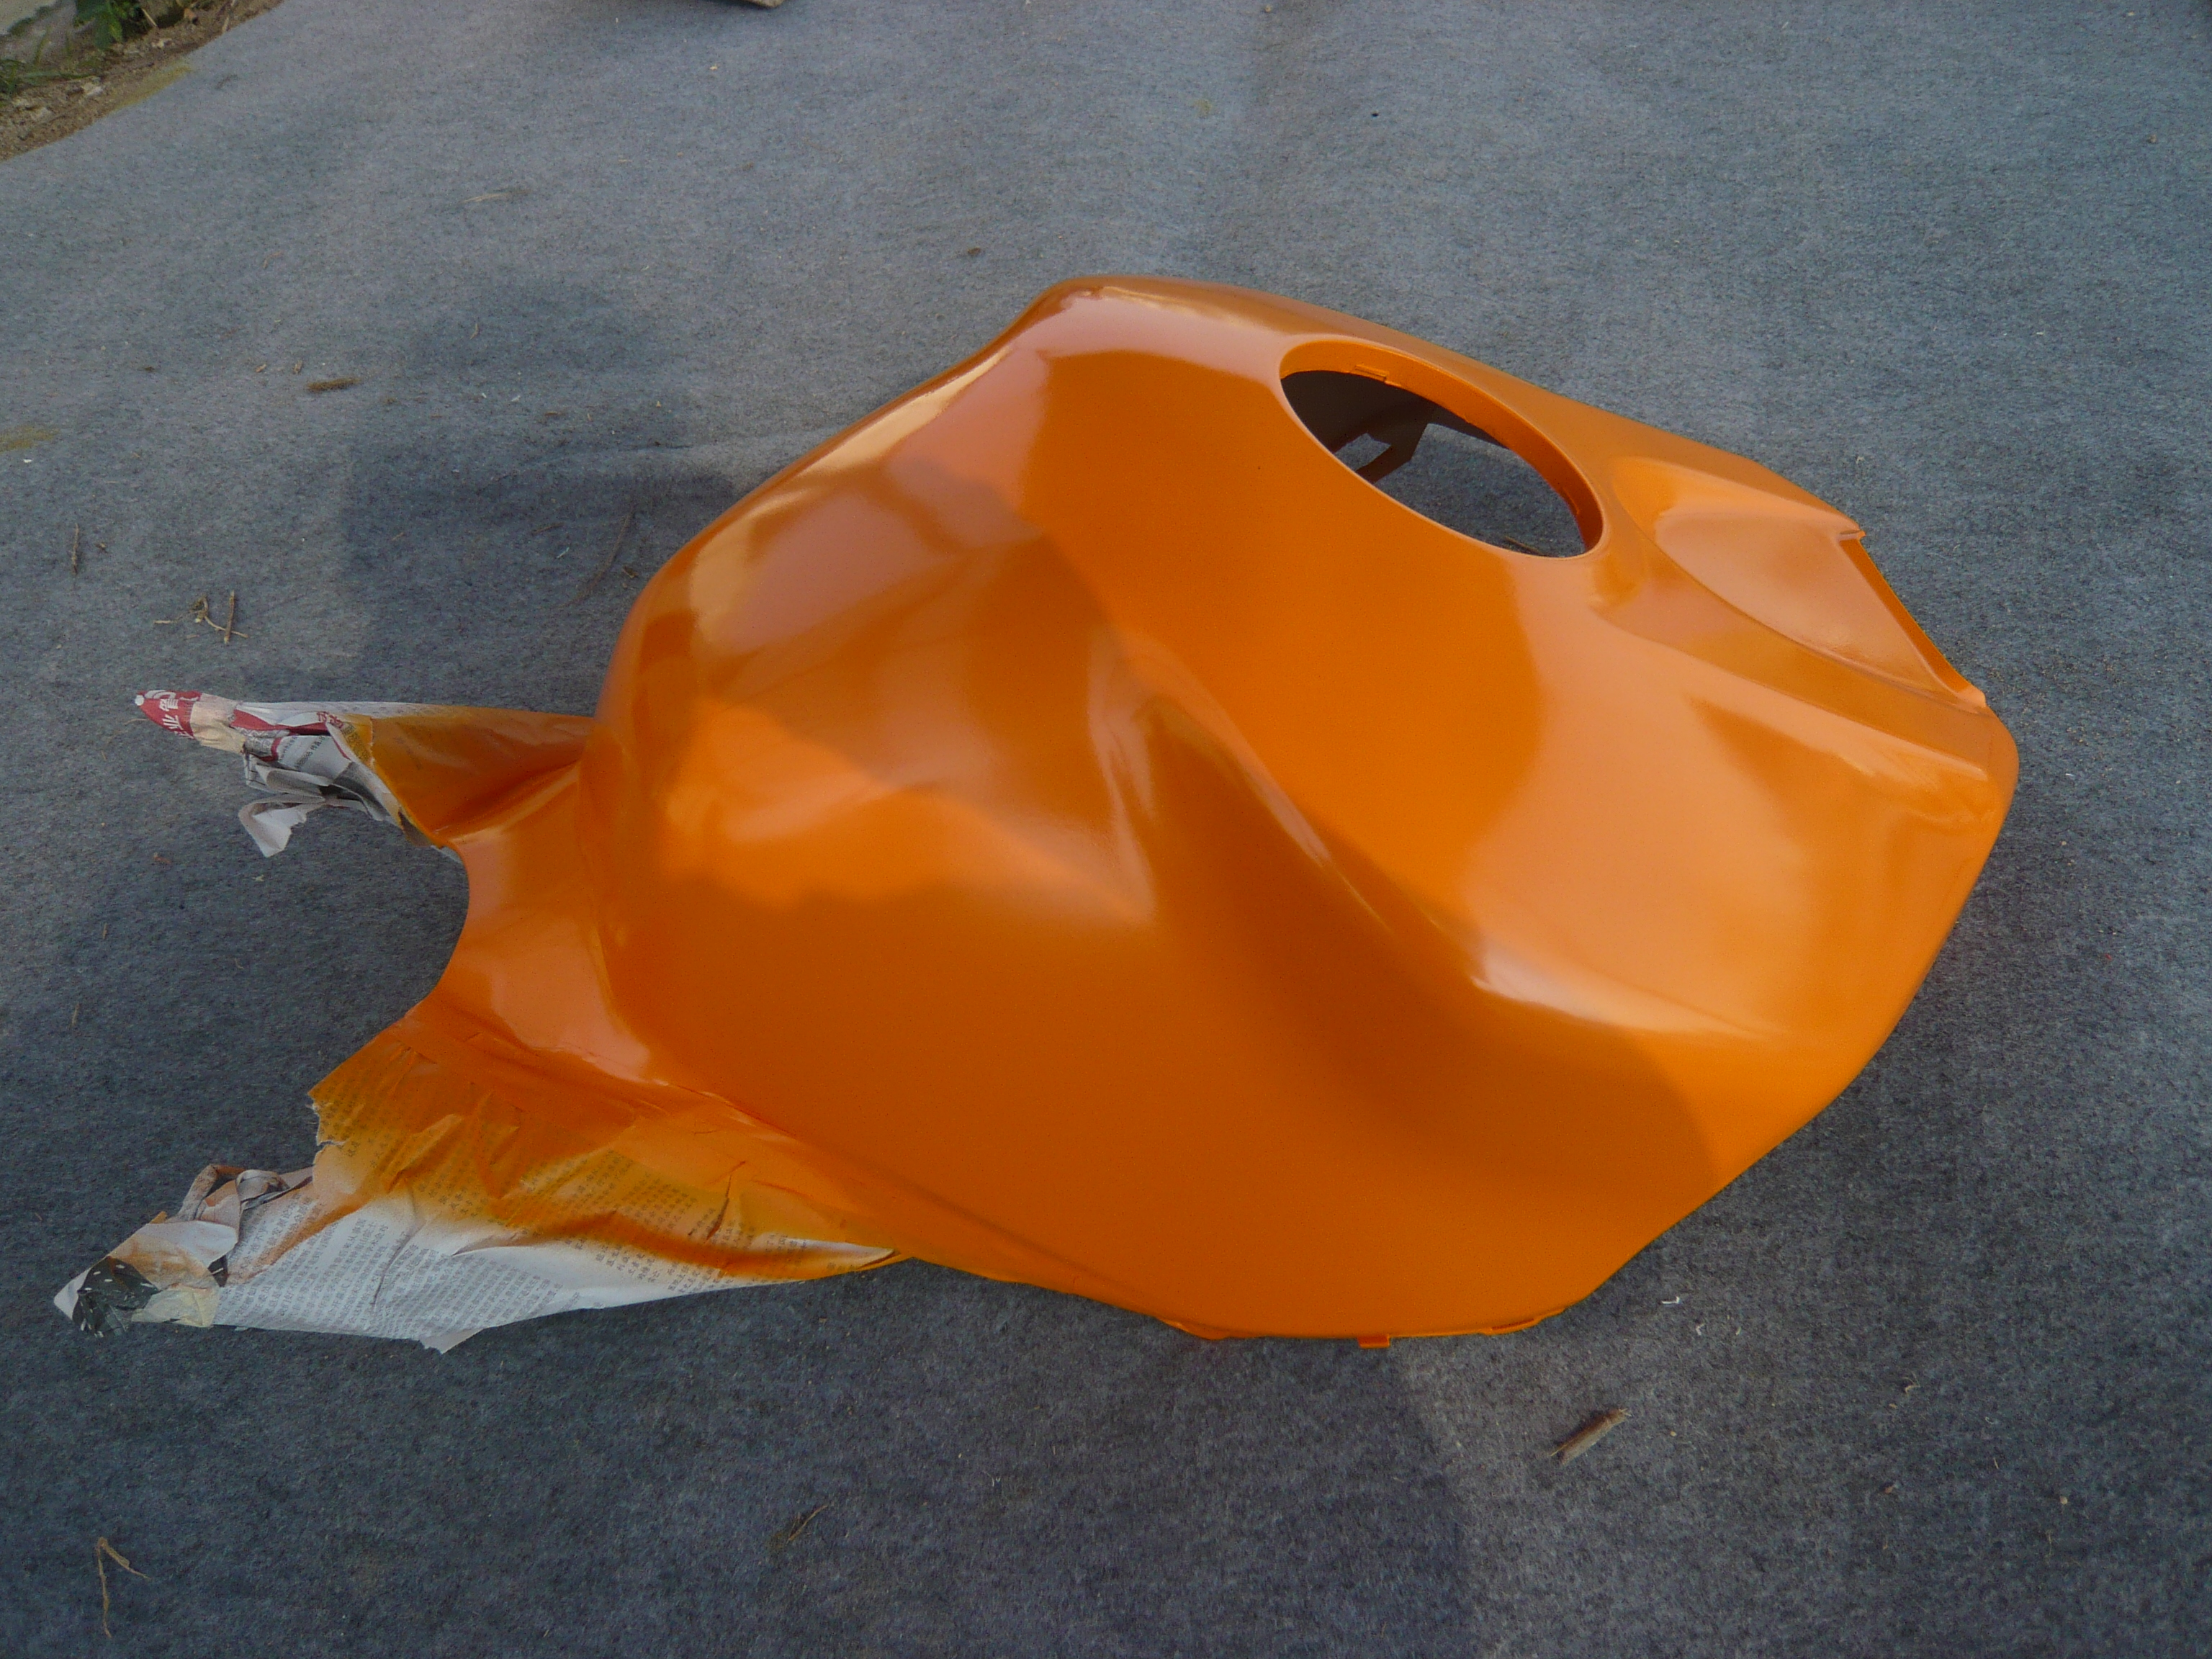
Ask for the actual kit layout and clear front, side and rear photographs. Compare openings for lights, signals and model-specific features with your own bike. Before paint or graphics approval, check a mock-up of the full set rather than a single side panel. After arrival, inventory and dry-fit before forcing fasteners. A gap that needs pressure or a hole that seems off is a reason to stop and document, not to drill first. Our pre-fit troubleshooting guide addresses that step in more detail.
Browse the NiceFairings model collections for design directions, then confirm the specific product's fitment and scope with current product information. Product photographs show a finish or layout; they do not establish universal fitment or prove a customer's installation. If the project is a GSX-R, the Suzuki GSX-R collection is a starting point; select the exact model and year before discussing an order.
Compare the real project, not a guessed price tag
| Route | What you are paying for | Your time risk | Common surprise | Best fit |
|---|---|---|---|---|
| Paint existing panels | Materials or shop labor plus preparation and any repair | High for DIY preparation; shop queue varies | Damage becomes visible after stripping | Sound panels, durable finish goal, willingness to prep |
| Wrap sound panels | Film, installation, removal of old film if present | Complex curves and weak paint can slow work | Coating lifts or edges fail | Appearance experiment over verified sound surfaces |
| New painted fairings | Specified panels, finish, shipping, installation and possible hardware | Order/design approval and dry-fit can shift the schedule | Included parts or variant differ from expectation | Multiple damaged panels or a full design change |
There is no honest universal dollar figure, hours-to-complete promise or fixed years-of-life claim in that table. Get quotes for the exact job and keep an allowance for discovery. Our broader wrap-versus-painted-panel comparison explains the distinction between changing a surface and buying new panels; this winter guide is about planning when to decide and when to stop.
Count backward from your first ride
Choose a realistic first-ride date for your location, then work backward with buffers instead of booking every weekend at full capacity. The sequence below is a planning model, not a promised lead time:
- Before ordering or buying supplies: inspect the motorcycle, photograph it, settle repairs and define which pieces will change.
- Before approving a color: compare samples or design mock-ups in daylight against the tank, wheels and retained bodywork; agree on whether color match is approximate or exact.
- Before disassembly: confirm shipping or shop booking, tools, labeled storage, and where the bike can safely remain. Keep original pieces protected if you may sell the bike later.
- On arrival or after finishing: inventory each piece, check finish and dry-fit. Report concerns while documentation and order details are fresh.
- Before the first ride: check steering lock, lighting, wiring, wheel and fork clearance, heat-adjacent areas and fastener security. Follow the motorcycle service information for torque and any professional checks. Then use a short, controlled shakedown—not an immediate high-speed trip—as the first test.
If the order, weather or repair runs late, move the cosmetic deadline. Riding with loose bodywork to satisfy a spring calendar is a poor trade. Our spring wake-up checklist covers the finished-bike checks in detail.
Plan for the awkward middle, not just the final reveal
Every route leaves the motorcycle in an intermediate state. Paint may require panels to be stored while the coating progresses according to its own instructions. Wrap may reveal an old paint problem only after a test removal. A replacement set can arrive before you have space to lay every piece out and examine it. Decide where the motorcycle and loose panels will live, whether another household member needs the garage, and which tools must remain accessible. Protect painted faces from rubbing on each other. Do not stack parts because you are eager to see the whole design at once.
Put a decision gate at each stage. After inspection, are the existing panels actually sound? After a sample, do the color and sheen work beside the tank? After a quote or order specification, does the scope still fit the budget? After delivery, are all pieces present and visually acceptable? A pause at one gate is not failure. It prevents a small cosmetic project from quietly becoming an uncontrolled rebuild.
If you are working with a friend or shop, agree what “finished” means. Is this a show-quality finish, an honest rider-grade refresh, or simply an improvement over cracked panels? Clarify who will remove and reinstall the bodywork, who supplies small hardware, and how a color mismatch or panel concern will be handled. Written agreement about scope saves more frustration than a vague promise that it will “look great.”
Write a one-page brief before the first panel comes off
A winter project is easier to control when its decisions fit on one page. Record the exact motorcycle identification, the panels you intend to keep, repair or replace, and the visible evidence behind each decision. Add three photographs: a whole-bike side view, the suspect mounting area, and the adjoining tank or retained panel in daylight. Those are more useful to a paint shop, wrap installer or fairing supplier than a mood board alone.
Next, write the finish goal in plain language. “Dark blue with a satin sheen, while keeping the original black tank” is actionable; “make it look factory” is not. If graphics cross seams, mark the viewing angle that matters most and which seams are allowed to interrupt the design. Our design-approval checklist offers further questions, but this project brief should identify the actual bike and retained surfaces first.
Finally, record a stop condition and a fallback. If the panel reveals a broken mount, if a sample clashes with the tank, or if delivery misses your dry-fit weekend, what will you do? Keeping the current sound bodywork on the bike may be the better answer than rushing the cosmetic job. A written fallback protects the first ride from becoming a deadline that pressures you to ignore an unresolved mechanical concern.
Keep the project honest in its before-and-after photos
Before-and-after images are more useful when the lighting and angle make the change visible without disguising condition. Show one whole-bike view from the same side, plus a close-up of a seam or repaired area. If the work involved new panels, say so. If it is a wrap, do not call it painted carbon. If the bike had other repairs, do not imply the cosmetic work fixed them.
This is the winter project worth sharing: not just the bright finished shot, but what you started with, which route you chose, where the schedule changed and what you would do differently. If you use a NiceFairings fairing set, save the order specification and installation photos. Send us your authorized before-and-after images if you want your build considered for a future community feature; permission and identification would be confirmed before any reuse.
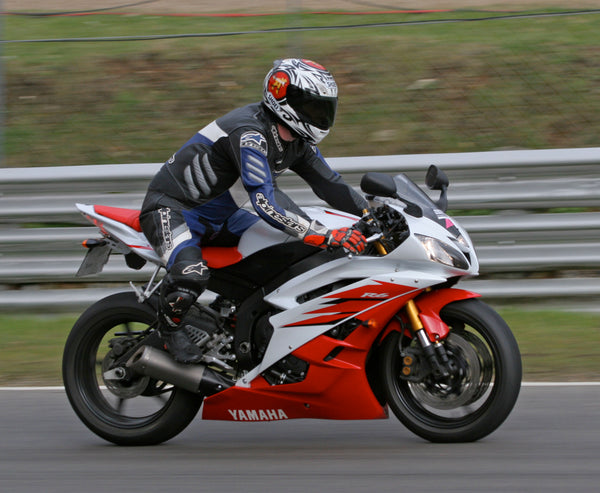
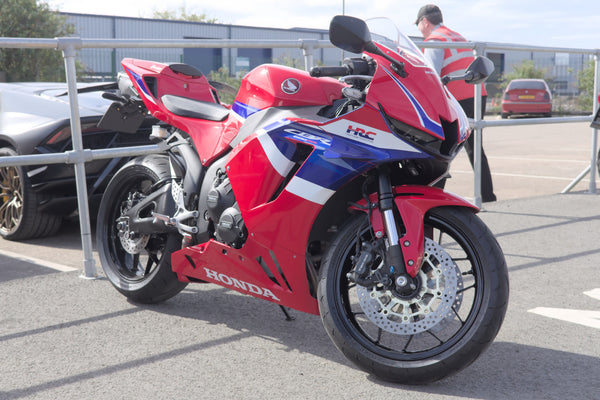
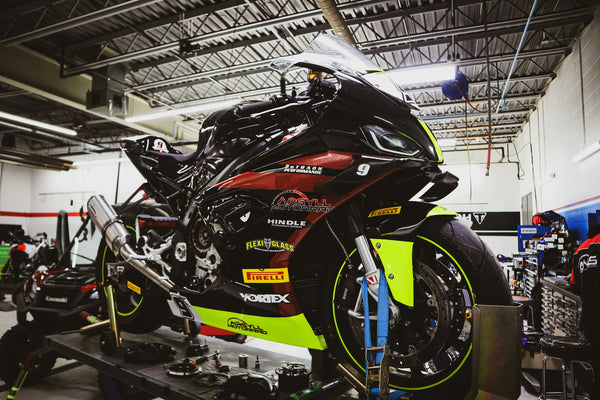
Cover photo: a real Suzuki GSX-R1000 parked outdoors, photographed by Fuad Al-Qrize, CC BY 4.0. It illustrates a complete sportbike whose current appearance can be assessed before a project; it is not a winter scene or a NiceFairings installation. Inline workshop photographs are NiceFairings-provided production images.