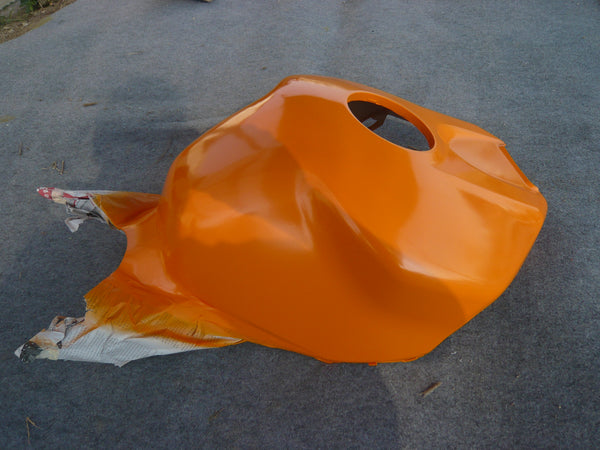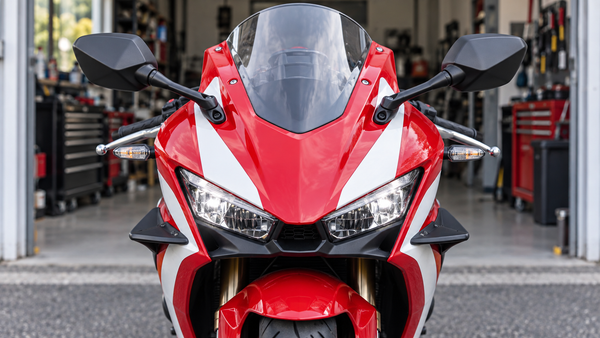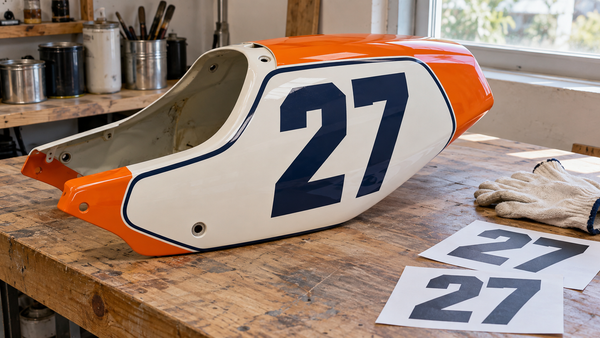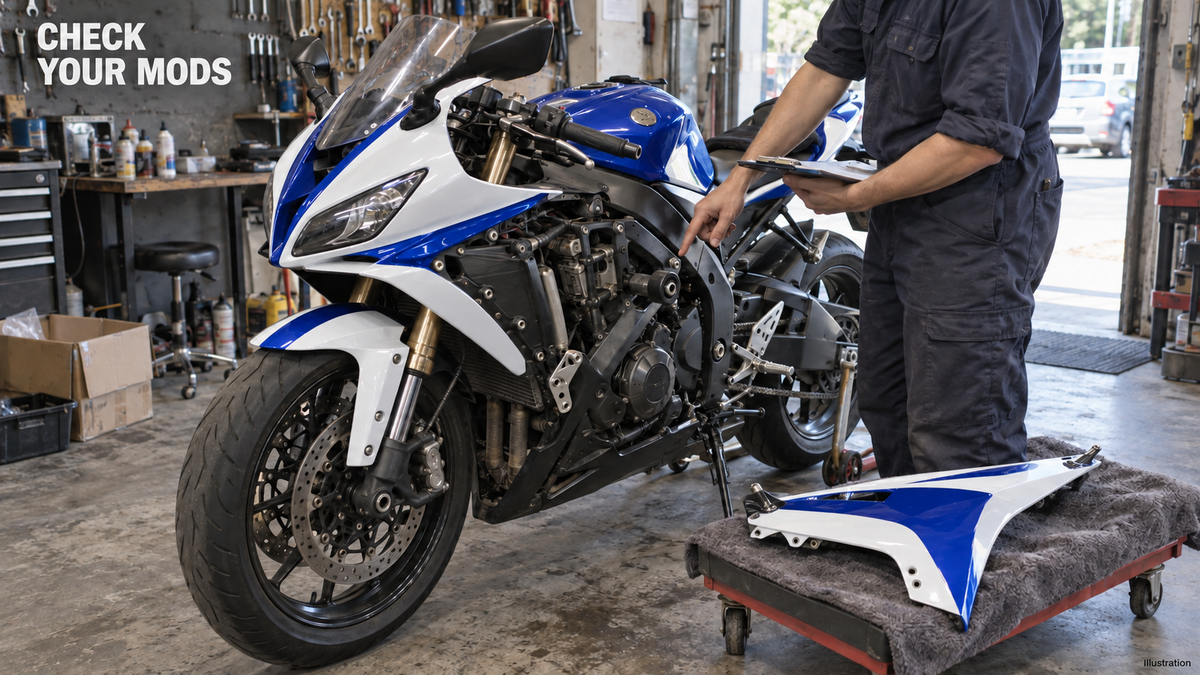
Images are AI-generated editorial illustrations, not photographs of supplied products, customer vehicles or fitment tests.
A modified sportbike can create fitment questions that a model-year listing alone cannot answer. Share the exact changes before ordering, and ask which details the supplier can confirm and which need an on-bike technical assessment.
Send this five-check list to your supplier before you pay or before production starts:
Exact model, year and market information, verified through reliable records or a dealer where uncertain
Support-condition information, with a qualified assessment where damage or alignment is uncertain
Exact details for every aftermarket part on your bike
A full list of your original hardware and trim
A written reply from your supplier that is specific to your order
This dossier helps a supplier assess the application and identify unresolved questions before you commit. It is not a promise that every modification is compatible or that photographs can establish chassis condition.
The Motorcycle Fairing Fitment Checklist: Five Checks
Use this document to record modifications relevant to the new bodywork. Their effects depend on the exact combination; not every modification changes fairing fit.
NiceFairings kit contents and application must be confirmed for the specific order. Consult the FAQ and Production & Shipping information, then record any order-specific clarification in writing.
For general preparation after the order is resolved, see the pre-fit checklist. This article concentrates on the modification information to send before buying.
Why Modifications Need Specific Checks
An exhaust, frame-slider bracket, control conversion or tail modification may alter nearby space or mounting arrangements. Document the exact part rather than assuming every accessory of that type affects the panels in the same way.
A kit specified for an original configuration does not automatically establish compatibility with your accessory combination. Photographs identify areas to review, but cannot certify working or heat clearances. Use the applicable motorcycle and accessory instructions and qualified assessment.
How To Use This Checklist
Work through the five checks in order. Write your answers in one document. Send that document to your supplier before payment. Ask for a written reply that separates confirmed items, missing information, and professional assessment.
Check one confirms your exact model, year, and market. Check two covers support and bracket condition. Check three lists every aftermarket part with evidence. Check four inventories trim, collars, grommets, and hardware. Check five captures your supplier's written response. Keep the dossier for your records. Reuse it for future orders on the same bike.
Check One: Model, Year, And Market
Start with the exact model, model year, market and relevant variant. Use reliable motorcycle records and the manufacturer's identification information. If registration year, model year or a conversion is unclear, ask a dealer or qualified parts specialist to check it before ordering.
Adjacent years may share bodywork, or may differ. Confirm the actual application rather than assuming either. Record any front-end, lighting or tail conversion separately: the original vehicle identity alone does not describe parts changed later.
Verify Any Uncertain Identity Details
Call or visit a dealer with your VIN ready. Ask the parts counter to confirm the model year, market designation, and submodel. Write down the exact words they give you. Ask them to note any mid-year production changes for your VIN range.
Treat forum and listing information as leads to verify against reliable application records. Ask for the relevant reference and record unresolved details; do not assume a lookup is always immediate or definitive.
What To Write In The Dossier
Add a dedicated line to your motorcycle fairing fitment checklist document. Copy this template and fill in your details:
Model year: [year] | Model/variant: [exact designation] | Market: [market] | Verification source: [record or dealer/date] | Conversions: [details/none known/unknown]. Share a VIN privately only if the supplier or dealer needs it; do not put it in public photos.
Keep this line at the top of your dossier. Your supplier will use it to match your order to the correct production specification. If you cannot confirm one field, write "unknown" and ask your supplier what they need. Unknown is not confirmed. A missing market code or submodel detail can change which panels fit your bike.
Check Two: Support Condition Assessment
A kit normally attaches to the motorcycle's specified supports. Damage, previous repairs or nonstandard brackets may need assessment before ordering. Record what is known and what remains uncertain.
What The Technician Must Inspect
Ask a qualified technician to inspect the fairing supports, brackets, and mounting points. This step matters most when your bike has visible damage or a repair history. A technician checks if each bracket sits at the correct angle. They also check if mounting points hold their shape. Do not straighten a bracket yourself. DIY bending changes the geometry your new panels depend on.
Photos can show visible damage but cannot rule out alignment or chassis problems. An unresolved mismatch may involve the panel, application, hardware, assembly or supports. Do not assign fault to the rider or part before assessment.
Clearances must follow the exact manufacturer instructions for your parts. Those instructions define the correct gap and position. No universal number applies across models.
What The Report Must State
The report should state each support's condition in plain terms. Ask the technician to note any bracket that is bent, cracked, or missing. The report should also confirm if the mounting points accept hardware at the correct depth.
For example, an owner might report a previous driveway fall and a technician's finding of a displaced bracket. Record the finding and the required repair or replacement assessment before installation; do not ask the supplier to shape a new panel around unresolved damage.
Add this line to your motorcycle fairing fitment checklist document:
Support assessment: [technician name and date] | Brackets checked: [list] | Findings: [condition of each] | Recommended action: [repair or replace before install]
Write "unknown" for any support the technician cannot reach without invasive work. Unknown is not confirmed. Your supplier can then tell you what they need before production starts.
Check Three: Aftermarket Part References
Aftermarket parts change the space around your fairings. This check requires you to document every modification with exact references as part of your motorcycle fairing fitment checklist. Your supplier needs part numbers, brand names, and mounting notes before they can quote your order accurately. No clearance may be assumed from a general description. If you do not know a detail, write "unknown." Unknown is not confirmed.

Identify the exact exhaust and nearby bodywork for assessment. This concept image does not demonstrate safe clearance.
Exhaust, Sliders, And Controls
Record the exhaust brand, product reference, routing and any mounting changes. For sliders, identify whether the design uses panel openings or additional brackets. For clip-ons and rearsets, record the exact kit and adjustable position. These details identify questions about steering, control movement and nearby panels; they do not establish clearance on their own.
Do not assume extra heat shielding compensates for inadequate clearance. Do not cut or heat the bodywork as an improvised answer. If the accessory instructions specify a modification, have its compatibility and safe execution assessed for the exact motorcycle and panel before agreeing to it.
Lights, Tail, And Mounting Evidence
Tail modifications change the rear fairing fit. A tail tidy removes the original license plate bracket and can alter the mounting points for the lower tail section. You need the brand and model of the tail tidy. Integrated tail lights also affect the rear panel shape and fit. Document the exact light model and mounting method. Aftermarket headlights and turn signals can shift the front fairing alignment. Include part numbers and installation notes for each light.
Every modification creates a variable your supplier must account for. Part numbers and brand names give a clear reference. If you installed a part without a brand name, write the details you have and state that you cannot confirm the brand. Your supplier can then advise on any additional information they need.
Check Four: Hardware And Trim Inventory
Your old fairings hold small parts that new kits may not include. Trim pieces, collars, grommets, and bolts all play a role in how panels sit and seal. This check asks you to inventory every reusable piece before you place an order. Kit contents vary by model and production run. Some kits ship with a full hardware set. Others expect you to reuse original parts. You will not know which applies to your order until your supplier confirms it in writing.
What To Keep From The Old Fairings
Use the appropriate removal procedure or ask an installer to inventory the existing parts. Preserve and label required hardware. Reuse only the specified serviceable parts; replace damaged or unsuitable components with the correct specification.
Sort the parts into groups. Label each group with the panel it came from. Take clear photos of the hardware laid out on a flat surface. Note any part that is cracked, stripped, or missing. Add this inventory to your motorcycle fairing fitment checklist document. Your supplier can then tell you which pieces the kit includes and which you must supply.
How To List Unknowns
Some parts may be missing or too damaged to identify. Write "unknown" for each one. Do not guess a size or thread pitch. Unknown is not confirmed. Your supplier needs to know what you cannot verify so they can advise you.
Add this line to your dossier:
Hardware inventory: [list each part] | Condition: [good/replace/missing] | Unknowns: [list any unverified parts]
If a mounting question remains unresolved, document it and pause. Neither a defect nor an acceptable tolerance can be diagnosed from the fact of misalignment alone. Report the concern promptly before modifying the parts.
Check Five: Written Supplier Response
You send your dossier. Now you need a written reply that fits your exact order. A general answer like "it should fit" does not help you. Ask your supplier to split their response into three parts: confirmed items, missing information, and professional assessment.
Confirmed items are details your supplier has checked against your order. Missing information is anything you left as unknown or that your supplier still needs. Professional assessment covers what a technician should check before or during installation. This structure gives you a clear record. You can act on confirmed items and fix missing ones before production starts.
Finished photos are provided whenever possible. These photos show a completed kit and help you see the general look. They are not exact-color proof or fit proof. Your monitor, lighting, and production run can all change the final result. Treat finished photos as a reference, not a promise.
If the package arrives damaged, the FAQ asks you to contact NiceFairings within 7 days of delivery with the order number and photos of the box, label, damaged items and all received parts. Keep affected items and packaging unaltered for review. This shipping-damage instruction is separate from the pre-order compatibility checks.

Collect accessory references and labeled views in one dossier. Illustrated records contain no actual order or vehicle data.
Confirmed, Missing, And Assessment
Add this template to your motorcycle fairing fitment checklist document. Copy it and send it with your dossier:
Order reference: [your order number or quote ID] Confirmed by supplier: [list each confirmed item] Missing information: [list each unknown or unresolved detail] Professional assessment: [supplier notes on installation or inspection]
For example, a supplier response might confirm the listed kit application and contents while leaving an exhaust-clearance question for an installer. Supplying a missing accessory brand does not by itself resolve that question. Agree which items must be resolved before production and which installation checks remain, before committing to the order.
Storing And Reusing The Dossier
Keep your dossier and the supplier response in one folder. Save a digital copy and a printed copy. This record helps you if you order again for the same bike. It also gives you a reference during installation. Update the dossier when you add new parts. A current dossier makes every future order faster and more accurate.
Send the dossier through NiceFairings fitment support with one clear request: identify confirmed application details, missing information and the checks that need a qualified installer. Keep that response with the quote.
Keep unknown items clearly marked. Follow the applicable manufacturer information and resolve unexplained fitment concerns through assessment, rather than assuming they are normal tolerances.
Build the dossier before you ask for a quote, not after a fitment failure.