
A radiator guard may sit behind painted bodywork, inner ducts and hoses that were designed around the original cooling package. The guard can be correct for the motorcycle and still be installed incorrectly; the fairings can also be correct and still be reassembled in the wrong overlap or hardware stack. When a panel refuses to settle after a guard is added, tightening harder does not identify which interface is wrong.
Treat the job as a system audit. Identify the exact motorcycle and guard, photograph the original arrangement, preserve the model-specific removal order, account for ducts and grommets, confirm required non-contact relationships and close the panels without using fasteners as pullers. This article does not provide universal torque, temperature or gap values. Those belong to the current motorcycle and accessory instructions.
Key takeaways
- Verify the exact guard, motorcycle, model year and market before bodywork comes off.
- Photograph air ducts, hoses, wiring, grommets, spacers and fastener stacks in their original positions.
- A mesh guard, radiator, oil cooler, inner duct and painted outer fairing are different parts with different jobs.
- Do not bend a guard against a heat exchanger, flatten fins or force a panel to hide interference.
- Recheck controls, hoses, fan area, ducts and bodywork before starting the motorcycle.
- After any permitted operating check, let the motorcycle become fully safe and cool before inspecting new marks.
Verify the exact product scope
Record the motorcycle's full model designation, model year, market and major modifications. Save the radiator-guard product code and its stated application, then download the current fitting instructions. A product page that lists several motorcycles does not prove that each uses the same brackets, sequence or hardware.
Read the supplied-parts list before assuming original hardware will be reused. Separate the guard, brackets, pads, clips, cable ties, spacers and fasteners. If a piece is missing or unidentified, pause rather than substituting a bolt because its thread happens to engage. Use the fairing-fastener guide to record the motorcycle-side stacks without inventing a universal replacement kit.
One BMW accessory procedure illustrates why this matters: it removes left/right engine spoilers and radiator ducts, releases vent hoses, and requires a gap between grille and oil cooler. It proves those interfaces can matter, not that every motorcycle uses the same procedure.
Freeze the original configuration
Before removing bodywork, photograph the front and both front quarters, then each inner side as it becomes accessible. Record hoses or wires through ducts, tabs entering rubber receivers, and fasteners using collars or spacers.
Do not clean away polished contact marks, paint dust or displaced foam before they are documented. These marks can show that a problem existed before the guard was installed. If the bike has previous crash repair, non-stock bodywork or an unknown service history, state that openly.
The fairing-removal photo workflow provides a labeling method. It is more reliable than arranging all screws in one tray and trying to remember which length belonged near the radiator.
Separate the cooling and bodywork layers
The stack may contain a radiator, oil cooler, fan/shroud, hoses, wiring, guard, air guides, inner trim and outer panels. A “radiator guard” does not automatically replace an original duct or screen, while an outer fairing kit may omit inner pieces.
The vent-mesh and inner-duct guide explains why a decorative screen and a shaped duct should not be treated as interchangeable. The fairing-opening checklist also helps identify openings that serve lighting, airflow or retained hardware rather than styling alone.
Name every layer in the photographs. If you cannot identify a component, do not remove it simply to create space.
Inventory removed pieces before installation
Place removed panels and ducts on a clean padded surface with their inner faces visible. Bag and label fasteners by location. Record rubber grommets, collars, edge trim, clips and any foam or isolating material without claiming that each is reusable. Check the applicable instructions for replacement criteria.

Editorial concept: a parts inventory before installation. The pictured pieces are generic and do not represent the contents or mounting design of a specific guard, motorcycle or NiceFairings kit.
Build three columns: removed from motorcycle, supplied with guard, and unresolved. Do not combine the groups until the instructions identify what transfers. A spacer placed on the wrong side of a bracket can change both guard clearance and panel alignment.
Follow the documented removal order
Fairing parts overlap. Removing the obvious outer panel first may load a hidden tab or leave a duct hanging from a hose. Follow the service and guard instructions; get qualified help when needed.
Support painted panels as their last fastener is released. Do not let a side panel hang from an indicator wire, duct or remaining tab. Keep tools away from radiator fins and sealed cooling components. A fin is not a handle, and the radiator should not support the weight of a panel or guard during trial positioning.
If the instructions require loosening another assembly, do not replace that step with force. Conversely, do not dismantle cooling, brake or electrical systems just because additional access would be convenient.
Present the guard without forcing it
With the motorcycle stable, switched off and fully cool, bring the guard into the documented position. It should meet the intended mounts without being bent against the radiator, oil cooler, hose or fan area. Start only the specified fasteners and retainers; do not fully tighten one corner to drag the others into alignment.
Check the guard's orientation. A part that looks symmetric may have different upper and lower brackets or a relief for a hose, sensor or cowl. Compare the product code and instruction illustrations rather than copying a photograph from another motorcycle.
If a hole does not align, stop. Possible causes include the wrong application, reversed bracket, missing spacer, displaced cooler, earlier damage or an incorrect hardware stack. Enlarging the hole or bending a bracket removes evidence without proving the assembly is safe.
Confirm every required non-contact relationship
The correct relationship is not always “as close as possible.” One BMW instruction requires a grille-to-oil-cooler gap; other products may use pads or defined mounts. Follow the exact documentation.
Inspect the guard relative to fins, cooler, fan/shroud, hoses, wiring, fastener ends and the inner duct. Look from more than one angle and use an appropriate safe method if the maker specifies a measurement. Do not insert fingers between parts, use the engine to “see what moves,” or convert a photograph into a universal millimetre rule.
Document any existing fin damage before the guard is placed. A new guard should not later be blamed for a mark that was already present, and a bent heat exchanger should not be hidden behind new mesh without assessment.
Preserve ducts and airflow paths
A guard changes what sits in front of a heat exchanger, but an article cannot establish cooling performance for an unnamed mesh, motorcycle and operating condition. Product makers may state that a specific design maintains airflow; treat that as a claim for that product under its stated scope, not proof for a homemade screen or different model.
Reinstall every original air guide, seal and opening required by the instructions. Do not trim a duct to clear a guard unless the documented procedure explicitly calls for that modification. Do not add extra mesh behind or in front of the guard because two layers “look safer.” Stacked screens can change fit, trap debris and complicate cleaning.
The radiator and duct opening check should be repeated after the outer panels are offered up. A clean external seam does not prove that the hidden duct remained seated.
Float the fairings into their natural position
Reinstall the relevant panel group in the correct overlap order with fasteners started but not used to pull gaps closed. Let grommets, tabs and edges find their documented positions. Observe which point becomes constrained first.
If a seam changes only after the guard or duct is installed, compare the before photographs and hardware stacks. A guard bracket may sit on the wrong side of an original mount; a duct may have missed a receiver; a hose may be trapped behind an edge. The first-conflict panel-gap guide explains why the earliest constrained point matters more than the largest visible gap.
Do not add washers, cut tabs or tighten harder to make the exterior look correct. The panel is not a clamp for the cooling system.
Inspect the static motorcycle before startup
Before considering an operating check, account for every tool and removed part. Confirm that the front wheel and steering can move as specified, controls are unobstructed, hoses and wiring are not pinched, the fan area is clear, ducts and bodywork are secure, and no fastener projects toward a heat exchanger.
Create a cold-condition photograph from the front and both sides, plus close views of the guard edges and nearby panel interiors. If any safety-critical relationship is uncertain, do not start or ride the motorcycle. Have a qualified technician inspect it.
Do not idle a motorcycle in an enclosed workshop to test airflow. Do not touch the radiator, cooler, exhaust or guard to estimate temperature.
Use a cautious post-installation record
Any permitted operating check follows the motorcycle and guard instructions only after static inspection. One ride does not validate long-term cooling or security.
After the motorcycle is parked safely, switched off and fully cooled, recheck the same photographed locations. Look for a shifted edge, polished witness mark, paint dust, a displaced grommet, new buzz, hose rub, debris trapped between layers or a changed seam. Stop use and obtain appropriate assessment for leakage, overheating indications, fan interference, severe vibration or uncertain attachment.
Keep the installation date, product code, photographs and any technician record. This turns a later sound or mark into a comparison rather than a memory test.
Clean the guard without damaging the cooling package
Debris can collect at the guard and between bodywork layers. Follow the motorcycle and guard cleaning instructions. Do not drive a high-pressure jet through fairing openings or toward radiator fins, seals, bearings or electrical components. The pressure-wash guide for fully faired sportbikes explains why the owner's manual should control the method.
Never push a tool through the mesh to straighten or scrape fins while the guard is installed. If removal is required for inspection, repeat the labeled process rather than flexing the guard aside. Photograph unusual debris, corrosion or impact before cleaning so the source can be considered.
Diagnose marks, buzzes and heat separately
A new buzz may come from guard contact, a displaced duct, a loose fastener or a panel overlap. A polished mark suggests physical contact; broad discoloration or softened plastic calls for a separate heat investigation. Neither symptom should be fixed by simply tightening all visible screws.
Use the fairing heat-damage audit for heat evidence and the fairing-rattle inspection for noise. Remove the guard only as its instructions allow, then compare witness marks and before photographs.
Keep guard scope separate from replacement bodywork
If painted panels are damaged or being redesigned, record which inner ducts, original brackets and guard components remain. A replacement fairing set does not automatically include a radiator guard, factory air guides, cooler mounts, hoses, fasteners or the accessory's special hardware.
Use the fairing-kit contents checklist to build a written panel list. Browse NiceFairings collections only after the motorcycle identity and replacement scope are clear. The custom fairings page can start a color discussion, but custom paint does not resolve hidden guard interference.
When contacting NiceFairings, send full-bike views, damaged-panel details, the installed guard product, inner-duct photographs and any modifications. Ask about painted bodywork; use the guard maker or qualified technician for the guard's fit and cooling-system relationship.
FAQ
Can I install a universal radiator guard behind any fairing?
Do not assume so. Verify the exact motorcycle application, mounting points, supplied hardware, clearances and instructions. A similar outline is not fitment evidence.
Should the guard touch the radiator or oil cooler?
Follow the specific instructions. At least one BMW accessory procedure explicitly requires a gap from the oil cooler, illustrating why contact must not be guessed.
Can I trim an inner duct to make room?
Not unless the documented procedure for the exact application requires it. A duct may manage airflow, locate a panel or retain another component.
Is a clean exterior panel gap enough proof?
No. The hidden guard, duct, hose, grommet and fastener relationships must also be correct.
Does a radiator guard guarantee protection without affecting cooling?
No universal guarantee can be made. Use the product maker's exact claims and instructions, preserve the intended airflow path and monitor the installed system as specified.
Final installation record
Close the job with eight lines: motorcycle identity, guard product code, supplied hardware, retained ducts, confirmed non-contact points, unresolved questions, static inspection result and post-installation recheck. Attach before, during and after photographs.
The best-looking seam is not the goal by itself. The goal is a documented cooling package and bodywork assembly in which the guard, ducts, hoses, hardware and painted panels can each do their intended job without being forced into the space of another part.
Reference and image notes
- BMW Motorrad radiator protection grille installation instructions: one model-specific example showing bodywork/duct removal and a required grille-to-oil-cooler gap. It is not a universal procedure.
- R&G Racing radiator guard catalogue example: illustrates that guards are sold for named applications with separate fitting instructions. Product performance statements remain the manufacturer's claims.
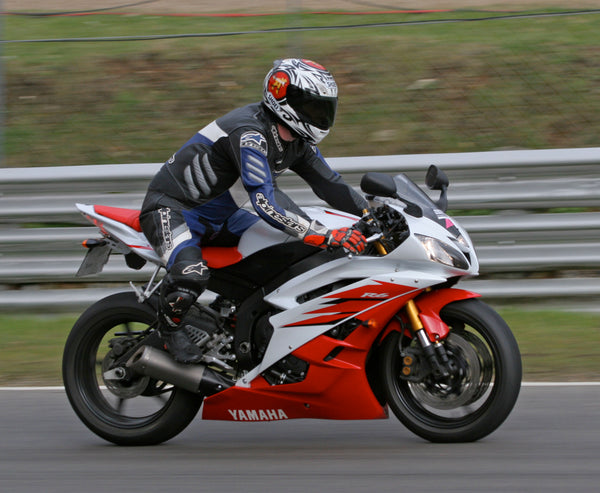
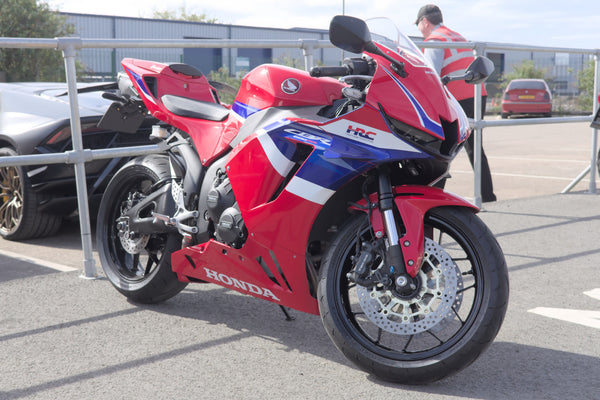
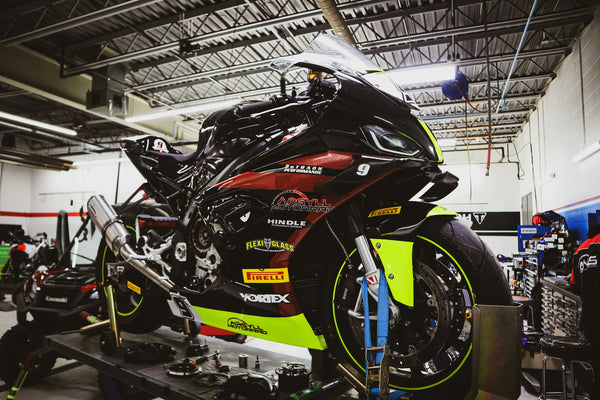
- Featured and in-article images are AI-generated editorial concepts. They are not NiceFairings products, customer motorcycles, installation tests or model-specific parts diagrams.