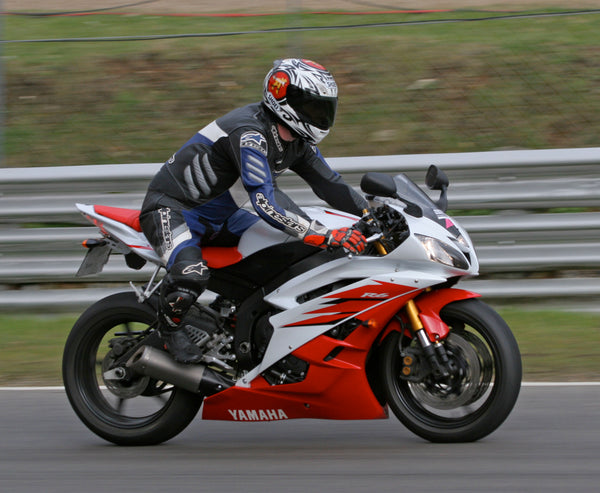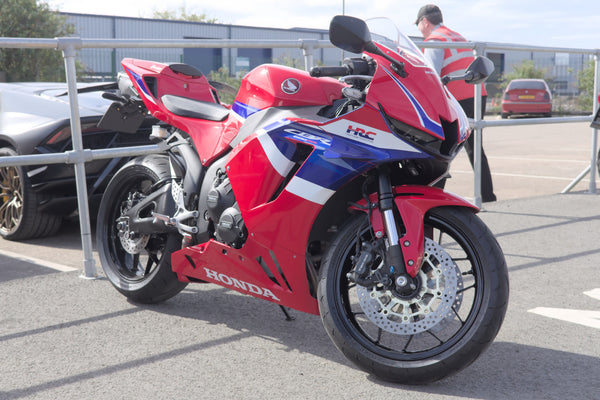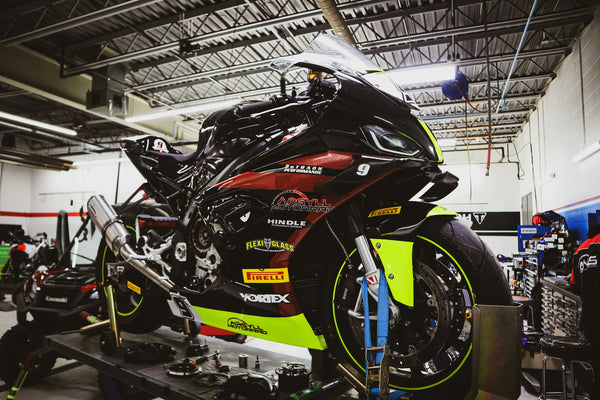

An action camera can record a memorable ride, but the camera is only one part of the installation. The base, adhesive or clamp, extension, fasteners, cable, safety method and surface beneath it form one system. On a fully faired sportbike, a convenient-looking patch of painted plastic may flex, curve in two directions, sit in hot airflow, hide a service fastener or move relative to the chassis. A clean-looking setup can still damage paint, obstruct a control or disappear with the panel when bodywork is removed.
The right first step is not to peel the adhesive liner. Identify the exact equipment, map moving and service areas, choose an approved surface or point, test the view while stationary and plan inspection and removal. There is no universal position; motorcycles and mount instructions vary.
Key takeaways
- Treat the camera, base, joint, fastener, cable and supporting surface as one installation.
- Do not assume painted fairing plastic is an approved adhesive substrate or structural mounting point.
- Keep the mount, camera and cable clear of steering, controls, suspension, cooling paths, lights and the rider.
- Separate an attractive viewpoint from a mechanically suitable location.
- Follow the current camera, mount and motorcycle instructions; do not improvise with unrelated tape or hardware.
- Photograph the surface before installation and after removal so paint or panel changes are not overlooked.
Start with an inventory, not a location
Lay out the camera, housing, base, adapter, clamp, extension, screws, tools and any specified retention part. Record model numbers. Visually compatible accessories are not necessarily approved to work together.
Check the camera and mount documentation for surface shape, preparation, installation conditions, curing time, load restrictions, compatible tubes or bars, extension limits and removal procedure. GoPro's current Universal Adhesive Mount page, for example, calls for a clean, smooth, non-porous and non-textured surface and at least 24 hours at room temperature before use. Insta360's Motorcycle Bundle instructions similarly require a clean, dry, smooth surface and a waiting period for its flexible adhesive mount, while giving a defined diameter range and separate instructions for its clamp. Those are product-specific statements, not permission to stick either product to any painted fairing.
Do not substitute an anonymous adhesive pad merely because it has the same outline. Do not lengthen an arm beyond the maker's limit or combine a heavy camera, protective cage and long extension without explicit support. Additional height and mass change the leverage and vibration at the base.

Editorial concept: inventory the complete camera system before choosing a location. This is not a NiceFairings product photograph, customer installation or mounting recommendation.
Freeze the motorcycle configuration
Photograph the whole motorcycle from both sides, straight ahead and from the cockpit. Include the steering at full left and right lock while the motorcycle is safely supported and switched off. Record the windscreen, mirrors, brake and clutch controls, cables and hoses, steering damper, phone or navigation mount, tank bag, frame sliders and any non-stock bodywork.
Identify panels that must come off for routine work. A base across a fastener, seam or overlap can turn simple service into adhesive removal, while a cable behind a removable panel may be pinched during refitting. Use the photo-and-label workflow for fairing removal to preserve the original assembly.
Resolve uneven gaps, loose tabs or repaired brackets first. The panel-gap guide explains why fasteners should not pull a panel into position. A camera base must not hide the conflict.
Map five exclusion zones
Use removable paper notes in the garage—not adhesive mount pads—to mark areas that require extra scrutiny.
Steering and control movement
Move the bars slowly through their full range with the engine off. Nothing may contact the tank, screen, fairing, cable, hose, lever, switchgear or rider's hands. Check the camera body as well as its base; a rotating joint can move after adjustment. A clear view with the bars straight does not prove clearance at full lock.
Suspension and wheel travel
The wheel, fender, suspension and flexible bodywork move. A stationary photograph cannot prove dynamic clearance; obtain model-appropriate guidance near those systems.
Airflow, lighting and instruments
Keep the installation clear of radiator and duct openings, headlights, indicators, mirrors and the instrument view. Blocking a small vent or placing hardware where it can reflect headlight glare may create a problem unrelated to the footage. The fairing-opening checklist helps separate visible styling openings from parts that serve a real function.
Heat and exhaust
A lower viewpoint can put a camera, battery or cable near the engine, radiator outlet or exhaust. Do not use the camera's apparent operating temperature as a fairing-clearance specification. The fairing heat-damage guide shows why heat transfer, shielding and airflow must be assessed as a system.
Rider and road contact
The camera must not create a rider contact point, obstruct mounting or project into road contact. Local road or track rules may restrict cameras, mounts or tethers; social media is not compliance evidence.
Decide whether the proposed surface is paint, structure or trim
A painted outer panel is primarily bodywork. It can flex, and the paint or clear finish—not the underlying plastic—may become the bonded surface. A mount described for “vehicles” is not automatically certified for every paint, graphic, wrap or replacement panel.
A windshield is another material and shape; drilling, clamping or bonding can introduce stress, obscure vision or affect removal. Mirrors and indicator stalks are not generic brackets. For a handlebar, tube or structural point, verify diameter, profile, tightening method and control clearance. Let a qualified technician assess anything that could affect a safety-critical system.
3M's VHB technical material explains that bonding depends on the substrate and that paints and plastics can require compatibility evaluation. It also discusses abrasion and primers for certain industrial applications. That is not a direction to sand, prime or solvent-treat motorcycle paint. Altering a finished fairing to improve tape adhesion can permanently damage the finish. Use only the camera-mount manufacturer's procedure and confirm that it is compatible with the actual surface.
Compare four mounting strategies honestly
| Strategy | Question it can answer | Evidence still needed | Typical reason to reject it |
|---|---|---|---|
| Adhesive base | Does the maker approve this exact smooth surface and installation method? | Surface/finish compatibility, full contact, cure conditions and removal plan | Compound curve, textured graphic, unknown repaint or service obstruction |
| Model-appropriate clamp | Is the clamped part within the maker's stated size and shape range? | Control clearance, tightening method and inspection interval | Tapered/painted part, moving control, crush risk or slipping position |
| Existing equipment mount | Is there a purpose-made interface for this motorcycle or accessory? | Exact compatibility, supplied hardware and load limit | Shared fastener has another critical function or instructions do not support the stack |
| Rider-worn or alternative view | Can the desired footage be obtained without adding hardware to bodywork? | Equipment rules, rider comfort and manufacturer guidance | Obstructed movement, unsafe helmet modification or event restriction |
None of these is automatically best. The purpose of the table is to expose what remains unknown. A removable solution can still scratch paint; a permanent-looking solution can still loosen; a model-specific product can still be installed incorrectly.
Protect paint without inventing a new mounting system
Do not place household tape, rubber scraps or unverified film under a clamp. Extra material can change friction, move, trap grit or react with paint. Any permitted protective layer must follow the relevant instructions.
Before any approved adhesive installation, record the panel under neutral light. Note whether it is original, repainted, wrapped, ceramic-coated, waxed or unknown. A contaminant can weaken adhesion; aggressive preparation can harm the finish. If the surface history is unknown, do not turn the first application into a test on a prominent panel.
The same discipline applies during removal. Heat and adhesive-removal methods recommended for one mount may be unsuitable for a particular paint, decal or plastic. Do not pry with metal tools or twist a panel against its tabs. If a finish starts to lift or soften, stop and seek appropriate help. Our finish-evidence guide explains why a photograph before and after matters more than a claim that the surface “should be fine.”
Cable and charging plans need their own drawing
A charging cable can cross the cockpit, steering head or panel seam. Draw its route and mark every moving joint, hot area, sharp edge, exposed connector and service panel.
Do not trap a cable under a windscreen or fairing fastener. Do not let a loop reach a wheel, chain, control or rider. Never route wiring by trial while the motorcycle is moving. If the system connects to motorcycle power or passes behind bodywork, use a qualified installation and the correct electrical information. The tracker-behind-fairings guide uses the same principles: preserve service access, secure routing appropriately and test before panels are closed.
Test the picture before committing the mount
With the motorcycle stationary, stable and switched off, use a harmless mock position that does not rely on the final adhesive. Hold the camera only where it is safe to do so, or use the maker's permitted temporary method. Confirm the horizon, fairing coverage, windscreen distortion and whether the camera blocks anything important from the rider's view.
Then ask whether the picture is worth the compromise. A low angle may show vibrating plastic; a high extension can increase leverage; a position behind a screen may add reflections or enter the rider's sight line. Change the creative plan before changing the motorcycle.
Avoid testing by idling the bike in an enclosed garage or touching a mount while the engine, wheel or fan is running. A road test is not the first check. Complete the installation according to the manufacturer, allow the specified time and have the safety-critical clearances assessed before riding.
Build a pre-ride and post-ride record
Use the same short checklist every time:
- Confirm the base has no lifting edge, crack, movement or contamination.
- Confirm every joint and specified fastener is secure by the maker's method.
- Check full steering movement and control access with the motorcycle off.
- Confirm the camera, cable and any approved retention method are clear of moving, hot and sharp areas.
- Check lens, battery door and recording state without changing the riding position.
- After the motorcycle is parked and fully safe, inspect for movement, new paint marks or cable rub.
Do not create a universal tightening schedule or “high-speed proof” from one ride. Conditions change. Replace worn or single-use components as required; a moving base is not cured with random stronger glue.
Keep the camera out of the replacement-fairing decision
If the motorcycle later needs new bodywork, tell the supplier where camera hardware was installed and whether adhesive, drilling or abrasion affected the old panel. Do not assume holes or bonded bases belong on a replacement. Use the fairing kit contents checklist to separate painted panels from retained camera equipment, brackets, wiring and hardware.
Browse NiceFairings motorcycle collections only after the model, year and replacement scope are clear. For a new color scheme, the custom fairings page can start the design conversation, but a custom finish does not certify a camera mounting surface. Send the NiceFairings contact team full-bike views, the exact damaged panel and modification record when asking about replacement bodywork.
FAQ
Can I stick an action-camera base directly to a painted fairing?
Only if the mount maker approves the actual surface and installation, and the motorcycle-side checks show that the position does not create another problem. “Automotive adhesive” or “vehicle mount” is not universal paint approval.
Is a clamp always safer for paint?
No. A clamp can slip, crush, mark or interfere with a control if the part, diameter, tightening method or position is wrong. Use a compatible mount exactly as specified.
Should I use a tether?
Follow the camera/mount instructions and the rules for the riding location. A retention line can itself become a hazard if it reaches steering, wheels, controls or the rider. Note that some manufacturers give different tether guidance for different applications, so do not copy a helmet setup to the motorcycle.
Can I drill an aftermarket fairing for a permanent camera mount?
Drilling changes the panel and may introduce cracks, stress or service complications. It also does not prove that the panel is a suitable structure. Obtain model- and mount-specific guidance before any irreversible change.
What should I photograph before removal?
Capture the complete installed system, base edges, cable route, nearby fasteners and the surrounding finish. After removal, photograph the same clean area under the same light before polishing or repair.
Final decision card
Record: approved equipment, supporting surface or point, excluded zones, cable/retention plan, installation conditions, stationary clearance, inspection plan and removal method. Leave unknowns open.
The goal is footage without sacrificing bodywork, controls or maintainability. Choose the location only after the system is understood—and be willing to choose a different view when the motorcycle does not offer a responsible place for the first idea.
Reference and image notes
- GoPro Universal Adhesive Mount: current product-specific surface and waiting guidance. Verify the instructions for the exact mount purchased.
- Insta360 Motorcycle Bundle manual: product-specific adhesive and clamp cautions. It is not a universal motorcycle mounting specification.
- 3M VHB surface-preparation guidance: explains why substrate compatibility matters; it is not permission to abrade, prime or solvent-treat painted fairings.
- Featured and in-article images are AI-generated editorial concepts. They are not NiceFairings product images, customer installations, performance tests or model-specific mounting instructions.