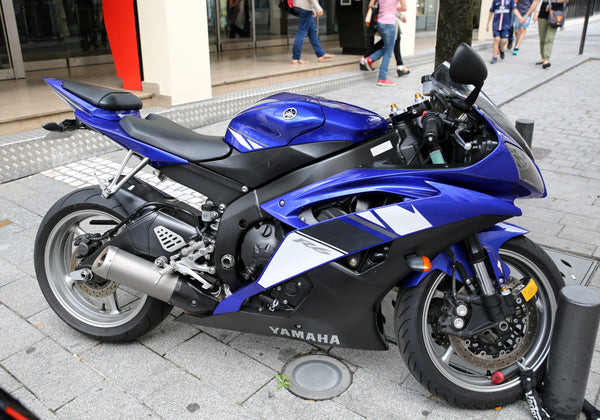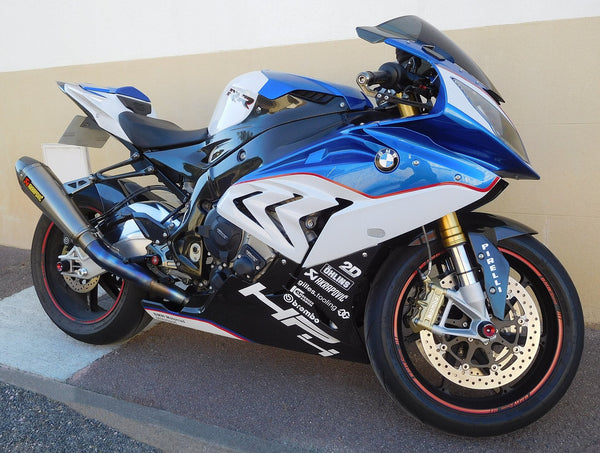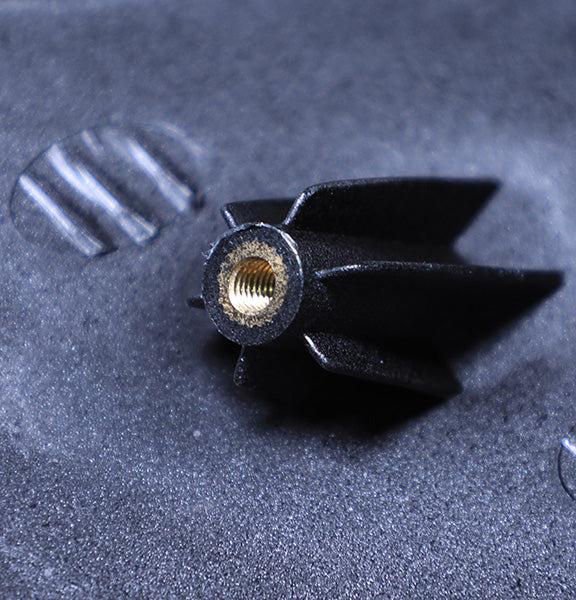
The cover is a NiceFairings production-detail photograph of a mounting insert. It does not establish compatibility or demonstrate a fitment test. The two body illustrations are AI-generated explanatory images, not actual customer cases.
You open your fairing kit and a mounting hole will not line up. Pause before pulling the panel into place. A mismatch can involve the supplied part, application, mounting hardware, installation state or the motorcycle beneath it; appearance alone does not establish the cause.
This guide helps you record the symptom, check the application and hardware without altering them, and send useful evidence to support. It is not a model-specific installation procedure or permission to modify painted parts.
Check Parts and Hardware First
Symptom and Non-Destructive Check
One panel may sit comfortably while the next pulls a mounting hole out of line. Record which point changes and at what stage. Do not assume the cause is simple, or that the owner or supplier is automatically responsible.
Before you touch a tool, lay every piece out and compare the kit to your original panels. Check the mounting tabs, the bolt holes, and the overall shape. Do not force anything into place. A non-destructive check means you look, measure, and compare without drilling, bending, or heating any part. If a hole looks oval instead of round, or a tab sits at the wrong angle, note it. These observations matter later if you need support.
Confirm your exact model and year application first. Aftermarket kits vary, and contents differ between orders. A kit built for a different model year may look close but sit wrong. Professional installation is recommended for a reason. Minor alignment may be needed during assembly, but that is not the same as arbitrary modification or normalizing defective goods.

Illustrative hardware inventory: confirm the required specification and condition for each mounting point.
Check Hardware Specification and Condition
Incorrect, missing or incorrectly positioned hardware can affect panel spacing. Check the specified bolts, collars and grommets against the exact application instructions and confirmed kit contents. A piece absent from a kit may be a required retained part rather than a packing error; ask before assuming either.
Look for cracks, warping, or thin spots around mounting points. Good lighting may reveal visible damage, but a photograph cannot rule out a defect or establish correct geometry. Compare the kit hardware to your original bolts side by side. If the threads do not match or the shoulder length differs, stop. Do not substitute hardware from a bin. The wrong bolt can strip a thread or crack a tab.
For the supplier's current fitment and support guidance, consult the NiceFairings FAQ. Its mention of careful alignment does not establish a universal allowable hole offset.
Complete a Supported Trial Fit
A supported trial fit means you assemble the kit loosely before final tightening. This step reveals where the fairing hole alignment actually stands. You do not force anything. You let the panels rest where they naturally sit and observe the gaps.
Dry Fit to Check Fairing Hole Alignment
Follow the exact motorcycle and kit instructions for a supported trial fit. Use the specified hardware; reuse original collars or grommets only where instructed and in serviceable condition. Keep panels supported rather than hanging from one tab. Do not use a bolt to pull a reluctant panel toward a mounting point.
Observe the affected point with neighboring panels in the prescribed assembly state. Photograph which fasteners are only started and which are tightened. Record an offset only if it can be measured without loading the panel, and show the reference points. A number describes the observation; it does not prove acceptable tolerance.
Our pre-fit preparation checklist covers general preparation. Use the exact service and kit instructions for panel order, hardware and tightening requirements.
Inspect Supports Without Altering Them
Photograph the visible stay, brackets and adjacent mounting points. Look for an obviously missing part, damage or a previous repair, without bending, loosening structural attachments or repositioning supports as an experiment.
If support alignment is uncertain, ask a qualified technician to assess it against the exact service information. Not every bracket is adjustable, and equal-looking distances in a photograph do not establish correct geometry.
Keep the distinction clear: documenting the support condition helps diagnosis; changing it before review may hide the original symptom and introduce another problem.
Record the Assembly State and Know When to Stop
Follow the Prescribed Assembly State
Check whether neighboring panels and locating features are in the state required by the application instructions. A technician may need to revisit the specified assembly sequence. There is no universal biggest-panel-first or center-outward method for all sportbikes.
Do not drill, ream, trim, heat or force a panel to resolve an unexplained offset. Ask support to review the evidence and obtain application-specific technical assessment before any irreversible work. Supplier correspondence alone does not establish mechanical safety.
Stop/Escalate Decision Table — When to Contact Support
Use this table to decide your next step. It helps you know when to keep working and when to ask for help.
| Observation | Next step |
|---|---|
| Part identity or required hardware uncertain | Pause and confirm the application and specified parts. |
| Panel sits without force but a hole remains offset | Record the assembly state; request guidance before final tightening. |
| Crack, distortion, damaged support or contact with another component | Stop; send evidence and arrange technical assessment. |
| Panel fits following the exact instructions, with all checks satisfied | Complete prescribed fastening and final inspection before use. |
For shipping damage, consult the current FAQ for reporting requirements and deadlines. Record your order number and take photos of the box, label, damaged items and all received parts. Keep the packaging and do not install or modify affected items before review. Report fitment concerns promptly through fitment support; do not treat the shipping-damage window as a diagnosis or a universal warranty deadline.
Tighten and Verify Fit
Tighten After Prescribed Alignment
You have lined up every panel and checked the gaps. Now you tighten the hardware. Follow your service instructions for the right torque values and order. Do not guess. Tightening too much cracks tabs and strips threads. Tightening too little leaves panels loose.
Use only the specified fastening sequence and torque information. If the panel changes position, develops stress or contacts another component during tightening, stop and have the assembly reviewed. Final inspection includes the relevant moving-part, control and heat clearances for that motorcycle.
Never ride with loose bodywork. Loose panels vibrate, crack, and can fall off at speed. A panel that flies off on the highway puts you and other drivers in danger. Take the time to tighten everything properly before you ride.
If you plan to replace fairings on a used motorcycle, see our replacement fairings planning guide. That article covers what to check before you buy and how to prepare your bike.

Record an overall view and a close view of the affected area. This illustration is not a real support case.
Copyable Support Message for Technician
If your fairing hole alignment issue stays after a supported trial fit, contact support. Use this message template. Fill in your specific details.
Order/kit reference: [ID]. Motorcycle: [exact model, year, market]. Affected panel and mounting point: [description]. Observed symptom: [gap/contact/offset]. Assembly state and hardware checked: [details]. Modifications or prior damage: [known details/unknown]. No irreversible changes have been made. Attached are an overall view and close views of the mounting point and supports. Please confirm the application and advise the next assessment step.
Attach a wide view showing the panel location and a close view of the same point, labeled consistently. Include the part label where present. Send these privately to support; avoid publishing your order details or personal information.
A useful support request shows what failed to align and what has actually been checked. Preserve the part and the evidence, resolve the cause, then complete the specified installation checks before riding.