
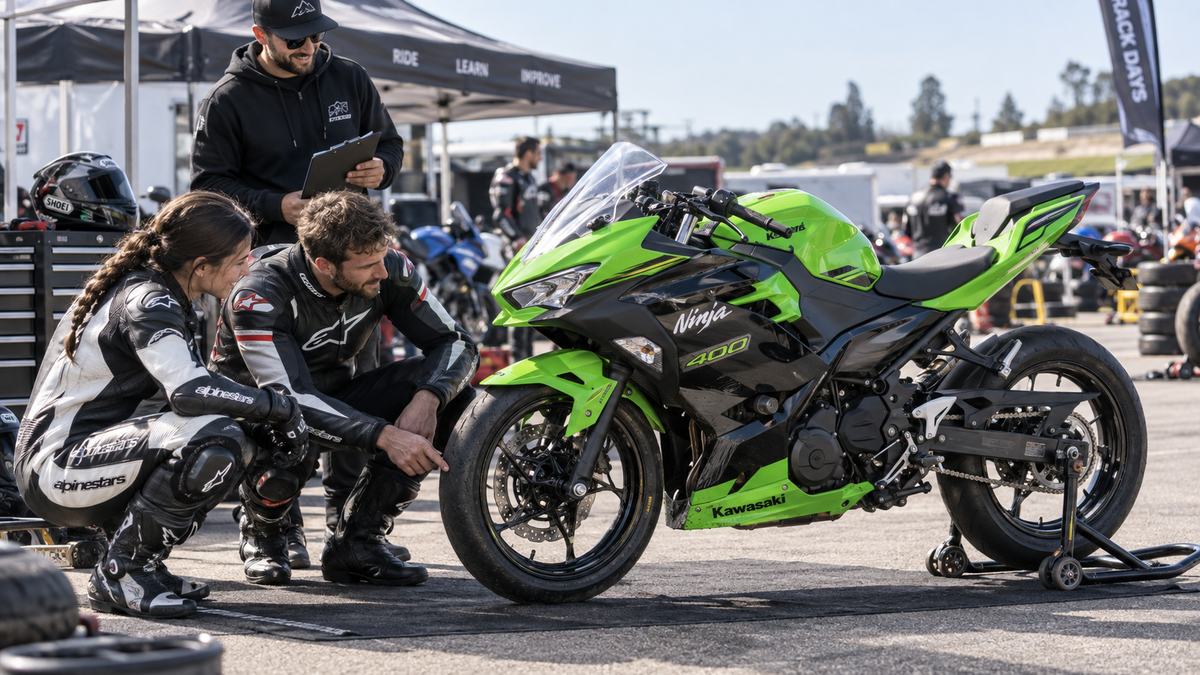
A scraped lower fairing on a 2018–2023 Kawasaki Ninja 400 can be only cosmetic, but the paint mark is not the entire inspection. The lower edge sits near fasteners, brackets, exhaust components and panel overlaps. A curb, loading ramp or track excursion can grind the visible surface while also loosening a mount or pushing the belly pan inward.
Before the next session, determine what touched, whether the panel still sits naturally, and whether heat and moving parts retain safe clearance. This is a bodywork inspection, not a certificate that the motorcycle is mechanically safe. If the event involved a fall, impact, fluid leak or steering change, obtain a qualified mechanical assessment.
Start With the Event, Not the Scratch
Write down how the contact occurred while the details are fresh:
- Slow loading-ramp contact or curb touch.
- Road debris strike.
- Track curb contact while upright or leaned.
- Low-side slide.
- Unknown damage discovered after transport or storage.
The event changes the scope. A straight underside scrape from a ramp calls for a different follow-up than a long lateral abrasion after a slide. Do not infer impact severity from paint loss alone.
Let the motorcycle cool and place it on stable support. If oil, coolant or fuel is present, stop and address the leak through the proper service procedure. Do not reach around the exhaust or lower cowl while components are hot.
Photograph the Complete Ninja 400 First
Take full left, right, front and rear photographs with both wheels visible. Then capture the lower fairing from the side and directly underneath without placing yourself under an unstable motorcycle.
Include the undamaged side as a comparison. A close image of green or black plastic may be impossible to locate later if it does not include the front wheel, engine area or a recognizable seam.
Record the model year and market from reliable documents. The existing Ninja 400 2018–2023 buyer’s guide covers the broader kit decision; this guide stays with the post-contact lower-bodywork inspection.

Editorial illustration: inspect the scrape together with its mounting and heat-clearance context; this image is not a model-specific measurement or fitment test.
Map the Contact From Front to Rear
Clean only enough dirt to see the surface. Use mild soap and water when appropriate for the finish; avoid compound or aggressive solvent until the evidence is recorded.
Follow the mark from its first contact point to its last. Note whether it stays on the sacrificial lower edge or travels upward across a seam. Mark the boundaries on a printed photo rather than drawing on the fairing.
Classify what you see:
- Surface transfer: another material sits on top of the finish.
- Clear-coat abrasion: gloss is disturbed but color remains.
- Paint loss: base material or primer is visible.
- Gouge: material has been removed from the panel.
- Crack: a line opens through the panel, often near an edge or mount.
- Distortion: the panel no longer follows its normal contour.
These descriptions are observations. They do not determine repairability without knowing the material, depth, loading and mounting condition.
Check the Nearest Fastener Before Tightening Anything
A scrape can rotate the panel around a fastener or pull a tab against its collar. Look for a screw sitting at an angle, a missing washer, a torn rubber mount, an elongated hole or fresh stress whitening.
Do not respond by tightening the fastener harder. If the panel is displaced, extra torque can clamp it in the wrong position and start a crack at the hole.
Compare the hardware with the opposite side and the model-specific parts information. Similar-looking screws may use different lengths or shoulders. If hardware is missing, identify the correct grommet, collar and fastener rather than installing a generic bolt that happens to thread in.
The guide to reusing or replacing fairing fasteners provides a useful way to document that stack.
Inspect Tabs and Overlaps From the Inner Side
Remove only the panels required by the service procedure. Support the painted part as the last fastener comes out; a partially attached lower can swing and damage another tab.
On the inner surface, check:
- Tab bases for hairline cracks and white stress marks.
- Slots for pulled or deformed edges.
- Molded pegs for complete seating in their grommets.
- Panel overlaps for trapped gravel or rubber debris.
- Inner trim and wiring for contact marks.
- Repairs or adhesives that predate the current scrape.
Photograph each finding with a wider location view. Do not assume a repaired tab failed during this event unless the fracture evidence supports that conclusion.
Check the Lower Bracket Without Using the Panel as a Gauge
With the bodywork relaxed, inspect accessible lower brackets. Look for chipped coating, a twisted slot, fresh metal exposure or a left-to-right difference. A bracket can move slightly while the ABS springs back, leaving a gap that someone later tries to close with a screw.
Do not bend a bracket until the painted panel looks correct. Compare with the opposite side, official diagrams and model-specific service data. A qualified technician should assess uncertain metal support or any component connected to the frame, engine or exhaust.
If a fastener hole aligns only when the lower fairing is pushed hard toward the bracket, stop. Check the tab order, hardware and bracket position before altering the plastic.
Confirm Exhaust and Heat Clearance
The lower fairing and belly-pan area lives close to heat. A scrape can move the panel inward, damage a heat shield or loosen a support. Inspect the cold motorcycle first and keep hands away from the exhaust until it is safe.
Look for:
- A shiny or polished witness mark where the inner panel touched metal.
- Browned, bubbled or softened material.
- Torn or missing reflective shielding.
- A heat shield folded so its adhesive edge faces the exhaust.
- A panel edge closer to the header or exhaust component than the opposite side.
- Aftermarket exhaust routing that differs from the bodywork’s original context.
There is no universal safe gap to publish for every Ninja 400 and exhaust combination. Use the applicable service information and the exhaust manufacturer’s instructions. If the panel shows heat distortion, correct the cause before replacing the cosmetic piece.
Our general guide to mapping motorcycle fairing heat damage explains how to record the hot zone without claiming that a photograph measures temperature.
Decide Whether the Panel Is Still Stable
With verified hardware installed finger-tight, let the lower fairing sit in its natural position. Do not use one bolt to pull all holes into alignment.
Gently check for movement at each mounting point. The panel should not flap, touch the tire, interfere with controls or rest on a hot component. Check whether the scrape opened a crack that grows when the panel is supported normally.
| Finding | Immediate bodywork decision | Further check |
|---|---|---|
| Light underside abrasion, no crack and normal mounting | Document and protect finish as appropriate | Recheck after short use |
| Crack approaching a mounting hole | Remove load from the area | Professional repair/replacement assessment |
| Missing fastener or torn grommet | Do not substitute unknown hardware | Identify correct hardware stack |
| Panel pushed inward toward exhaust | Do not ride until clearance is restored | Bracket, shield and exhaust-routing inspection |
| Lower edge loose after tightening to specification | Stop adding torque | Tab, collar and bracket diagnosis |
| Damage follows a fall or hard impact | Cosmetic inspection is insufficient | Full mechanical safety inspection |
This table organizes the next action; it does not certify a damaged panel for continued use.
Keep Track-Side Repairs Temporary and Visible
At a club day, the goal can shift from a durable repair to making the motorcycle safe enough to leave the paddock. Follow the event organizer’s rules and obtain qualified help. Tape, zip ties and improvised brackets can hide damage, melt near heat or create sharp loose ends.
If a temporary measure is accepted, document it and replace it with a proper repair before normal road use. Do not place tape over hot exhaust components, cooling openings, lights or controls. Do not drill a painted panel in the paddock merely to finish one more session without understanding what sits behind it.
The broader track-day bodywork inspection checklist covers mirrors, screens and other panels before riding home.
Decide Between Local Repair, One Panel and a Coordinated Set
Once safety and alignment are understood, define the cosmetic scope.
Local finish work may suit a shallow abrasion when the panel remains structurally sound and a painter confirms the repair approach. Ask how the existing graphics and clear coat affect the result.
One replacement panel may make sense when the damage is isolated and the correct piece is available. Expect possible differences in color, gloss or graphic placement between new and aged paint.
A coordinated set may be easier when damage crosses multiple pieces or the owner wants a complete visual change. Confirm exactly which lower, inner and trim pieces are included; do not assume “full kit” includes every part visible on the motorcycle.
Keep damaged originals until the new bodywork has been identified and dry-fitted. They remain useful references for hardware, shielding and panel overlap.
Prepare a Useful Supplier Message
Send a concise evidence package:
- Kawasaki Ninja 400 model year, market and VIN-derived identification where appropriate.
- Full-bike orientation photos.
- Close-ups of the lower scrape with scale and neutral light.
- Inner and outer views of affected tabs.
- Photos of bracket, grommet, collar and fastener positions.
- Exhaust brand and configuration if non-stock.
- Heat-shield condition and any contact marks.
- A list of the exact panels being considered.
- A statement that no irreversible trimming or drilling has been performed.
Ask whether the proposed replacement is a single lower piece or part of a larger side assembly, which OEM components must transfer, and what should be dry-fitted before any modification.
Pre-Session Bodywork Checklist
- No fluid leak or unresolved mechanical damage is present.
- The lower fairing is secure at every intended mount.
- Tabs show no spreading crack under normal support.
- Correct fasteners, collars and grommets are installed.
- The panel is not being pulled into position by bolt tension.
- Exhaust and other hot-part clearances have been verified for the actual configuration.
- Heat shielding is present, secure and correctly oriented.
- No lower edge can touch the tire, chain, controls or moving suspension.
- Loose debris and temporary track-side materials have been removed.
- Event-specific technical inspection requirements have been checked directly with the organizer.
After the first short session, let the motorcycle cool and repeat the visual inspection. Fresh witness marks, a changed seam or a loose fastener means the problem is still active.
Inspect the System Around the Scrape
The visible mark on a Ninja 400 lower fairing tells you where contact occurred. It does not tell you, by itself, whether a tab cracked, a bracket moved or heat clearance changed.
Map the abrasion, inspect the hardware and inner surface, check the lower support and verify clearance on the actual motorcycle. Once those relationships are stable, choose the smallest repair or replacement scope that addresses the real damage. That is a better track-day decision than polishing the mark and hoping the belly pan stayed where it belonged.



