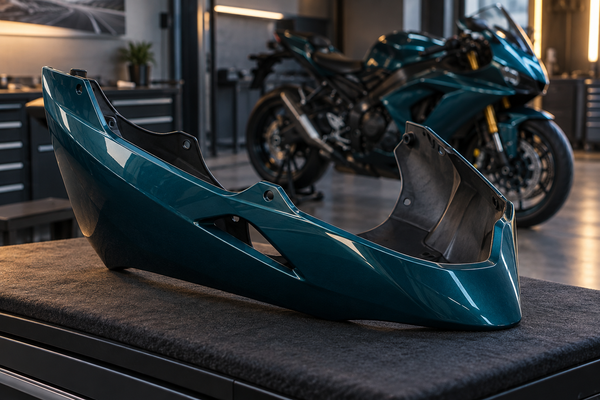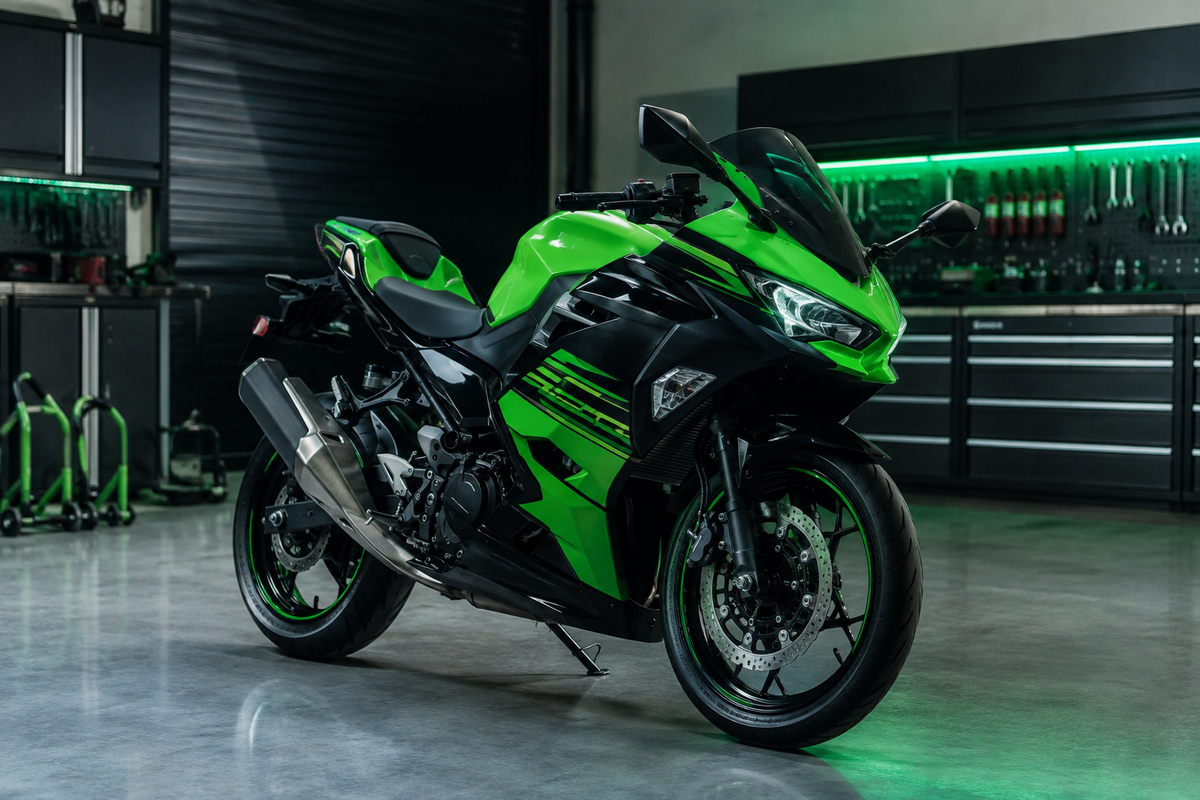
Replacing scraped bodywork or planning a new color scheme can make a Ninja 400 feel like a different motorcycle, but the best result starts with fitment—not paint. A fairing kit should match the exact model year, reuse the correct original brackets and rubber parts, and arrive with enough information for a careful dry fit.
This buyer’s guide covers the practical checks for a 2018–2023 Kawasaki Ninja 400 fairing project: confirming the motorcycle, comparing full kits with individual panels, evaluating ABS bodywork, choosing painted or unpainted panels, inspecting a delivery, and fitting everything without forcing tabs or seams.
Key Takeaways Before You Order
- Confirm the model, model year, market specification, and panel list before ordering.
- Photograph the original fasteners, brackets, grommets, ducts, and cable routing during removal.
- Expect to transfer serviceable OEM hardware unless the product page explicitly says replacements are included.
- Inspect every panel and dry-fit the complete set before final tightening.
- Match the finish to the fuel tank and remaining OEM panels, not only to a color name on a screen.
Confirming Your 2018–2023 Ninja 400
Start with the VIN label and registration rather than appearance alone. Graphics, windscreens, mirrors, turn signals, and even complete front ends can be changed by a previous owner. Give the seller the exact year and market version, and ask whether the listing covers the standard Ninja 400, an ABS-equipped version, and any edition-specific trim differences that affect the supplied graphics or small covers.
Kawasaki’s official 2023 Ninja 400 cowling parts diagram is useful for seeing how many OEM pieces, fasteners, pads, and brackets make up the front bodywork. It also explains why a seller’s phrase “full kit” should never replace an itemized component list.

Why the advertised year range still needs checking
Many aftermarket listings group 2018–2023 together, but the safest buying decision is based on the seller’s exact fitment statement and the parts shown. Compare the nose, headlight opening, side-panel vents, belly-pan joints, tank-side edges, and tail pieces with the motorcycle in front of you. If a bike has race bodywork, non-stock lighting, a modified subframe, or repaired brackets, send clear photos before buying.
Full Kit, Partial Kit, or One Replacement Panel?
A complete kit makes sense after damage on both sides or when the goal is a coordinated color change. It reduces the challenge of matching several old and new painted pieces, but it also creates a larger installation job. Read the exact product description and count the pictured panels. The fuel tank, windscreen, lights, inner trim, heat shields, brackets, grommets, and fasteners may not be included.
One or two replacement panels can be better when the damage is localized and the original color is still available. The tradeoff is color matching: UV exposure and different paint batches can make a new panel look slightly different from an older tank or tail. A partial set is useful only when its joining edges and graphics are designed to work with the panels that remain on the bike.
Browse the NiceFairings Kawasaki Ninja 400 fairing collection and compare each listing’s year range, panel layout, and finish. For broader inspiration, the Kawasaki fairings collection shows how different models and generations use very different bodywork.
How to Evaluate ABS Fairing Quality
“ABS” describes the material family; it does not by itself guarantee fit, paint quality, or mounting accuracy. Look for even wall thickness, clean edges, supported mounting tabs, smooth hole locations, and a consistent inner surface. A panel should feel firm without being brittle. Do not aggressively bend a painted panel as a test—inspect it under good light and support it with both hands.

Check the details that affect installation
Pay special attention to the nose-cowl mounts, the side-panel junctions, windscreen holes, belly-pan seams, and tabs near heat sources. Small molding flash can sometimes be dressed carefully, but a badly misplaced hole, twisted panel, or cracked structural tab should be photographed and reported before installation. Drilling first and asking questions later can make a damage claim much harder to resolve.
Painted surfaces should be checked in both diffuse light and direct light. Look for dust nibs, uneven clear coat, runs, thin coverage around vents, and graphics that do not cross panel seams correctly. On the inside, confirm whether heat shielding or insulation is supplied for the relevant areas. If it is not listed, do not assume it is included.
Painted vs. Unpainted Fairing Kits
A pre-painted kit is the easier route when you want a coordinated result without arranging a local paint job. It can also support a custom color or race-inspired layout through the NiceFairings custom fairings process. Before production, provide clear reference photos and confirm how graphics cross vents, seams, and separate tail pieces.

Color matching is a visual process
A factory color name is a starting point, not a promise that a new panel will be invisible beside an older fuel tank. Age, sunlight, polishing history, camera white balance, and paint-batch variation all affect appearance. Compare samples or recent production photos in neutral daylight whenever possible. If exact matching matters more than speed, discuss the tank and remaining OEM panels with the painter before choosing a finish.
An unpainted kit offers more creative control, but surface preparation, compatible primer, base coat, graphics, and clear coat all add labor. Ask whether the panels arrive raw, primed, or sealed. A professional painter should know the substrate before selecting products. DIY painters should follow the coating manufacturer’s technical instructions and test the complete system on a spare or hidden area first.
Inspecting the Shipment Before Installation
Open the carton carefully and keep every piece of packaging until the inspection is complete. Photograph the outside of the box, the protective wrapping, and each panel as it is removed. Compare the delivery with the product-page panel layout, then separate left, right, front, belly, and tail pieces on a clean padded surface.
Check edges, tabs, threaded inserts, drilled holes, clear coat, graphics, and matching left/right shapes. Do not stack painted panels directly on one another. If anything is missing or damaged, stop and contact the seller with wide and close-up photos. Review the current NiceFairings refund policy and fairing order FAQ before modifying a questionable part.
Dry-Fit the Complete Kit Before Tightening
Take reference photos before removing the original bodywork. Label fasteners by location, keep rubber grommets with their brackets, and protect the fuel tank and frame with clean covers. A service manual is the correct source for the removal order and torque values; do not copy a generic torque figure from another motorcycle.

Work from fixed reference points
Begin with the main front mounting points and loosely install the nose, then add adjoining side panels and the belly section. Install fasteners only a few turns so each joint can move. Check the headlight opening, windscreen, tank-side gap, radiator and exhaust clearance, and steering movement. Add the tail pieces after the front and side relationships are understood.
If a seam refuses to close, stop and find the cause. A grommet may be missing, a bracket may have been bent in the crash, a tab may be sitting on top of its slot, or another panel may be tightened too early. Do not pull a large gap together with a bolt; that stores stress in the plastic and can lead to cracks around the hole.
The motorcycle fairing pre-fit checklist provides a reusable sequence for laying out parts, checking hardware, and confirming alignment before final assembly.
Final Assembly and Post-Ride Checks
Once every panel sits naturally, tighten fasteners in stages using the manufacturer’s specifications. Use the correct washers, collars, and rubber isolation pieces. Thread-locking products are not automatically suitable for every fairing fastener or plastic-adjacent joint; follow the motorcycle and product instructions instead of applying them everywhere.
Before riding, turn the handlebar fully left and right, confirm that cables and brake lines move freely, and check clearance around the front tire, radiator, exhaust, and controls. Verify that lights and indicators work and that no tool or loose fastener remains inside the bodywork. After a short low-speed ride, stop and inspect the seams and fasteners again.
Wash new paint with a clean microfiber mitt and a mild automotive product. Avoid aggressive solvents, abrasive pads, and high-pressure spray aimed at graphics or panel edges. For production and delivery expectations on a made-to-order kit, use the current Production & Shipping page rather than a fixed estimate copied from an older article.
Frequently Asked Questions
Will every kit labeled 2018–2023 fit every Ninja 400 in that range?
Do not rely on the year range alone. Confirm the exact model, market specification, panel list, and any previous modifications with the seller. Photos of the motorcycle and VIN-year information are helpful when anything is uncertain.
Does a full fairing kit include all hardware?
Not necessarily. Many kits require original brackets, grommets, clips, inner panels, and fasteners. The product listing should state what is supplied. Replace damaged OEM hardware before the dry fit.
Should I choose painted or unpainted panels?
Choose painted panels for a coordinated ready-finished set; choose unpainted panels when a local painter will create a specific scheme. In either case, clarify how the new finish will coordinate with the original fuel tank and any panels you will keep.
What should I do if a mounting hole does not line up?
Loosen nearby panels and check tabs, grommets, brackets, and installation order. Do not immediately enlarge the hole. Photograph a persistent mismatch and ask the seller before making an irreversible change.
How long should installation take?
It depends on experience, the bike’s condition, and how much original hardware must be transferred. Reserve an unhurried workspace and prioritize a complete dry fit over finishing within a fixed number of hours.
Build the Kit Around Fitment, Not Just Color
A successful Ninja 400 fairing project is a sequence: identify the motorcycle, compare the actual kit contents, inspect the material and finish, preserve the OEM mounting parts, dry-fit every panel, and only then complete assembly. Color gets the attention, but careful preparation creates the clean seams and secure mounting that make the finished motorcycle convincing.
Start with the Ninja 400 fairing collection, use the NiceFairings contact page when fitment or customization needs clarification, and keep the exact year and reference photos ready when you ask.