The arrival of a fairing kit can make a cold garage feel like the perfect winter project. You can make useful progress there: identify the motorcycle and every supplied piece, document the existing bodywork, inspect accessible mounts, and—if the service instructions and the condition of the parts allow it—try a limited, unforced fit. A cold garage is not automatically a suitable place to apply adhesive graphics, wrap, paint protection film, or a new coating. Those operations depend on the instructions for the actual material and on the temperature and dryness of the surface, not merely the air.
This is a staging guide for owners of fully faired street sportbikes. It does not set an installation temperature for NiceFairings panels, certify a particular adhesive, or replace the service manual for your motorcycle. If you are still choosing between paint, wrap and a new set of bodywork, start with our winter project decision guide. Here, the decision is narrower: what can be verified while the garage is cold, and what should remain on the work list?
First separate observation from installation
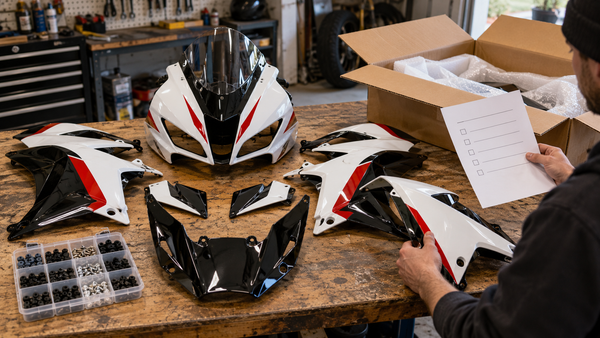
A boxed panel is useful evidence even if you do not turn a single screw today. Record the make, full model designation, model year and market of the motorcycle. Photograph its current left and right sides, nose, tail and any nonstandard exhaust, lights, frame sliders or brackets. Then compare those facts with the stated range and pictured pieces on the exact NiceFairings collection and product page. A product photo can show a color scheme and visible components; it cannot settle a hidden mounting conflict on your particular bike.
Unpack on a clean, protected surface rather than a cold, damp floor. Lay out the pieces without stacking painted faces. Photograph front and back, visible tabs, openings and any damage that was present before work began. Keep the seller's written parts list beside the layout. The question is whether each ordered piece is present and apparently undamaged, not whether a generic phrase such as “full kit” means every grommet, clip, heat barrier or accessory is included. Our order-specific parts matrix gives each needed item an owner: supplied, reused from the bike, bought separately, or still unresolved.
You can also make a hardware map. Photograph an existing fastener and the neighboring panel before removing it, label the location, and bag parts by area. A missing collar or damaged rubber support can make a correctly shaped panel sit badly later. If a fastener is seized, a tab is cracked, or the motorcycle-side stay looks bent, stop the cosmetic job and identify the cause. The photo-and-label workflow covers the record-keeping in more detail.

A cold-condition decision table
| What you find | Useful next step | Hold or escalate |
|---|---|---|
| Parts and work surface are dry; motorcycle identity and procedure are clear | Inventory, photograph and inspect; consider a limited loose fit if the service procedure permits | Do not treat this as final installation or ride approval |
| The panel is damp, visibly frosted, or has just been moved into warmer humid air | Let it reach a stable, dry condition and inspect again | Delay adhesive, film and finish work |
| Tape, decal, wrap, PPF or coating lacks its exact application instructions | Identify the product and obtain its current technical sheet | Do not substitute another brand's temperature range |
| A tab, stay, lamp mount, wiring route or clearance is uncertain | Record the location and compare the applicable parts and service information | Ask a qualified technician or supplier before forcing, drilling or heating a part |
| All pieces appear to align while loosely supported | Continue only as far as the exact procedure and safe conditions allow | Final tightening, operational checks and riding remain separate decisions |
The table is deliberately conditional. “Dry” is not a universal permission to install; “cold” is not a diagnosis that every plastic part will fail. The actual assembly, its condition and the applicable instructions decide what you can do.
Check the surface, not only the garage thermometer
Air temperature is convenient, but an adhesive contacts a panel or motorcycle surface. Those surfaces can lag behind a heated room after a cold night. If the material maker gives a minimum application surface temperature, check that surface using a suitable method for the material, and account for the instrument's limitations. A single reading from a shiny painted face or an infrared thermometer is not a coating specification or a fitment test. When you cannot establish the required condition reliably, wait or ask the installer.
Look for moisture at edges, recesses and the underside as well as the broad painted face. A panel brought from a cold shed into a warm, humid room may become wet even though the room feels comfortable. Let it acclimate in a clean, dry place and recheck before applying any bonded product. Do not trap moisture beneath film or a graphic simply because the top face looks clear in one photograph.
The distinction matters because application and later service are different questions. An adhesive that can remain in service during cold weather may still require a warmer, dry surface when first installed. For one documented example, 3M's VHB 5962 technical data sheet gives a suggested minimum application temperature of 50°F (10°C) for that tape family, says minimums differ among VHB families, and calls for surfaces free of condensed moisture. That is information about 3M 5962. It is not a temperature rating for a NiceFairings kit, an unknown supplied tape, every decal, or every protective film.
Mechanical fit checks and adhesive work are different jobs
A painted shell is generally positioned by its designed panel joints, supports and specified hardware. Adhesive lettering, protective patches, vinyl wrap and paint protection film are different systems. Do not combine them into one “fairing installation temperature.” Some orders may not contain any of these added materials at all. Confirm the actual contents on the product listing and written order before planning work around them.
For a limited mechanical check, use the exact motorcycle service information and keep connected panels supported. A part that rests naturally against the intended supports can be compared with the original. A part that must be bent, pulled by a screw or pressed against a damaged bracket is presenting an unresolved problem. Stop, photograph the gap and confirm the model-year application, retained parts and mount condition. Do not use a bolt as a clamp to make a wrong relationship look correct. This article does not supply a generic tightening order or torque value.
Cold weather adds a reason to avoid improvisation, but it does not justify an invented “ABS becomes brittle below X degrees” rule. Plastic formulation, prior damage, finish, geometry and handling all matter. Do not put a heat gun close to an unknown painted part to “make it fit.” Heat can change a finish or distort a shape while leaving the original bracket problem untouched. If an actual repair or warming process is needed, use the relevant material guidance and a qualified installer.
For film, use the specific film maker's bulletin. As an example, 3M's vehicle color-change guidance for Wrap Film Series 2080 says that film is not cold-stretch capable and advises moving the vehicle indoors when conditions are too cool. It does not set the rule for all wraps, decals or PPF, nor does it say a loose fairing panel is ready for film simply because a room is warm. Adhesive-backed trim and protective patches also require their own product instructions, surface preparation and time before service.
What can wait without losing momentum?
Keep the specific material sealed and stored according to its maker's instructions. Save the product name, batch or reference, application sheet, and any instructions for cleaning, pressure and post-application care. Mark which painted panel receives which graphic or patch. If a stripe crosses two panels, approve its position on a whole-bike view as well as on separate pieces; a perfect decal on the table can still break visually at a seam. Our custom fairings process is the right place to agree a design direction and the scope of the painted order. It does not turn a screen mockup into an exact physical color standard.
Do not clean a fresh finish with an arbitrary solvent in preparation for tape. The coating maker and film or tape maker may give different surface instructions; resolve that conflict before applying anything. If the fairings have already been painted or repaired, ask about cure and compatibility instead of assuming a generic waiting period. That question is especially relevant for a partial kit that must meet older paint, an existing tank or a previously repaired panel.
End the winter session with a usable handoff
Before you close the garage, record three things: completed observations, open questions and deferred operations. Keep these separate so that “looks aligned” cannot quietly become “installed and safe.” A short handoff might say: “Left upper panel photographed and loosely compared; upper stay position not verified; two original grommets appear damaged; no adhesive applied; ask shop to inspect stay and confirm replacement hardware.” That is more useful than “half done.”
Store removed and new panels where painted faces will not rub, tip over or sit against damp concrete. Label fastener bags and keep the relevant photographs with the order record. If you move parts to a warmer workspace, allow them to reach stable conditions and inspect for condensation again. There is no reason to promise that an overnight wait alone satisfies every product maker's requirement; verify the actual surface and instructions when you resume.
If the fit is uncertain, send NiceFairings support the exact product link, motorcycle model and year, wide photographs of the bike, and close views of the conflict. Ask one answerable question at a time: which photographed panel is intended for this location, what is supplied, what must be retained, or whether the current modification falls outside the confirmed application. A supplier can clarify its offer; a bent stay or safety-critical repair may still need a technician in front of the motorcycle.
Spring is a new inspection, not the continuation of an assumption
When conditions improve, reopen the written record before installing the remaining pieces. Confirm that every outstanding fit question was answered, then follow the exact service procedure and product instructions. Review fastening, panel movement, steering clearance, light and signal operation, wiring near moving or hot parts, and lower-fairing clearance around the installed exhaust. A non-stock exhaust or damaged support is not corrected by a new paint scheme. Stop if a safety-relevant issue remains unresolved.
The spring fairing-rebuild checklist covers the broader return-to-use inspection. This article's narrower lesson is simple: a cold garage can be a place to learn what you have and what you still need. It should not turn an unverified fit, damp surface or unknown adhesive into a completed motorcycle.
Quick questions
Can I bolt on the panels below freezing? There is no universal yes or no. The exact motorcycle procedure, part condition and work environment matter. An unforced visual or loose comparison may be possible; do not infer that final assembly or riding is approved.
Does the 50°F figure apply to my fairing kit? No. It is a suggested application minimum for the named 3M VHB 5962 tape family. Check the instructions for the material you actually intend to apply. NiceFairings panel listings do not become 3M specifications by association.
Do I need a new kit before winter work can begin? No. You can document the existing motorcycle, identify damaged parts and decide what is missing first. When ready to shop, use the model-and-year collections and confirm the exact listing and order scope. The NiceFairings FAQ explains how to raise fitment and design questions.
Sources and image notes
- 3M VHB Tape 5962 technical data sheet: application temperature and surface condition for that named tape only.
- 3M vehicle color-change bulletin for Wrap Film Series 2080: cold-stretch guidance for that named film only.
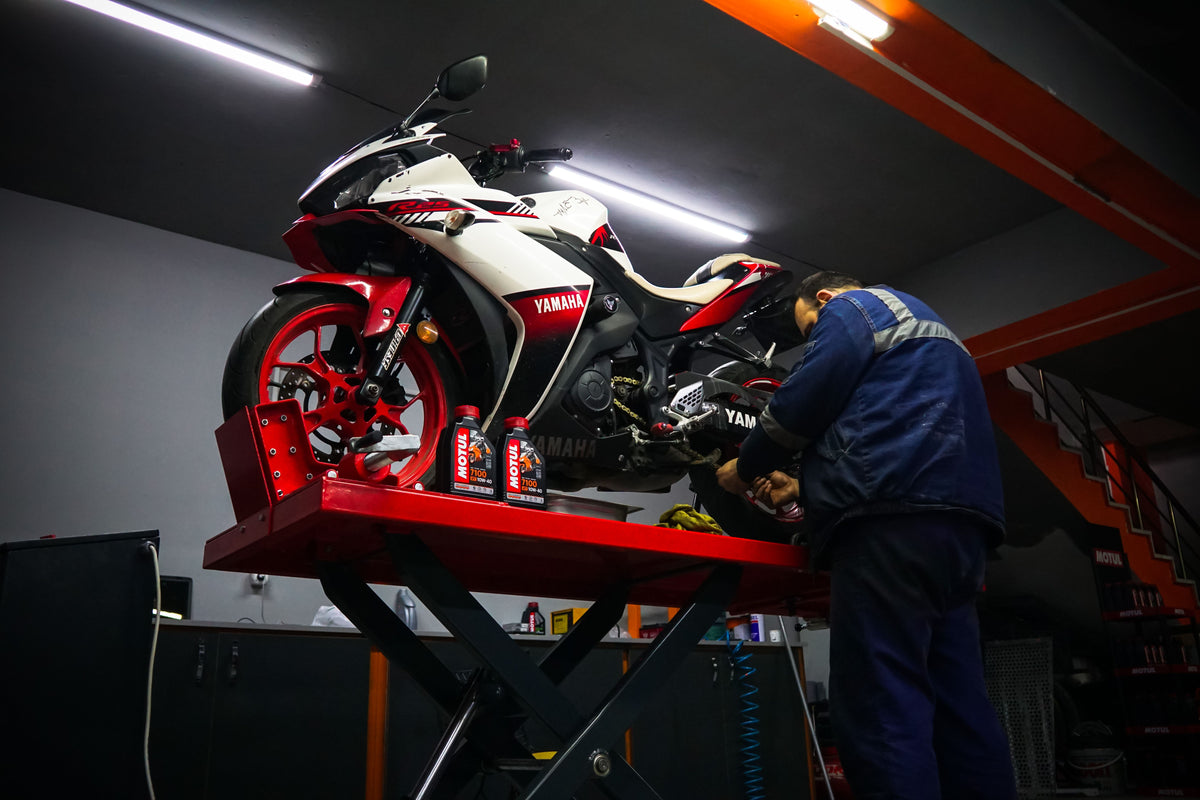
- Cover: real Yamaha sportbike being worked on in a garage by ali huzeyfe ermiş / Pexels. Editorial scene, not a NiceFairings installation test or proof of the garage temperature.
- Inline mounting detail: NiceFairings workshop archive. It shows one threaded insert; it does not establish the materials, fit or included hardware of every kit.