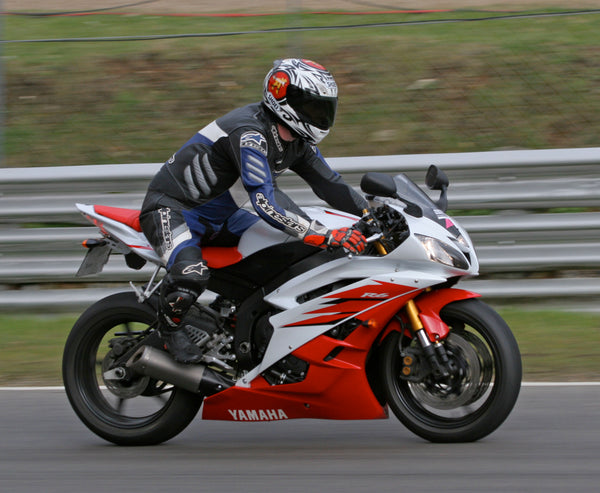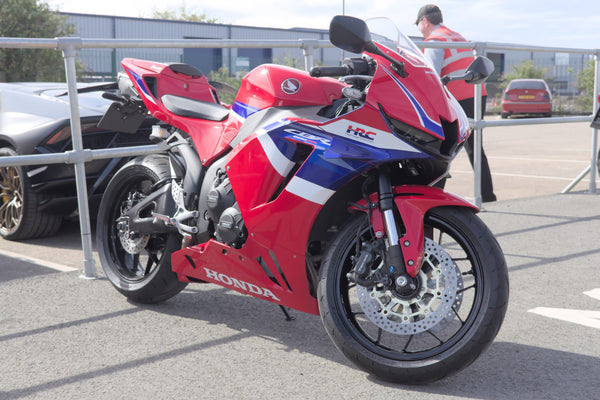
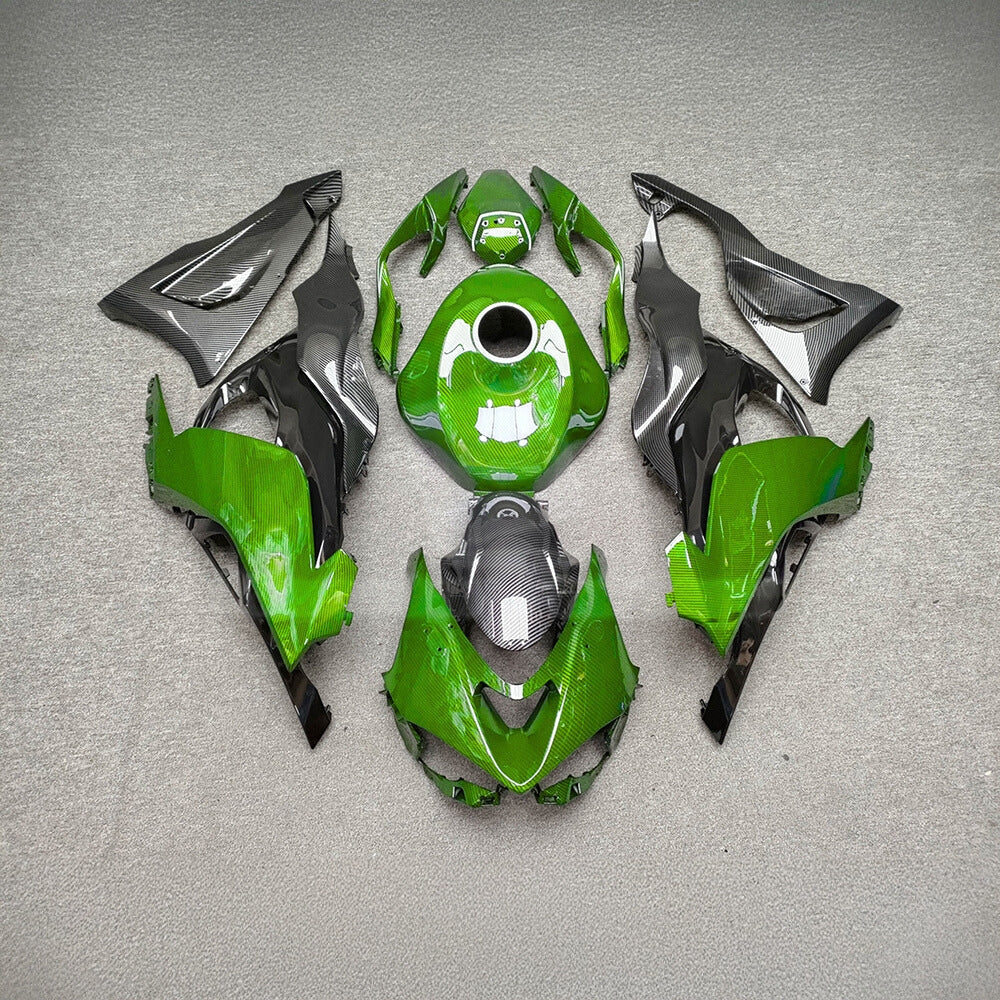
View this Kawasaki ZX-6R replacement fairing set
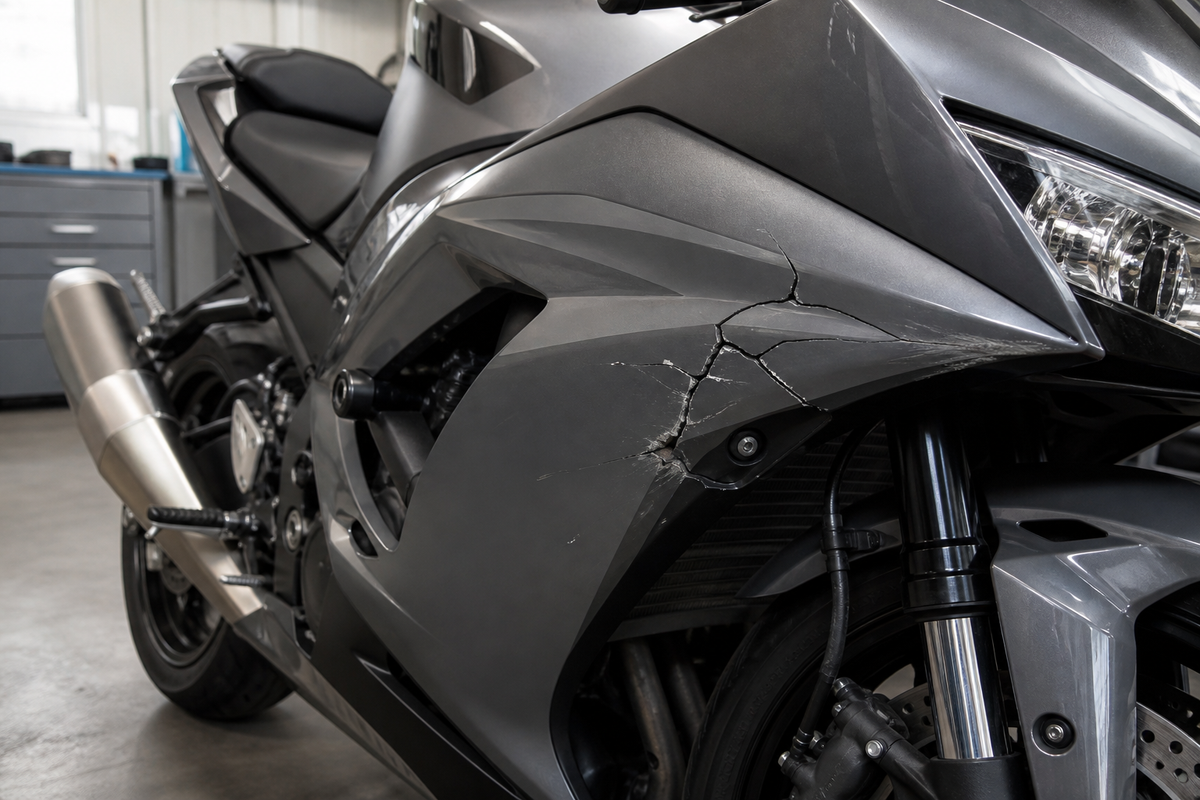
Your dropped bike left you with a cracked motorcycle fairing. Now you face a tough choice: repair or replace? The answer hinges on the crack's severity, location, and your budget. A small hairline crack might be fixable with a DIY kit. However, a broken mounting tab or a large missing section often requires a new panel. This guide walks you through the key factors: damage type, repair cost, finish quality, time, and safety. Use it as a decision checklist before you spend money or time on a fix.
Key Takeaways
Assess the damage first. Check mounting tabs and look for cracks near bolt holes. These signs point to structural problems.
Repair small, cosmetic cracks with DIY kits. This saves money. It works well for hairline cracks away from stress points.
Replace the fairing for broken tabs or large cracks. Damage near mounting points or wide, branching cracks can be difficult to restore securely and may warrant replacement. They can be unsafe at high speeds.
Compare costs. DIY repair cost varies with materials, finish work, and the damage. Professional repair cost varies by labor, panel condition, paint, and region. Replacement cost varies by model, panel count, finish, hardware, and shipping.
Safety comes first. A cracked fairing can fail. When in doubt, choose replacement. Your safety matters most. For general riding-safety resources, review NHTSA motorcycle safety guidance.
Assess Your Cracked Motorcycle Fairing
Before you decide anything, you need a clear picture of the damage. Start by removing the fairing from your bike. Work in a well-lit area and follow this process:
Inspect the mounting points first — Check tabs, bolt holes, clips, and rubber grommets. These reveal structural damage that paint hides. If you must force the panel into alignment during removal, that stress indicates deformation.
Flip the fairing over — The back side shows hairline cracks, stress marks, and old repairs invisible from the front. Also check inner brackets, headlight supports, windscreen mounts, and mirror bases for transferred impact damage.
Clean and compare alignment — After washing, compare panel gaps with the opposite side. Look at spacing around the headlight, windscreen, tank, and mirrors. Uneven gaps or panels pressing against adjacent parts signal deeper issues.
Visual Inspection and Damage Types
Once clean, categorize what you see. Different cracks mean different problems:
Crack Type |
Description |
Structural Implication |
|---|---|---|
Hairline crack |
Thin, superficial crack in non-load-bearing areas |
Minimal impact; repairable with simple methods |
Through-and-through split |
Penetrates the entire fairing thickness |
Undermines panel stiffness; may need robust repair or replacement |
Shallow surface crack |
Does not reach the material's core |
Primarily cosmetic; integrity largely intact |
Structural crack |
Located at seams or mounting points |
Critical; often requires replacement for safety |
To identify hairline cracks that may lead to future failure, examine whether the crack originates at a stress point and appears brittle. Document whether the damage came from a one-time impact, long-term sun exposure, or heat from extended engine operation. Multiple hairline fractures across a broad area indicate UV degradation, making the fairing less predictable.
When the Damage Is Too Severe
Some damage crosses the line from fixable to dangerous. Replacement is justified when:
Mounting tabs are broken
Cracks spread outward from bolt holes
The panel shows visible warping
You must force the panel into position
The fairing feels unstable under load
A cracked mounting tab will never seat properly again. Repaired tabs typically fail within 500-1,000 miles because the bond cannot match original injection-molded strength. Spider-web fractures indicate the ABS molecular structure has broken down across a wide zone. Plastic welding over them creates a rigid patch surrounded by weakened material.
If your cracked motorcycle fairing shows any of these signs, skip the repair kit. When mounting security, lighting, or sharp edges are uncertain, get a professional inspection. Your safety on the road depends on a fairing that fits naturally and mounts without stress.
Repair Options for Minor Cracks

View this Yamaha YZF-R6 custom-painted fairing kit
A hairline crack or shallow surface scratch might be fixable yourself. These methods work best for cosmetic damage in non-structural areas. They will not fix a broken mounting tab or affect your bike's safety. Always check the damage type first.
DIY Methods That Work
Remove the fairing piece from your bike. Clean it with water and a sponge. For plastic welding, use a soldering iron and plastic cable ties. Melt the plastic together along the crack. The cable ties add extra material for a strong weld. Hold the plastic firmly during the process. Go generous with the cable ties. Let the weld look ugly. Strength matters more than looks. After welding, apply body filler to fill gaps. Sand the entire panel down. Start with coarse sandpaper and move to finer grits, ending around 2000 grit for a smooth finish.
For fiberglass fairings, you need fiberglass cloth, resin, and a catalyst. Mix the resin with the catalyst. Apply the resin along the bottom and exterior of the fairing. Place the fiberglass cloth around the shape. Use a roller to remove air pockets. Let it dry.
Epoxy adhesives work well for small cracks. Inject the epoxy into the crack for a strong bond. For scratches, mild abrasives like toothpaste can reduce their visibility.
Light scratches, paint rash, and surface scuffs may be frustrating, but they do not automatically mean the panel has become unreliable. If the fairing still mounts cleanly and stays secure, the damage may be mostly cosmetic. A better first question is not, "How bad does this look?" It is, "Is this panel still doing its job?"
Do not try just re-spraying a portion of the fairing panel. You must either re-spray the whole panel or nothing at all.
When to Skip the Repair Kit
Some damage types are unsafe for DIY repair kits. Recognize them before you waste time or money.
Damage Type |
Structural Concern |
Repair Outcome |
|---|---|---|
Spider-web fractures |
ABS molecular structure broken down across a wide zone |
Plastic welding creates a rigid patch surrounded by weakened material; fails under vibration after weeks or months |
Cracked mounting tabs |
Tabs carry the entire load of panel attachment at highway speed |
Repaired bond cannot match injection-molded strength; fails within 500 to 1,000 miles |
If your cracked motorcycle fairing shows spider-web fractures or broken mounting tabs, skip the repair kit. A cracked mounting tab will never seat properly again. Spider-web fractures mean the plastic has broken down across a wide area. Welding over them creates a weak patch.
These scenarios need a replacement panel. Check your options for new fairings at Nice Fairings. When mounting security, lighting, or sharp edges are uncertain, get a professional inspection. Your safety depends on a fairing that mounts without stress.
Replacement: When to Buy New Fairings
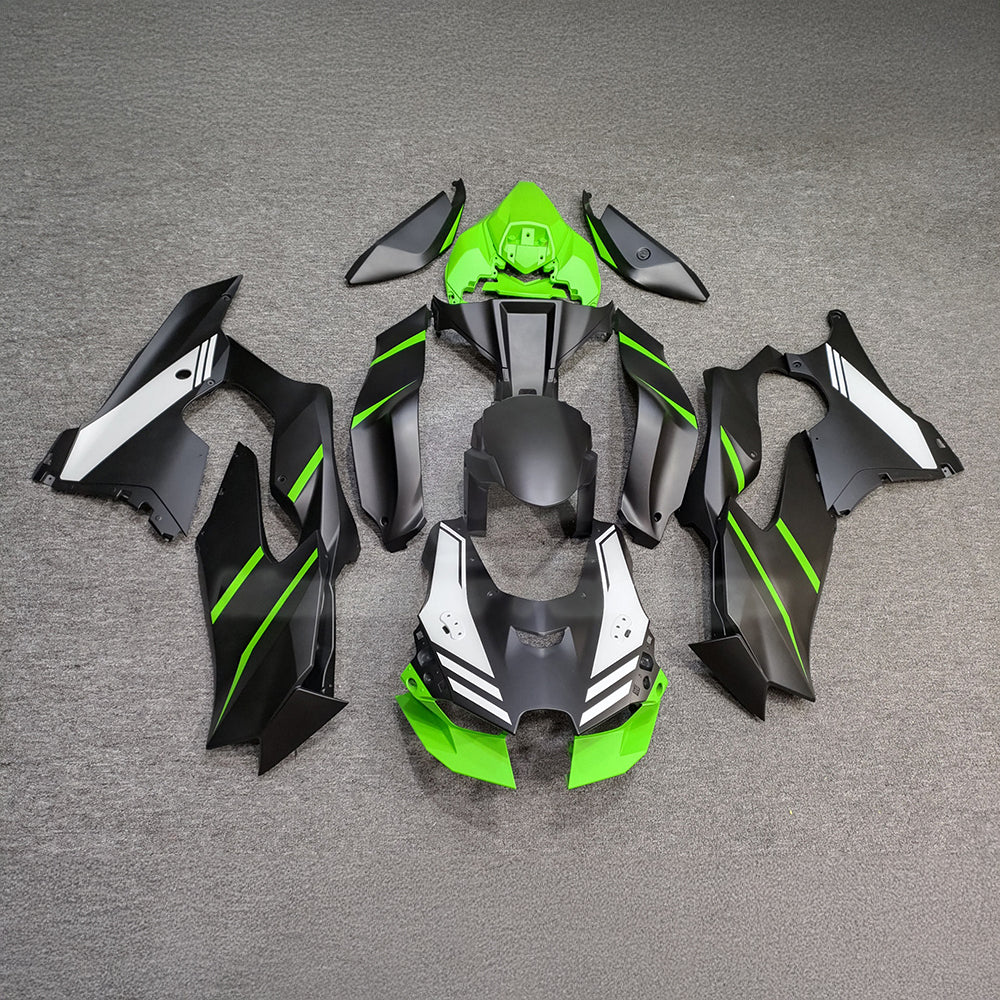
View this Kawasaki ZX-10R replacement bodywork kit
Some damage goes beyond fixing and becomes unsafe. You need a new panel when the fairing can't mount securely or protect you while riding. A cracked motorcycle fairing with broken tabs, missing pieces, or a warped shape will never fit properly again. Don't put your safety at risk with a patch job that could fail at high speed.
Signs You Need a Full Replacement
Watch for these clear signs that repair won't work:
Sign |
Why It Means Replacement |
|---|---|
Broken mounting tabs |
The attachment points are damaged, so the panel can't fasten securely. |
Cracks spreading from bolt holes |
Stress fractures show the material has lost strength beyond surface damage. |
Visible warping |
The panel lost its original shape, affecting fit and function. |
Need to force panel into position |
The fairing no longer aligns naturally, mounting under stress that may cause later failure. |
Unstable fit before riding |
If the panel feels loose at rest, vibration and speed will make it worse. |
Misalignment with adjacent parts |
Uneven gaps or contact with parts it never touched indicate structural shift, not just cosmetic damage. |
Stress lines radiating from impact points suggest serious collisions. These may have damaged underlying frame components too. Excessive vibrations from rough terrain can crack, misalign, or loosen fairings, posing safety risks. If you see any of these signs, skip the repair kit entirely.
OEM vs. Aftermarket: What to Know
You have two main paths for replacement: original equipment manufacturer (OEM) parts or aftermarket options. OEM fairings come from the bike's maker. They match your model exactly and include mounting hardware. But they cost more—typically 40-60% higher—and availability often suffers. Dealerships may take time to restock, and parts for older models get discontinued.
Aftermarket fairings offer a different trade-off. Quality varies by brand, so you must research carefully. Aftermarket options may cost less than OEM parts, but compare the exact panel count, finish, hardware, shipping, and warranty terms. For any supersport, request current itemized quotes for both aftermarket and OEM options before deciding. Pricing for smaller sportbikes also varies by generation, panel count, finish, and seller. Many aftermarket brands design panels to exceed OEM quality, offering sturdier builds, better finishes, and aerodynamic improvements. You also get more variety in colors and designs.
Check fitment lists before ordering. Some aftermarket panels lack mounting hardware or need minor adjustments. Brands like Nice Fairings offer custom options, and their Kawasaki fairings collection covers popular models. Compare the written warranty and return policy for the exact seller and part; coverage varies. Choose based on your budget, timeline, and how much fitment work you're willing to handle.
Repair vs. Replacement Comparison
Now you have checked your cracked motorcycle fairing and know your options. But which choice is best for you? Let's look at the key factors: cost, time, skill level, finish quality, and safety. Each factor matters in your final decision. Understanding these factors will save you time and money. This comparison helps you decide with confidence.
Cost, Time, and Skill Level
Repair costs depend on the damage type and how you fix it. DIY material cost varies with the repair method, crack size, prep, and finish work. But you also need sandpaper, primer, paint, and clear coat for a good finish. Those supplies add up fast. A professional repair quote depends on labor rates, panel condition, paint matching, and your area. Replacement pricing varies by model, panel count, finish, seller, shipping, and whether the parts are OEM or aftermarket. Your budget matters, but cost alone should not decide your choice. A cheap repair that fails costs you more later. Think about the total cost of ownership for your decision.
Time is another factor. A DIY repair takes a weekend if you work carefully. You need time for materials to cure between steps. Professional repair might take a week or more, depending on shop schedules. Ordering a replacement panel takes a few days for shipping, then an afternoon for installation. Think about how long you can keep your bike off the road.
Skill level matters too. Not every repair is for beginners. For superficial scratches, you need basic patience and attention to detail. A hairline crack requires intermediate skills. You must know how to apply filler and smooth it properly. Large cracks or delamination need advanced skills or professional help. Fiberglass repairs need special tools and knowledge. If you lack the skills for your damage, you risk wasting time and materials on a repair that fails. Pick the option that fits your abilities.
Damage Type |
Skill Level Required |
|---|---|
Superficial scratches or chips |
Basic (patience, attention to detail) |
Hairline cracks |
Intermediate (filler, careful smoothing) |
Large cracks or delamination |
Advanced or professional |
Fiberglass repairs |
Special expertise and tools |
Decision Table for Your Situation
Use this table to weigh repair versus replacement for your specific damage. It compares the key factors side by side to make your choice clear.
Factor |
Repair (When Safe) |
Replacement (Safer Choice) |
|---|---|---|
Damage Location |
Clean, isolated crack away from mounting points |
Cracked or broken mounting tabs, spider-web fractures near stress points |
Approximate Cost |
Varies by materials, labor, paint, and damage |
Varies by model, panel count, finish, seller, and shipping |
Finish Quality |
Good with careful work; may show some texture |
Finish quality depends on the part, paint process, and color matching |
Time Investment |
Varies by damage, curing steps, paint, and shop schedule |
Varies by stock, shipping, preparation, and installation complexity |
Safety |
Acceptable for cosmetic damage only |
Condition depends on the replacement part, installation, and mounting hardware |
Here is your checklist for making the final call. Use it when you stand in front of your damaged fairing:
If the damage is cosmetic and small—a hairline crack on a non-structural area with intact mounting tabs—repair is a safe and cost-effective option.
If the damage is in a structural area—broken tabs, cracks near bolt holes, warped panels, or damage affecting headlight or signal mounts—replace the panel. Do not risk your safety.
If you are unsure about the structural integrity of mounting, lighting, or sharp edges, get a professional inspection before deciding.
If you have limited time or skills, replacement may be simpler and more reliable than a repair you cannot do well.
Your safety on the road depends on making the right call.
Safety is most important. A cracked mounting tab fixed at home will likely fail within 500 to 1,000 miles. That failure could happen at highway speed. Do not risk your safety for a cheaper fix. When in doubt, choose replacement.
Before You Buy: Fitment Checklist
You've decided to replace the fairing. Smart choice. But before you click order, slow down. A fairing that doesn't fit your bike is worse than the crack you're fixing. It wastes your money, time, and patience. Here's what to check before you commit.
What to Check Before Ordering
Start with the basics. Your motorcycle isn't just a "Ninja" or an "R6." It has a specific year, make, model, and sometimes a sub-model that changes how parts fit. A 2021 fairing won't bolt onto a 2019 frame without issues. Check your registration or VIN plate to confirm the exact details.
Here's your pre-order checklist:
Verify the exact year, make, model, and sub-model of your motorcycle
Confirm the seller's listed fitment range matches your bike
Review the kit contents to ensure all necessary parts are included—upper, side panels, tail, tank cover, and any other pieces you need
Check the material type: ABS, fiberglass, carbon, or composite
Clarify the paint status: pre-painted, raw, primer, or custom
Check if your bike has prior crash damage or non-OEM brackets that could affect fitment
That last point matters more than you think. If your bike has been dropped before, the mounting points might sit slightly off. Even a brand-new fairing won't align perfectly on a bent frame. Be honest about your bike's history before you blame the manufacturer.
Now, about those "perfect fit" claims. Treat them with caution.
As aftermarket parts, minor adjustments may occasionally be required during installation, such as: slight trimming of mounting tabs, adjustment of mounting holes, or professional alignment during installation. This confirms that even for listed models, perfect fitment is not guaranteed without modification.
Don't let that scare you. It just means you should have basic tools ready and a little patience. Most adjustments take minutes, not hours. But if you're not comfortable trimming or aligning, factor in a professional installation cost.
Color matching deserves its own attention. Paint codes vary by year, even for the same model. A "Candy Apple Red" from 2020 might differ from the same name in 2022. Here's how to get it right:
Identify your bike's category
Note the year
Confirm the make
Lock in the model
Then cross-reference that with the seller's color options. Some manufacturers, like ColorRite, can match colors for models dating back to 1990s—even the 1960s for some vehicles. That means accurate replacement is possible for older fairings too. Just don't assume your bike's color code matches the name on the product page. Verify it.
Mounting points deserve a closer look as well. Aftermarket fairings may not include mounting hardware, unlike OEM parts which come with everything you need. Check whether your order includes bolts, clips, and grommets. If not, you'll need to reuse your existing hardware or buy new ones separately. That's an extra trip to the hardware store you can avoid with a quick check.
Before you order, measure your old fairing if you still have it. Compare the dimensions with the product specifications. Look at the mounting tab positions, the curve of the panel, and the location of cutouts for signals or vents. A few minutes of measuring saves you from a return shipping headache later.
When you're ready to browse, check the product page details carefully. For Kawasaki owners, the Kawasaki fairings collection lists compatible models and years. If you need something custom, custom fairings let you specify your bike's exact details before production starts.
One more thing: take photos of your current fairing from multiple angles. Note where the cracks are, how the panel curves, and where the mounting holes sit. These photos help you compare with the replacement when it arrives. They also serve as proof if something doesn't line up and you need to contact support.
Fitment isn't glamorous. It's the boring stuff that separates a smooth install from a frustrating afternoon. Spend twenty minutes checking the details now, and you'll save yourself hours of wrestling with a panel that doesn't quite fit. Your bike deserves that attention.
You've now got a clear path forward. For small, non-structural cracks with intact mounting tabs, repair saves money and works well. For large cracks, broken tabs, or anything affecting lights or secure mounting, replacement is the safer bet. Walk back through the assessment section and check the decision table before you commit. That quick review prevents wasted time and risky shortcuts. A cracked motorcycle fairing doesn't have to end your riding season. You just need an honest look at the damage and a choice that puts safety first. Whichever path you choose, a proper fix will keep you riding safely and looking good.
Replacement Fairing Resources
FAQ
When should I repair a cracked motorcycle fairing instead of replacing it?
Repair a hairline crack or shallow scratch if the mounting tabs are intact and the damage is cosmetic. Avoid repair if the crack affects structural areas or safety. Use a DIY kit only for non-essential parts.
Is it safe to ride with a cracked fairing?
Not if the crack affects mounting, lighting, or sharp edges. A cracked tab can fail at speed. Do not ride if the panel is loose, sharp, interfering with controls or lighting, or at risk of contacting moving or hot parts; if uncertain, have the bike inspected first. When in doubt, replace.
How much does it cost to repair or replace a fairing?
Costs vary widely. DIY repair cost varies with materials, damage, preparation, and finish work. Professional repair cost varies by labor, panel condition, paint matching, and region. Aftermarket and OEM replacement prices vary widely; request current itemized quotes for your exact bike and panel list. Always get a quote for your specific damage.
Should I get a professional inspection before deciding?
Yes, if you are unsure about structural integrity, mounting security, or lighting function. A professional can spot hidden damage you might miss. It is a small cost for peace of mind and safety on the road.