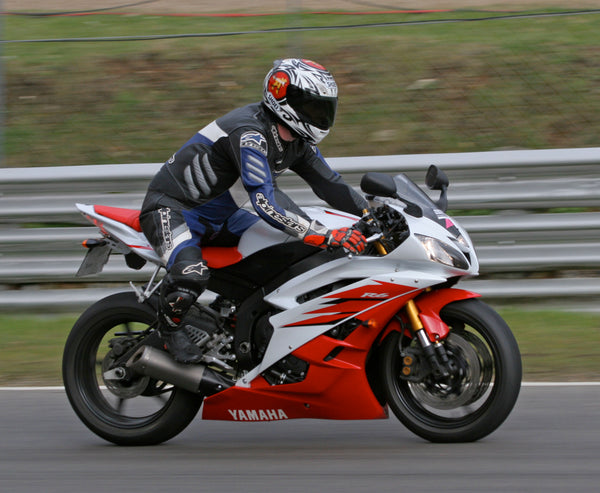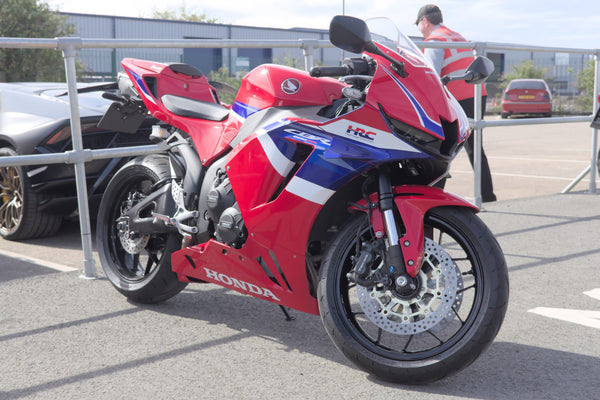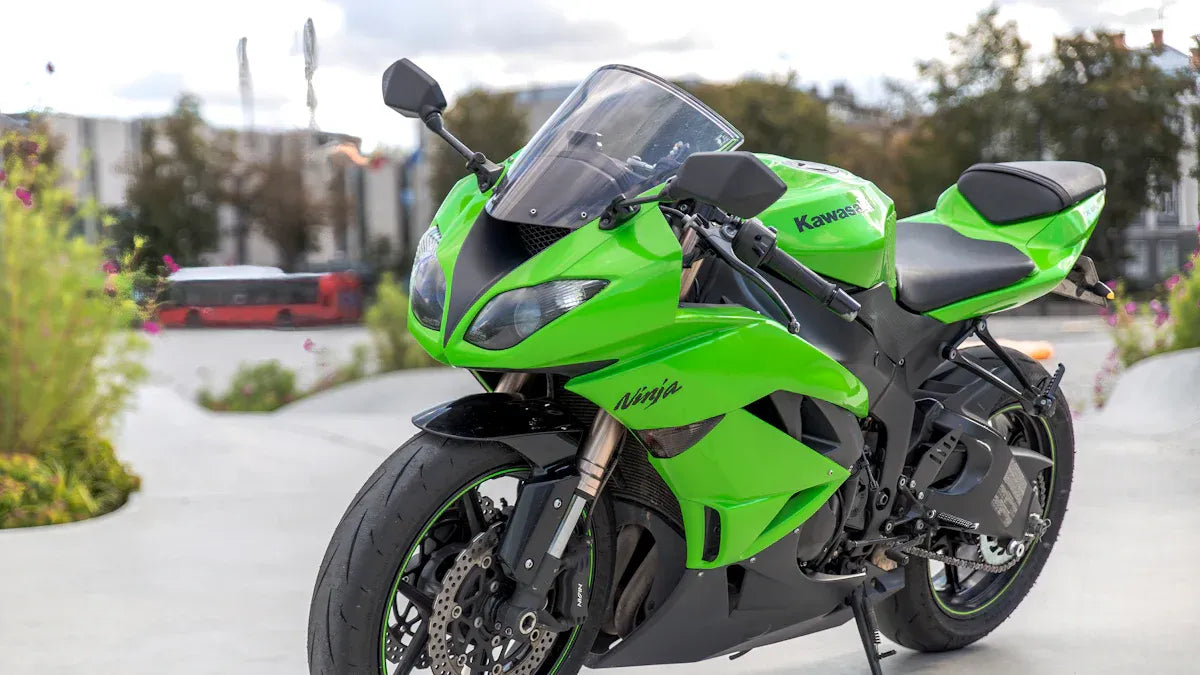
You might assume that ZX6R vs ZX6RR fairings are interchangeable across the board. That guess could cost you time and money. For some model years, the bodywork lines up perfectly. For others, the mounting tabs, ram-air ducts, and headlight shapes are noticeably different. The real answer depends on your exact model year, generation, and VIN—not just the badge on the tank. A 2005 ZX6R shares little with a 2024 ZX-6R when it comes to panel fitment. Before you order any Kawasaki ZX-6R fairing kits, you need to verify compatibility against your bike's specific specs. The checklist later in this guide covers every critical point, from side panel alignment to tail section mounting. It helps you avoid costly returns and ensures you get the right parts for your supersport. Always cross-reference your model code and year with the product listing, and when in doubt, consult official Kawasaki ZX-6R information or contact the seller with your VIN. For the latest 2024-2025 ZX-6R fairings, the fitment rules are even stricter due to updated headlight and ram-air duct designs. Take the extra minute to confirm before you click “buy.”
Key Takeaways
Fairings fit differently depending on the model year; always check your VIN and model code.
Some ZX-6R and ZX-6RR panels may overlap within closely related model years, but compatibility must be verified panel by panel against the exact generation and seller fitment list.
Check ram-air duct shape, headlight type, and mounting tabs before buying.
Use model-specific kits for a direct bolt-on fit; skip universal kits.
Check the official diagrams or the seller's fitment lists to avoid returns.
ZX6R vs ZX6RR Fairings: Model Overview
Before you compare body panels, you need to know what these two bikes really are. Kawasaki built each bike for a different job. That job changes how the fairings fit.
ZX6R: The 636cc Standard
The ZX6R has a 636cc engine. This size gives you strong power in the middle range. It works well for street riding and track days. Kawasaki made this model as a flexible supersport choice. It mixes daily use with race-ready handling. You get a bike that is good for commuting, weekend rides, and occasional track time.
Some closely related ZX-6R and ZX-6RR model years may share selected body parts, but do not assume a complete bodywork match. The fairings bolted on the same way. The mounting tabs lined up. The ram-air ducts matched. The only real difference was color options. Kawasaki offered different paint schemes for each model, but the plastic underneath was the same.
The engine parts were different. The ZX6R had different camshafts, pistons, and gears compared to its race-focused sibling. These mechanical differences did not change the outside bodywork. Confirm the front cowl, ram-air duct, headlight, side-panel, tail, tank-cover, and mounting-point fitment before ordering.
ZX6RR: The 599cc Race Homologation
The ZX6RR had a 599cc engine instead. This smaller size existed for one reason: racing rules.
But for the limited few that wanted to compete and had to stick under a 600cc displacement limit, the 599cc double R was the way to go. Homologation rules for AMA/FIM required a minimum production run of 1,000 units.
Kawasaki built the ZX6RR to meet these rules. The bike came with better suspension, adjustable parts, and a closer-ratio gearbox. These changes focused on performance, not looks. Compatibility varies by exact year, market specification, and panel.
You should still check your specific model year before ordering. Do not rely on the model badge alone; use the product listing and your bike's exact model information. Look at your VIN, model code, and the seller's fitment list. This step stops you from buying panels that will not match your mounting points.
ZX6R and ZX6RR: Fairing Design Differences
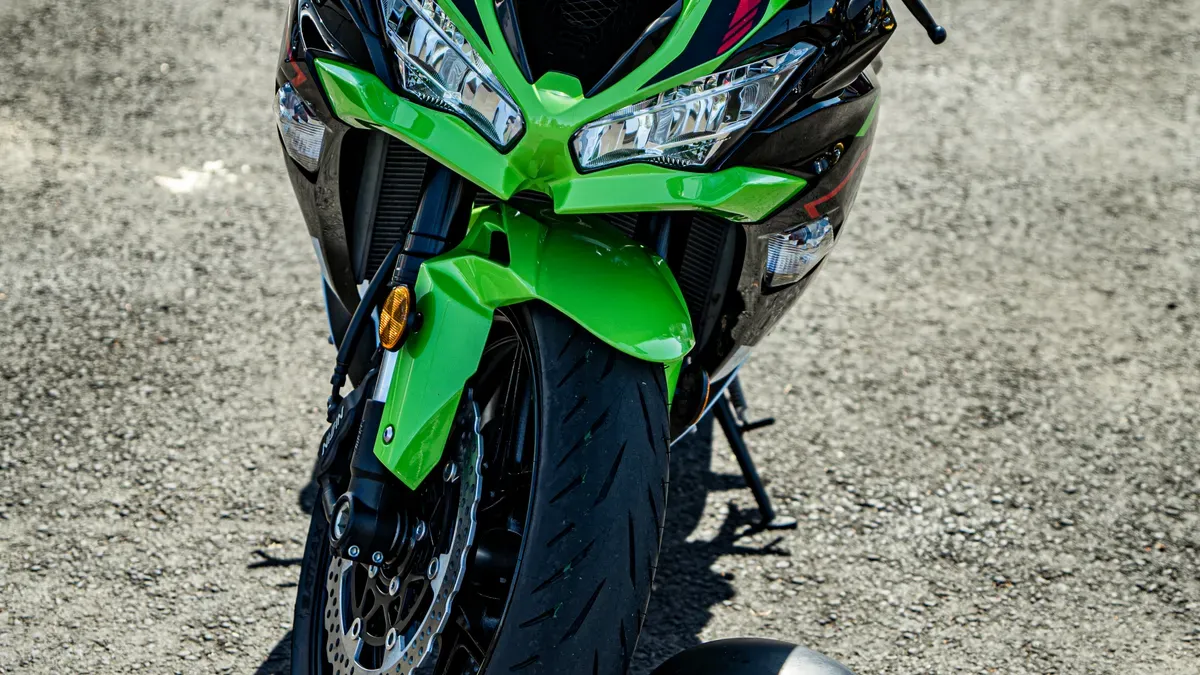
The fairing design differences between these two Kawasaki models depend a lot on which generation you own. Some years may share selected panels, but complete-set compatibility must be verified. Other years use different mounting systems, duct shapes, and headlight surrounds. You cannot assume parts will fit just because the model name is similar. You must check your specific year and model code.
Shape and Aerodynamics: Subtle Changes
The aerodynamic shape of the ZX6R and ZX6RR changed across generations. Early 2000s models had a sharper, more angular nose section. Later generations adopted smoother curves and moved winglets to new spots. These changes affect how air flows over the bike at speed. They also change how replacement panels line up with the tank and seat.
The ram-air duct shape is a key difference. Some generations use oval ducts placed high on the front cowl. Others use wider, flatter openings closer to the headlights. If you order a front cowl with the wrong duct shape, you will see gaps around the intake. You might also get poor airflow to the airbox. Always compare photos of your current ducts with the product listing before buying.
Headlight design also varies. Older models use twin round projectors. Newer models feature a single angular LED unit. The headlight surround is part of the front cowl on most generations. Swapping a cowl from a different year means your headlight may not mount correctly. You would need to replace the headlight assembly too, which adds cost.
Mounting Points and Hardware Locations
Mounting tabs and hardware positions differ across model years. The front cowl attaches at multiple points: upper bracket, side brackets, and lower chin connection. These bracket locations shifted between generations. A fairing designed for one year may have tabs that miss the frame mounts entirely.
Side panels also present fitment challenges. The ZX6R and ZX6RR use different side panel attachment methods in certain generations. Some use quick-release Dzus fasteners. Others use standard screws with rubber grommets. The belly pan mounting points vary as well. You may need to drill new holes or use adapter brackets for a proper fit.
The tail section and tank cover add another layer of complexity. Tank cover shapes changed with fuel tank capacity and pump design. A tank cover from one generation will not sit flush on another. The tail section mounting points also shifted, especially on the 2024+ models.
Model Year Group |
Front Cowl |
Ram-Air Ducts |
Side Panels |
Tail Section |
|---|---|---|---|---|
2003-2004 |
Similar shape |
Oval, high position |
Standard screws |
Narrow tail |
2005-2006 |
Refined edges |
Oval, slightly lower |
Standard screws |
Narrow tail |
2009-2012 |
Sharper nose |
Wider, flatter |
Dzus fasteners |
Wider tail |
2013-2018 |
Aggressive lines |
Repositioned |
Mixed fasteners |
Redesigned |
2024+ |
New LED design |
Larger openings |
New mounting |
New subframe |
This table gives you a general reference. It does not guarantee fitment. You must verify every mounting point against your specific bike. Check the model code on your VIN plate. Codes like ZX636E or ZX636F identify your exact generation. Cross-reference that code with the product description before you order.
The zx6r vs zx6rr fairings question has no single answer. The zx6r and zx6rr share panels in some years but not others. Your best approach is methodical verification. Measure your mounting tab locations. Compare ram-air duct dimensions. Confirm your headlight type. These steps prevent costly mistakes.
Every supersport owner faces this challenge eventually. Whether you ride a zx6r or a zx6rr, the same rule applies. Check first, buy second. The zx-6r lineup has evolved significantly over two decades. Respect those differences, and your fairing swap will go smoothly.
Part-by-Part Interchangeability Guide
You cannot treat fairing panels like universal parts. Each piece connects to your bike at specific points. Those points change across generations. This guide walks you through each major component. You will learn which parts need careful checking and which ones usually swap without trouble.
Front Cowl and Ram-Air Duct Compatibility
The front cowl carries the most risk in any zx6r vs zx6rr fairings swap. This piece holds your headlight, gauges, and ram-air ducts. Every generation changes these connection points. A cowl from a 2005 model will not bolt onto a 2013 frame. The mounting brackets sit in different locations. The headlight opening has a different shape. You cannot force the fit without cutting or fabricating new brackets.
Start with the headlight shape. Older ZX6R models use twin round projectors. Newer models use a single angular LED unit. The cowl surrounds the headlight completely. If you buy a cowl for the wrong generation, your headlight will not seat properly. You might see gaps around the edges. Worse, the mounting screws may not align with the headlight housing. You would need to replace the entire headlight assembly too. That cost adds up quickly.
Ram-air ducts present another common problem. These ducts feed air directly into your airbox. Their shape and position changed several times over the years. Early 2000s models have oval ducts mounted high on the cowl. Later generations use wider, flatter openings positioned closer to the headlights. A mismatched duct creates gaps around the intake. You lose airflow efficiency. You also risk debris entering the airbox through those gaps.
Check the duct openings against your current setup. Measure the width and height of your existing ducts. Compare those numbers with the product photos. Look at the duct position relative to the headlight. If the seller lists specific model years, verify your bike appears on that list. Your VIN plate shows the model code. Codes like ZX636E or ZX636F identify your exact generation. Cross-reference that code before ordering.
Side Panels and Belly Pan Fitment
Side panels attach to the frame at several points. These mounting locations shifted between generations. Some years use standard screws with rubber grommets. Others use quick-release Dzus fasteners. You need to match the fastener type to your bike's existing hardware. Otherwise, you will drill new holes or buy adapter kits.
The belly pan connects to the lower frame and the side panels. Its mounting tabs vary by year. A belly pan from one generation may miss the frame mounts entirely. You would need custom brackets to make it work. That modification takes time and skill. Most riders prefer finding the correct part instead.
The tank cover adds another layer of complexity. Its shape changed with fuel tank capacity and pump design. A tank cover from one generation will not sit flush on another. You will see gaps where the cover meets the side panels. Those gaps look unprofessional and let dirt accumulate.
Your best approach is methodical verification. Lay your new plastics next to your current panels. Compare every mounting tab location. Check the fastener type. Confirm the tank cover curve matches your tank. This process takes thirty minutes but saves you from a costly return.
Remember that the zx6r and zx6rr share panels in some years but not others. Only use panels specifically listed for your exact model year and generation. Later generations require careful checking. Your supersport deserves parts that fit correctly. Take the time to verify before you spend money.
ZX-6R vs ZX6RR: Aftermarket Fairing Options
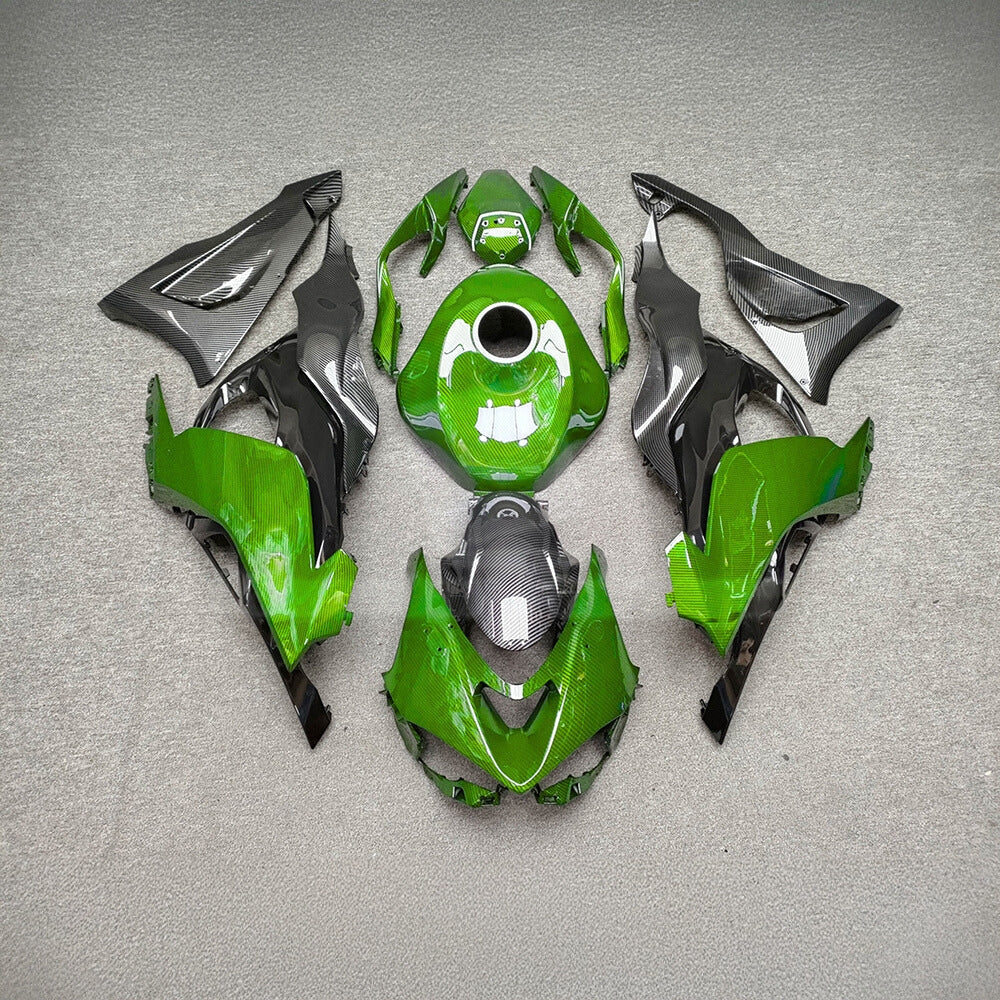
Shop this 2024-2025 Kawasaki ZX-6R fairing kit
When you shop for aftermarket fairings, you face the same fitment questions. The aftermarket gives you more choices than OEM parts. But those choices come with risk. You must pick a kit that matches your exact bike. A universal kit often leads to gaps, misaligned tabs, and extra work. You save time and money by choosing correctly from the start.
When to Choose Model-Specific Kits
Model-specific kits solve the zx6r vs zx6rr fairings problem. These kits match your bike's mounting points, ram-air ducts, and headlight openings. Every generation has unique dimensions. A kit designed for one year group will not fit another without modification. You would need to drill new holes or fabricate brackets. That work takes hours and risks damaging the panels.
Choose a model-specific kit when you want direct bolt-on installation. These kits align with your frame tabs, side panel slots, and tail section mounts. The fit looks clean from every angle. You avoid the frustration of parts that do not line up.
For every model year, the safest approach is to verify each panel and mounting point. Your zx6r and zx6rr share fairings. A kit for one model works for the other. For newer supersport models, you need a kit built for your specific generation. The 2024+ models have completely different headlight and duct designs. A 2013 fairing kit will not fit a 2024 bike.
Verifying Fitment Before You Order
Verification starts with your model code. Locate the code on your VIN plate. Codes like ZX636E or ZX636F identify your exact generation. Compare this code with the product description before you click buy.
The product source explicitly instructs buyers to confirm the exact model and year before ordering. Model-year specificity is the primary compatibility check.
Check the product listing for your year range. Many sellers organize collections by generation. You can find Kawasaki ZX6R fairings organized by model year. For the latest bikes, look at the 2024-2025 fairings collection. These pages list which specific models each kit fits. The description tells you the exact model codes and years.
Always cross-reference your bike's details with the product description. Measure your ram-air duct openings. Compare your headlight shape. Confirm your side panel fastener type. This process takes ten minutes but prevents costly mistakes. You get the right parts for your bike the first time.
Practical Swap Tips and Compatibility Checklist
You can avoid most fairing headaches with a simple habit: verify everything before you spend money. A few minutes of checking saves you from weeks of returns and refits. Use this checklist every time you shop for bodywork.
Pre-Purchase Fitment Checklist
Work through these points before you add anything to your cart:
Confirm your model year and generation. Check your VIN plate for the model code (like ZX636E or ZX636F). Write it down. Keep it with you while you browse.
Compare ram-air duct shapes. Measure your current duct openings. Match those dimensions against product photos. A mismatched duct leaves gaps and hurts airflow.
Check headlight layout. Older models use twin round projectors. Newer ones use a single angular LED unit. Your cowl must match your headlight type exactly.
Inspect mounting tab positions. Lay your existing panels flat. Note where each tab sits. Compare those locations with the replacement parts. Tabs that miss the frame mounts mean drilling or fabrication.
Review tank cover design. Tank shapes changed with fuel capacity and pump design. A cover from another generation will not sit flush. You will see gaps at the seams.
Verify the seller's fitment list. Read the product description carefully. Look for your exact year and model code. If the listing does not mention your bike, ask before ordering.
This checklist applies to every zx6r and zx6rr owner. Panel compatibility must be confirmed for the exact model year and generation. Later generations demand extra attention. Your supersport deserves parts that bolt on without modification.
Common Mistakes to Avoid When Swapping
The biggest mistake riders make is assuming universal fitment. They see "ZX6R fairings" in a listing and assume it fits their bike. That assumption leads to misaligned panels and wasted money.
Never rely on year-based rules alone. Always cross-reference your findings with the official Kawasaki parts diagram for your specific model. The diagram shows exact mounting points and fastener locations. Compare it against your new parts before you install anything.
Another common error involves skipping the hardware check. You might order panels that fit your frame but use different fasteners. Your bike uses standard screws or Dzus quick-release pins. Match the fastener type to your existing setup. Otherwise, you will buy adapter kits or drill new holes.
Do not forget the ram-air ducts. Many riders focus on the outer shape and ignore the intake openings. A panel that looks right from the front may have ducts in the wrong position. Airflow suffers, and debris can enter the airbox through gaps.
Finally, resist the urge to force a fit. If a panel does not line up, stop. Forcing it cracks the plastic or strips the mounting tabs. Step back, recheck your measurements, and confirm you ordered the correct generation. A zx6r fairing kit built for your exact year installs cleanly. Anything else costs you time and frustration.
Final Buying Guidance for ZX6R and ZX6RR Owners
You now know the main truth about these fairings. Some closely related model years may share selected panels, but a full set should never be assumed compatible without an exact fitment listing. Check every mounting point and component interface before ordering. For newer models, you must be careful. The mounting tabs, ram-air ducts, and headlight shapes changed a lot. You cannot just use the model name to know if parts fit.
OEM vs. Aftermarket: What's Right for You?
OEM parts come straight from Kawasaki. They match your bike's exact specs. You pay more for this exact fit, but you avoid guesswork. The plastic quality meets factory standards. The mounting tabs line up perfectly with your frame. If you want a sure fit and have the money, OEM is the safest choice.
Aftermarket fairings give you more options at lower prices. You can pick custom colors, graphics, and finishes. The trade-off is that you need to check the fit. You must confirm the kit matches your exact model code and year. A good aftermarket kit from a trusted seller fits as well as OEM. A cheap universal kit leaves gaps and misaligned holes. You spend hours fixing it or send it back.
For older bikes, aftermarket makes sense. The shared bodywork between zx6r and zx6rr models means more options exist. For newer supersport models, you need a kit built for your specific generation. The 2024+ models have completely different headlight and duct designs. A kit for a 2013 bike will not fit a 2024 bike.
Where to Find Reliable Fitment Information
Start with the official Kawasaki website. You will find model specs and parts diagrams there. These diagrams show exact mounting points and fastener locations. Compare them against any replacement parts before you install.
For aftermarket checks, look at NiceFairings. Their Kawasaki ZX6R fairings collection organizes kits by model year. The 2024-2025 collection covers the newest generation. Each product description lists the specific model codes and years it fits. Check your VIN plate code against that list before ordering.
There is no single rule for interchangeability. Every generation has unique dimensions. Check your model year, code, ram-air duct shape, headlight type, and mounting tab positions before you buy.
Your supersport deserves parts that bolt on cleanly. Take the extra ten minutes to check. You will save yourself from costly returns and frustrating installs.
The zx6r vs zx6rr fairings question has no single answer. Whether parts fit depends on your exact model year, generation, and physical details. You must check every factor before buying.
Look at your VIN and model code first. Then compare ram-air duct shapes, headlight types, and mounting tab positions with the product listing. Use the checklist from this guide every time you shop.
Whether you pick OEM or aftermarket parts, the rule stays the same. Make sure the parts match your specific bike's year and code. A zx6r and zx6rr may share panels in some generations, but you cannot assume it. Your supersport deserves parts that fit right. Take the extra minutes to check, and you will avoid costly returns and frustrating installs.
Related ZX-6R Fairing Resources
FAQ
Are ZX6R and ZX6RR fairings interchangeable?
It depends on the year. Compatibility depends on the exact year, generation, market specification, and panel. Newer generations have different mounting tabs, ram-air ducts, and headlight shapes. Always check your specific model code before ordering.
What should I check before ordering?
Confirm your model year and code from the VIN plate. Compare ram-air duct shapes, headlight type, and mounting tab positions with the product listing. Match the fastener type to your existing hardware. These checks take ten minutes and prevent costly returns.
Can I use aftermarket fairings from a different model year?
Only if the listing says your exact generation. A 2013 kit will not fit a 2024 bike. Check the product description for your model code before buying. Never assume universal fitment based on the model name alone.
How do I find the correct parts for my bike?
Check your VIN plate for the model code. Cross-reference it with the seller's fitment list. Consult official Kawasaki diagrams or contact the seller with your VIN. This supersport deserves parts that bolt on cleanly without modification.