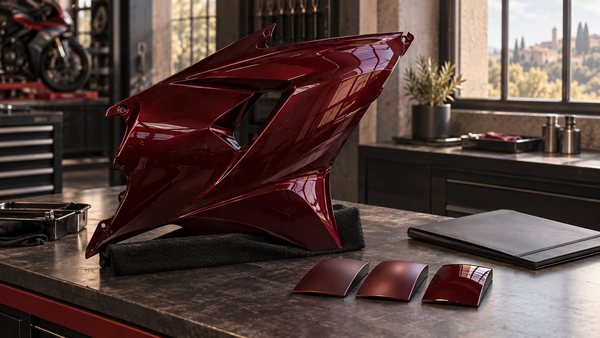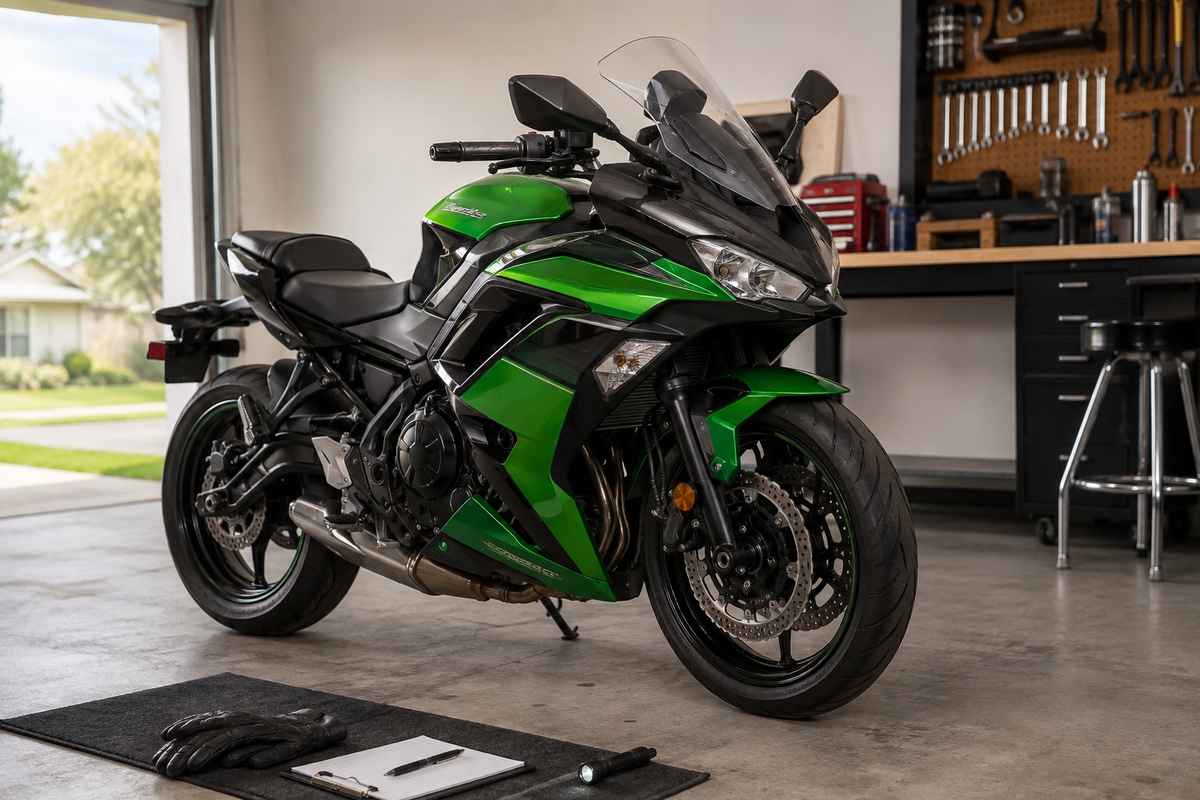
Useful resources: Explore the exact NiceFairings collection, review the featured fairing kit, follow the pre-fit checklist, check the NiceFairings FAQ, and use the official Kawasaki Ninja 650 model page for manufacturer context.
You drop your Ninja 650 in a slick parking lot. Your heart sinks as you see deep scrapes across the left side panel and a mounting tab snapped clean off. The damage looks costly and confusing-and now you're facing the reality of a Ninja 650 fairing replacement.
You face a common problem for US and European street riders. OEM parts cost a lot, and aftermarket choices feel overwhelming. For serious damage involving multiple panels or broken mounting tabs, a full aftermarket fairing kit is often the most budget-friendly and practical route for your Ninja 650 fairing replacement. However, you must check your model year carefully and be honest about your DIY skills before committing.
This guide helps you assess the damage, compare your options, break down real costs, and review the installation process. A Ninja 650 fairing replacement doesn't have to drain your wallet-or your confidence.
Key Takeaways
Check the damage first: look for broken tabs and deep cracks, since these mean you need a new part, not just a surface repair.
Full aftermarket kits give you more value than OEM parts when several panels are damaged or tabs are broken, and they cost less than just two OEM side panels.
Choose ABS plastic kits because they are durable, and make sure they fit your Ninja 650's model year (2020-2026) for a proper fit.
Expect a 4-6 hour DIY installation. Pre-fit all panels and use a torque wrench to avoid damage. If you lack tools or confidence, hire a professional.
Think about other options, such as plastic welding for tiny cracks or choosing a streetfighter look. However, full kits work best when you have major damage or want a new color.

Assess the Damage First
Before you shop for parts, take a close look at the damage. Not every scratch or scuff forces you to buy a new fairing. You need to separate surface problems from structural failures. This step saves you money and prevents unnecessary work.
Cosmetic Scratches vs. Structural Cracks
Run your fingernail across the scratch. If your nail does not catch, the damage is likely only in the clear coat or paint. You can polish out these surface marks with a mild compound and a microfiber cloth. Shallow scratches do not weaken the plastic underneath. They are purely cosmetic.
Deep cracks tell a different story. If you see a visible line that runs through the material, or if the plastic feels thin and flexible at the scratch point, you have structural damage. These cracks compromise the panel's strength. The fairing flexes under wind pressure at highway speeds. Over time, the crack can grow longer. A simple repair like filling with epoxy will not restore the original rigidity. You need a replacement panel or a full kit for these areas.
The Critical Role of Broken Tabs
Broken mounting tabs are the number one reason you should consider a full fairing kit. These small plastic hooks fit into rubber grommets on the bike frame. They hold the fairing firmly in place during every ride.
When a tab snaps off, you cannot fix it reliably. Glue does not hold the same strength as the original molded plastic. Plastic welding might work for a short time, but the tab takes constant stress from vibration and road bumps. A repaired tab often breaks again within a few hundred miles.
Without a working tab, the fairing does not fit flush. It may shift while you ride. It can rattle at idle or vibrate at highway speeds. Loose fairings also create new pressure points that can crack adjacent panels. If you have one or more broken tabs, replacement is the only lasting solution. This is why a full kit often becomes the most practical path for your Ninja 650 fairing replacement.
Comparing Ninja 650 Fairing Replacement Options
Once you confirm the damage goes beyond surface scratches, you face three primary routes. You can order individual OEM panels from a Kawasaki dealer. You can buy a complete aftermarket fairing kit. Or you can mix both approaches by replacing only the damaged panels with aftermarket equivalents. Each path carries different costs, lead times, and fitment considerations.
OEM Parts: The Pricey careful fitment
Kawasaki dealerships stock genuine factory panels for your Ninja 650. These parts match your bike's original paint exactly. The plastic composition mirrors what came from the factory. Mounting tabs align carefully with your frame's grommets. You receive a panel that looks and fits like the day you rolled the bike off the showroom floor.
OEM parts make sense for one specific scenario. You have a single cracked panel with intact mounting tabs. You want a is intended to provide color match without any adjustment work. You have the budget to absorb the premium. For everyone else, the math becomes difficult to justify.
Aftermarket Full Kits: The Value Proposition
Quality varies between manufacturers, so you must choose carefully. Reputable sellers mold their kits from ABS plastic, the same material Kawasaki uses. They offer color-matched options that replicate factory paint codes. You should verify the seller's reputation through customer reviews and request photos of actual installed kits before ordering.
A full kit also solves a hidden problem: paint consistency. Factory panels fade and yellow over time. A new OEM panel can look noticeably brighter than your bike's aged bodywork. A complete aftermarket kit replaces every panel at once. Your Ninja 650 fairing replacement results in uniform color across the entire machine.
The trade-off involves fitment. Aftermarket kits require more patience during installation. You may need to transfer hardware like windscreen fasteners and turn signals from your old panels. Minor gaps might need adjustment. You should expect to spend several hours on the installation rather than a quick bolt-on swap.
For riders facing broken tabs on multiple panels or a full color change, the complete kit delivers the best balance of cost and coverage. You get a fresh look for your Ninja 650 without the dealership markup.

The Real Cost Breakdown
The price gap between OEM panels and a full aftermarket kit is large. You need to compare the numbers. Many riders assume a full kit costs more. That assumption is often wrong. A clear cost breakdown shows why the full kit offers better value.
Price Per Panel vs. The Full Kit Bundle
Even if you need only two panels, the full kit can still make sense. You keep the extra panels as spares. You can sell unused panels to another rider. Or you can use them if you drop the bike again. The bundle gives you flexibility that single panel purchases do not.
Hidden Costs: Shipping, Hardware, and Paint
The sticker price is only part of the story. You must account for hidden costs. These costs can turn a good deal into a frustrating experience if you ignore them.
Quality, Fit, and Finish
The material and fit of your new fairings decide how the final result looks and works. Not all aftermarket kits are the same quality. You need to know the differences before you buy.
ABS Plastic vs. Fiberglass: Material Matters
OEM panels use ABS plastic. ABS stands for acrylonitrile butadiene styrene. This material is tough and bends without breaking. When you hit a pothole or ride in strong wind, the plastic flexes and goes back to its shape. This strength makes ABS the standard for street bikes.
Fiberglass is a different material. It is lighter than ABS. But it breaks more easily. A small hit causes a crack. The crack can grow fast across the panel. Fiberglass works well for track fairings that see less shaking and no daily wear. For street riding, fiberglass is not a good choice. Road shaking, temperature changes, and small bumps all stress the material. ABS handles these conditions much better.
Most trusted aftermarket sellers use ABS for their kits. You should check the material before ordering. Look at the product details or ask the seller directly. A good ABS kit gives you the same base as OEM parts. The paint and finish then decide the final look.
The 2020-2026 Fitment and Color Matching Challenge
The 2020-2026 Ninja 650 has specific body shapes. The mounting points, the upper cowl shape, the side panel curves, and the tail section all changed from earlier models. You must confirm your bike's exact year before you order any fairings. Check your registration or the VIN sticker on your frame. A 2019 kit does not fit a 2020 bike.
Trusted sellers like NiceFairings provide fit guides on their product pages. Read this info carefully. It tells you which model years the kit fits. Some sellers also offer customer help for fit questions. Use this resource before you buy.
Even with the right kit, you should expect small fixes. Aftermarket parts have slight size differences from the molding process. You may need to file a small edge or make a mounting hole a bit bigger. This is normal. The pre-fit step helps you find these issues. Dry-fit every panel before you tighten any screws. Check alignment at each mounting point. Adjust as needed.
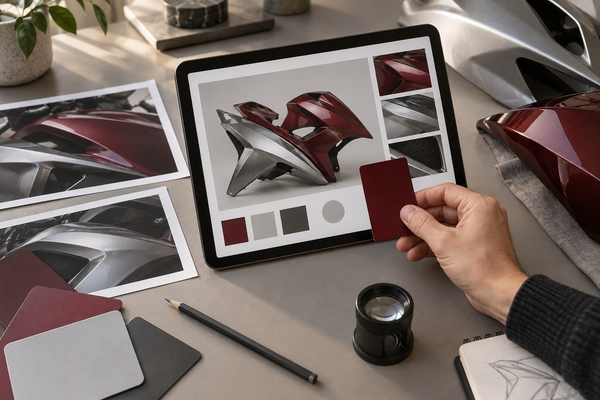
Color matching is another challenge. Factory paint fades and changes shade over time from sun and weather. A single new panel may not match your bike's current color exactly. This mismatch is easy to see on nearby panels like the side fairing and the tail section.
If you buy an unpainted kit, take it to a professional painter. They can match the color to your bike's current finish. This adds time and cost to your project. A painter charges a few hundred dollars for a full set. The pre-painted choice removes this extra step. You get panels that match your bike's original color straight from the maker.

Installation: DIY or Pro?
You have your new fairing kit ready. Now comes the real test: installing it correctly. This step separates a clean finish from a frustrating mess. You need the right tools, enough time, and a clear workflow.
Tools, Time, and the Pre-Fit Workflow
Start with basic hand tools. You need a socket set, screwdrivers, and a torque wrench. The torque wrench matters more than you think. Over-tightening a fairing bolt cracks the plastic or strips the threads. Under-tightening lets panels rattle loose at speed. Set the wrench to the factory specification for each fastener.
Plan for four to six hours of work. Rushing leads to mistakes. You must remove the old fairings carefully. Many bolts hide behind other panels. Work from the top down. Remove the windscreen first, then the upper cowl, then the side panels. Transfer all hardware from your old parts. This includes rubber grommets, turn signals, and the windscreen fasteners.
The pre-fit step is the most important part of your Ninja 650 fairing replacement. Dry-fit every panel before you tighten anything. Place each piece against its mounting points. Check the gaps between panels. Look for edges that overlap or holes that do not line up. Make small adjustments with a file or sandpaper. This step prevents the frustration of discovering a misaligned panel after you have tightened everything.
Tighten fasteners in a specific order. Start with the center of each panel, then work outward. This method prevents warping. Check each bolt twice. A loose fastener causes vibration noise that drives you crazy on the road.
Knowing Your Limits: When to Call a Technician
Some situations demand professional help. If the drop damaged your subframe or mounting brackets, stop immediately. Bent metal does not align with new plastic. A technician can straighten or replace the subframe before you install fairings.
You also need professional help if you lack the right tools. A torque wrench is non-negotiable. So is a proper socket set with extensions for reaching hidden bolts. If you own neither, the cost of buying them might exceed a shop's labor fee.
Electrical components present another boundary. Turn signals and wiring harnesses sit behind the fairings. If you feel uncomfortable disconnecting and reconnecting these parts, call a technician. A wiring mistake can cause shorts or blown fuses. The risk is not worth saving a few dollars.
Alternatives to a Full Kit
A full kit fixes serious damage. But maybe you only have small cracks. Or you want a totally new style. There are two other choices before you buy new bodywork. Each one fits a different situation and skill level.
Repairing the Damage: Plastic Welding and Filling
Plastic welding works for small cracks that are not structural. You heat a plastic rod and melt it into the damaged spot. The melted plastic bonds with the surrounding plastic. This method brings back some strength to the panel. Then you sand the area smooth and put on body filler. After painting, the repair is almost impossible to see.
This method only works for thin cracks without broken tabs. The crack must not be close to a mounting point. Vibration stress will break open a weak weld. You also need patience and steady hands. A bad weld looks worse than the original damage. Practice on a spare piece of plastic before you work on your fairing.
Going Naked or Track-Ready
You can take off the fairings completely. This gives a "streetfighter" look. The bike shows its mechanical parts openly. You save weight and avoid future fairing damage worries. Many riders like this raw style.
But you must handle what the fairings cover. Wiring harnesses need secure mounting. The coolant reservoir and radiator need protection. Turn signals need new spots. You might need a new headlight assembly. These changes cost money and time. The result also changes how your bike handles wind. Highway riding becomes windier and more tiring.
Track riders have a different option. Special track fairings use lightweight materials. They focus on airflow and crash protection. These kits often use quick-release fasteners for fast panel swaps. You can fix or replace single track panels at low cost. This choice only makes sense if you rarely ride on public roads. Track fairings lack the street-friendly features of your stock bodywork.
Neither option fits most daily riders. A full kit keeps your Ninja 650 practical and comfortable. The streetfighter look trades function for style. Track fairings trade street usability for performance. Pick these paths only if they match how you ride.
Is a full kit worth it? The answer depends on your damage. A full kit works best for broken tabs or multiple damaged panels. It does not work for a single repairable scratch. Buy OEM or a quality used part for one cracked panel. Choose a full aftermarket kit for multiple damaged panels or a color change. Your best choice balances budget, skill, and outcome. A rider with more money than time may prefer OEM. A budget-conscious DIY rider finds the full kit more satisfying. Inspect your damage. Confirm your model year. Ask for help if the job exceeds your skill level. Your Ninja 650 fairing replacement project deserves the right approach.

FAQ
How do I know if my Ninja 650 is a 2020-2026 model?
Look at the VIN sticker on your steering head or frame. The tenth character tells you the model year. Your registration documents also show this info. Kawasaki's website has a VIN decoder tool you can use. Always check this before you order any fairing kit.
Can I paint an unpainted fairing kit myself?
Yes, but your results depend on your tools. Spray cans work fine for small parts. Full fairing sets need a spray gun and a clean, dust-free area. Professional painting costs more but gives you a tough, factory-like finish. Be honest about your skill level before you try this.
Will aftermarket fairings fit without modification?
Most quality ABS kits line up well with factory mounting points. You might need small adjustments. Some edges may need filing. Mounting holes sometimes need to be made slightly bigger. The pre-fit step helps you find these spots. Plan to spend extra time on alignment during your first install.
How long does a full fairing installation take?
Set aside four to six hours for your first try. Removing old panels takes about an hour. Moving hardware over adds another hour. The pre-fit and final assembly use the rest of the time. Rushing leads to mistakes. Give yourself a full day so you can work without stress.
What should I do with my old damaged fairings?
Save them as spares for later. You can take off hardware like grommets and fasteners. Some riders sell undamaged panels to other owners. Others use them to practice repairs. If you throw them away, check your local recycling rules for ABS plastic.
Ready to compare finishes? Return to the matching NiceFairings collection and verify the exact listing for your motorcycle before ordering.