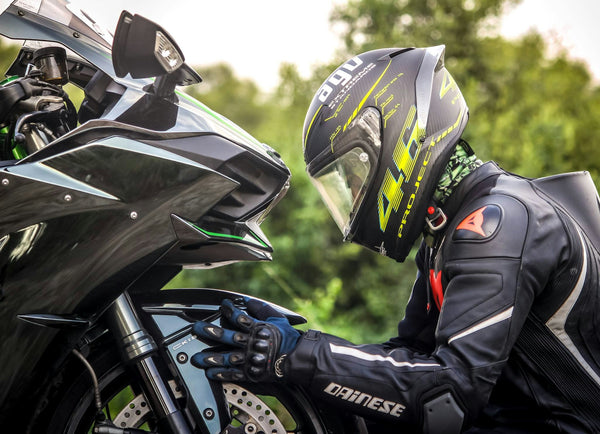
The first mark on a freshly painted sportbike is often blamed on the road. Sometimes the road never touched it. A jacket pull can tap the tank cover at every fuel stop, a boot buckle can sweep across the tail during mounting, and a trapped grain of grit can turn an otherwise soft riding pant into sandpaper.
The useful response is to identify where your actual gear meets your actual motorcycle, separate removable transfer from finish damage, and change the contact before repeated motion makes it worse. This parked-bike inspection works for solo riders, passengers and newly installed bodywork without pretending that a coating or film prevents every mark.
The short answer: make a contact map before you buy protection
With the motorcycle parked securely, switched off and cool, put on the gear you normally wear. Have a helper watch—without asking you to balance or perform a riding maneuver—and note every place a hard edge, loose strap or gritty fabric approaches a painted surface. Check the mount, seated position, normal control reach and dismount. Repeat with a passenger only when the motorcycle's owner manual permits it and the proper seat and footrests are fitted.
Clean both sides of every contact: the gear and the paint. Secure loose hardware, change the movement that causes the sweep, and then decide whether a model-appropriate pad or professionally installed paint-protection film makes sense. If you have just installed bodywork, first confirm that the panel itself is not moving; our guide to fairings rubbing the tank or seat addresses alignment and interference rather than rider gear.
Start by classifying the mark, not attacking it
A dark streak is not automatically a scratch. It may be rubber from a boot, dye transfer, wax residue, road grit held in a seam or a line cut into the clear coat. Under diffuse light, look across the surface from several angles. Do not use a fingernail as a depth gauge; that adds another hard contact and tells you little about the coating stack.
Photograph the mark before cleaning. Record the panel, gear, finish type and when the line appeared. Then follow the motorcycle or finish maker's cleaning instructions. Yamaha owner manuals, for example, warn against harsh chemicals and abrasive cloths on plastic parts; the approved method still depends on the motorcycle and finish. For insect residue and tar, use the staged method in our contaminant-cleaning guide, not the most aggressive product on the shelf.
If the mark remains after a conservative wash, stop. Gloss clear coat, matte finish, decals and protective film should not be polished as though they were the same material.
Map five contact zones on the motorcycle
Draw a simple side view or place removable paper flags near—but not on hot or moving parts—while you inspect these zones:
- Upper tank or tank-cover zone: jacket zipper pulls, belt buckles, trouser buttons and backpack waist buckles can meet the surface when the rider leans forward.
- Knee zone: textile seams, hard armor edges, hook-and-loop tabs and trapped grit move repeatedly as the rider changes position.
- Seat-to-tail transition: a jacket hem, belt hardware or backpack can rest on the painted bridge behind the rider.
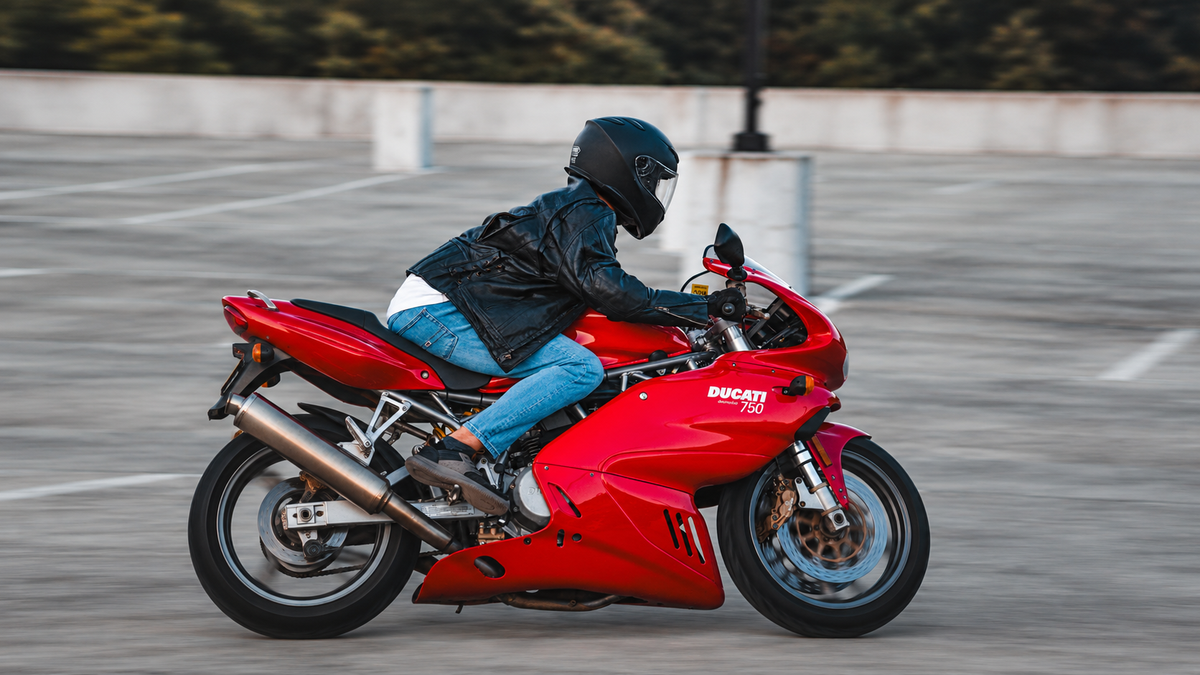
- Passenger mount arc: a boot toe, heel guard or buckle can sweep over the tail panel or seat cowl before the foot reaches the peg.
- Lower side-panel zone: boot heels and shin hardware may touch a painted lower fairing when feet move between ground, peg and control.
Do not assume a tank-shaped painted part is the metal fuel tank. Many kits include a plastic tank cover; our tank-cover-versus-fuel-tank guide explains why that distinction matters when discussing fit, finish and replacement.

A freshly painted tank-cover-shaped part in the NiceFairings production process. It is shown off the motorcycle to make the finished contact surface easy to see; it should not be described as the structural fuel tank.
Check the gear from the motorcycle's point of view
Lay out the exact clothing and luggage you use, not a showroom substitute. Run a clean microfiber cloth lightly over exposed zipper pulls, snap backs, rivets, belt buckles, boot closures and bag hardware. If the cloth catches, the same edge may catch a decal or concentrate pressure on paint. This is a screening check, not proof that the object will scratch.
Then inspect the soft parts. A smooth jacket panel with embedded grit is more concerning than a clean plastic buckle that never reaches the motorcycle. Empty pockets that become hard lumps when filled. Secure or shorten loose bag straps according to the bag maker's instructions, keeping every strap away from wheels, chain, controls, exhaust and suspension. For luggage itself, use the separate tail-bag packing and painted-tail check; a bag's load path is different from clothing worn by a rider.
Perform the parked-bike fit check safely
Use stable, level ground and follow the owner's manual for parking and passenger use. The engine should be off and the exhaust cool. A helper can observe and photograph the clearances while the rider assumes a normal seated posture. Do not improvise a balance drill, put a person on an unsupported motorcycle or place hands near moving components.
Check three moments separately: getting on, riding posture and getting off. Contact often happens only during the transition. A boot may clear the tail once seated but sweep it on the way over. A zipper may float above the cover upright yet touch it under normal forward lean. Turn the handlebar only as the manual and stable setup allow, because reach can shift the torso and jacket hardware.
Use low-tack painter's tape only as a temporary visual marker on a fully cured, compatible surface and only after the finish supplier approves it. Never treat tape as riding protection, and do not leave it on a hot panel or fresh paint.
Pay special attention to the passenger mount arc
Passenger boot scuffs are usually a movement problem, not evidence that a tail panel is defective. The passenger needs a clear mounting routine based on the motorcycle owner's manual and a signal from the rider. The rider must stabilize the motorcycle as instructed by the manufacturer; the passenger should use the designated footrests and handholds, not painted bodywork.
Observe the boot's entire path from the ground to the peg. Tall adventure-style boots, external ankle braces and decorative heel hardware may need more clearance than compact street boots. A fitted seat cowl and a passenger seat are not interchangeable roles; if you are unsure which piece belongs on an R6, see our R6 tail fairing, seat and cowl guide. Never carry a passenger on a configuration the motorcycle maker does not approve.
Treat the rider's knees as a moving interface
Knees do not merely touch one point. They grip, relax and shift during normal riding, so small contamination can travel over a larger area. Inspect the inner knee panels of riding pants after a dusty stop. Look for exposed armor fasteners, hook-and-loop corners or rough seam ends. Clean the motorcycle and the garment before diagnosing the next ride.
Do not solve an awkward knee contact by adopting a riding position that compromises control. If the contact comes from a protruding or misaligned panel, diagnose the installation. If it comes from the garment, consult the gear maker about adjustment; do not cut structural stitching, remove certified armor or cover ventilation without understanding the safety consequence.
Zippers, belts and backpack buckles need a lean-angle check
The torso moves toward the tank during braking, cornering and bumps. A buckle that clears by a few millimeters in a static upright pose may touch when the body compresses. That does not justify simulating hard braking while parked. Instead, with the motorcycle stable, compare relaxed upright posture with the normal forward reach you use at the controls while a helper watches the gap.
Close jacket flaps intended to cover zippers. Tuck or secure manufacturer-provided pull tabs as designed. Put a backpack's waist buckle where it cannot rest on the tail or tank cover, and manage strap tails exactly as the pack instructions require. If the pack itself bears on paint, return to the luggage load-path questions in the painted-tail packing guide rather than relying on a sacrificial cloth that can shift or collect grit.
Clean the interface before every long ride
Repeated light motion plus contamination is the pattern to prevent. Wipe neither a dusty fairing nor dusty gear with a dry cloth. First remove loose contamination using the method approved for that surface. Wash tools must be clean, soft and reserved for painted bodywork. Rinse thoroughly and dry as directed.
Matte paint is especially unforgiving of spot polishing because a localized change in sheen may be more visible than the original mark. Read the matte-fairing cleaning mistakes guide before applying wax, compound or gloss enhancer. For gloss paint, Yamaha documentation still cautions against abrasive polishing products; follow the finish supplier rather than a universal social-media recipe.
Clean the gear too. Check boot soles and closures for grit, jacket hems for metal fragments and backpack pads for embedded debris. A perfectly cleaned motorcycle is only half of a clean interface.
Protection helps only after fit, cure and compatibility are confirmed
Paint-protection film or a model-specific pad can reduce wear in a known contact zone, but neither fixes a loose panel or careless mounting path. Fresh paint may need a cure period before film installation, and the film adhesive must be compatible with the coating, decals and finish texture. Matte and satin surfaces can show an obvious gloss mismatch.
Before booking an installer, work through what to check before applying PPF to freshly painted fairings. Film manufacturers such as 3M and XPEL publish product-specific care instructions that warn against abrasive cleaning; those instructions apply to their products, not automatically to every film. A discreet, accurately cut installation is more useful than a large patch placed without understanding the actual contact path.
New bodywork deserves a second contact map
A new fairing kit can reproduce the intended mounting architecture while still changing the relationship among paint, seat, rider and accessories because of assembly position, rubber condition, bracket adjustment or added equipment. Before the first long ride, verify every fastener, grommet, heat shield and clearance according to the service information for the exact model and year.
Then repeat the gear-contact map. If a panel flexes into the rider under light hand pressure, do not blame the jacket first. If a mount is under tension or a fastener is substituting for the correct stack, correct the mechanical issue. Our custom-painted fairing protection guide is useful for general care, but this contact-map step is specifically about the human-to-bodywork interface.
When comparing replacement options, begin with the NiceFairings motorcycle fairing collections, then confirm the model, year range, color scheme and expected included pieces before ordering. Photos of your current motorcycle and the contact zone are more useful than a color name alone.
When a mark needs repair rather than more cleaning
Stop experimenting if the finish has a visible cut, lifted decal edge, chipped paint, exposed substrate or a matte patch that changed sheen. More solvent or polishing may enlarge the repair. Photograph the area in neutral light, include one wider context image and retain the gear that may have caused it.
For isolated cosmetic damage, a qualified paint professional may be able to advise on localized correction. A cracked mounting feature, distorted panel or recurring interference needs structural diagnosis first. The crash-scuffed fairing makeover discusses design choices after cosmetic damage, but a crash is not the default explanation for a gear-contact line.
If the damage may involve shipping, installation or another incident, build a neutral record before changing parts. The fairing damage evidence-packet guide shows how to capture context without making unsupported conclusions.
A ten-minute pre-ride gear-contact worksheet
Use this after changing gear, adding a passenger, fitting a backpack or installing painted bodywork:
- Motorcycle stable, off and cool: yes / no
- Finish type identified: gloss / matte / satin / film / unknown
- Upper tank or cover: clear / zipper / buckle / button / unknown contact
- Left knee zone: clear / fabric / armor / grit / unknown contact
- Right knee zone: clear / fabric / armor / grit / unknown contact
- Seat-to-tail transition: clear / jacket / belt / backpack / unknown contact
- Passenger boot arc: not applicable / clear / tail / cowl / side panel
- Lower side panel: clear / boot / heel / shin closure / unknown contact
- Loose straps secured away from hazards: yes / no
- Paint and contacting gear clean: yes / no
- Panel movement or interference found: yes / no
- Photos taken before correction: yes / no
Any “unknown” is a reason to observe again, not a reason to guess. Any panel movement sends you back to installation diagnosis. Any unsafe passenger configuration ends the check until the owner's manual requirements are met.
What to send NiceFairings when you need help
When asking whether a replacement or custom-painted kit suits your motorcycle, send the make, model, model year and market, plus clear photos of both sides and the front. Include a close photo of the marked panel and a wider photo showing its location. State whether the part is original, aftermarket or unknown, and whether accessories, film or pads are already installed.
Use the NiceFairings contact page for fitment and order questions. We can help identify the correct product path, but a photo alone cannot reliably prove scratch depth, paint chemistry or the cause of a mark. Keeping the diagnosis honest protects both the repair decision and the next finish.
Sources and image credits
- Yamaha Motor owner-manual example: plastic and painted-surface care guidance, including cautions about harsh chemicals and abrasive cloths. Always use the manual for the exact motorcycle and market.
- 3M automotive film product care and XPEL product care: manufacturer-specific film cleaning guidance, cited only for their respective products.
- Cover photo: Zyla Rohly on Pexels, used under the Pexels license; the canvas was extended horizontally with OpenAI image editing for the blog-card format. It does not imply endorsement by the motorcycle or gear brands shown.
- Inline production photo: NiceFairings. The orange part is identified as a tank-cover-shaped painted component, not the motorcycle's structural fuel tank.