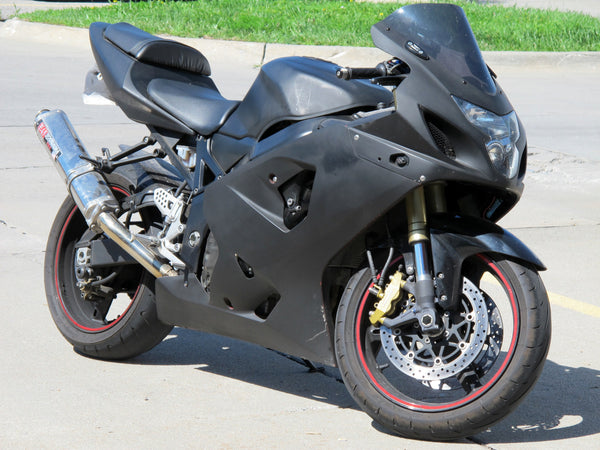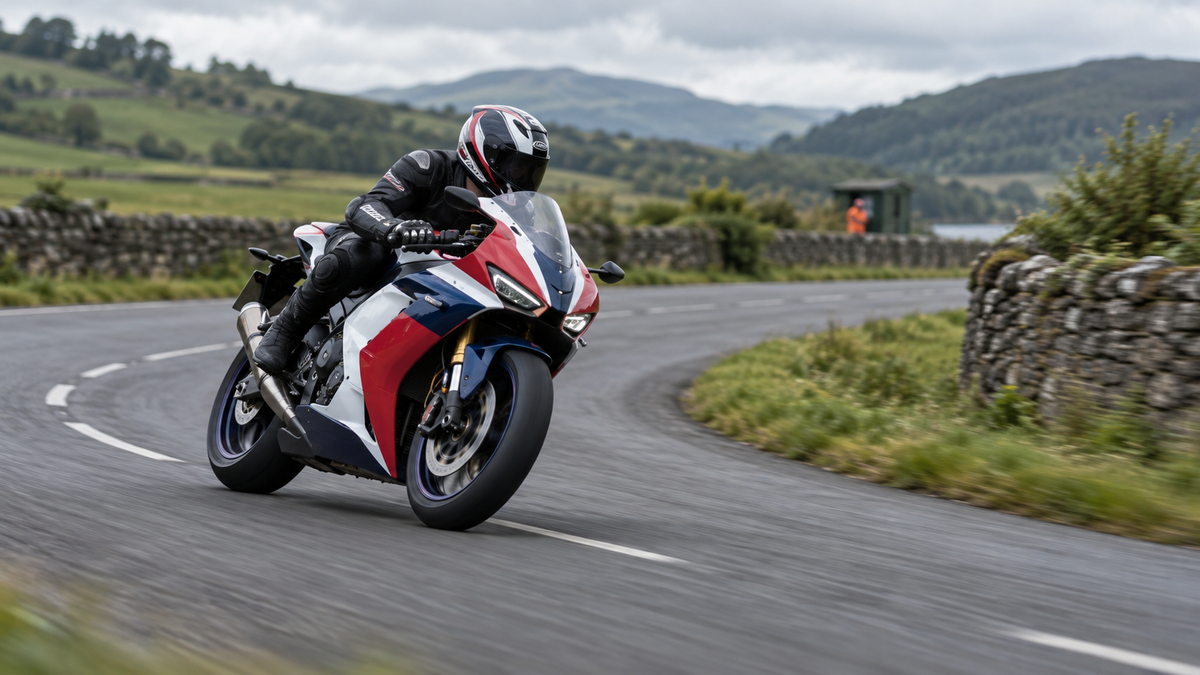
The Isle of Man TT and other road races create a powerful visual language: compact number fields, high-contrast fronts, sponsor blocks that cross complex bodywork and motorcycles photographed against real roads rather than a controlled circuit. It is understandable that street riders want some of that presence in a custom fairing set.
The wrong lesson is that a “TT-style” finish must be proven rock-chip armor. A race association does not identify the resin, primer, color system, clear coat thickness, curing method or testing behind a replacement kit. Nor does a phrase such as “UV clear” establish stone-impact resistance, fuel resistance or pressure-washer safety.
The useful question is: how should a rider approve a road-race-inspired design while making realistic plans for road debris, graphics, protection film, cleaning and future repair? The answer begins with separating style evidence from material evidence.
Images in this article are AI-generated editorial concepts. They do not show an Isle of Man TT entry, NiceFairings product, customer motorcycle, coating test or proven road-racing performance.
Quick answer
- Treat TT and road-race references as visual inspiration, not durability certification.
- Ask what finish and graphic method the actual order uses; do not infer hidden layers from photos.
- Expect leading surfaces to collect bugs, grit and wear in normal use.
- Consider model-compatible paint-protection film only after confirming finish cure and installer guidance.
- Never promise that clear coat, ceramic coating or PPF makes a panel chip-proof.
- Keep graphics, numbers and sponsor references legally reviewable and readable across real seams.
- Document new panels before riding so later marks can be compared fairly.
- Use gentle, finish-approved cleaning instead of aggressive pressure or scraping.

Why road debris marks the nose first
The nose, front fender, mirror fronts and leading edges meet the air and debris before most other painted surfaces. Pebbles thrown by traffic, insects, grit, dirty wash media and contact during maintenance can all leave marks. Speed, particle size, angle, coating condition and panel curvature change the outcome. That is why a universal “survives 150 mph gravel” promise is not credible without a defined test.
Begin with a clean baseline. Photograph the front in diffuse daylight, then take close views of each leading edge. Record pre-existing chips, paint nibs and transport marks. This protects both buyer and supplier from arguments based on memory.
If the bike already has damaged bodywork, decide whether you are repairing, refinishing or replacing. Our repair-or-replace guide separates structural cracks from finish-only concerns. New paint does not restore a broken tab.
A coating stack is not one adjective
Painted bodywork may involve substrate preparation, primer or sealer, color, graphics and clear, but the actual system varies. “Automotive paint,” “high solids,” “UV-resistant” and “baked” are incomplete descriptions unless tied to product documentation and process evidence.
Ask these questions about the ordered set:
- Is the visible design painted, printed, applied as film or combined?
- Which graphics are beneath a clear layer and which sit on top?
- What cure or handling interval applies before installation, washing or film application?
- Which cleaners and solvents are prohibited?
- How should fuel or brake-fluid contact be handled?
- Can a local refinisher repair a small chip without replacing the entire panel?
Our under-clear versus surface-decals guide explains why graphic position alone does not guarantee durability. An under-clear design may reduce exposed graphic edges, but the clear surface can still be scratched or chipped.
Realistic comparison of protection choices
| Option | What it may help with | What it does not prove | Planning question |
|---|---|---|---|
| Painted clear-coated panel | Color and surface finish; may cover graphics | Chip-proof performance or universal chemical resistance | What exact care and repair guidance applies? |
| Surface graphic film | Replaceable visual detail in some systems | Clean removal from every finish | Is the adhesive compatible and removable as documented? |
| Paint-protection film | Sacrificial barrier against some abrasion and impacts | Invulnerability, perfect invisibility or safe use on uncured paint | Which film, installer and edges suit this panel? |
| Ceramic-style coating | May change cleaning behavior for an approved surface | Stone-impact absorption or structural protection | Is it approved for the finish and PPF system? |
Avoid “best” without conditions. A rider who changes graphics often may value replaceability. A rider who wants an uninterrupted under-clear scheme may accept more complex spot repair. A rider on gravel-strewn roads may prioritize replaceable protection at the nose.
Designing a road-race-inspired livery
Road-race graphics work because they remain legible on a moving motorcycle with complex surfaces. Start with panel geometry rather than copying a famous machine.
Build a hierarchy
Choose a dominant body color, a high-contrast identification field and a smaller accent. Put the strongest contrast where the bike remains recognizable from front three-quarter and side views. Keep the headlamp, signals, reflectors and vents clear.
Respect seams
A stripe crossing three panels needs alignment rules. Decide where it stops at a vent, how it restarts after a seam and what happens if one panel is replaced. The seven-check livery review helps evaluate both sides rather than approving one attractive render.
Use names and logos carefully
Historic-looking numbers and color blocks can suggest road racing without copying protected team marks. Confirm rights before using sponsor logos, event branding, rider names or exact replicas. “Road-race-inspired” is more accurate than “official TT replica” when no license exists.
Keep the motorcycle identifiable
Photographs of race bikes can hide lights, mirrors or street hardware. Your brief must show the actual road interfaces. If the tank stays original, coordinate its color using the retained-tank color guide.
Where protection film makes sense—and where it becomes difficult
PPF is most useful when the film maker and installer support the substrate, finish and curvature. Compound curves, sharp recesses, vents and exposed edges can complicate application. A film template made for an OEM panel may not match an aftermarket panel exactly.
Discuss:
- nose and mirror leading edges;
- front-fender crown;
- lower leading surfaces exposed to road spray;
- tank-contact or knee-contact zones if those parts are included;
- graphic seams that should remain visible;
- removal and replacement procedure;
- cure time before application.
Do not ask an installer to stretch one large sheet across every recess. Seams may be the correct choice. Confirm whether an edge near a vent will collect contamination or lift during washing.
If the finish is matte or satin, ordinary gloss film can create a patchwork appearance. Use a compatible finish system and approve a real sample. Our matte fairing cleaning guide also explains why matte paint, matte wrap and matte PPF need separate care instructions.

Cleaning after a dirty ride
Do not scrub dried insects and grit into the clear. Begin with the finish supplier’s instructions. A cautious sequence is:
- Let hot bodywork cool in shade.
- Inspect for loose edges, cracks or fluid contamination.
- Remove loose grit with gentle rinsing at a safe distance.
- Soften insect residue with an approved method rather than scraping.
- Wash with clean, soft media and the approved product.
- Dry without grinding remaining particles across the surface.
- Reinspect the nose under diffuse light.
Avoid directing high-pressure water at decal or film edges, vents, bearings and electrical openings. “Pressure-wash safe” must come from the actual product documentation, not a generic comparison table.
Fuel or brake fluid requires a different response. Use the immediate steps in our painted-fairing fluid first-response guide, then have uncertain damage assessed.
How to document a chip fairly
When a mark appears, record it before polishing, touching up or peeling film:
- overall location on the motorcycle;
- close view with a simple scale nearby but not touching paint;
- light from two angles;
- whether the mark catches a fingernail;
- whether color, primer or substrate appears exposed;
- condition of any PPF or graphic edge;
- recent ride and cleaning history without claiming causation.
Do not diagnose delamination from one compressed photo. A bug mark, clear defect, stone chip and contamination can look similar online. A qualified refinisher can decide whether careful touch-up, local repair, refinishing or panel replacement is appropriate.
Ordering questions for NiceFairings
Browse the NiceFairings catalog by exact motorcycle and year. For a road-race-inspired request, send:
- exact model, year, market and variant;
- clear motorcycle photos and retained-part colors;
- reference images labeled “mood,” “layout” or “exact requested element”;
- logo permissions and elements to omit;
- preferred gloss, satin or matte direction;
- whether graphics should be under clear or surface-applied, if available;
- areas intended for third-party PPF;
- approval views required before production.
Use our custom fairing brief guide to turn inspiration into an auditable request. Before shipping, ask for the angles in the finished-fairing photo checklist. Photographs confirm visible color and graphic placement; they do not certify hidden chemistry.
Avoid these five promises
- “TT-tested” without documented participation and test scope.
- “Rock-chip proof” without a defined standard and result.
- “UV clear lasts for life.”
- “Under-clear decals can never peel.”
- “Ceramic coating stops stone impacts.”
Replace each promise with a verifiable question: what product, what process, what care, what limitation and what repair path?
A mark-to-action decision path
Not every mark needs the same response. Use observation to decide the next professional question rather than trying progressively stronger chemicals.
Surface contamination
If the mark changes after gentle, approved washing and does not interrupt the reflection, it may be residue rather than coating loss. Stop once the panel is clean. Repeated rubbing can turn a minor cleaning problem into abrasion.
Small isolated chip
Photograph the location and determine which layer appears exposed. Ask a refinisher whether stabilization or model-appropriate touch-up is possible. Color-match difficulty, graphic position and panel shape all influence the repair. A tiny mark beside an under-clear number field is a different job from one in a solid-color lower.
Film damage
If protection film is torn or lifted, do not assume the paint underneath is damaged. Have the installer assess whether the section can be replaced and how removal temperature and technique should be controlled. Pulling an unknown film from an unknown finish can create a second problem.
Spreading crack or flexible edge
A line that grows when the panel moves, or damage near a fastener and tab, may be structural rather than cosmetic. Remove load from the area and inspect the backside. Do not cover it with a sticker. Compare both sides and neighboring mounts before ordering one isolated panel.
Widespread finish failure
Multiple lifting edges, cloudy clear or broad adhesion loss needs a coating assessment. Record storage, fuel contact, cleaners and previous refinishing without declaring the cause. Refinish or replacement decisions should be based on the actual layers and substrate condition.
This decision path also helps when shipping a painted set. Photograph and protect the leading edges before transport; our sportbike transport damage checklist explains why soft contact and strap routing matter even before road debris enters the picture.
Build an inspection log, not a durability myth
Create four repeatable photo checkpoints: immediately after installation, after the first rides, after the first deep cleaning and at the end of the riding season. Use the same general light and angles. Note odometer reading only as context; mileage alone does not identify the cause of a mark.
Record where wear accumulates. If the same leading zone repeatedly collects chips, ask a qualified installer about a replaceable protective solution or a revised care plan. If damage appears near a fastener rather than in the airflow, inspect panel loading and hardware before blaming paint. The fairing rattle and fastener guide can help identify movement that a finish-only article would miss.
An honest log cannot promise a service life, but it gives the owner useful evidence for maintenance, repair and the next design brief.
Final verdict
Road racing is a strong design reference because it rewards clear identification and graphics that work across real bodywork. It is not a shortcut to a durability claim. The most useful build brief separates the visual inspiration from the coating evidence, maps every seam, records the new finish, and decides where sacrificial protection or future repair makes sense.
A beautiful fairing will still live in the real world. Honest expectations, careful cleaning and documented protection choices will serve a rider better than a dramatic “armor” headline.
Short FAQ
Are graphics under clear automatically safe from pressure washing?
No. Their edges may be covered, but the coating, vents, seams and neighboring film still have limits. Follow the care instructions for the actual finish and avoid directing high pressure at vulnerable interfaces.
Should PPF be installed before the fairings go on the motorcycle?
That depends on the panel, template and installer. Loose panels may improve access, while final alignment may affect edge placement. Confirm coating cure, mounting sequence and film pattern with the painter and installer rather than choosing a universal order.
QC source note
The attachment’s fixed mileage, speed, coating-chemistry, pressure-wash, fuel-resistance and “virgin ABS dissipates impact” assertions were not carried forward because no product-specific test record was supplied. The draft relies on conservative finish identification, manufacturer instructions and documented inspection. It does not claim that NiceFairings products were tested at the Isle of Man TT.